Non-developers like to use services such as Canva, Crello, Photopea to edit images and templates. With a few clicks, they can get a decent design done.
As a developer, have you ever wondered how you can build such services or embed those Instagram-like features in your app?What if you could build these features without starting from scratch? Look no further!
In this article, I’ll show you how to transform images quickly with 8 solid examples.
Sign up for free, upload and store your images.
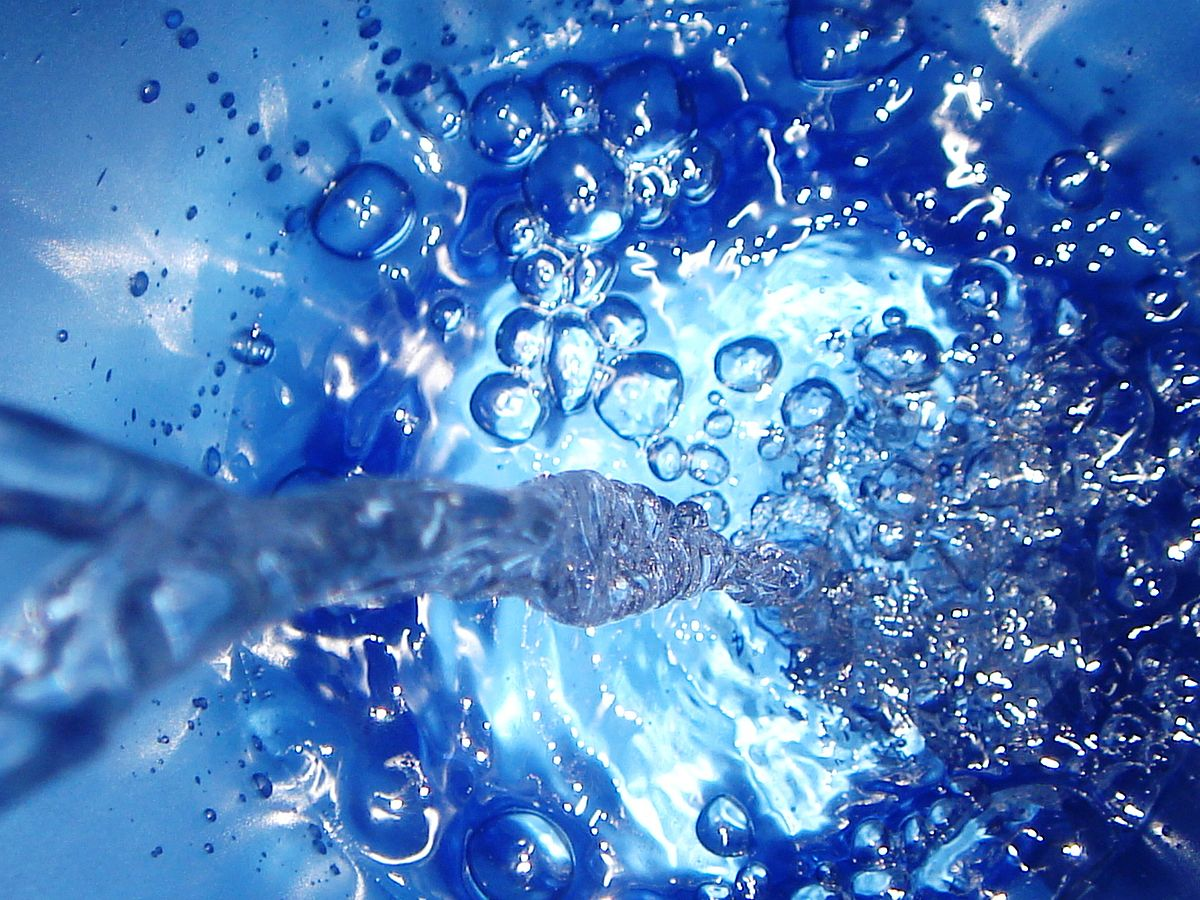
We will generate the image below from another image and some transformation techniques.

Follow along the various steps:
- Ensure you have the image below in your Cloudinary account. Now, you’ll have a URL like so:
https://res.cloudinary.com/cdemo/image/upload/_mmm/freshcoloredwater.jpg
- Add f_png to the URL to convert and deliver the image in a png format:
https://res.cloudinary.com/cdemo/image/upload/f_png/_mmm/freshcoloredwater.jpg
- Add a width, w_800 to the URL like so:
https://res.cloudinary.com/cdemo/image/upload/f_png/w_800/_mmm/freshcoloredwater.jpg
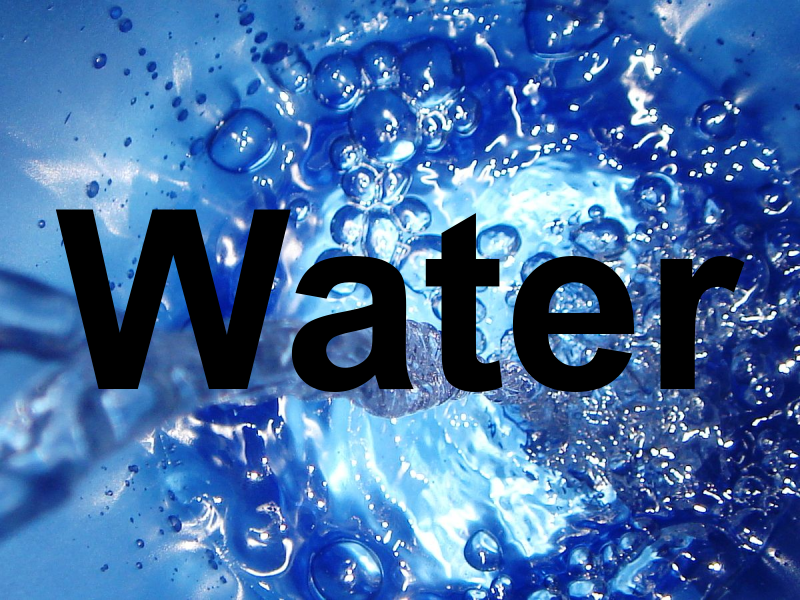
- Add an overlay text with a value, font type, and size:
l_text:Arial_250_bold:Water
- Now, add a cutter flag to trim the image of a water drop based on the shape of the text like so:
fl_cutter
- Finally, let’s add a shadow to the image
e_shadow
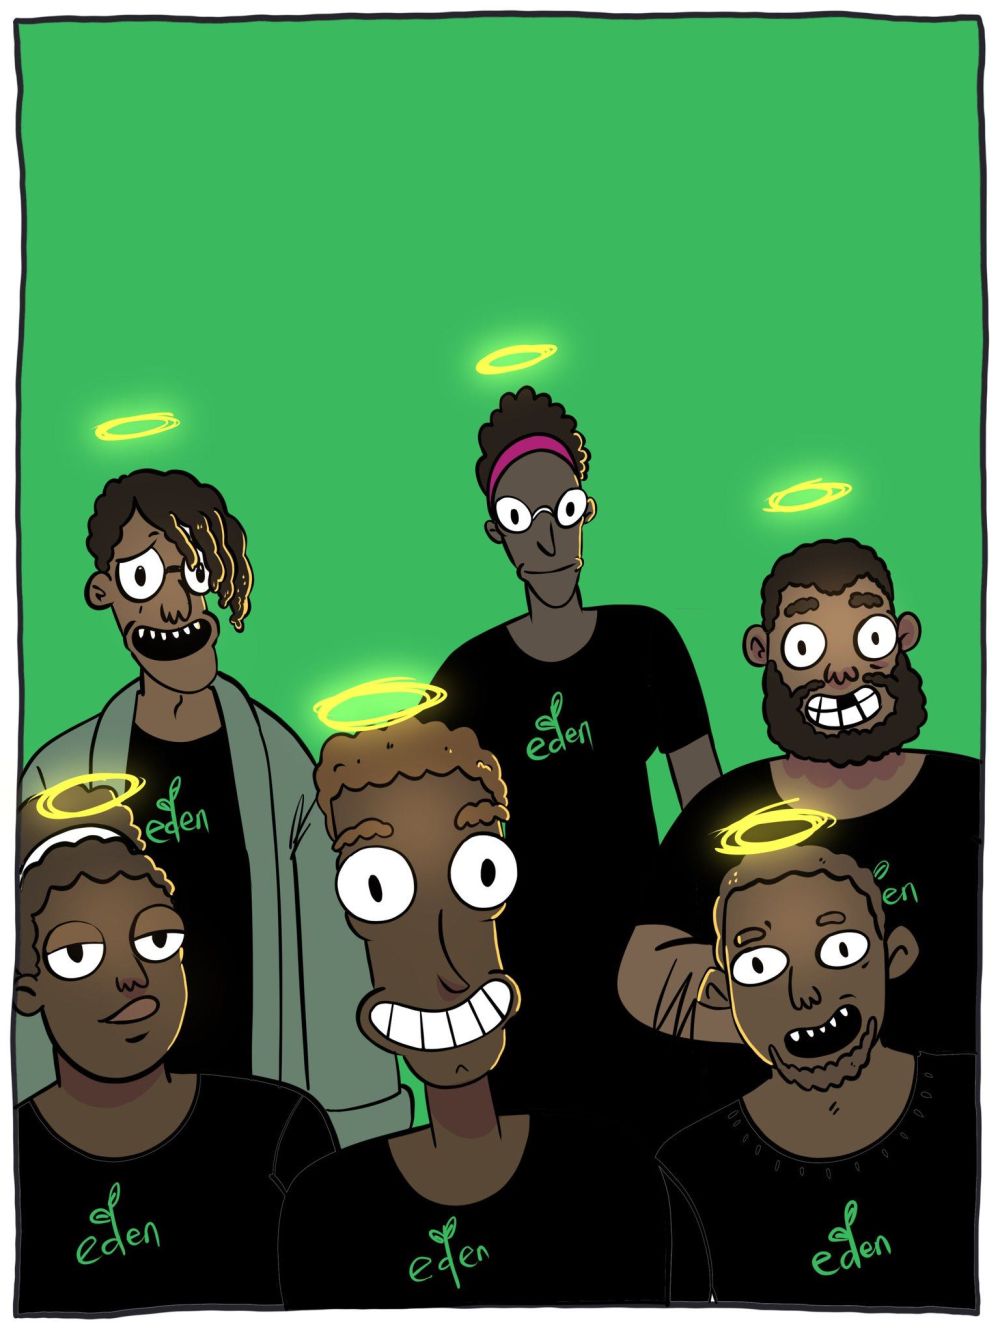
We will generate the image below from another image and some transformation techniques.

- Ensure you have the image below in your Cloudinary account. Now, you’ll have a URL like so:
https://res.cloudinary.com/cdemo/image/upload/_mmm/edencartoon.jpg
- Add a width, w_1000 to the URL like so:
https://res.cloudinary.com/cdemo/image/upload/w_1000/_mmm/edencartoon.jpg
- Upload the rough image material below to your Cloudinary account
https://res.cloudinary.com/cdemo/image/upload/v1583824361/_mmm/roughtornmaterial.png
- Now, go ahead and overlay the roughtornmaterial image over the first image like so:
https://res.cloudinary.com/cdemo/image/upload/w_1000/l__mmm:roughtornmaterial/_mmm/edencartoon.jpg
We are gradually getting to what it should look like!
- Next, add a width, w_1.0, height, h_1.0, and these two flags, fl_relative, fl_cutter like so:
- Finally, repeat the overlay by adding:
l__mmm:roughtornmaterial,w_1.0,h_1.0,fl_relative,o_40
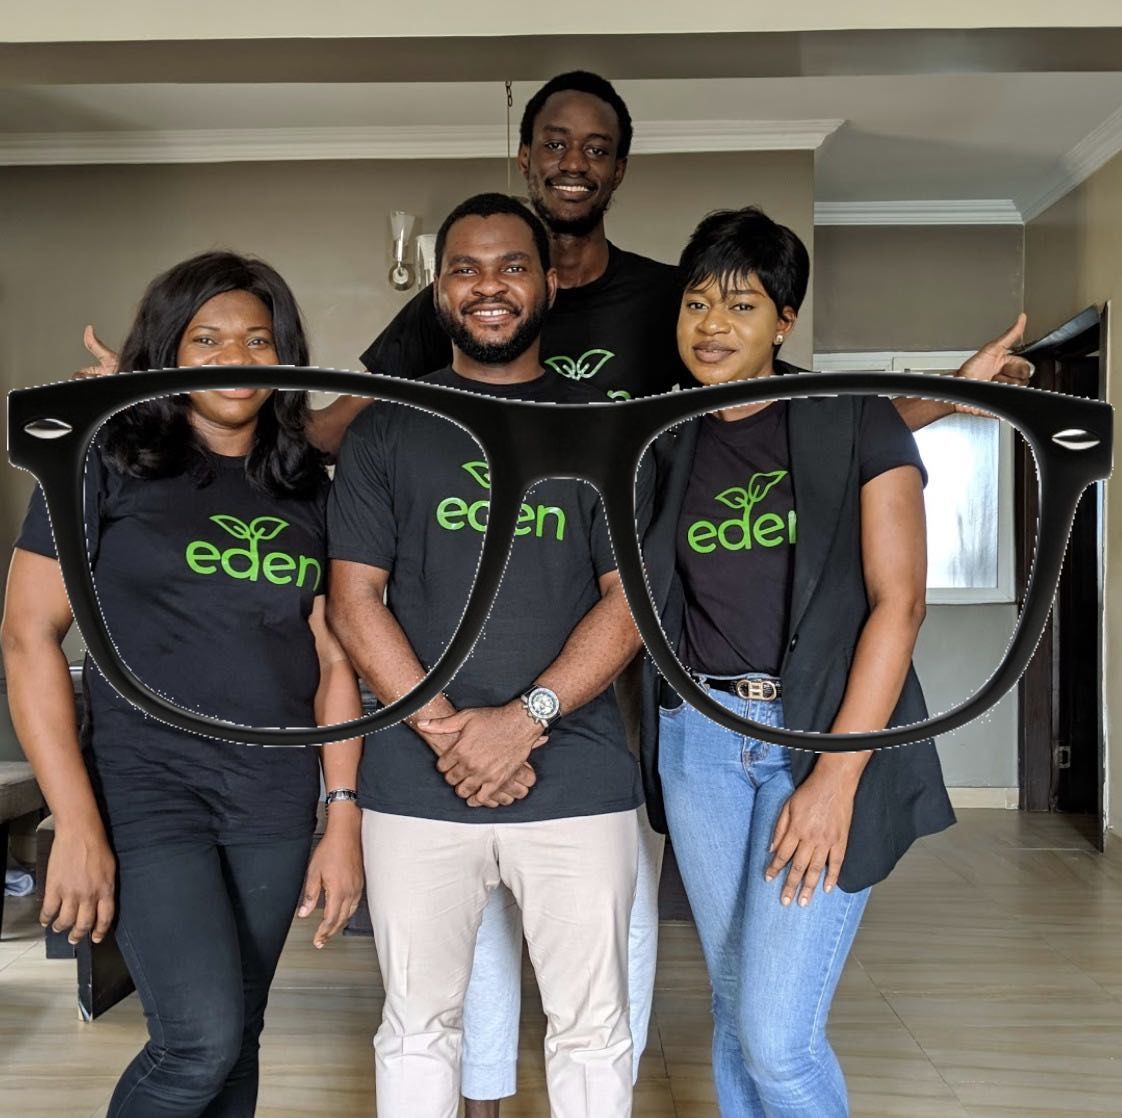
Here, we’ll turn an image of folks with no glasses to one with them using a pair of glasses!

- Ensure you have the image below in your account. Now, you’ll have a URL like so:
https://res.cloudinary.com/cdemo/image/upload/_mmm/finepeople.jpg
- Upload the glasses below to your account
https://res.cloudinary.com/cdemo/image/upload/_mmm/glasses.jpg
- Next, overlay the glasses on the first image and set a width for it by adding: l__mmm:glasses,w_1.5
https://res.cloudinary.com/cdemo/image/upload/l__mmm:glasses,w_1.5/_mmm/finepeople.jpg
- Position the glasses on the pair of eyes in the image. We can do that by using the facial detection attribute (for a pair of eyes), g_adv_eyes. Add fl_region_relative,g_adv_eyes, to the URl like so:
fl_region_relative is a flag to place each overlay relative to the size of each detected region.
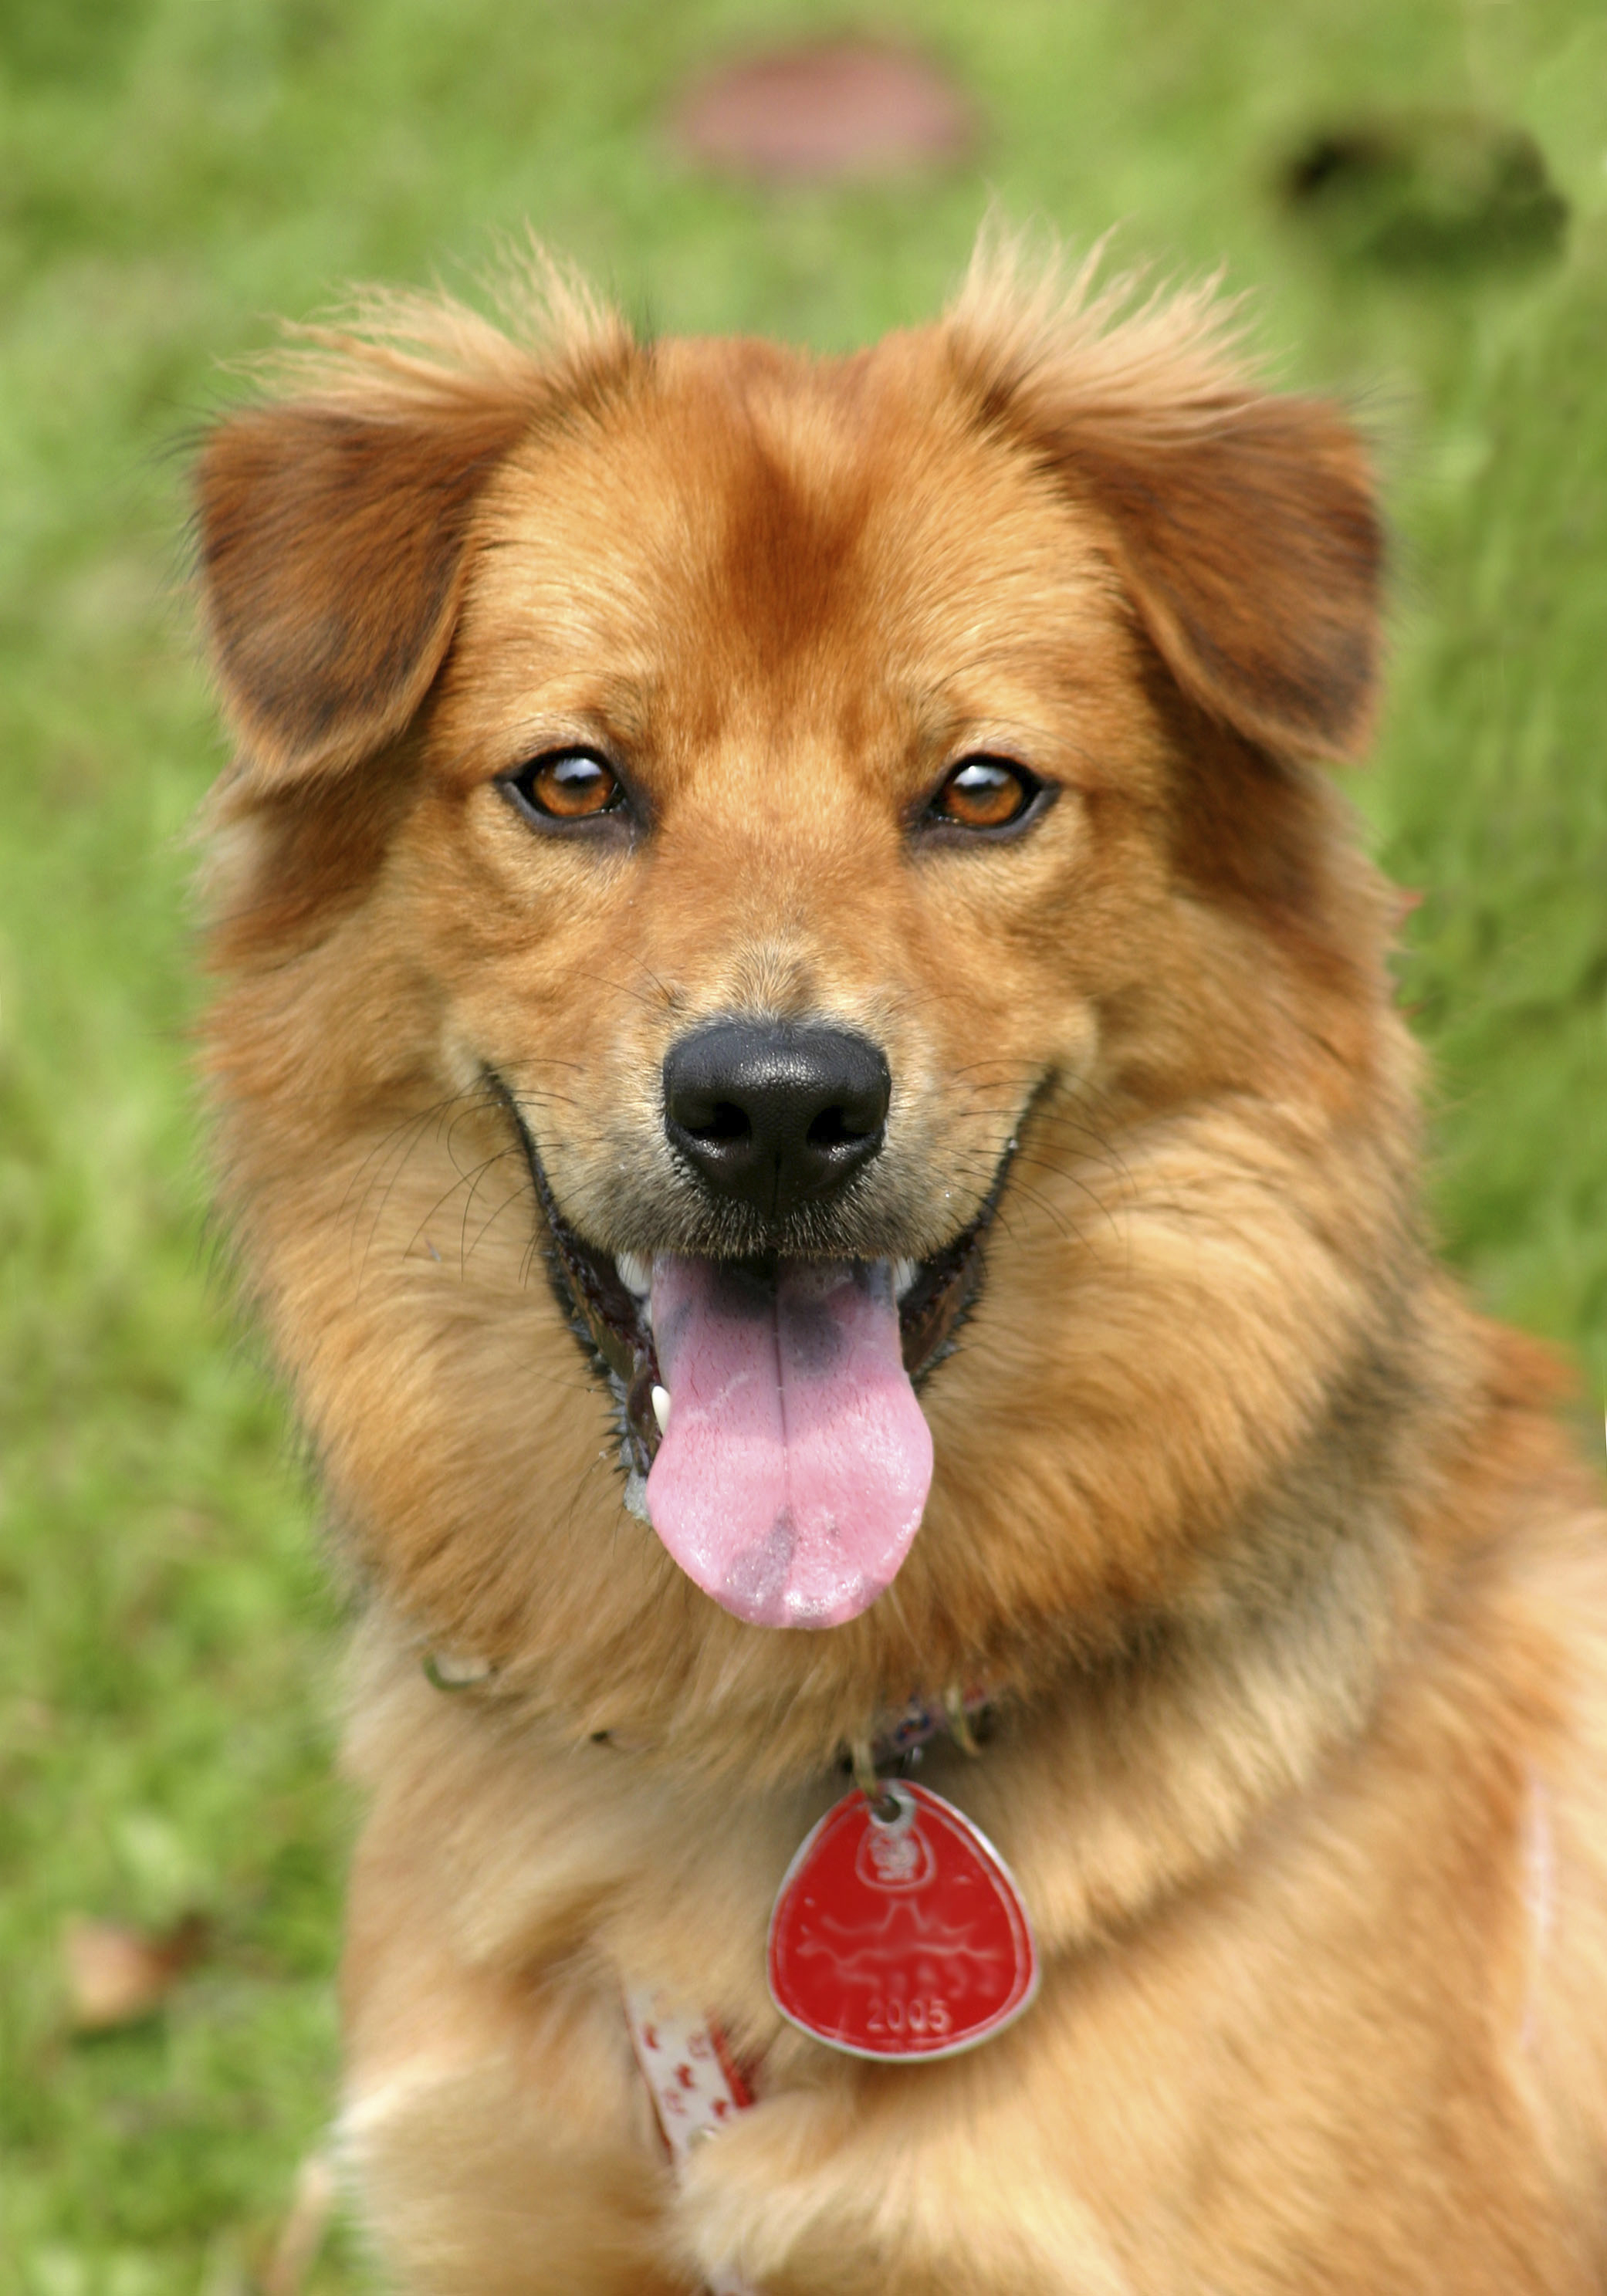
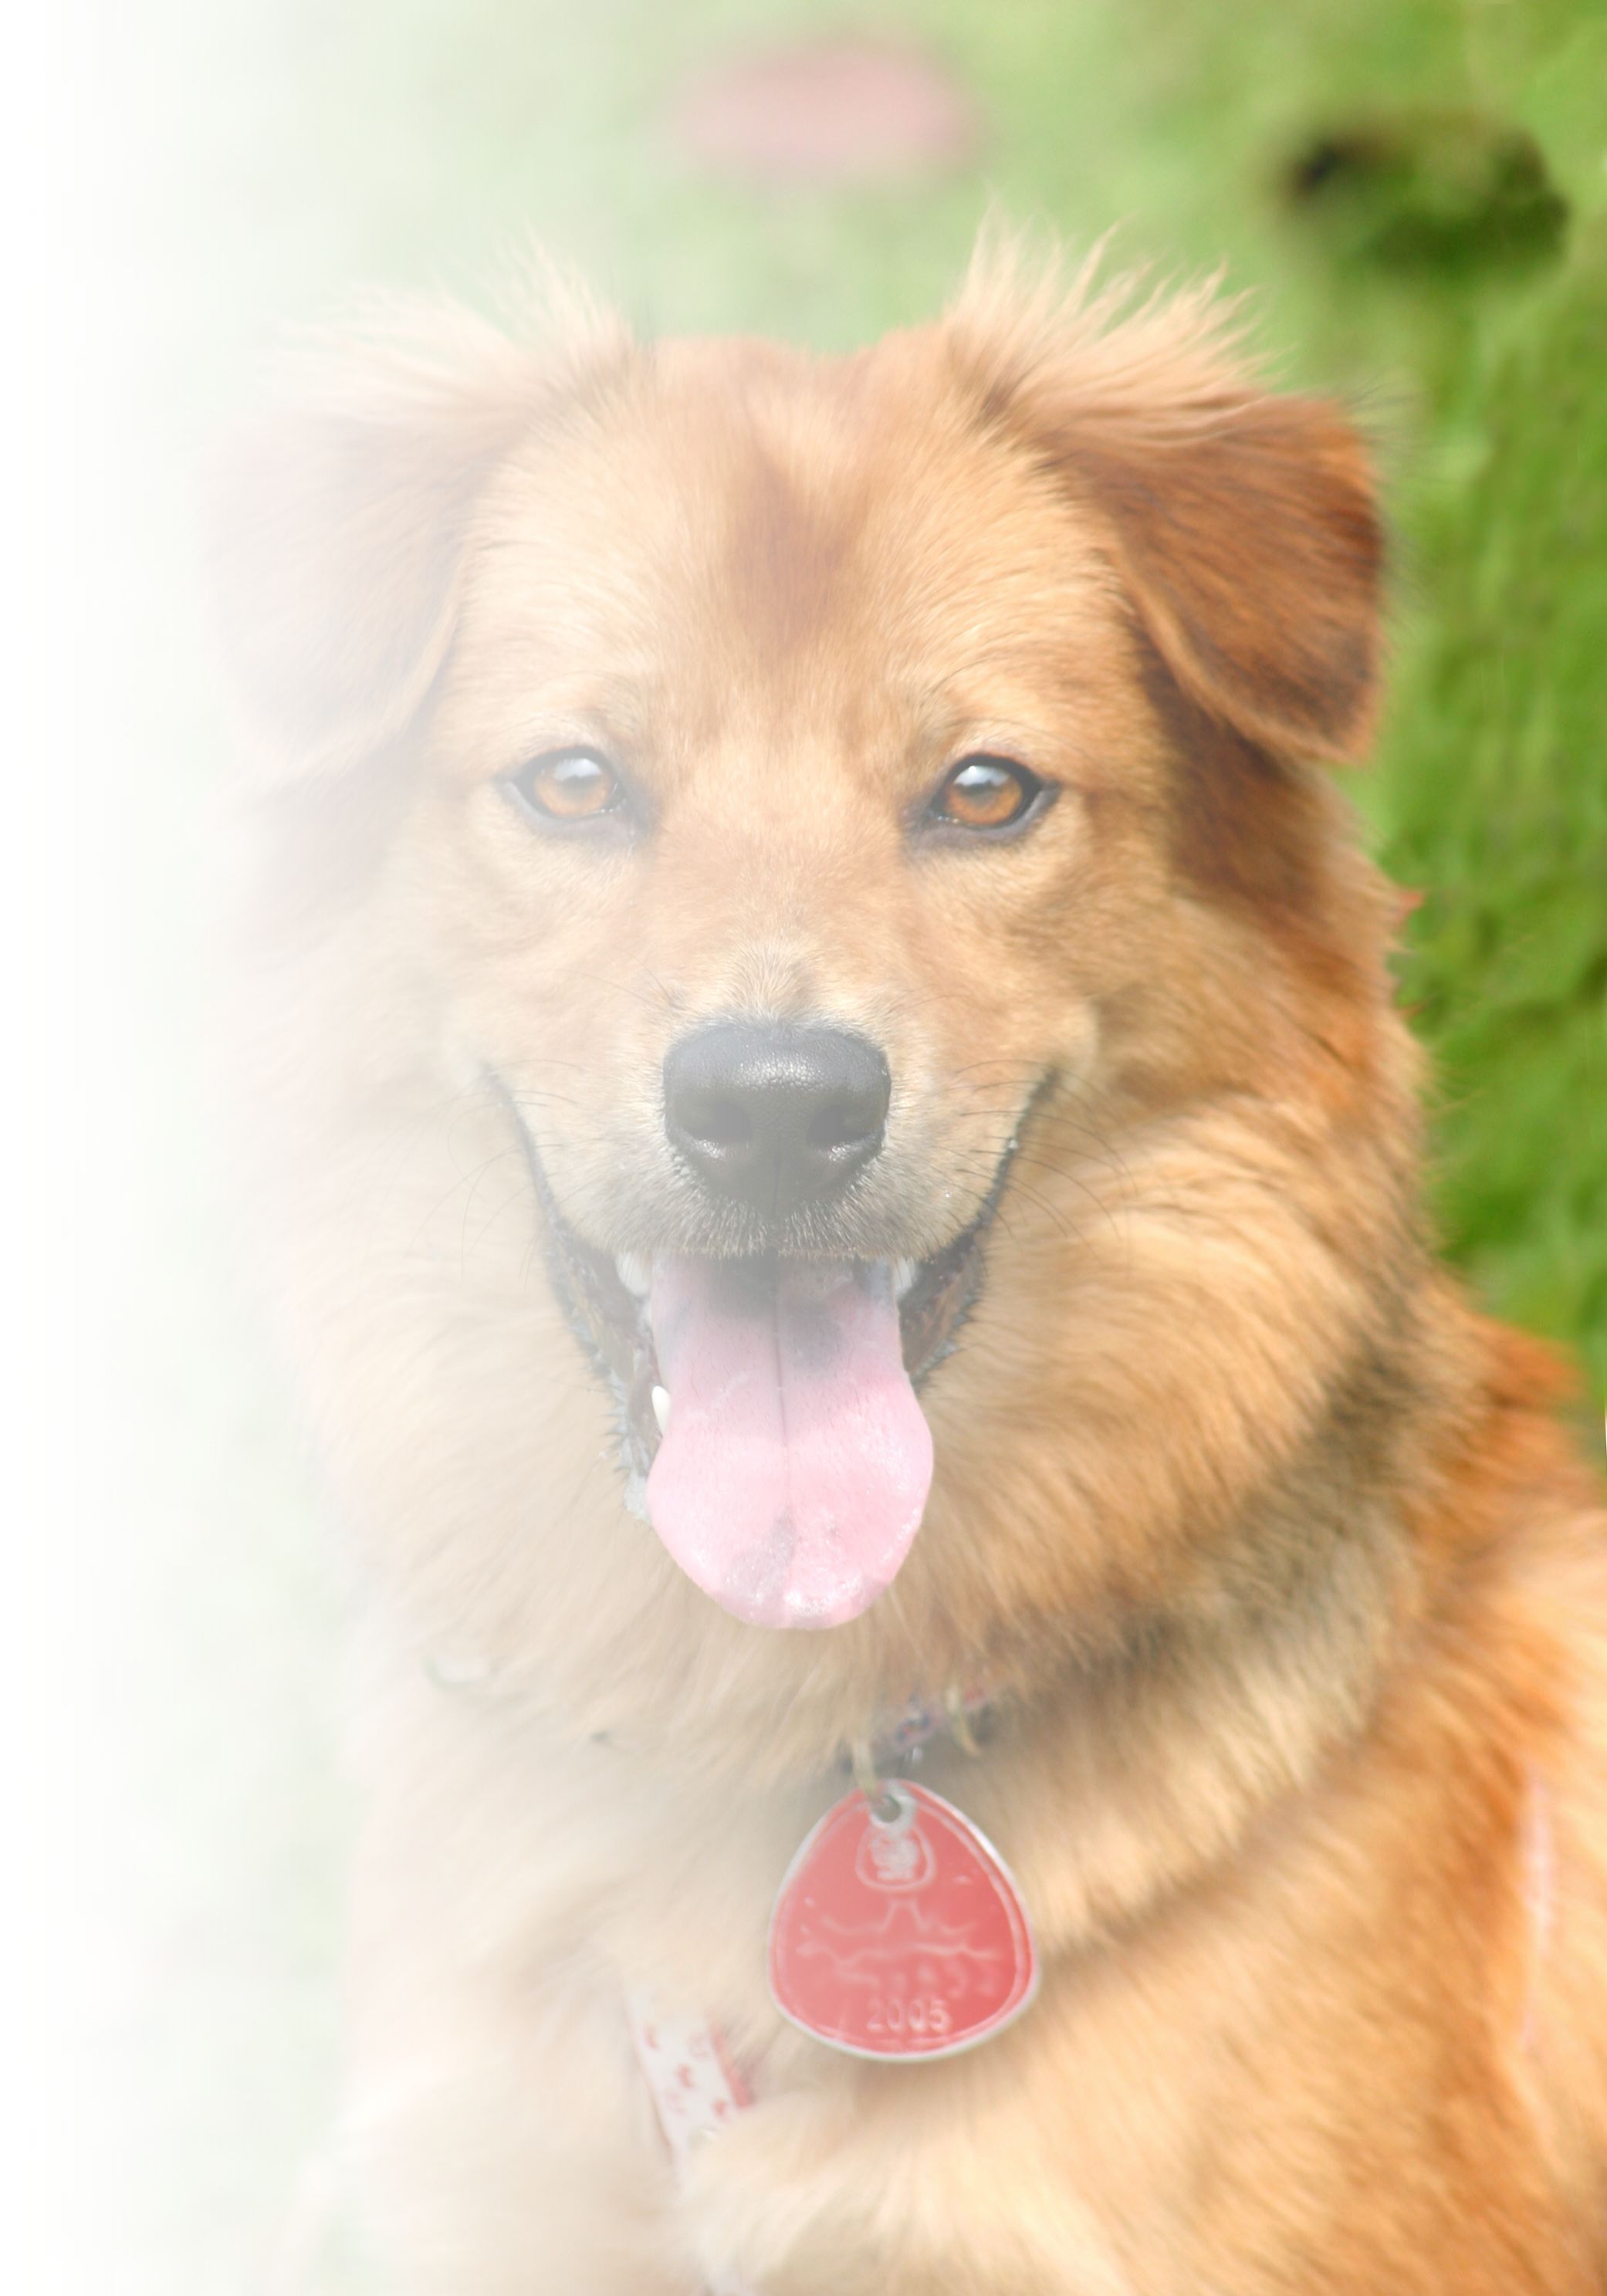
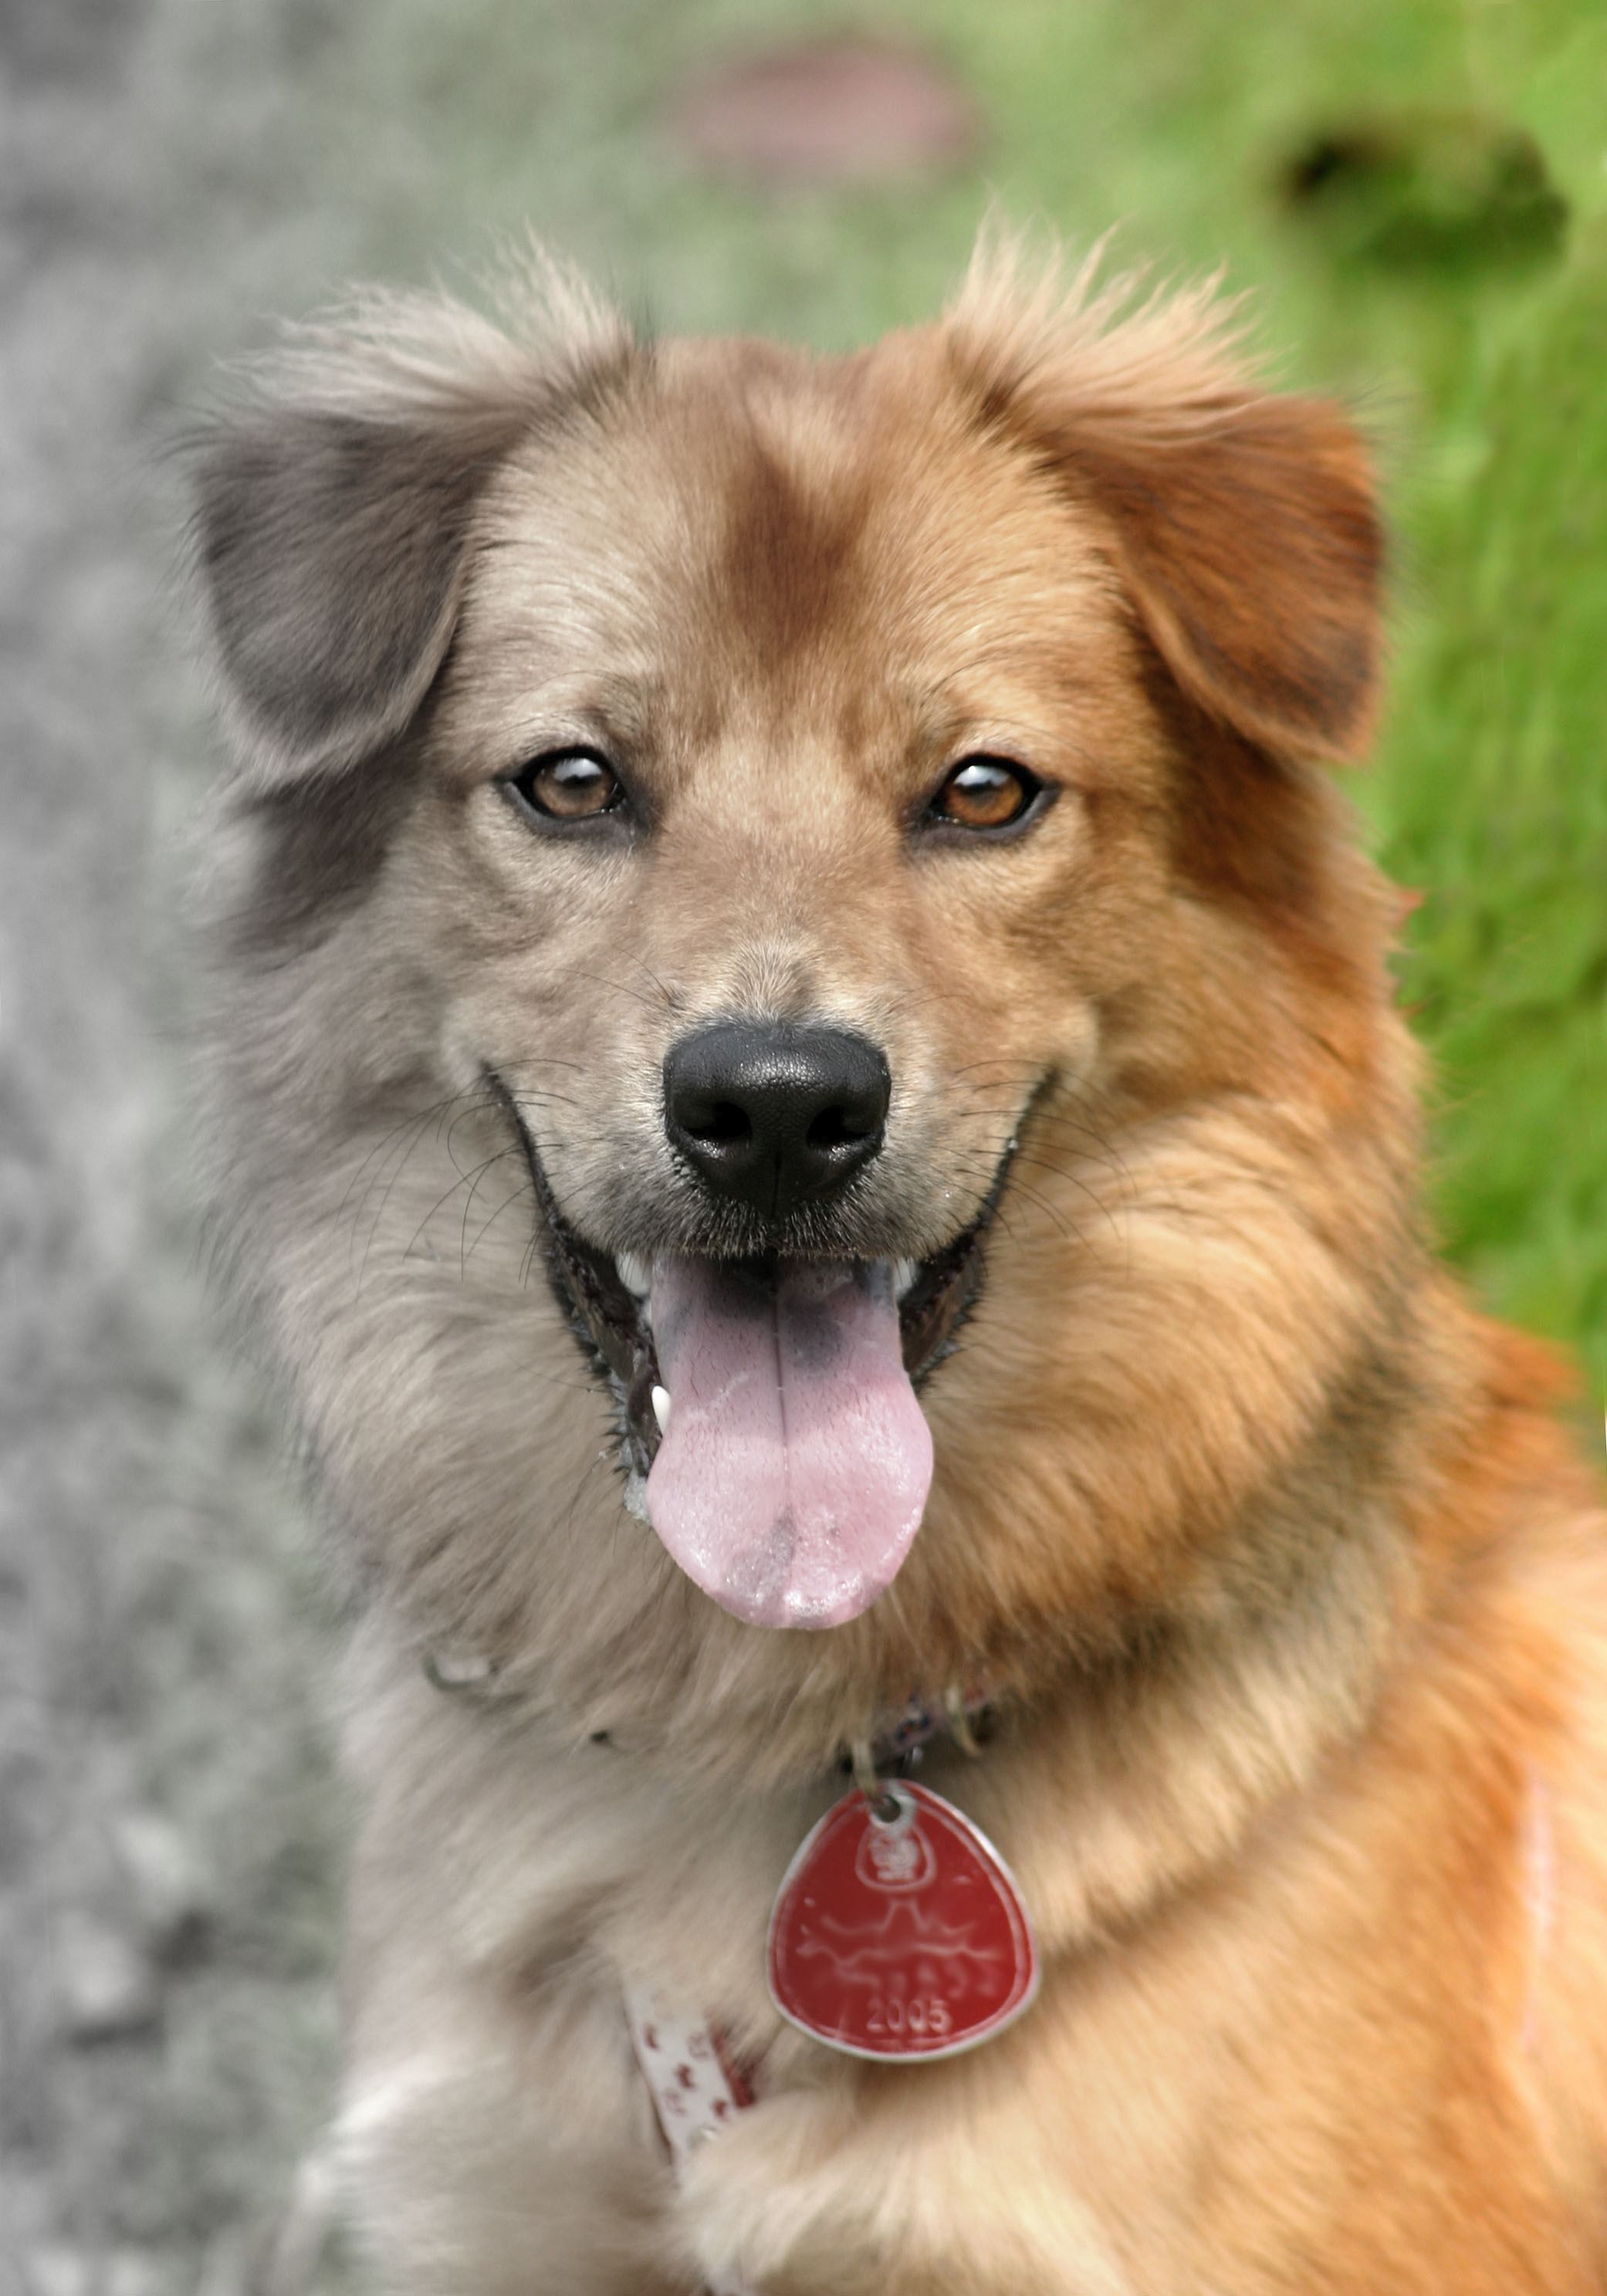
You might have seen some images where the face is blurred or pixelated. We’ll make that happen now. The finished pixelated image is shown below:

- Upload the image below, or another in your account. Now, you’ll have a URL like so:
https://res.cloudinary.com/cdemo/image/upload/_mmm/puppyface.jpg
-
To pixelate the face, use the e_pixelate_faces attribute like so: https://res.cloudinary.com/cdemo/image/upload/e_pixelate_faces/_mmm/puppyface.jpg
-
Yaay! We have a pixelated face. Finally, let’s transform the image to the output by adding the following, e_grayscale/e_tint:50:red like so:
e_grayscale: Converts an image to grayscale (multiple shades of gray). e_tint: Blends an image with one or more tint colors at a specified intensity. Here, we blended it with red.
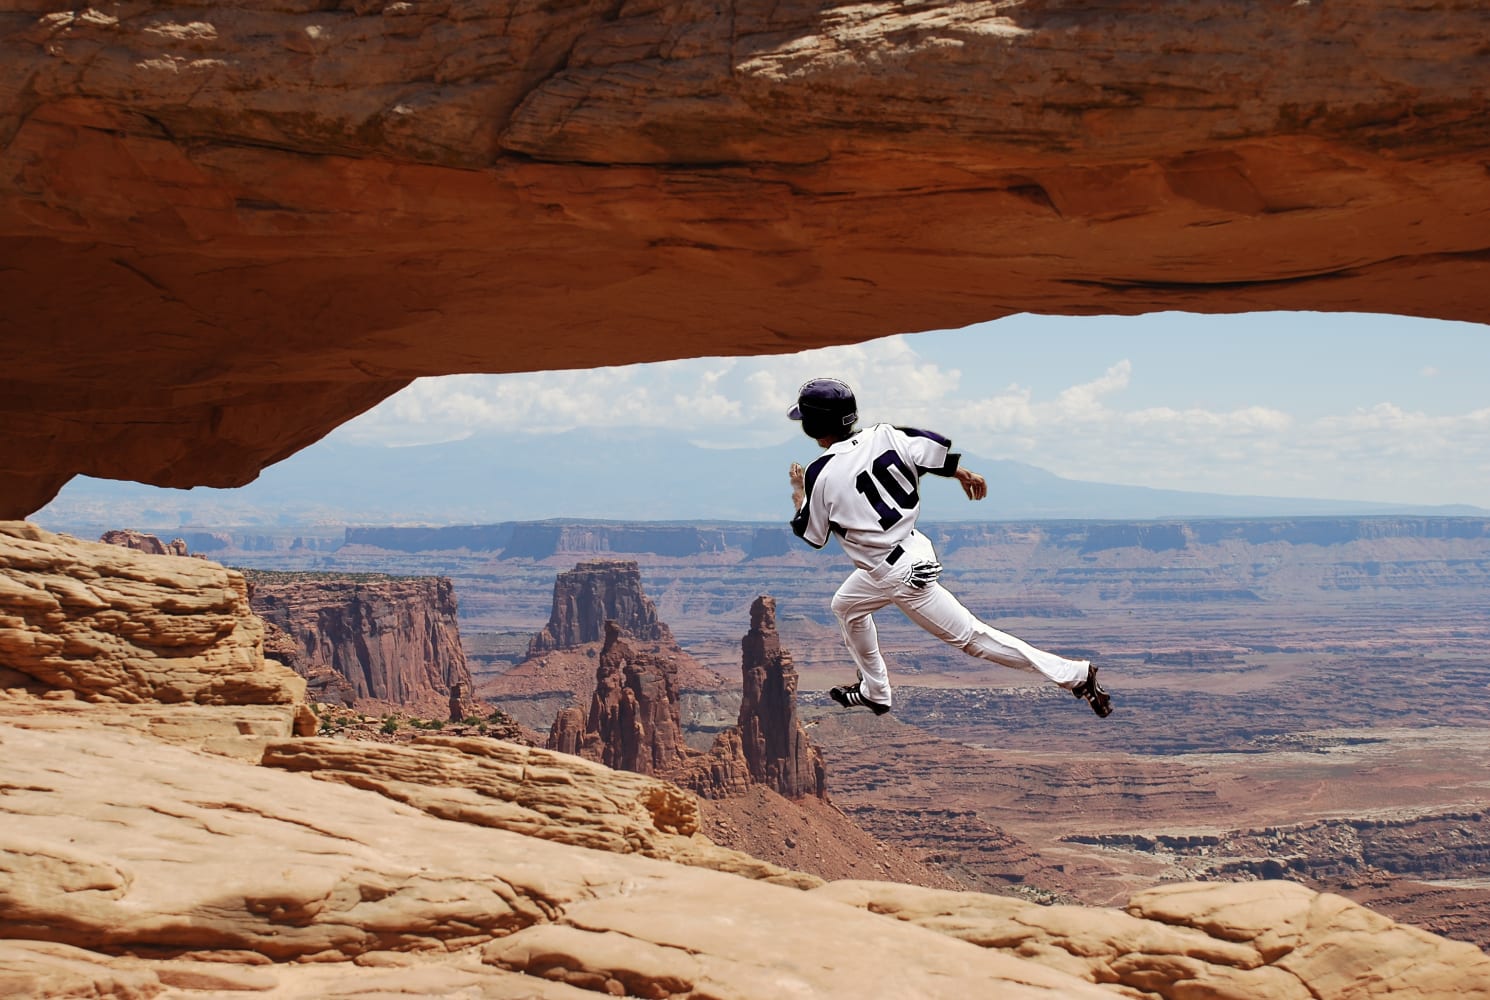
- Upload the image below, or another in your account. Now, you’ll have a URL like so:
https://res.cloudinary.com/cdemo/image/upload/_mmm/human.png
- Upload the desert image below as well.
https://res.cloudinary.com/cdemo/image/upload/_mmm/desert.jpg
- We used overlays a lot in the previous transformations. Now, we’ll use an underlay, u__. The desert will underlay the human like so: u__mmm:desert,h_1000
Note: Added a height of 1000 to make it fit.
https://res.cloudinary.com/cdemo/image/upload/u__mmm:desert,h_1000/_mmm/human.png
https://res.cloudinary.com/cdemo/image/upload/u__mmm:desert,h_1000/_mmm/human.png
- Increase the width as well and optimize the image by adding w_800,f_auto,q_auto like so:

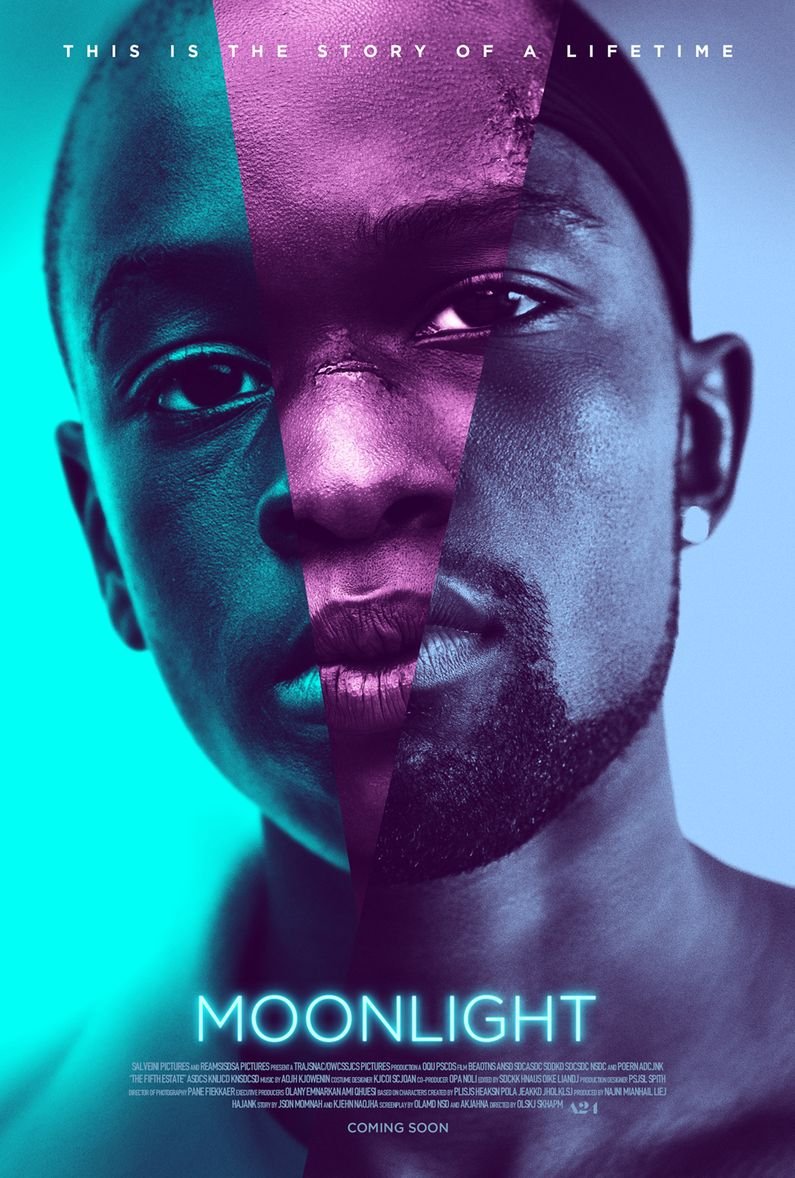
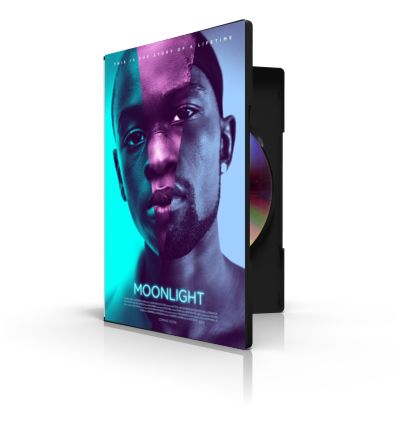
We’ll transform two images to get the poster above.
- Upload the image below, or another in your account. Now, you’ll have a URL like so:
https://res.cloudinary.com/cdemo/image/upload/_mmm/poster.jpg
- Upload another image below, or another in your account. Now, you’ll have another URL like so:
https://res.cloudinary.com/cdemo/image/upload/_mmm/discbox.jpg
Now, from what we have learned about transformations, I can safely assume you’re thinking that we need to overlay the first poster image on the second. And yes, you are correct!
- Overlay the poster image on the discbox image by adding, l_mmm:poster like so:
https://res.cloudinary.com/cdemo/image/upload/l__mmm:poster/_mmm/discbox.jpg
Okay, but it does not seem interesting yet!
- Give the poster a width and height, and also adjust the width of the discbox with w_400,c_scale/l__mmm:poster,w_300,h_422 like so:
Note: c_scale resizes the image exactly to the specified width and height.
Well, we have not gotten our desired output yet. But, we are close. Don’t fret!
- Now, we’ll use an interesting attribute. It’s called the distort attribute, e_distort. It distorts an image, or text overlay, to a new shape by adjusting its corners to achieve perception warping.
Here, add the distort attribute, e_distort:55:55:195:20:195:350:55:320 like so:
We have a fully transformed image now!
We’ll transform an image to look like so:

- Upload the image below, or another in your account. Now, you’ll have a URL like so:
https://res.cloudinary.com/cdemo/image/upload/_mmm/kqa488dfzvsetpvglq6n.jpg
- Add a gradient fade to the image with e_gradient_fade like so:
Note: e_gradient_fade applies a gradient fade effect from the edge of an image. Use x or y to indicate from which edge to fade and how much of the image should be faded.
https://res.cloudinary.com/cdemo/image/upload/e_gradient_fade,x_0.9/_mmm/kqa488dfzvsetpvglq6n.jpg

- Let’s do something interesting by underlying a grayscale of the same image like so: u__mmm:kqa488dfzvsetpvglq6n,e_grayscale
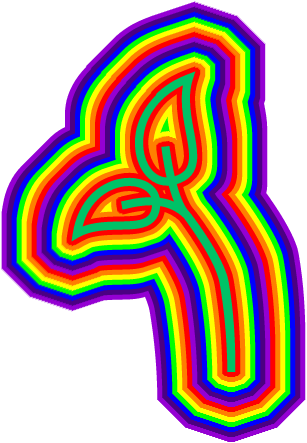
We’ll make a rainbow outline from a leave asset. Transformed image shown below:

- Upload the image below, or another in your account. Now, you’ll have a URL like so:
https://res.cloudinary.com/cdemo/image/upload/_mmm/bottomleaves.png
- We’ll use a new attribute, e_outline. It adds an outline effect to an image. Specify the color of the outline using the co (color) qualifier. If no color is specified, the default outline is black.
Add the first outline, e_outline,co_red, like so:
https://res.cloudinary.com/cdemo/image/upload/e_outline,co_red/_mmm/bottomleaves.png

Add another outline, e_outline,co_rgb:FF7F00, like so:

We can add as many outlines as possible. The final outline result is e_outline,co_red/e_outline,co_rgb:FF7F00/e_outline,co_yellow/e_outline,co_rgb:00FF00/e_outline,co_blue/e_outline,co_rgb:4B0082/e_outline,co_rgb:9400D3/e_outline,co_red/e_outline,co_rgb:FF7F00/e_outline,co_yellow/e_outline,co_rgb:00FF00/e_outline,co_blue/e_outline,co_rgb:4B0082/e_outline,co_rgb:9400D3.
There are so many other transformations you can use with image assets.
There are different SDKs for integrating Cloudinary and chaining transformations on your assets in your codebase. It’s instant, easy to integrate and ships with amazing fluent interfaces.
Cloudinary provides a lot of transformation effects and more for media files.
With Cloudinary, you can automate your entire image-management lifecycle, from upload and transformation to optimization and delivery. The platform also features numerous capabilities for editing and managing videos.


