
When dealing with images, often you want to be able to cut out the primary object and change the background, whether that’s a pair of shoes you want to show in your store in a more life-like environment or if you simply want to change the background.
But doing this manually can be a huge pain and take a lot of time!
Instead, we can take advantage of Cloudinary AI using its background removal tool to cut out our images and swap in whatever background we’d like.
This is our main goal:
Before diving into the specifics of changing backgrounds with Cloudinary, it’s important to understand some basics of handling images in Next.js. In Next.js, images are typically managed using the Image component from next/image. This component requires specific props such as src, width, height, and alt. These props help in automatically determining the image’s dimensions, which is crucial for preventing Cumulative Layout Shift (CLS) while the image is loading.
Additionally, to make an image responsive in Next.js, you can utilize the next/image component along with the layout attribute. This attribute accepts three values: ‘fill’, ‘responsive’, and ‘fixed’, allowing for greater flexibility in how the image is displayed across different screen sizes.
For instance, you can start by importing the image component and defining the image path in the component’s src props. Wrap your image and other elements in a root element, like a fragment or a div, and insert other necessary HTML tags like an H1 tag.
In my example, I’m using Next.js, which allows me to set up API endpoints that use serverless functions to proxy my custom uploads to Cloudinary.
Whether or not you’re following along with Next.js, the code we’ll use should be transferrable to any other node.js-based application.
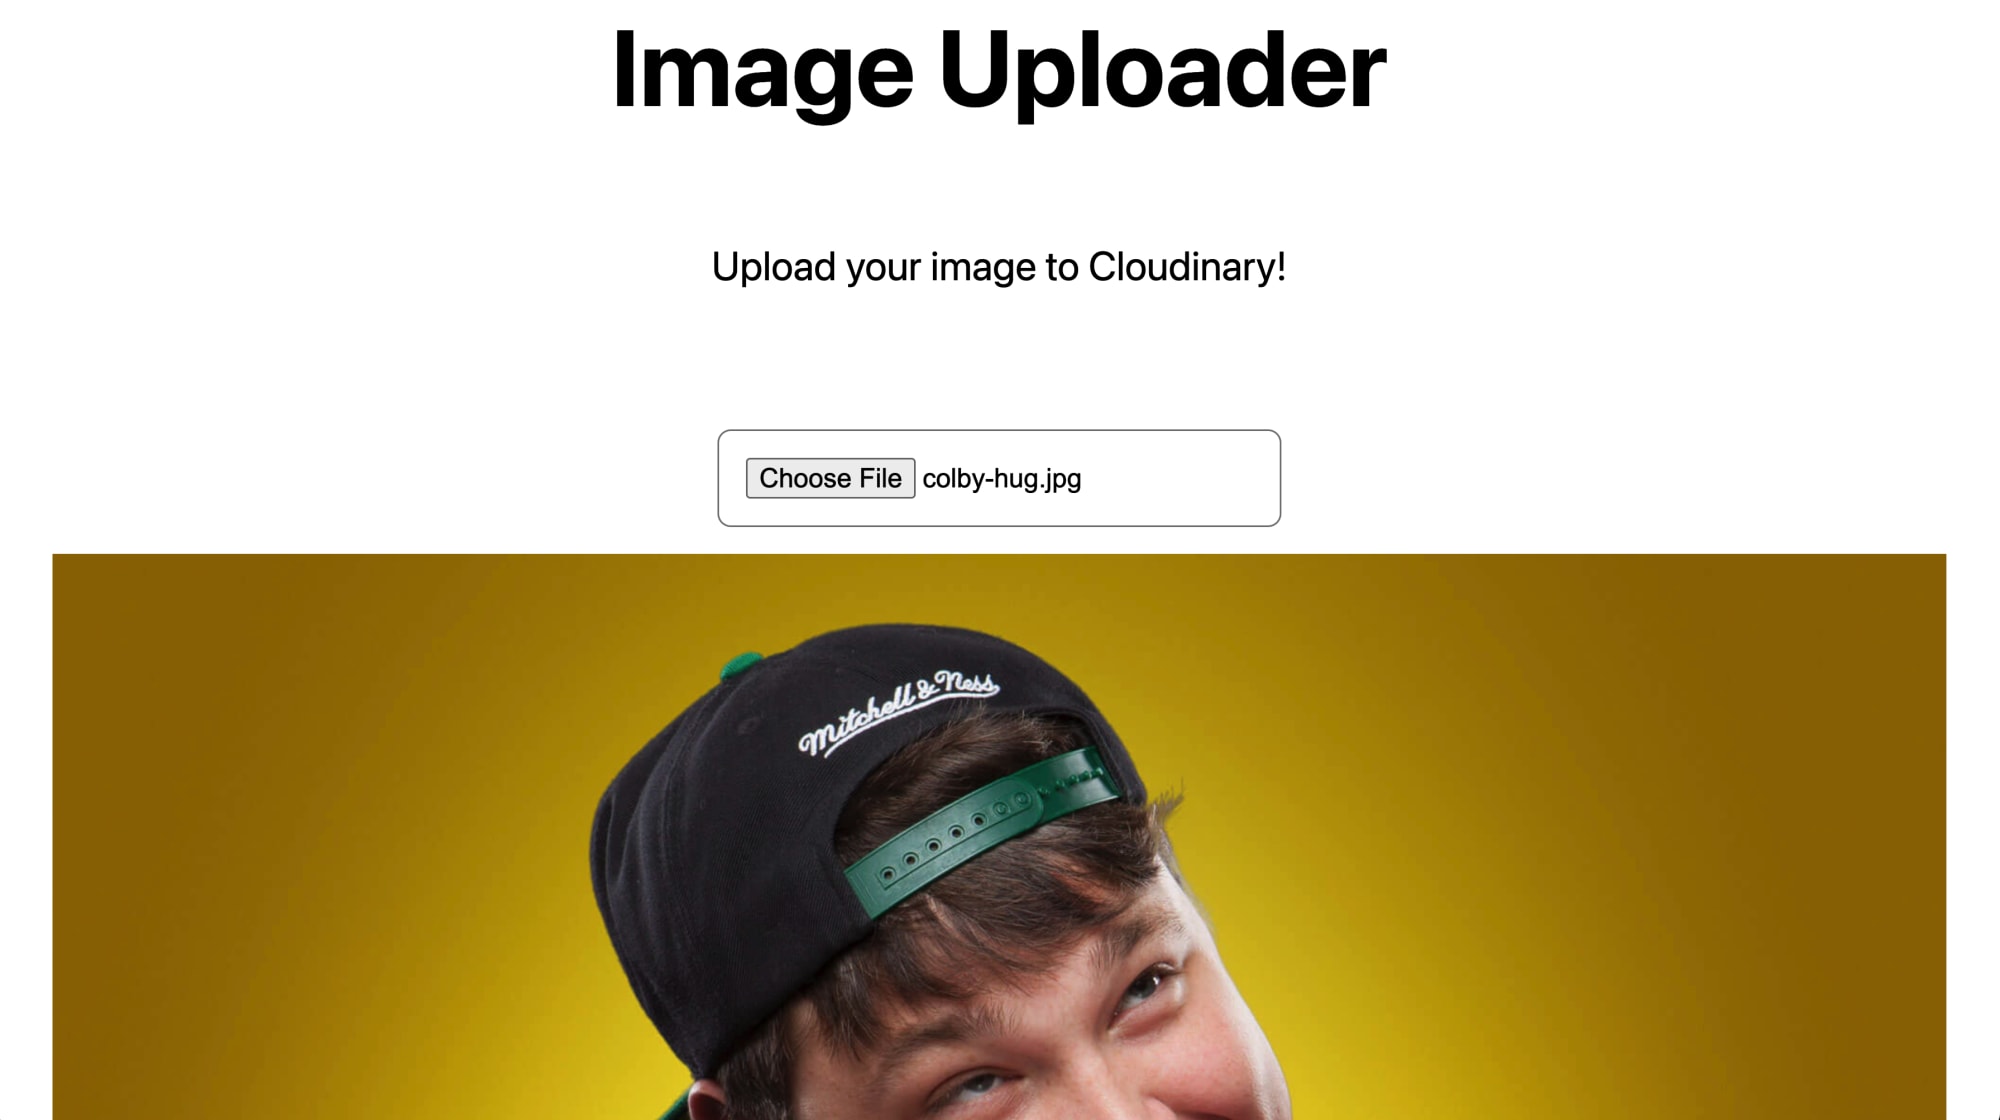
To get started, I used my this Next.js Starter, which creates a basic UI that will allow us to upload an image.
You can do the same by running the command:
yarn create next-app -e https://github.com/colbyfayock/demo-image-upload-starter my-image-background
# or
npx create-next-app -e https://github.com/colbyfayock/demo-image-upload-starter my-image-background
Code language: PHP (php)You can then run the project locally by running:
yarn dev
# or
npm run dev
Code language: PHP (php)
When we select an image in the file-picker, we’ll present that image on the page!
We’ll use the Cloudinary Node SDK to upload our images and change the background.
First, let’s install the SDK with:
yarn add cloudinary
# or
npm install cloudinary
Code language: PHP (php)
Next, we’ll import v2 of the SDK into our project with:
import { v2 as cloudinary } from 'cloudinary';
# or
const cloudinary = require('cloudinary').v2;
Code language: PHP (php)
Finally, to configure the SDK, we’ll need to configure our Cloudinary Cloud Name, API Key, and API Secret.
I recommend setting up a local environment variables file to avoid committing your secret keys to your Git provider or when storing sensitive data in general.
First, create a file in the root of your project called .env.local and add the following:
NEXT_PUBLIC_CLOUDINARY_CLOUD_NAME="<Your Cloud Name>"
CLOUDINARY_API_KEY="<Your API Key>"
CLOUDINARY_API_SECRET="<Your API Secret>"
Code language: HTML, XML (xml)
You can find these values at the top of your Cloudinary dashboard.
Note: We’re prefixing the Cloud Name with NEXT_PUBLIC so that we can use that value in the client. Technically, we don’t need to store this value in an environment variable, but since we’re storing everything else, it makes it easier to manage from a single location.
Now, when we go to use our SDK, those values will be available.
To upload as a signed request and fetch our resource, which we’ll need later, we should be able to use our credentials that we set up inside of .env.local.
We’ll use Next.js serverless functions, which give us a node environment where those values won’t be exposed but are still useable.
Navigating to the pages/api directory, we can first add our Upload endpoint by creating a file called upload.js.
Inside pages/api/upload.js add:
const cloudinary = require('cloudinary').v2;

cloudinary.config({
  cloud_name: process.env.NEXT_PUBLIC_CLOUDINARY_CLOUD_NAME,
  api_key: process.env.CLOUDINARY_API_KEY,
  api_secret: process.env.CLOUDINARY_API_SECRET,
  secure: true
});

export default async function handler(req, res) {
  const { image, options = {} } = JSON.parse(req.body);

  const results = await cloudinary.uploader.upload(image, options);

  res.status(200).json(results);
}
Code language: JavaScript (javascript)
Here, we’ll:
- Import the Cloudinary SDK.
- Configure the Cloudinary SDK with our credentials.
- Create a new serverless function handler.
- Parse an image and options value from the request’s body.
- Pass those values into the Cloudinary uploader.
- Return a 200 response with those results.
This will make a new endpoint available at /api/upload that we’ll be able to POST our uploads to.
Next, we’ll create another similar function to grab the details of a resource (like an image).
Create a file called resource.js inside of pages/api and inside of pages/api/resource.js add:
const cloudinary = require('cloudinary').v2;

cloudinary.config({
  cloud_name: process.env.NEXT_PUBLIC_CLOUDINARY_CLOUD_NAME,
  api_key: process.env.CLOUDINARY_API_KEY,
  api_secret: process.env.CLOUDINARY_API_SECRET,
  secure: true,
});

export default async function handler(req, res) {
  const { publicId } = req.query || {};

  const results = await cloudinary.api.resource(publicId);

  res.status(200).json(results);
}
Code language: JavaScript (javascript)
Here, we’ll:
- Import and configure Cloudinary.
- Create a new function where, this time, we’ll grab a different data value from the query parameters.
- Pass that to the Cloudinary resource method.
- Return the response.
Similar to our Upload endpoint, this will make a GET request available at /api/resource?publicId=<Public ID>.
Note: There isn’t really a distinct difference between POST and GET requests when creating the functions beyond how you accept the data where with POST we were using the body and GET we’re using query parameters.
Now that our endpoints are both set up, we’ll be ready to get to work managing these assets in our app!
In the app that we set up, we can use a form with a file-picker that will store our image in our local app’s state.
If you’re following along, inside of our Starter in pages/index.js, we can see it in this piece of code:
const [imageSrc, setImageSrc] = useState();

function handleOnChange(changeEvent) {
  const reader = new FileReader();

  reader.onload = function(onLoadEvent) {
    setImageSrc(onLoadEvent.target.result);
    setUploadData(undefined);
  }

  reader.readAsDataURL(changeEvent.target.files[0]);
}
Code language: JavaScript (javascript)
We can see the value of the file-picker and store the data.
With our Upload endpoint, we can now pass this right along using a POST request, which will tell Cloudinary that we want to upload that image and get a URL and its details in response.
To do this, we have a Submit button hooked up to the handleOnSubmit function where we’ll perform our upload.
Update the handleOnSubmit function to:
async function handleOnSubmit(event) {
  event.preventDefault();

  const results = await fetch('/api/upload', {
    method: 'POST',
    body: JSON.stringify({
      image: imageSrc
    })
  }).then(r => r.json());

  setUploadData(results);
}
Code language: JavaScript (javascript)
Here, we’ll:
- Set up an async function.
- Prevent default to avoid the default browser actions for submitting a form.
- Pass along our image source to our API endpoint.
- Take the results and store it in a local state.

Now, in our app, let’s replace the locally selected image with our newly uploaded image.
In our form, we’ll see where we’re adding the image using imageSrc. Let’s replace that with the following:
{ imageSrc && !uploadData && (
  <img src={imageSrc} />
)}

{ uploadData && (
  <img src={uploadData.secure_url} />
)}
Code language: HTML, XML (xml)
If we have an image source but no upload data, show the locally stored image. Otherwise, show the image we uploaded.
At this point, you shouldn’t even notice a difference, as the uploaded image should the same as the local image.
But now we can kick off a separate request to remove our background.
In our last step, we uploaded our local image to Cloudinary, but now, we want to do the same thing and remove the background image.
The tricky thing is this is an asynchronous process, where uploading the image kicks off the request, but then we need to keep checking until it’s done in order to use it.
To start, we’ll utilize our existing upload, pass that URL to Cloudinary by telling it that we want to upload the same image, but remove the background.
For this to work, you need to have the Cloudinary AI Background Removal add-on installed on your Cloudinary account.

Note: High usage costs money, but the free tier allows you to play around with it!
But once we’re ready to go, we’ll use React’s useEffect hook and say that whenever we have uploaded data available, we’ll kick off a second request to upload.
This will involve a few steps.
First, let’s import useEffect from React:
import { useEffect, useState } from 'react';
Code language: JavaScript (javascript)
Then, we’ll want to store this transparent image upload separately, so let’s set up a new instance of state:
const [transparentData, setTransparentData] = useState();
Code language: JavaScript (javascript)
In our page, we’ll want to show our upload data and uploaded image, so under the uploadData add:
{ uploadData && !transparentData && (
  <code><pre>Loading...</pre></code>
)}

{transparentData && (
  <code><pre>{JSON.stringify(transparentData, null, 2)}</pre></code>
)}
Code language: HTML, XML (xml)
We’ll also add a check to see if our upload data is available, but not the transparent data, so that we have some kind of basic loading indicator.
And finally, we’ll want to perform the upload itself, so add the following under our transparentData state instance:
useEffect(() => {
  if ( !uploadData ) return;
  (async function run() {
    const results = await fetch('/api/upload', {
      method: 'POST',
      body: JSON.stringify({
        image: uploadData.secure_url,
        options: {
          background_removal: 'cloudinary_ai'
        }
      })
    }).then(r => r.json());

    const transparentResult = await checkStatus();

    setTransparentData(transparentResult);

    async function checkStatus() {
      const resource = await fetch(`/api/resource/?publicId=${results.public_id}`).then(r => r.json());
      if (resource.info.background_removal.cloudinary_ai.status === 'pending') {
        await new Promise((resolve) => setTimeout(resolve, 100));
        return await checkStatus();
      }
      return resource;
    }
  })();
},[uploadData, setTransparentData]);
Code language: JavaScript (javascript)
This is a big one, so let’s break it down:
- We’ll use useEffect and say that any time
uploadDataor oursetTransparentDatafunction changes, we want to fire it. - First, make sure we have uploaded data before trying to use it.
- Then, we’ll wrap everything in a self-invoking async function to allow us to use async/await syntax (personal preference).
- In our async function, we’ll fire our upload using the URL from our uploaded data.
- Additionally, we’ll pass in an option that tells Cloudinary we want to use the
cloudinary_aibackground removal tool - Once that’s completed, we have our base image uploaded, but our background isn’t removed, so we’ll need to keep checking until it’s complete, so…
- We’ll create a
checkStatusfunction that recursively checks the resource status using our Resource endpoint. - Once that endpoint returns the response that the removal was complete, it returns the resource.
- At which point, we’ll store that transparent data locally.
So after all of the above, we can now try to upload an image again, and if we patiently wait a few seconds after our first successful upload, we should see our uploaded data below our transparent data!
We can even show that image instead of our original by replacing the image at the top:
{ uploadData && (
  <img src={transparentData?.secure_url || uploadData.secure_url} />
)}
Code language: HTML, XML (xml)
And we should now see it on the page!

At this point, we have our images uploaded to Cloudinary. However, we’re currently just using the URLs “as is.”
We want to be able to transform our image so that we can add some fun backgrounds.
To do this, we’ll use the Cloudinary URL Gen SDK, which will allow us to create our transformations in our React app, where the Node SDK is only available in Node (like our serverless function).
First, let’s install the URL Gen SDK with:
yarn add @cloudinary/url-gen
# or
npm install @cloudinary/url-gen
Code language: CSS (css)
Then, we can configure our SDK similarly to how we configured our Node SDK. However, this time, we just need to use the Cloud Name.
Note: This is why we prefixed our Cloud Name with
NEXT_PUBLICearlier!
At the top of pages/index.js import the SDK:
import { Cloudinary } from '@cloudinary/url-gen';
Code language: JavaScript (javascript)
Then, we can configure it with:
const cloudinary = new Cloudinary({
  cloud: {
    cloudName: process.env.NEXT_PUBLIC_CLOUDINARY_CLOUD_NAME,
  },
  url: {
    secure: true,
  },
});
Code language: JavaScript (javascript)
We can even set up our existing images to use the SDK to prepare ourselves to change the background.
First, let’s create our images:
const mainImage = uploadData && cloudinary.image(uploadData.public_id).toURL();
const transparentImage = transparentData && cloudinary.image(transparentData.public_id).toURL()
Code language: JavaScript (javascript)
Then, we can use them in the code:
{ mainImage && (
  <img src={transparentImage || mainImage} />
)}
Code language: HTML, XML (xml)
At this point, our pages and images should look exactly the same when loading and uploading, except for the URLs that are now generated using the Cloudinary URL Gen SDK!
To change our background, we’ll use a feature called underlays, meaning, we’ll create a new layer underneath our base layer.
This is opposite of overlays, where we would place it on top, but this allows us to easily set up an image behind our base image.
To do this, we’ll use images uploaded to our Cloudinary account, and specifically, we’ll reference these images by Public ID.
Before we dive in, find some images that you think will be fun backgrounds, and upload them to your Cloudinary account.
Note: If you want to follow along, you can download the images I’m using from GitHub: https://github.com/colbyfayock/my-image-background/tree/main/public/images
We’ll want to collect all of the Public IDs of those images.

Next, we’ll create an array with them to use in our app.
For instance, mine using the IDs in the screenshot above would look like:
const BACKGROUNDS = [
  'the-office_xvxmat',
  'moon-earth_rvkn3k',
  'this-is-fine_zfmbra',
  'mario_bmvvqb'
];
Code language: JavaScript (javascript)
Then, we can use those backgrounds to create a thumbnail selection UI that will allow someone to select the background they want.
Above our image, let’s add some controls:
{transparentImage && (
  <>
    <h3>Backgrounds</h3>
    <ul style={{
      display: 'flex',
      justifyContent: 'center',
      listStyle: 'none',
      margin: 0,
      padding: 0,
    }}>
      {BACKGROUNDS.map(backgroundId => {
        return (
          <li key={backgroundId} style={{ margin: '0 .5em' }}>
            <button
              style={{
                padding: 0,
                cursor: 'pointer',
                border: background === backgroundId ? 'solid 3px blueviolet' : 0
              }}
              onClick={() => setBackground(backgroundId)}
            >
              <img
                style={{ display: 'block' }}
                width={100}
                src={cloudinary.image(backgroundId).resize('w_200').toURL()}
                alt="backgroundId"
              />
            </button>
          </li>
        )
      })}
    </ul>
  </>
)}
Code language: HTML, XML (xml)
Note: I’m just using some inline styles here to make it a little bit more usable.
Here, we’ll:
- Add a new section if we have a transparent image.
- Use an unordered list to list out each available background image.
- Set up the image URL with resizing using Cloudinary to deliver only the size we need for the thumbnail.
- Use an
onClickhandler to set the background ID whenever an image is selected.
Now, because we’re storing the active background ID in state, we’ll need to create that new instance of state.
At the top of the file, add:
const [background, setBackground] = useState();
Code language: JavaScript (javascript)
Now that we have our background image, we can use it in our main image as a transformation.
Let’s create a new image variable:
let transformedImage;

if ( transparentData && background ) {
  transformedImage = cloudinary.image(transparentData.public_id);

  transformedImage.addTransformation(`u_${background},c_fill,w_1.0,h_1.0,fl_relative`);

  transformedImage = transformedImage.toURL();
}
Code language: JavaScript (javascript)
Here, we’ll:
- Create a variable using let because we only want to define this under conditions, which are complicated, so we’ll avoid doing it in a single line.
- We have transparent data and a background selected.
- Create a new image instance using our transparent image.
- Add a transformation of an underlay (
u) where we use a crop of fill with a relative width and height set to1.0to allow us to make sure it just fills the background and doesn’t resize the image - Finally, turn it into a URL.
To use this new image, we can simply tack it on to our existing image:
{ mainImage && (
  <img src={transformedImage || transparentImage || mainImage} />
)}
Code language: HTML, XML (xml)
Once we upload an image and select a background, we’ll see our new image!

In my demo at the top, you’ll notice it’s slightly different. Here are a few bonus additions to the project, not necessarily relevant to the tutorial, that will help clean things up a bit.
