
Managing media and content across various platforms and tools can be a complex task. Creators often find themselves juggling multiple interfaces, formats, and workflows. This fragmentation can lead to inefficiencies, inconsistencies, and wasted time.
In this blog post, we’ll explore how to create an image gallery that leverages the integration of two tools: Contentful for our content management and Cloudinary to host our images. Both tools have their own set of features, but integrating them can provide a unified and efficient workflow for creators.
- A Contentful account
- A Cloudinary account
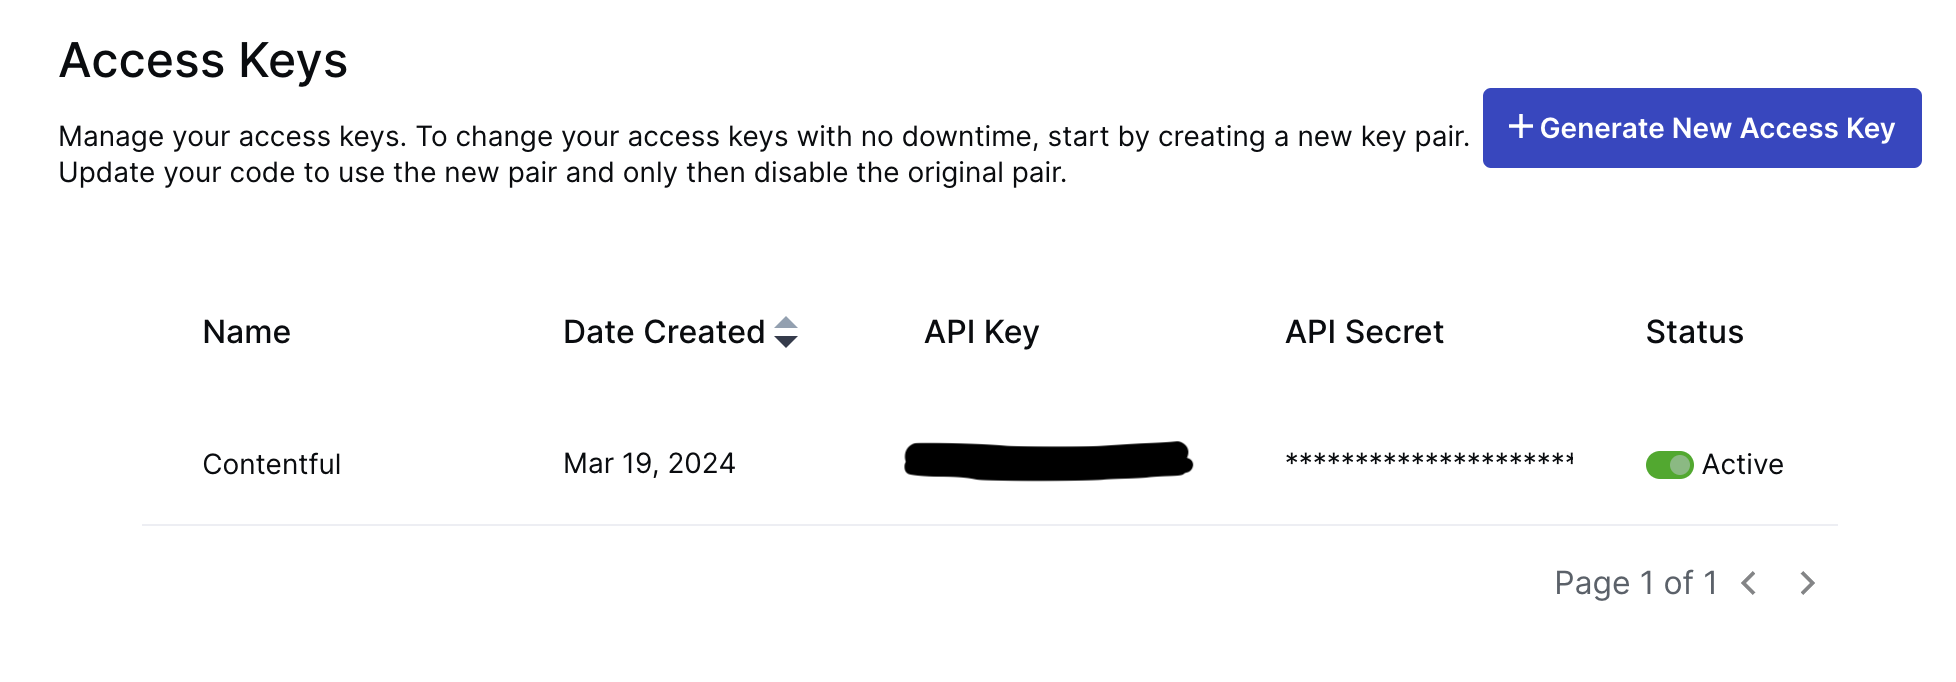
To integrate Cloudinary into our Contentful workflow, we’ll start by signing in to our Cloudinary account. Then we’ll go to Settings, Access Keys, and click Generate New Access Key. After the key is generated, we can rename it so we can recognize it later.
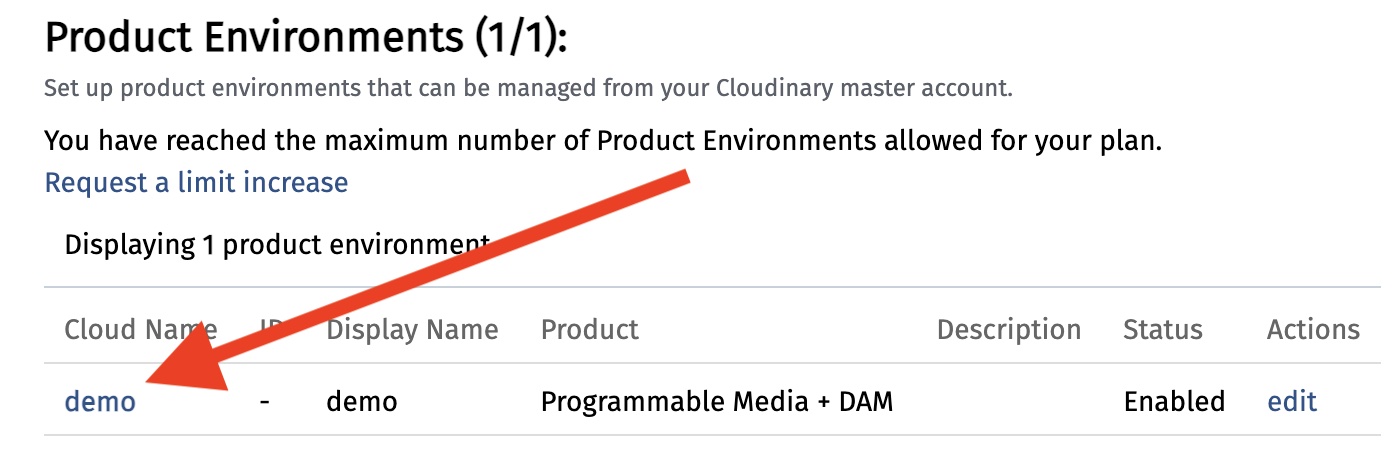
We we’ll need the cloud name while configuring the integration. If you’re unsure what your cloud name is, you can find it under Accounts in Settings.
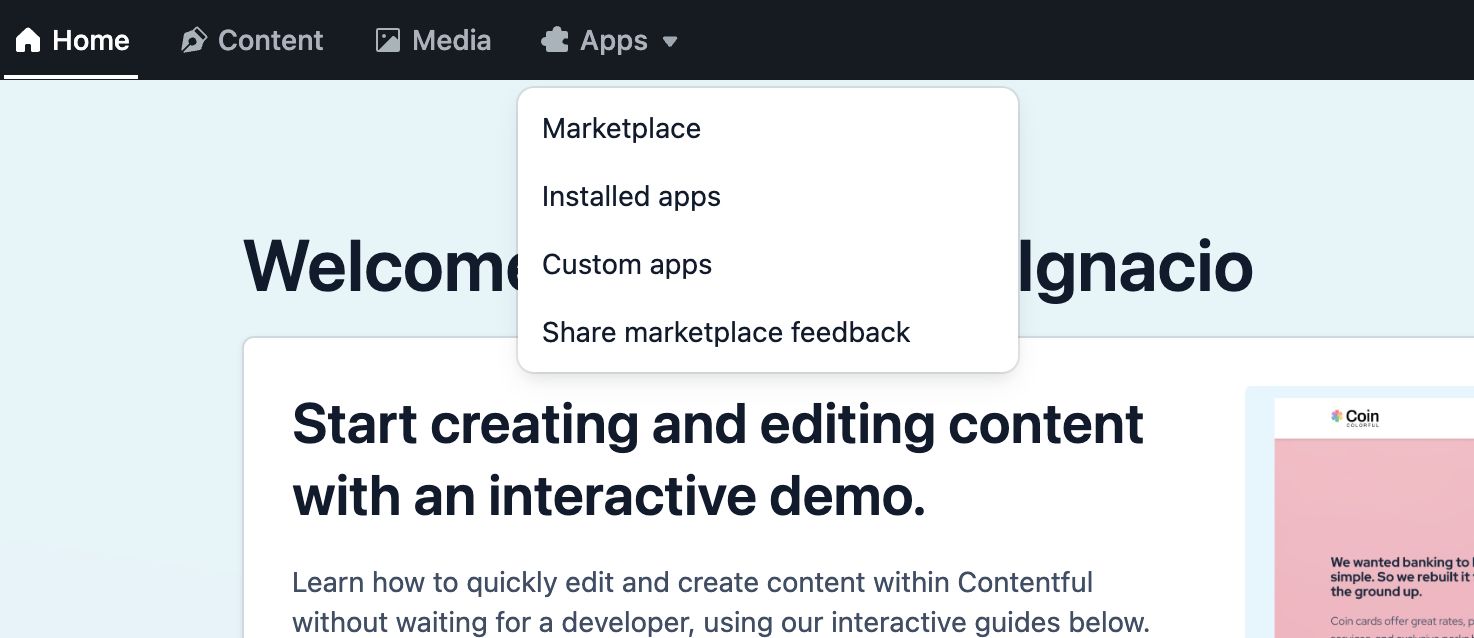
After generating your Cloudinary API key, go to your Contentful dashboard while keeping the Cloudinary app open as we’ll need the keys. Look for Marketplace under the Apps menu. Once there, search for Cloudinary and select it.
When configuring the app, we’ll need the Cloud Name, the API key, and the API secret from Cloudinary.
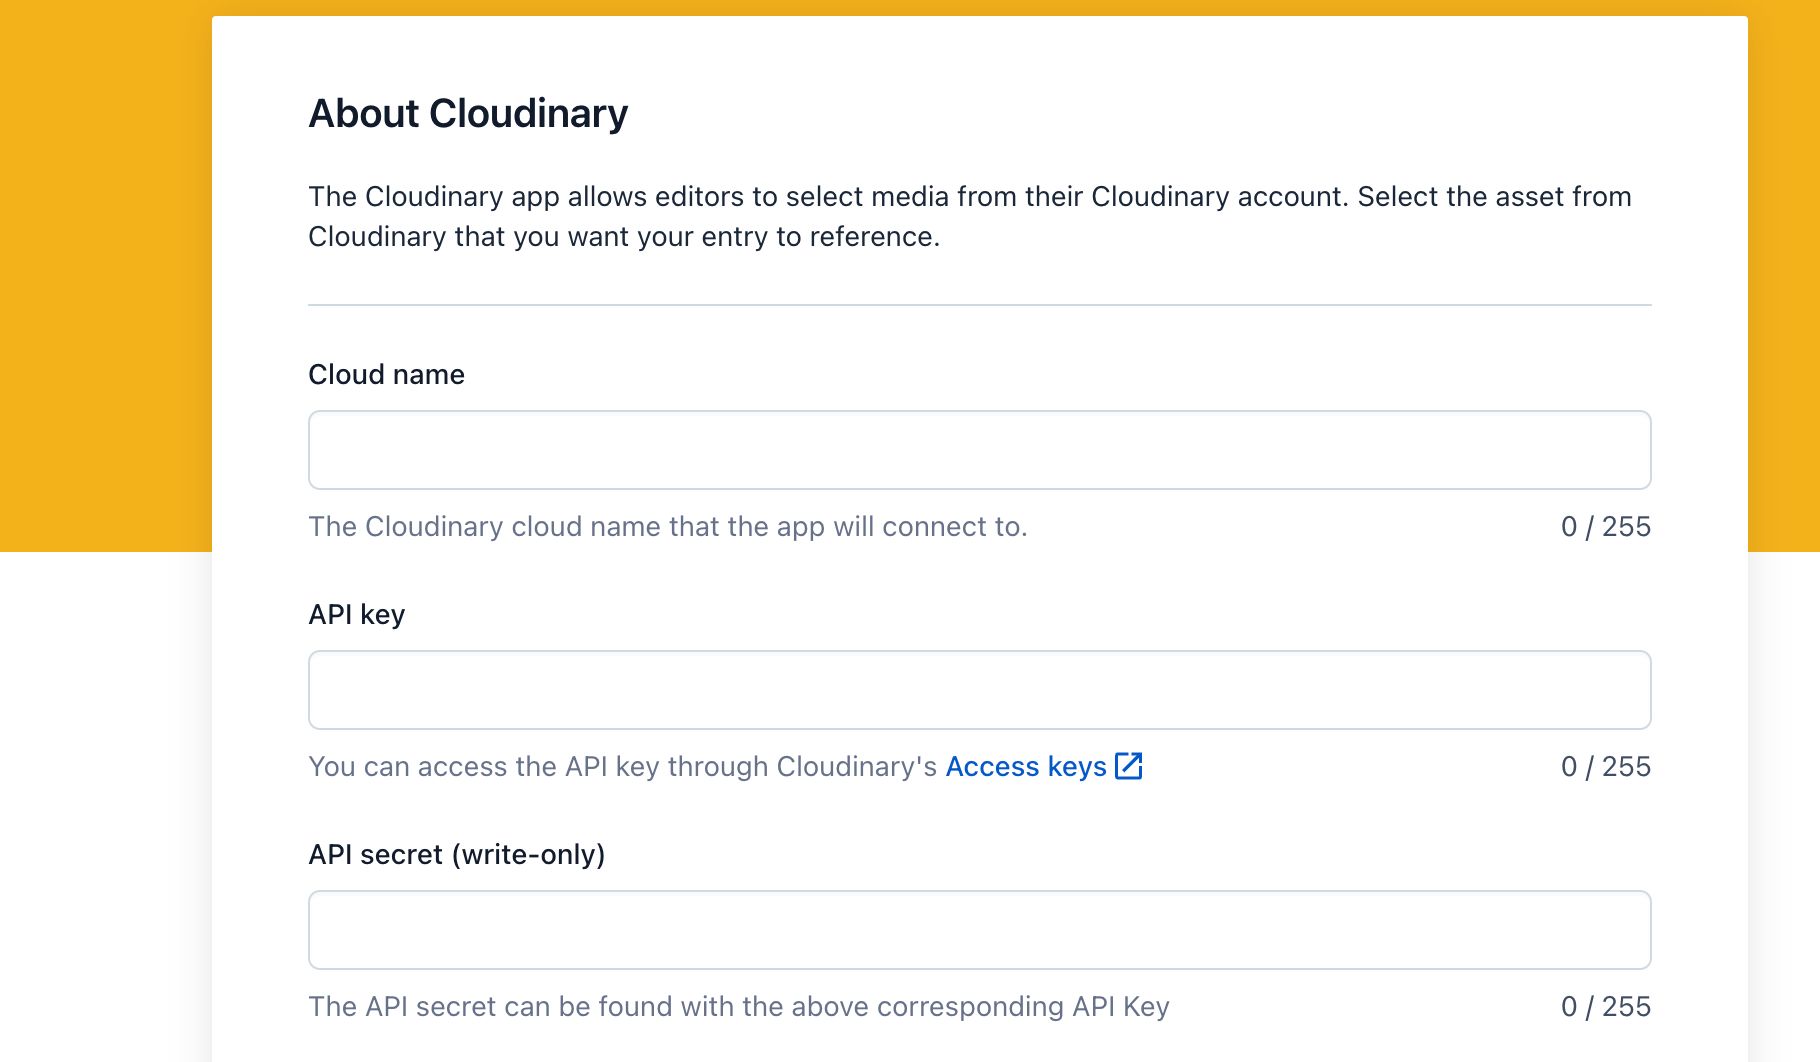
Other settings include the maximum number of images per field, quality, and format, but we’ll keep the defaults.
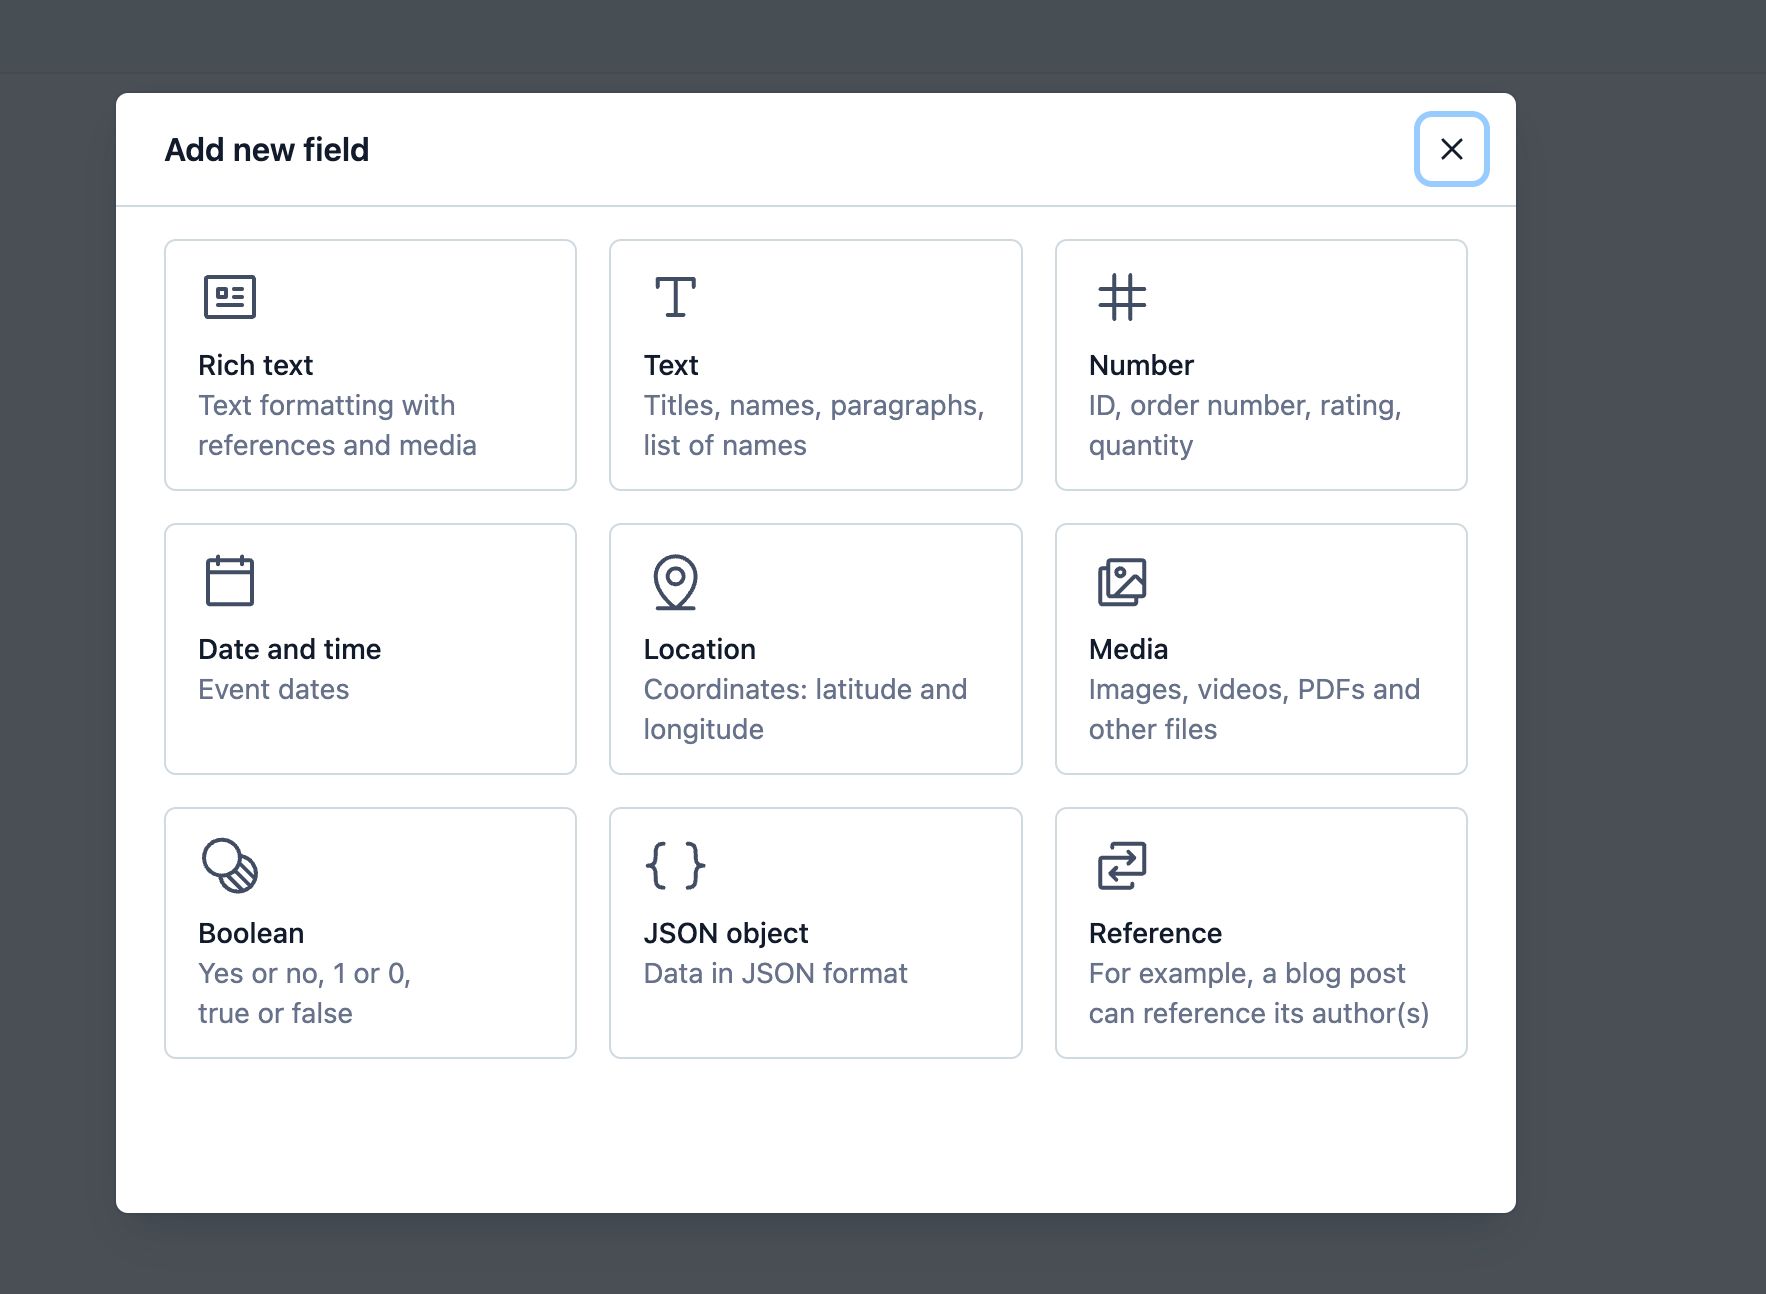
Now that our app is set up, let’s create a new Content model and add a Cloudinary media field.
For this demo, I’ll display a list of animals in an image gallery. Our model will be called Animal, and it will contain different properties like the name, credits for the author of the image, and an image hosted in Cloudinary.
Important note: While creating our model’s fields, they must be the type JSON Object, not Media.
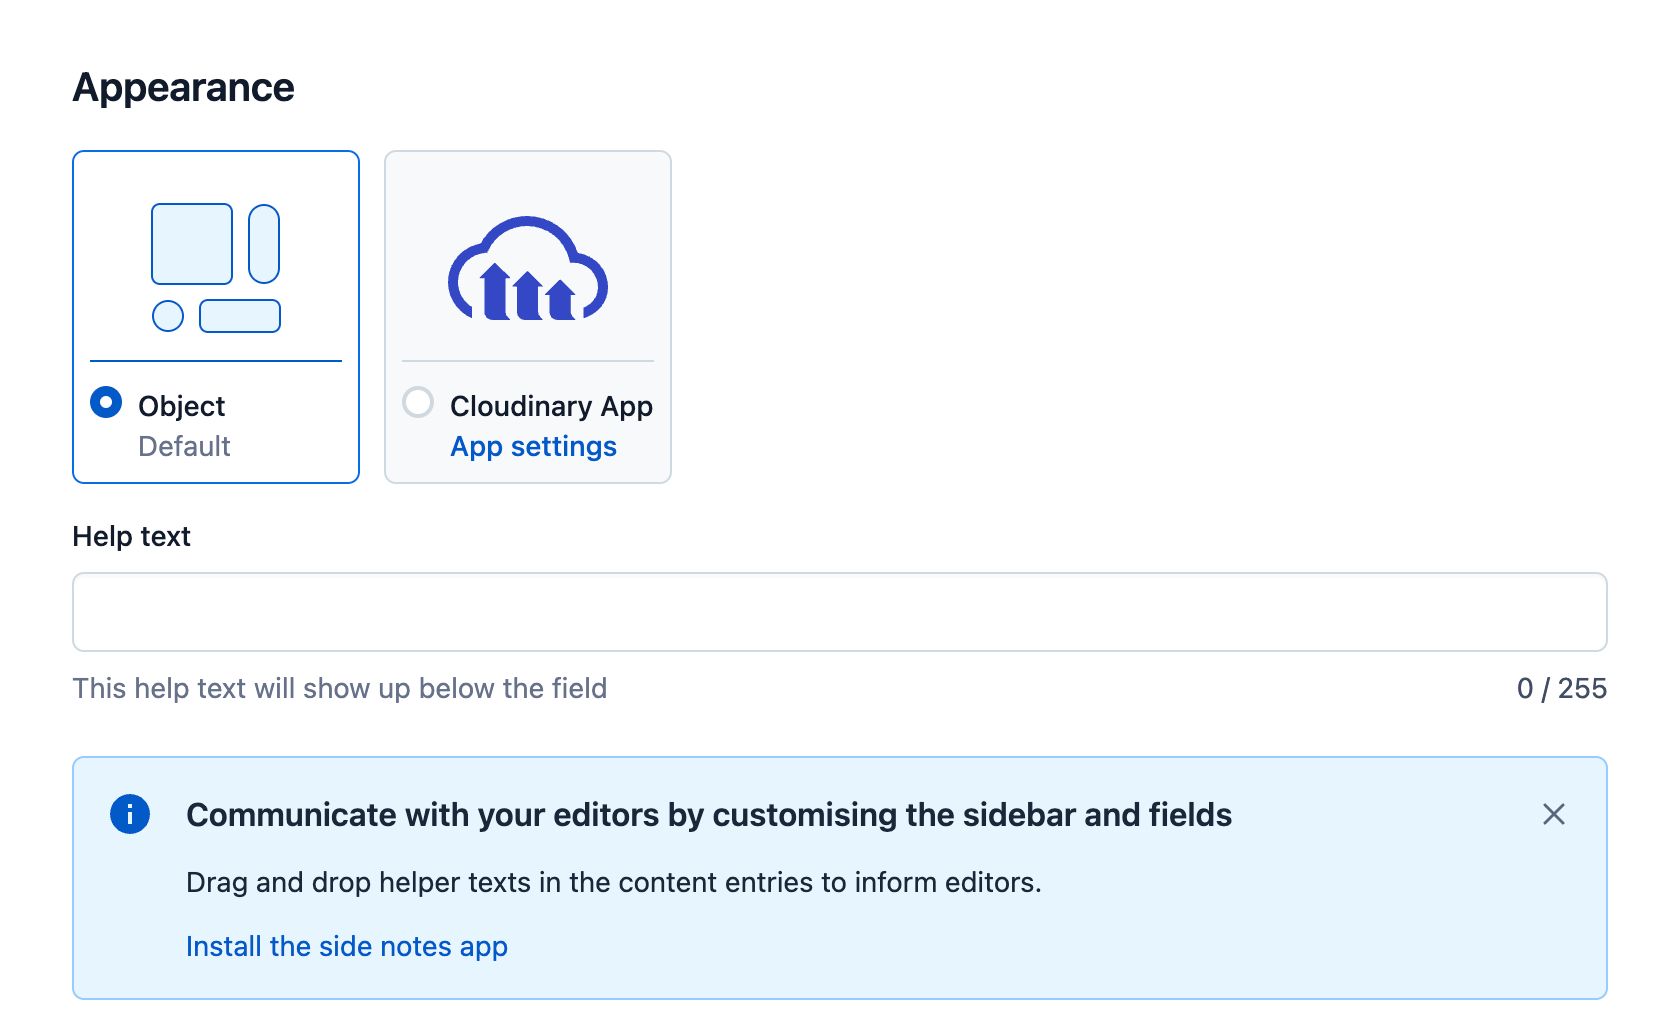
Once you start creating the field, under Appearance, you can pick Cloudinary App. Select it and then Confirm.
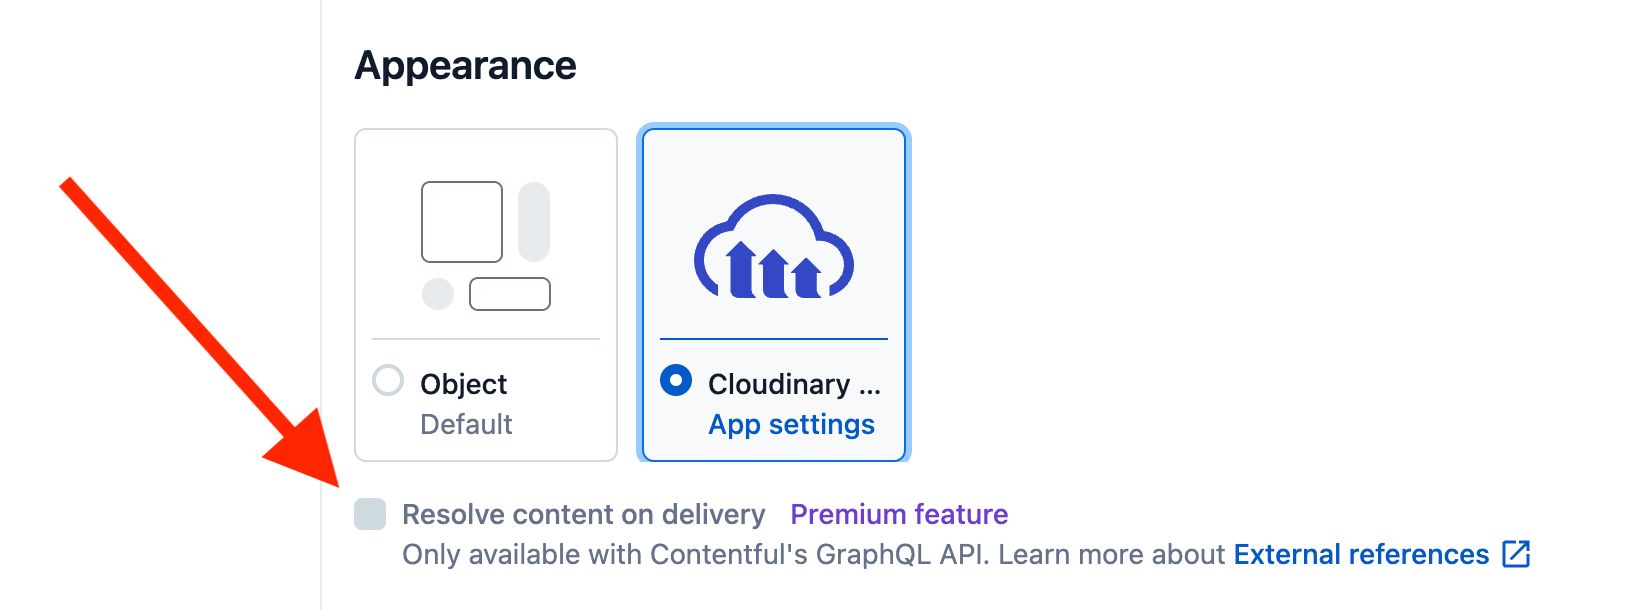
One important detail to remember is that data isn’t synced with Cloudinary if updated. If you need them synced, a feature called external references must be enabled. We can do it by checking the Resolve content on delivery checkbox.
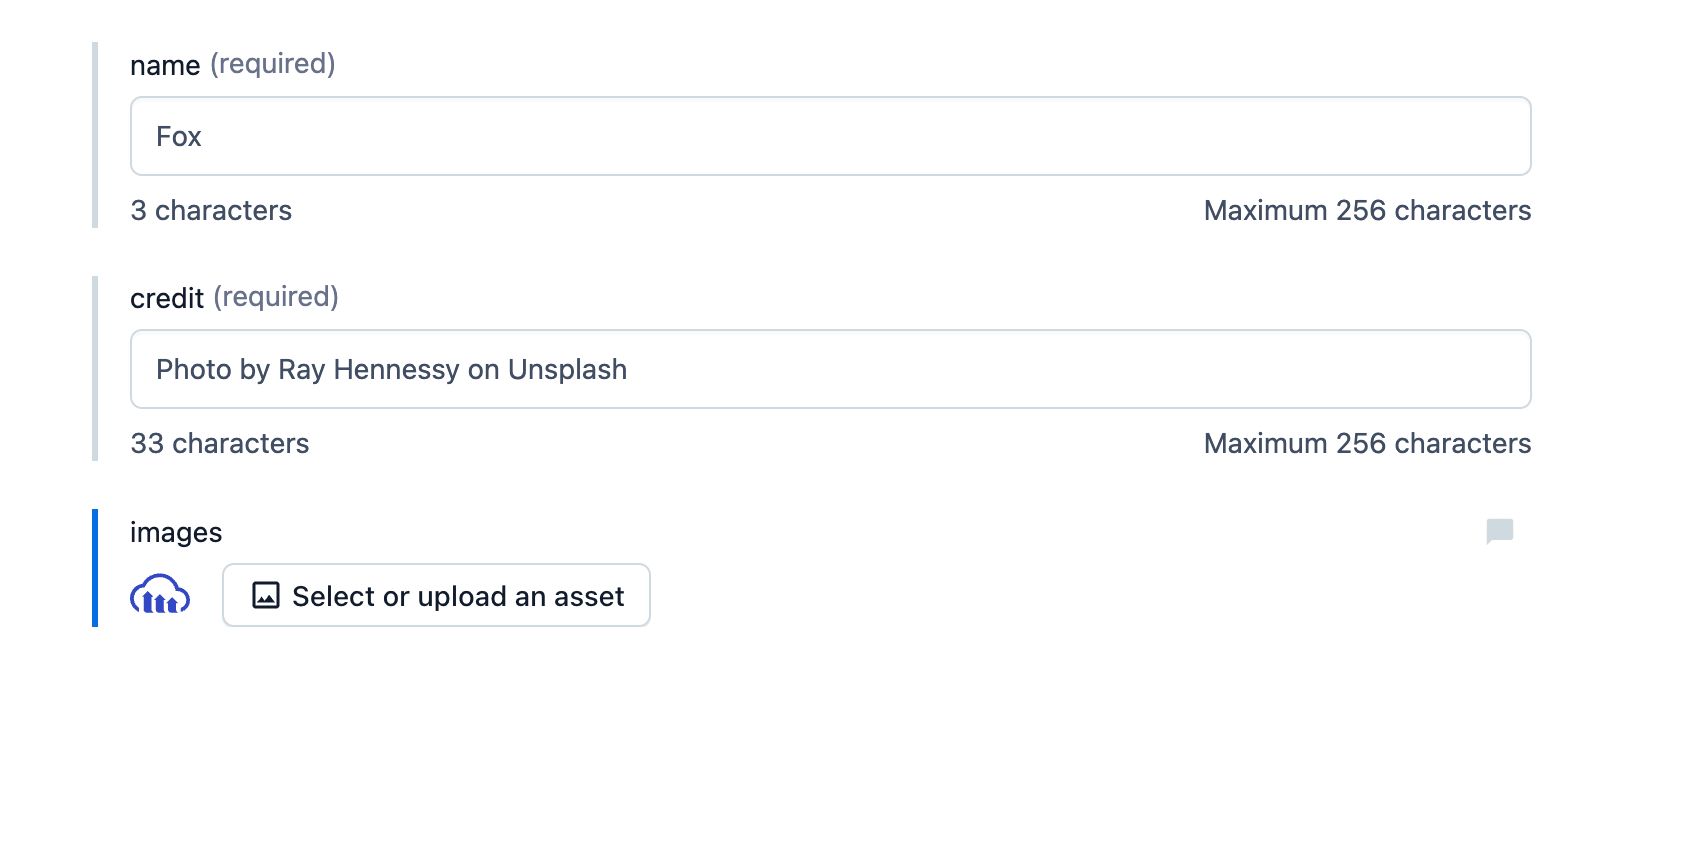
Now that our model is complete, we need to add some data. I picked some images from Unsplash to add to our list of animals. Let’s create a new entry.
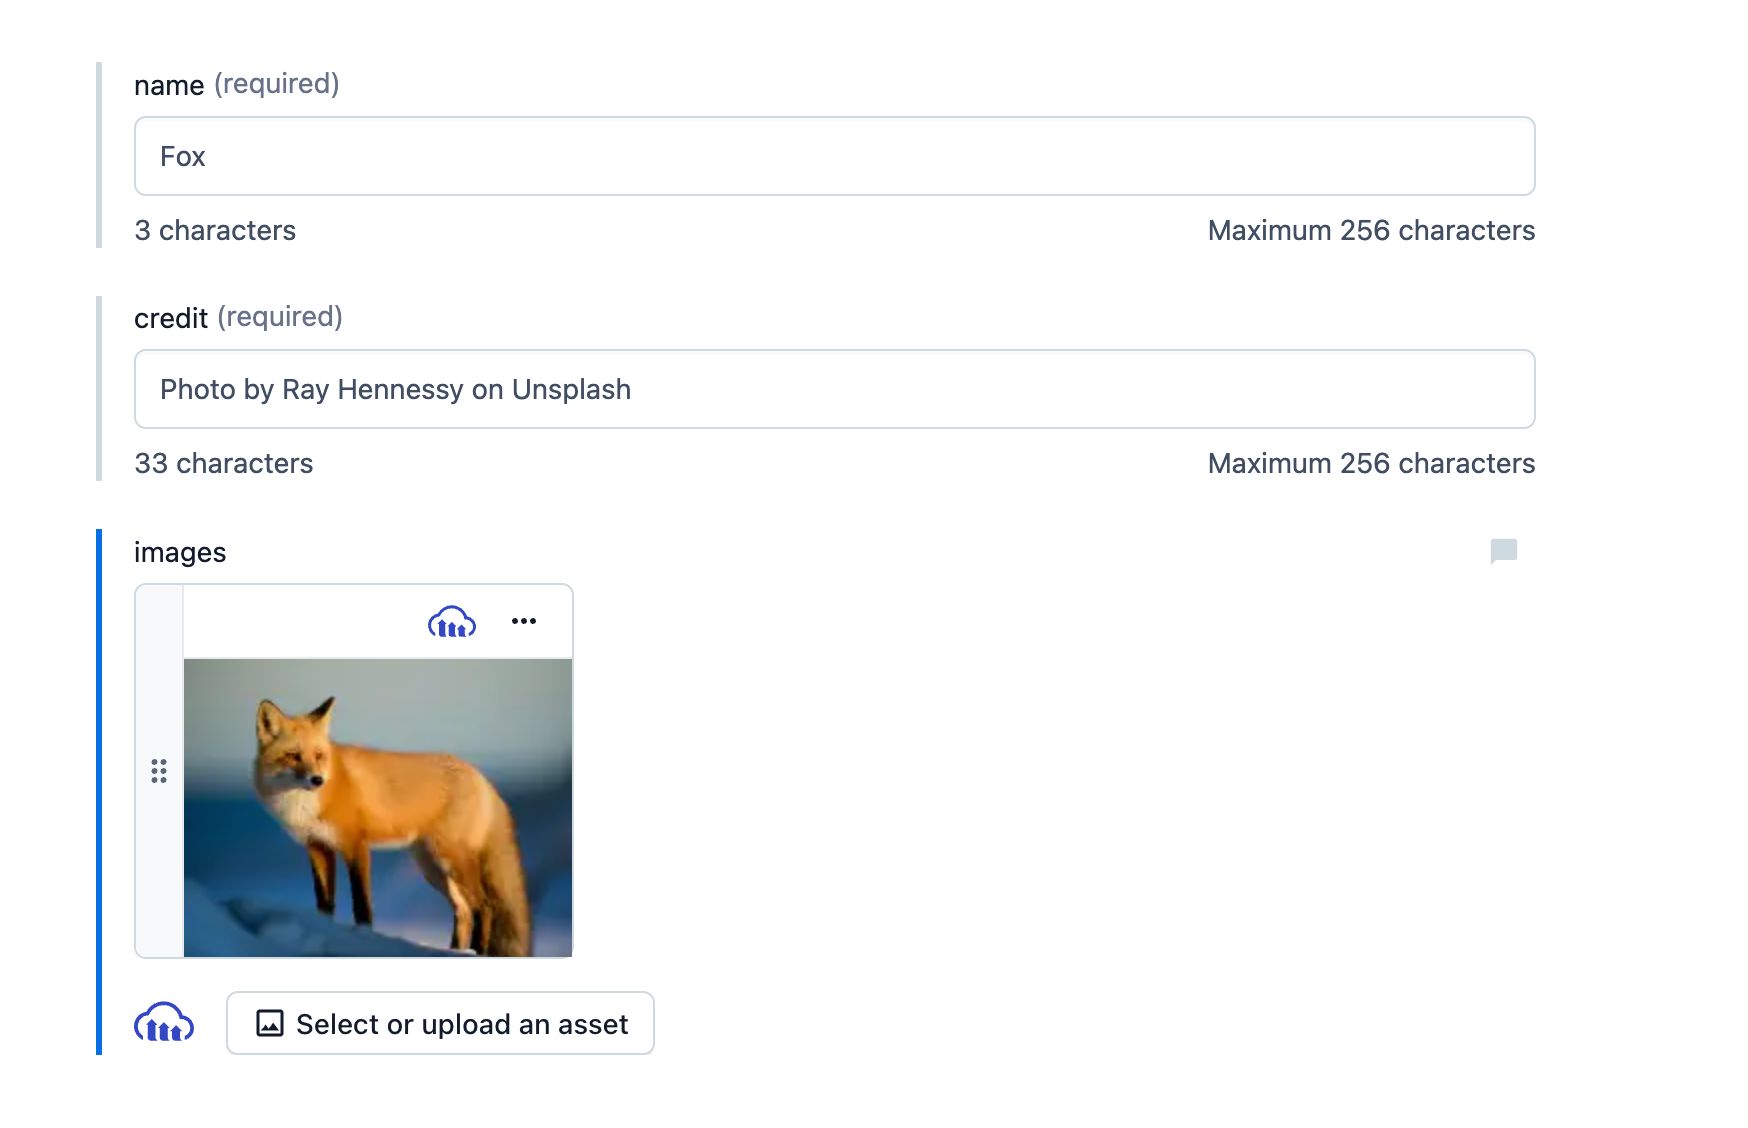
We’ll add the required information, then click the button to add a new image to Cloudinary.
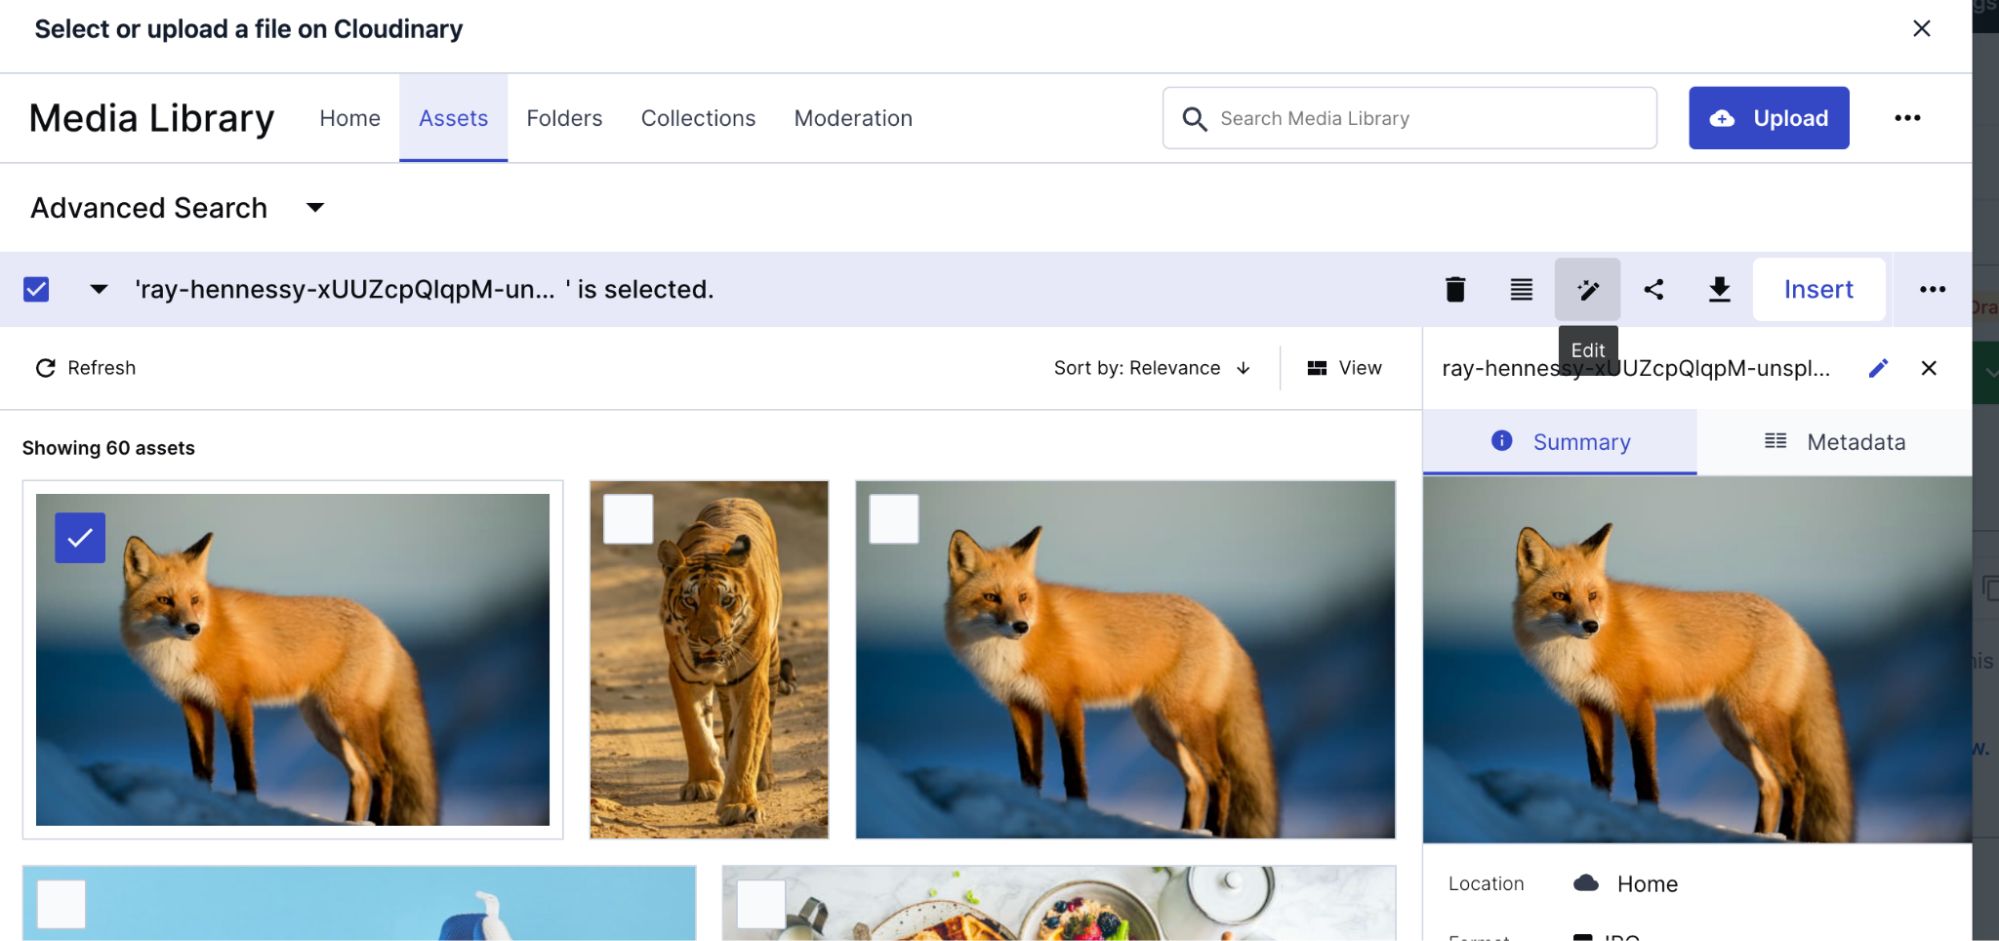
A new modal will pop up. Upload your images as you’d normally do on Cloudinary. Click the refresh button if you don’t see them after uploading. Select the images you want to add to your entry and click Insert.
You should now see your entry with the attached images. Publish it to make it available.
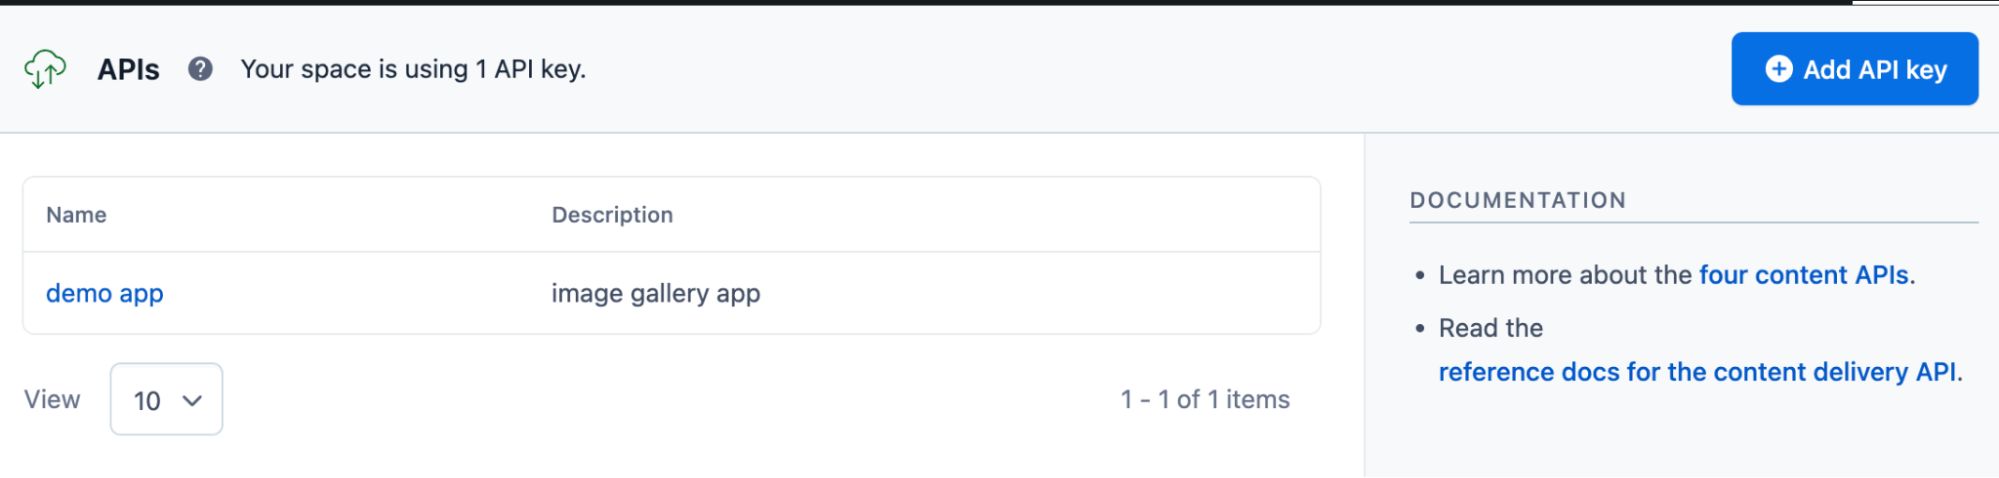
Now that the Cloudinary app is connected, our model is created, and we have some data, we need to create an API key to make requests from our application.
To do that, go to Settings, select API keys, and click Add API Keys. Give it a name and description. You should now have a new API key.
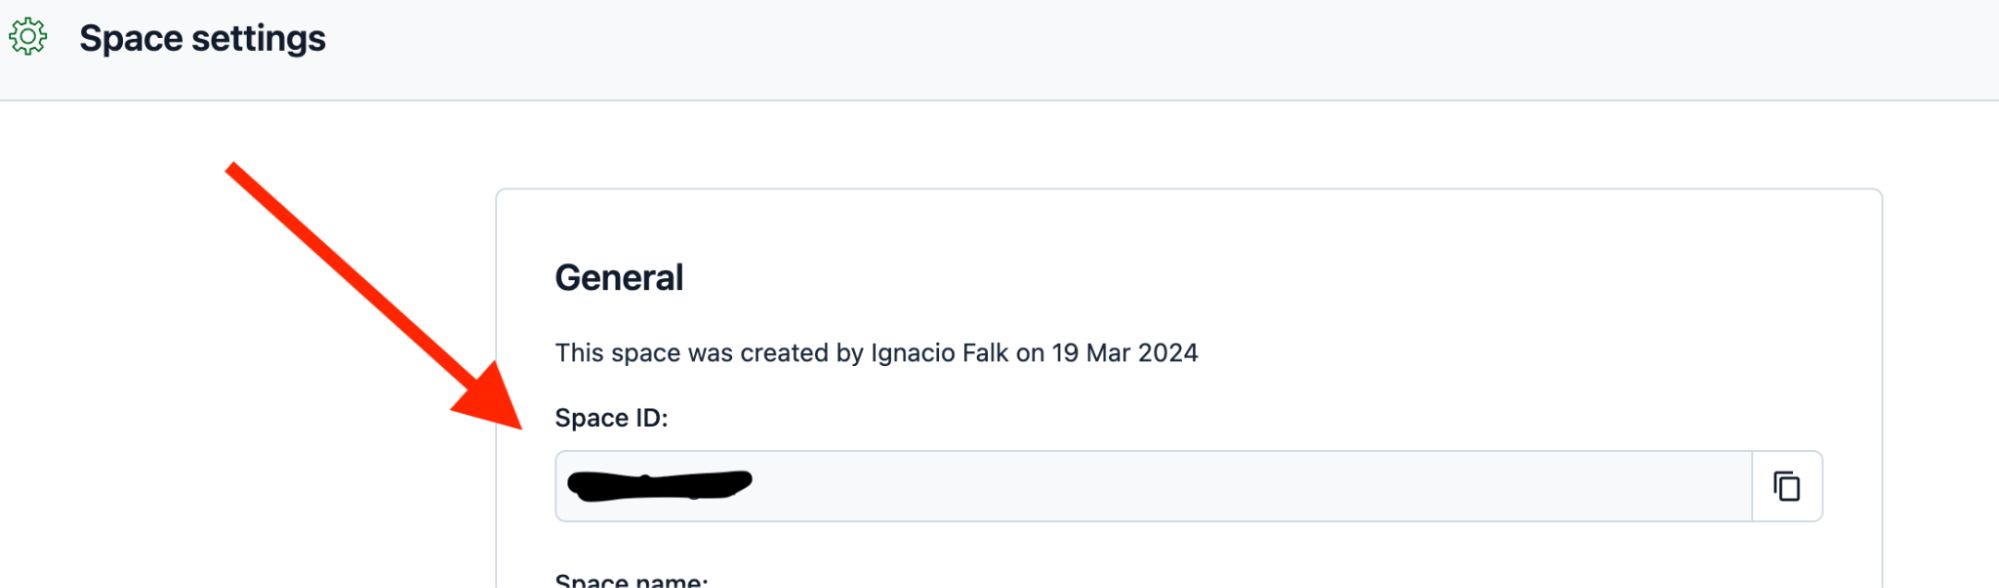
Finally, we’ll need the Space ID that you can find in your General Settings.
For this demo, I’ll use SvelteKit, but similar rules apply to other frameworks.
Let’s start by creating a new project:
pnpm create svelte@latest svelte-image-gallery
Code language: CSS (css)
When prompted, choose the skeleton project. I’ll use Typescript.
Navigate to the newly generated project and install the required dependencies.
cd svelte-image-gallery
pnpm i
Let’s set our environment variables to be able to fetch data from Contentful.
Create a new .env in the root of your project and add your Space ID and your Access Token from Contentful.
CONTENTFUL_SPACE_ID = <YOUR_SPACE_ID>
CONTENTFUL_ACCESS_TOKEN = <YOUR_ACCESS_TOKEN>
With this information, we should be ready to make requests to the contentful GraphQL API.
Let’s create a helper function to make these requests. Create a new file in /stc/lib/contentful.server.ts
import { CONTENTFUL_SPACE_ID, CONTENTFUL_ACCESS_TOKEN } from '$env/static/private'

export function getFromContentful(query: string) {
    return fetch(`https://graphql.contentful.com/content/v1/spaces/${CONTENTFUL_SPACE_ID}`, {
        method: 'POST',
        headers: {
            'Content-Type': 'application/json',
            Authorization: `Bearer ${CONTENTFUL_ACCESS_TOKEN}`,
        },
        body: JSON.stringify({ query }),
    })
}

Code language: JavaScript (javascript)
We’re using the environment variables previously set up and wrapping fetch to make a request to the desired endpoint.
We’ll have a single page in our application to keep things simple.
We need to fetch data from Contentful. Let’s create a new file that will load data for our page (/src/routes/+page.server.ts)
import { error } from '@sveltejs/kit'
import { getFromContentful } from '$lib/contentful.server'

const query = `
{
	animalCollection {
items {
name
Images
credit
}
}
}
`

type Animal = {
  name: string,
  credit: string,
  images: { public_id: string }[]
}

export async function load() {
  const response = await getFromContentful(query)

  if (!response.ok) {
    error(404, {
      message: response.statusText,
    });
  }

  const { data } = await response.json()
  const { items } = data.animalCollection

  return {
    animals: items as Animal[]
  }
}

Code language: JavaScript (javascript)
In this file, we’ll set up our query and use the helper function to make the request. I created a type with the expected response as well. We’ll also handle errors in case it fails to fetch the data.
Now, we need to display the data on our page. We’ll show the returned JSON from the request.
Let’s modify our page (src/routes/+page.svelte)
<script lang="ts">
	export let data;
</script>

<div class="grid">
	{JSON.stringify(data, null, 2)}
</div>

Code language: HTML, XML (xml)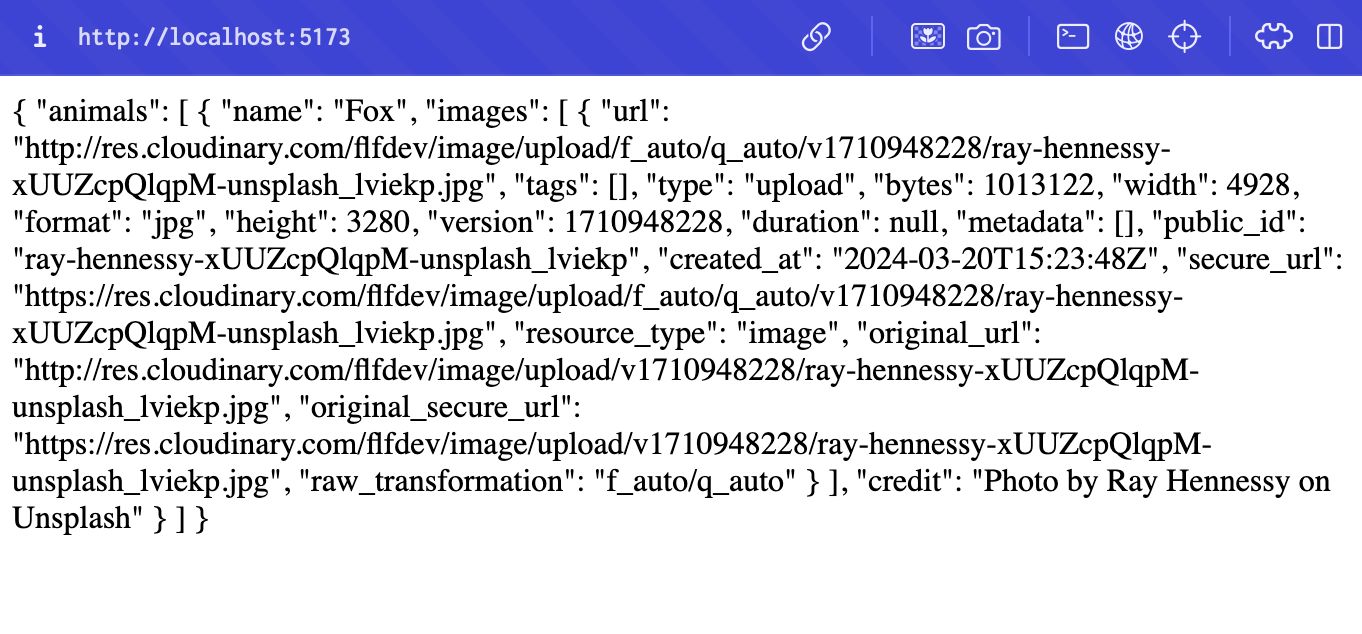
We successfully fetched data from Contentful. Now we just need to display the images. The best way to take advantage of Cloudinary features in Svelte is to use the svelte-cloudinary package, a community-built library that will automatically optimize images and videos, among other things.
pnpm i svelte-cloudinary
Once the component is installed, we can update our page to iterate over the different animals and images and display them on a grid.
<script lang="ts">
import { CldImage } from 'svelte-cloudinary';
export let data;
</script>
<div class="grid">
{#each data.animals as animal}
{#each animal.images as image}
<div class="img-container">
<CldImage src={image.public_id} width={600} height={400} alt="" />
<div class="credits">
<span>{animal.credit}</span>
</div>
</div>
{/each}
{/each}
</div>
<style>
.grid {
display: grid;
gap: 16px;
align-items: start;
margin: 100px;
}
@media (min-width: 768px) {
.grid {
grid-template-columns: repeat(2, minmax(0, 1fr));
}
}
@media (min-width: 1024px) {
.grid {
grid-template-columns: repeat(3, minmax(0, 1fr));
}
}
:global(.img-container > img) {
border-radius: 0.5rem;
}
.credits {
padding: 8px;
}
</style>
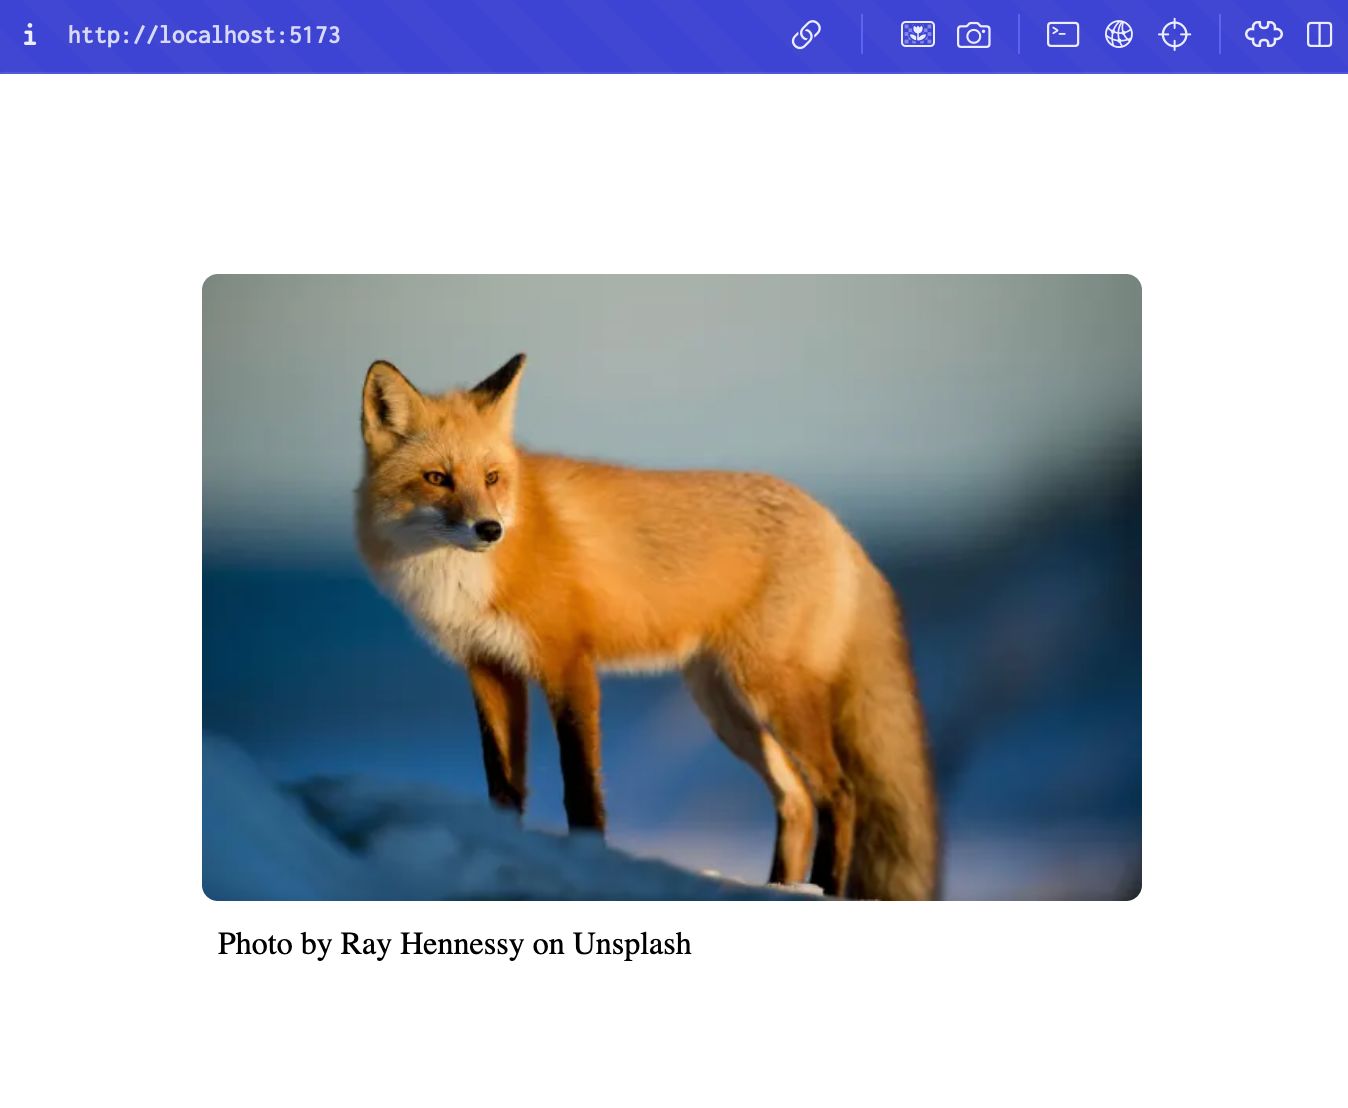
Code language: HTML, XML (xml)Here we’ll use the CldImage component that requires the public_id from the image. Internally, it will take care of providing the best possible image, depending on the screen size and our settings.
Our page is finally displaying images.
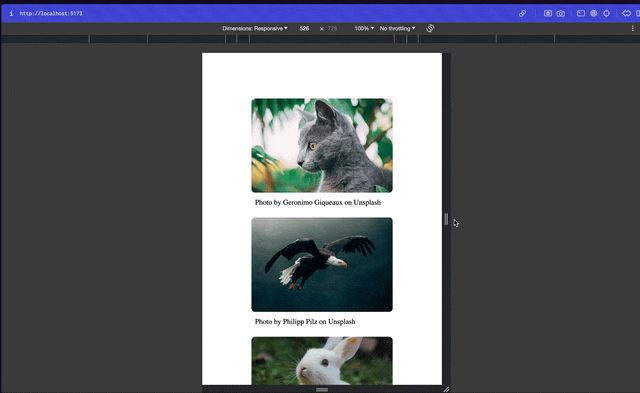
Our gallery is only complete with more data. Here’s the final result after adding more entries.
In this blog post, we set up a successful integration of Contentful and Cloudinary, leveraging the best of both. We managed content creation through Contentful, and the media storage and provision through Cloudinary. We developed a demo application using Sveltekit, that fetches data from Contentful and uses a component from the svelte-cloudinary package to display images in a performant way.
If you found this blog post helpful and want to discuss it in more detail, head over to the Cloudinary Community forum and its associated Discord.


