Uploading files can be tedious; without proper feedback, users can wonder how long they have to wait until it’s complete. However, a well-designed progress bar can indicate how far along the upload process is, reducing frustration and enhancing the user experience.
In this tutorial, we’ll show you how to leverage a powerful JavaScript SDK and API to create a sleek, modern progress bar that will keep users informed and engaged during asset uploads. So, let’s dive in and learn how to create an elegant progress bar!
In this article:
What Is a Progress Bar?
A progress bar is a graphic component that informs users visually of the progress of a procedure, like an upload or download. Usually, it shows a graphic depicting progress or the proportion of work completed.
When Do You Need to Create a Progress Bar?
When a process requires a significant amount of time and the user wants updates on its status, a progress bar should be created. This is crucial for web apps because users demand responsive and quick interactions.
By clearly stating how long the process will take to finish, a progress bar can help users feel less impatient. It can also help users trust an application by showing them it is actively working and moving forward.
Pro Tip!Improve Core Web Vitals with Cloudinary
If you want to improve your Core Web Vitals metrics and make your website faster, we recommend you to deliver responsive images. Cloudinary allows you to dynamically resize your images on the fly as needed, with added features such as size optimization and format conversion.
How to Create a Progress Bar Automatically
Now that we know the importance of progress bars let’s look at how we can use Cloudinary to make progress bars for users creating user-generated content.
Prerequisites
To follow along with this tutorial, you should have basic knowledge of HTML, CSS, and JavaScript/jQuery. Additionally, you will need a Cloudinary account. If you don’t already have one, you can create a free account by visiting their website.
Next, you will need to create an upload preset to streamline the process of uploading files from the client. This essential step enables you to define a set of asset upload options centrally instead of specifying them in each upload call.
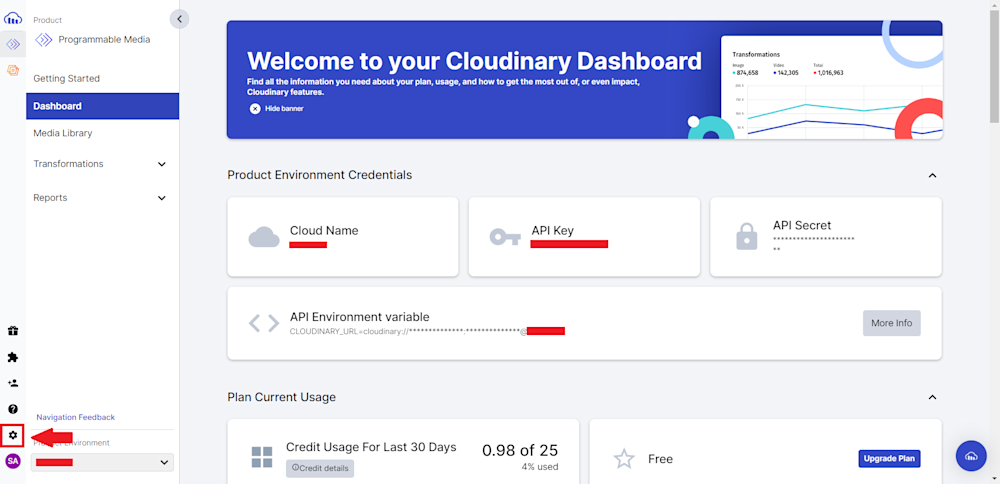
To create your preset, log in to your Cloudinary account and head to Settings.
Next, head to Upload in your Cloudinary settings and select Enable unsigned uploading:
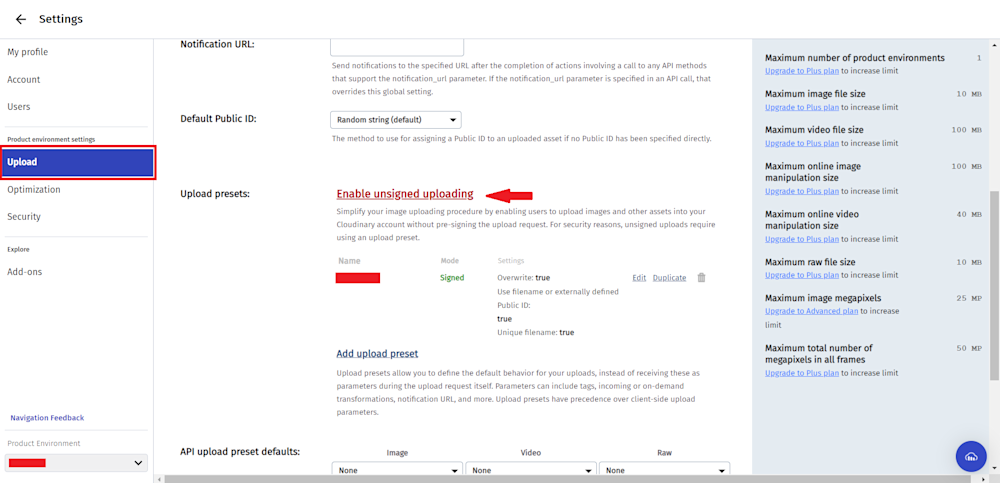
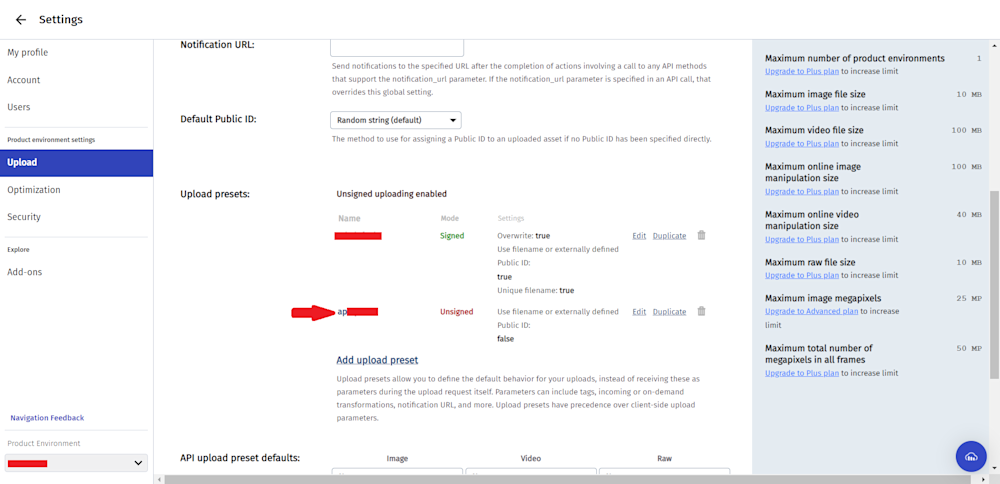
This will create an unsigned upload preset that we will be using to upload our images to our Cloudinary cloud:
Now that everything is set up, we can start creating our basic progress bar with HTML.
Creating a Basic Progress Bar with HTML
The first step to creating a basic progress bar is to create a new HTML file and set up the basic structure. We’ll need to include the HTML5 doctype declaration and opening and closing the html, head, and body tags.
<!DOCTYPE html>
<html>
  <head>
    <title>Cloudinary Upload Progress Bar with jQuery</title>
  </head>
  <body>
  </body>
</html>
Next, include the jQuery library and the necessary jQuery file upload libraries. You can do this by adding script tags with the URLs to each library in the head section of your HTML file so they load as the page loads.
<!DOCTYPE html>
<html>
  <head>
    <title>Cloudinary Upload Progress Bar with jQuery</title>
    <!-- jQuery -->
    <script src="https://code.jquery.com/jquery-3.6.0.min.js"></script>

    <!-- jQuery UI Widget -->
    <script src="https://cdnjs.cloudflare.com/ajax/libs/blueimp-file-upload/9.19.2/js/vendor/jquery.ui.widget.min.js"></script>

    <!-- jQuery Iframe Transport -->
    <script src="https://cdnjs.cloudflare.com/ajax/libs/blueimp-file-upload/9.19.2/js/jquery.iframe-transport.min.js"></script>

    <!-- jQuery File Upload -->
    <script src="https://cdnjs.cloudflare.com/ajax/libs/blueimp-file-upload/9.19.2/js/jquery.fileupload.min.js"></script>

    <!-- cloudinary-jquery-file-upload -->
    <script src="https://cdnjs.cloudflare.com/ajax/libs/cloudinary-jquery-file-upload/2.13.0/cloudinary-jquery-file-upload.min.js"></script>
  </head>
  <body>
  </body>
</html>
Next, in the body, we’ll need a form that allows users to select and upload an image to Cloudinary. To do this, add a form element with an input type of "file" and a data-cloudinary-field attribute set to "image_id". Also, add a progress bar element to display the upload progress:
  <body>
    <h1>Upload an Image to Cloudinary with jQuery</h1>
    <form id="uploadForm">
      <input type="file" name="file" data-cloudinary-field="image_id">
      <progress id="progressBar" value="0" max="100"></progress>
    </form>
  </body>
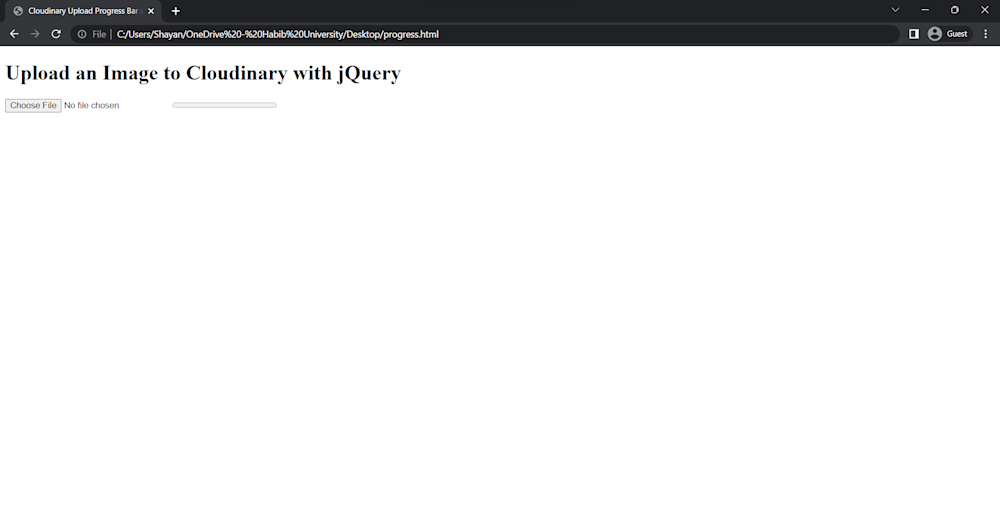
Here is what our form looks like:
Manipulate the Page with JavaScript
Start by creating a script tag right below our form and start by defining our cloudName, apiKey, and uploadPreset:
<script>
      // Set your Cloudinary cloud name and API key
      const cloudName = 'CLOUD_NAME';
      const apiKey = 'API_KEY';

      // Set your Cloudinary upload preset name
      const uploadPreset = 'UPLOAD_PRESET';
</script>
Next, we’ll define an object called uploadOptions that will contain options for our Cloudinary upload. These options include:
url: The URL of the Cloudinary upload API endpoint. We’ll set this tohttps://api.cloudinary.com/v1_1/${cloudName}/image/upload, where${cloudName}is the name of our Cloudinary cloud.formData: An object that contains additional form data that will be sent with our upload request. We’ll set theapi_keyandupload_presetfields to our Cloudinary API key and upload preset, respectively.progress: A function that will be called periodically to update the progress graph during the upload process. We’ll calculate the progress percentage and update thevalueattribute of the progress chart element accordingly.
Here is what our uploadOptions will look like:
      const uploadOptions = {
        // Set the Cloudinary unsigned upload endpoint URL
        url: `https://api.cloudinary.com/v1_1/${cloudName}/image/upload`,
        // Set the Cloudinary API key and upload preset
        formData: {
          api_key: apiKey,
          upload_preset: uploadPreset
        },
        // Set up an upload progress function
        progress: (event, data) => {
          // Calculate the progress percentage
          const progress = Math.round((data.loaded / data.total) * 100);
          // Update the progress bar value
          $('#progressBar').val(progress);
        }
      };
Now that we’ve defined the uploadOptions object, we’re ready to initialize the Cloudinary file uploader. We’ll initialize the Cloudinary file uploader by calling the cloudinary_fileupload method on our file input element. Then, we’ll pass the uploadOptions object we defined in the previous step as an argument to this method:
$('#uploadForm input[type="file"]').cloudinary_fileupload(uploadOptions);
This code will select the file input element inside the uploadForm form element using a jQuery selector and then calls the cloudinary_fileupload method on it, passing in the uploadOptions object we defined earlier.
Now that our basic code is ready, we will add an event handler to handle the cloudinarydone event that is fired when a file upload completes successfully. This event contains information about the uploaded file, such as its public ID, URL, and other metadata.
We’ll use this information to display the uploaded image on our website. Specifically, we’ll create an img element and set its src attribute to the URL of the uploaded image. We’ll then append this element to the body of our HTML document:
$('#uploadForm').bind('cloudinarydone', (event, data) => {
  console.log('Upload success:', data);
  const uploadedAssetUrl = data.result.url;
  const imgElement = $('<img>').attr('src', uploadedAssetUrl);
  $('body').append(imgElement);
});
Using the jQuery bind method, the code will bind a callback function to the cloudinarydone event. This function takes two arguments: event, which is the event object, and data, which is an object containing information about the uploaded file.
Inside the callback function, we first log the data object to the console for debugging. Then, we use the data.result.url to get the URL of the uploaded image stored in the data object.
Finally, we create a new img element using the jQuery $('<img>') syntax, set its src attribute to the uploaded image URL, and append it to the body of our HTML document using the append method. Here is what our final code looks like:
<!DOCTYPE html>
<html>
  <head>
    <title>Cloudinary Upload Progress Bar with jQuery</title>
    <!-- jQuery -->
    <script src="https://code.jquery.com/jquery-3.6.0.min.js"></script>

    <!-- jQuery UI Widget -->
    <script src="https://cdnjs.cloudflare.com/ajax/libs/blueimp-file-upload/9.19.2/js/vendor/jquery.ui.widget.min.js"></script>

    <!-- jQuery Iframe Transport -->
    <script src="https://cdnjs.cloudflare.com/ajax/libs/blueimp-file-upload/9.19.2/js/jquery.iframe-transport.min.js"></script>

    <!-- jQuery File Upload -->
    <script src="https://cdnjs.cloudflare.com/ajax/libs/blueimp-file-upload/9.19.2/js/jquery.fileupload.min.js"></script>

    <!-- cloudinary-jquery-file-upload -->
    <script src="https://cdnjs.cloudflare.com/ajax/libs/cloudinary-jquery-file-upload/2.13.0/cloudinary-jquery-file-upload.min.js"></script>

  </head>
  <body>
    <h1>Upload an Image to Cloudinary with jQuery</h1>
    <form id="uploadForm">
      <input type="file" name="file" data-cloudinary-field="image_id">
      <progress id="progressBar" value="0" max="100"></progress>
    </form>

    <script>
      // Set your Cloudinary cloud name and API key
      const cloudName = 'CLOUD_NAME';
      const apiKey = 'API_KEY';

      // Set your Cloudinary upload preset name
      const uploadPreset = 'UPLOAD_PRESET';

      const uploadOptions = {
        // Set the Cloudinary unsigned upload endpoint URL
        url: `https://api.cloudinary.com/v1_1/${cloudName}/image/upload`,
        // Set the Cloudinary API key and upload preset
        formData: {
          api_key: apiKey,
          upload_preset: uploadPreset,
        },
        // Set up an upload progress function
        progress: (event, data) => {
          // Calculate the progress percentage
          const progress = Math.round((data.loaded / data.total) * 100);
          // Update the progress bar value
          $('#progressBar').val(progress);
        }
      };

      // Initialize the Cloudinary file uploader
      $('#uploadForm input[type="file"]').cloudinary_fileupload(uploadOptions);

      // Handle the file upload success event
      $('#uploadForm').bind('cloudinarydone', (event, data) => {
        console.log('Upload success:', data);
        // Display the uploaded asset on your website
        const uploadedAssetUrl = data.result.url;
        console.log(uploadedAssetUrl);
        const imgElement = $('<img>').attr('src', uploadedAssetUrl);
        $('body').append(imgElement);
      });
    </script>
  </body>
</html>
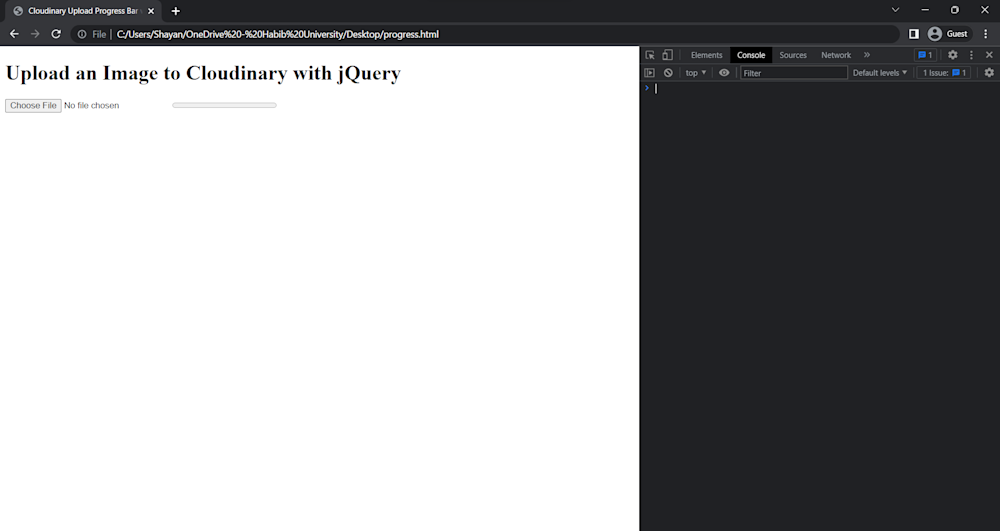
Now we can simply save our HTML and run our file in our browser:
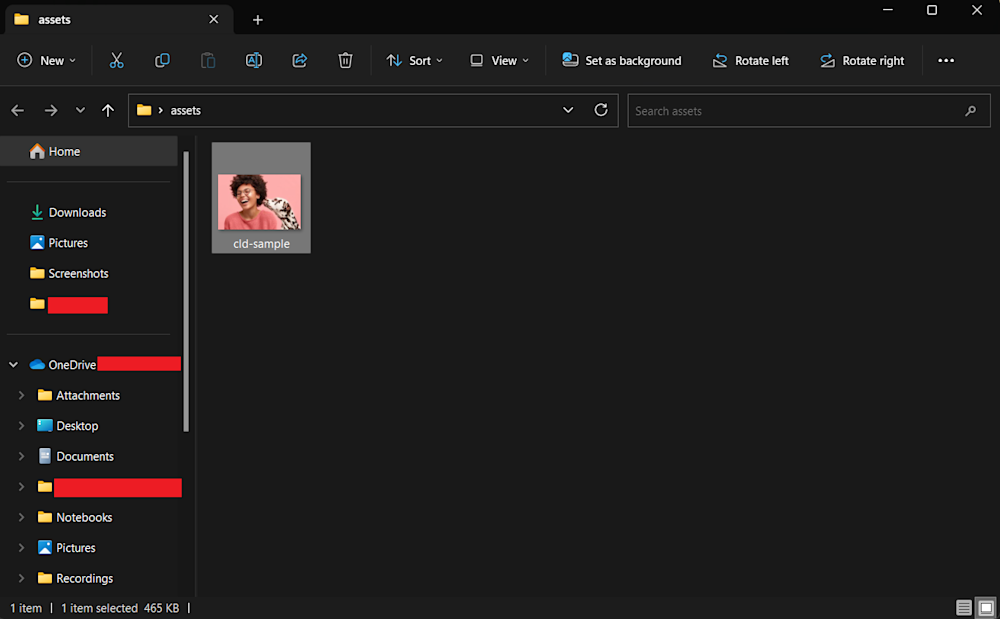
Next, select a file to upload to the cloud. Here we will be uploading a file named cld-sample.jpg located in the assets folder on our desktop:
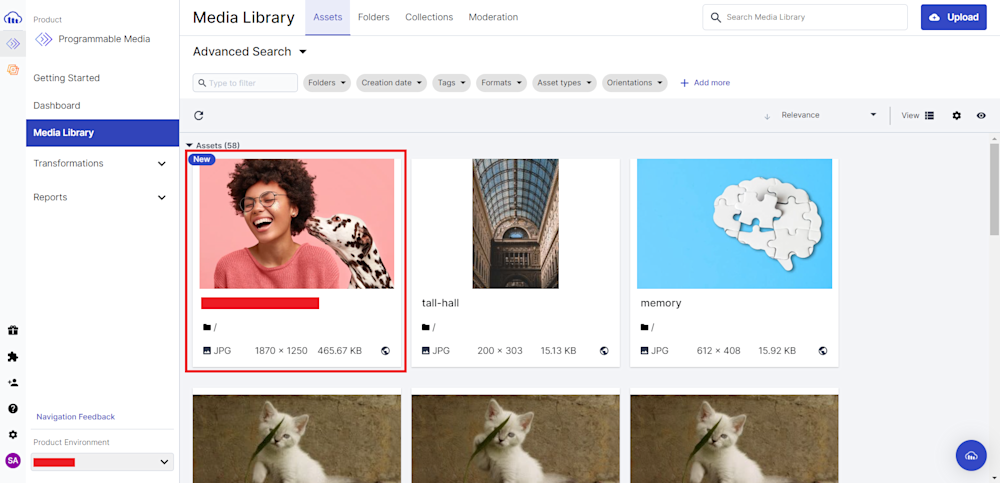
You can use your upload by heading to the Media Library tab on your Cloudinary account:
Closing The Book
Adding a progress bar for image uploads can significantly improve how users interact with your app. The procedure is simple and easy to follow with Cloudinary’s API and JavaScript SDK. Utilize this feature and many others by signing up for Cloudinary today to enhance your media delivery and administration.
Learn more:

