Cartoon images, a popular and beloved art form, leverage the inherent qualities of photographs. In the world of NFTs, cartoons can be traded as collectibles. This post will show you how to efficiently transform an image into a cartoon using Cloudinary.
In addition to Cloudinary, there are several AI-powered tools that offer unique ways to cartoonify images. For instance, Cartoonify leverages AI to turn images into hand-drawn cartoons with extensive personalization options, including a vast selection of graphic parts for avatar customization. Similarly, MyEdit provides a straightforward process where users can upload an image, select a cartoon filter, and download the cartoonized version. These tools emphasize ease of use and accessibility, catering to users who prefer simpler methods without the need for technical knowledge.
When to make an image a cartoon
Numerous tools allow you to upload a photo and receive a cartoon version, but these have varied quality. What’s more, the techniques are manual and not scalable. Providing users with this feature requires a sophisticated algorithm. To programmatically apply cartoon effects, you need a simple method.
Adding Cartoonify effect at scale
Cloudinary is a comprehensive media management platform for websites and applications, allowing you to effortlessly enhance and apply effects to your images and videos. It offers a broad array of cloud-based image manipulations. When dynamic image URLs are accessed, transformations are applied instantly and cached on CDN servers for fast delivery.
Cloudinary effectively delivers images with a cartoon effect (called “Cartoonify”) with just one parameter and a few optional characteristics. Let’s see it in action!
Other popular options for creating cartoon images include BeFunky, an online photo editor offering a cartoonizer tool and various art effects, and CartoonifyMe, which focuses on transforming people into distinct cartoon characters.
Creating an app to add Cartoonify effect to your images
To Cartoonify your images, you’ll need to create a React app. If you don’t have Node JS installed, go to the official Node JS page and download the latest version.
Next, create a sample directory for your project. Open up a terminal, navigate to your project directory, and create a React app using the following npx command:
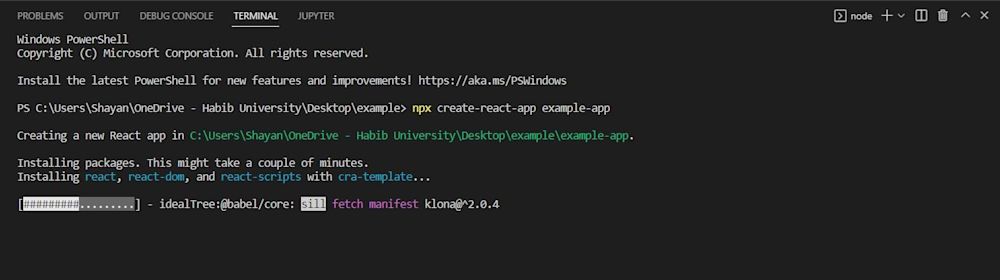
This will create a sample project in your project directory with a pre-built code (you don’t need to worry about the complex code structure as it’s not needed for the app).
Step 1: Signing up to Cloudinary
Now that we’ve created our app, we need to set it up in order to Cartoonify with Cloudinary. You can create a free account here.
Install Cloudinary’s JavaScript and React packages using the NPM package manager:
npm i @cloudinary/url-gen @cloudinary/react
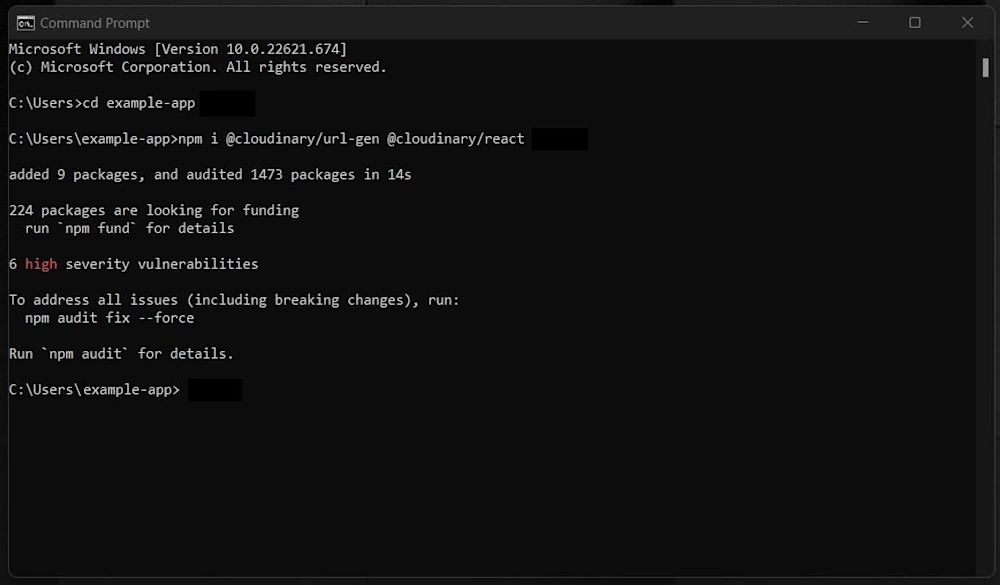
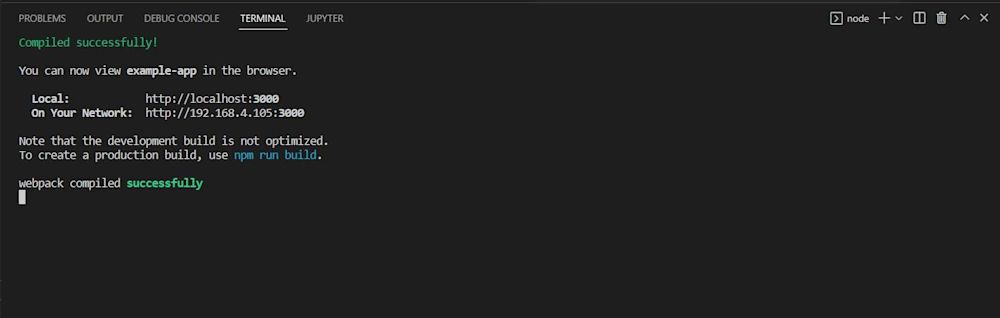
Then, navigate to your example-app directory and use npm start:
Step 2: Creating a React app
It’s time to start writing code for the React app. Go to your App.js file in the src directory and add the following code:
import './App.css';
import React from 'react'
import {Cloudinary} from "@cloudinary/url-gen";

const App = () => {

  // Create a Cloudinary instance and set your cloud name.
  const cld = new Cloudinary({
    cloud: {
      cloudName: 'demo'
    }
  });

};
export default App;
Here, a basic Cloudinary API is created that will help with image formatting. Set the couldName to demo (you can change this to your cloud name to use and format your assets).
Next, import the AdvancedImage module from Cloudinary to display our image:
import {AdvancedImage} from '@cloudinary/react';
Now, add the image to Cartoonify to the app. For our React app, we’ll use the cld-sample.jpg image that available in the demo cloud:
const myImg = cld.image("cld-sample.jpg");
Return the image:
  return (
    <div>
      <AdvancedImage cldImg={myImg} controls/>
    </div>
  )
Here is what the image looks like:

Step 3: Applying the Cartoonify effect
We’re now ready to add the Cartoonify effect to the image.
First, import the Cartoonify effect from the effect module in Cloudinary:
import { cartoonify } from '@cloudinary/url-gen/actions/effect';
Next, apply the Cartoonify effect to the image by specifying it in the .effect() method:
const myImg = cld.image("cld-sample.jpg").effect(cartoonify());
Return the rendered image in a return statement.
Here is what the final code and output look like:
import './App.css';
import React from 'react'
import {Cloudinary} from "@cloudinary/url-gen";
import {AdvancedImage} from '@cloudinary/react';
import {cartoonify} from '@cloudinary/url-gen/actions/effect';

const App = () => {

  // Create a Cloudinary instance and set your cloud name.
  const cld = new Cloudinary({
    cloud: {
      cloudName: 'demo'
    }
  });
  const myImg =  cld.image("cld-sample.jpg").effect(cartoonify());

  return (
    <div>
      <AdvancedImage cldImg={myImg} controls/>
    </div>
  )

};
export default App;
Here is what the final image looks like with the Cartoonify effect applied:

Using the Cloudinary Console to Cartoonify your images
You can upload images via the API or using the Cloudinary Console. Learn more about uploading assets to Cloudinary in the Cloudinary Documentation.
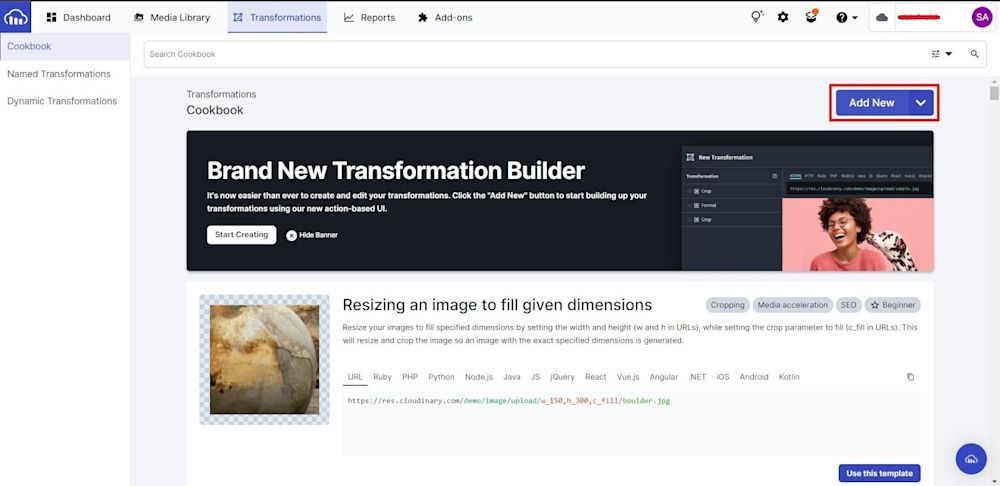
To upload via the Cloudinary Console, login to your account. You’ll then be directed to the Dashboard. Click on the Transformations tab:

With Cloudinary, you can create custom and chain transformations, as well as custom effects. The Transformation tab is where you manage custom transformations and scale them to your images.
First, click on the blue Add New button to start creating your transformation:
Since the image we used previously was in the demo cloud, you’ll see it on your preview:
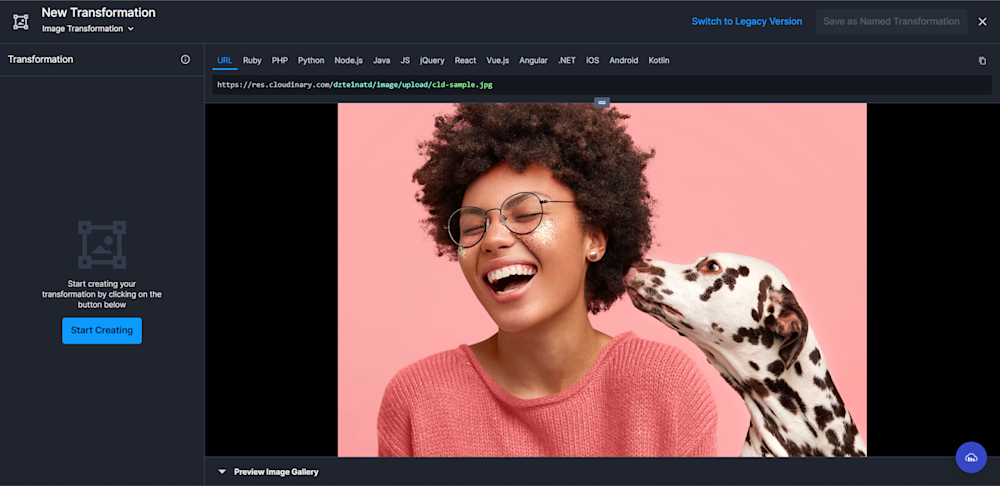
Next, click the Start Creating tab on the Transformation panel. Scroll down to the Advanced tab and click on Additional Transformations:
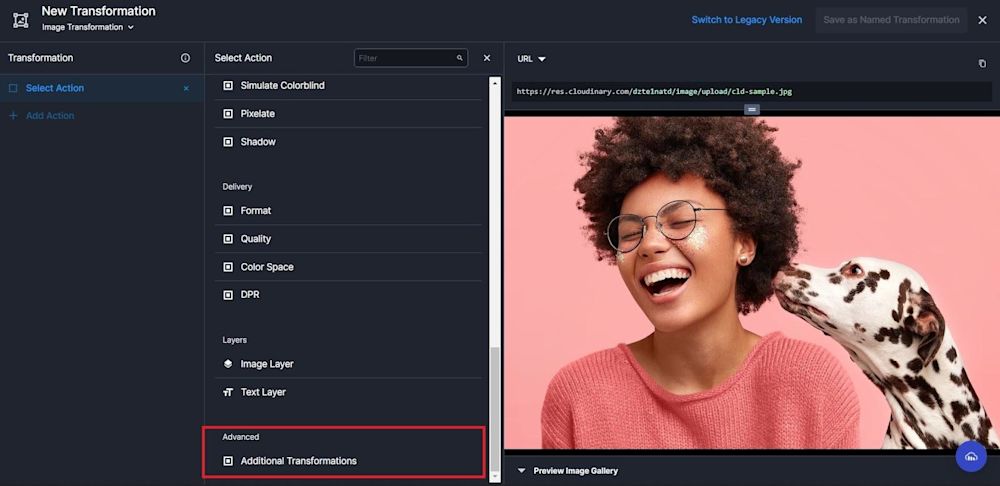
By applying further transformations, you can generate dynamic URLs that allow for image creation programmatically, eliminating the need for graphic designers or advanced editing tools. Transformations can be specified by simply listing them. In the following example, we will apply the Cartoonify effect using the command below and then click Apply and Close:
e_cartoonify
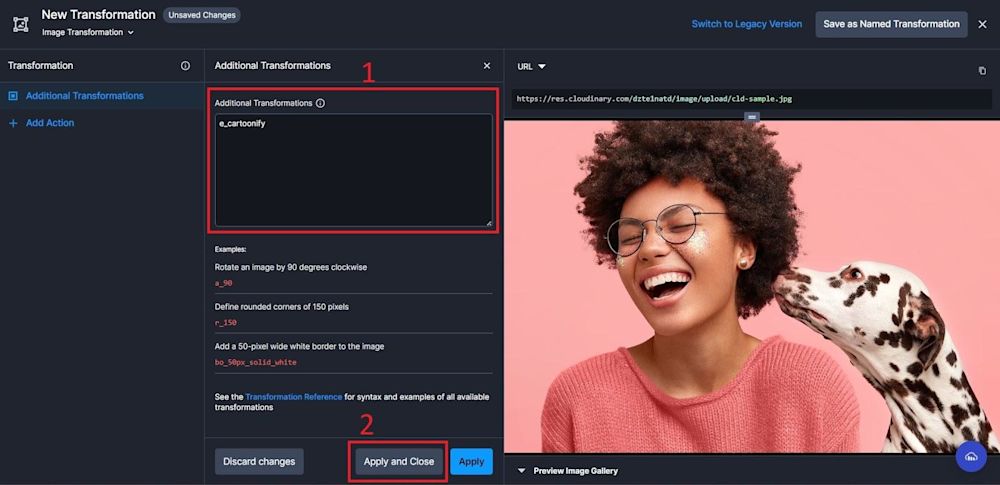
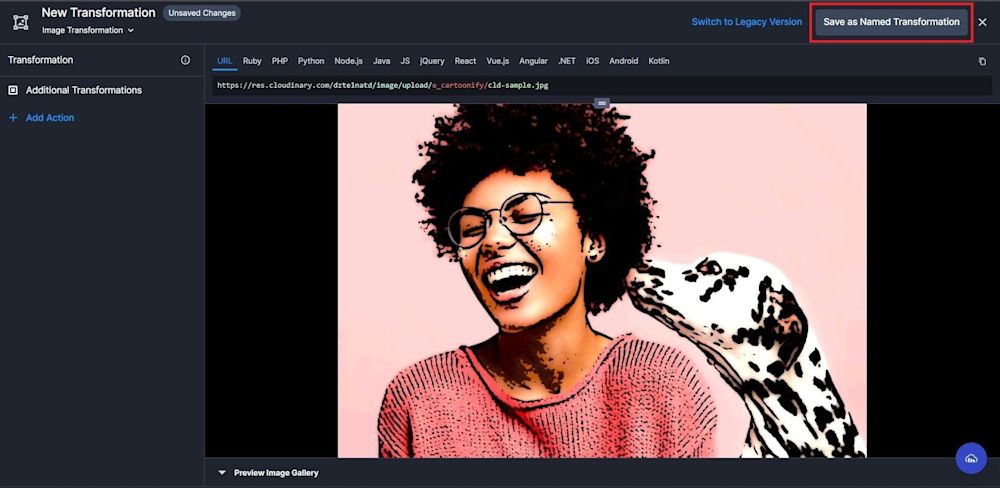
Save your transformation by clicking on the Save as Named Transformation button:
Conclusion
You now understand how easy it is to use Cloudinary to programmatically make an image a cartoon. We also demonstrated how to use the Cloudinary Console to accomplish this. All this is possible with a free Cloudinary account. In addition, Cloudinary offers SDKs (Software Development Kits) for backend, frontend, and mobile development. You can read about the SDKs available in the Cloudinary Documentation.
More from Cloudinary:
Automatically Generate Responsive Images
How to Handle Responsive Images in React
How to Resize an Image with React

