
Image rotation is a common routine in image processing and transformation that involves changing the orientation of an image by a certain angle. In today’s digital world, there are several reasons why you may want to transform an image by rotation. For example, you may want to add a feature to your project that allows users to rotate uploaded images to fix their orientation. Alternatively, you may be working on a project and want to use an algorithm to auto-detect poorly rotated images.
In machine learning and computer vision tasks, image rotation is often used as a data augmentation technique to increase the diversity of training data and improve the robustness of models.
To rotate any given image, you need to define a few properties, such as the target image, the rotation angle, and the point about which the rotation is done. In Python, several packages and libraries can be used to achieve this. In this article, we’ll explore some of the popular Python libraries for image transformation and a much better alternative you can consider.
In this article:
Image Rotation with Pillow
Pillow is a fork of Python Imaging Library (PIL), the free and open-source Python library for image manipulation and processing. Pillow provides a straightforward method called Image.rotate() for rotating images.
If you haven’t installed Pillow yet, you can install it with the command below:
pip install pillow
The Pillow Image.rotate() method has the following syntax:
Image.rotate(angle, resample=Resampling.NEAREST, expand=0,
center=None, translate=None, fillcolor=None)
And now the code to rotate any image:
from PIL import Image

# Open the image
image = Image.open('happy_dog.jpg')

# Rotate the image by 45 degrees clockwise and fill the area outside of the image with white color
rotated_image = image.rotate(45, fillcolor='#FFF')

# Save the rotated image
rotated_image.save('rotated-output.jpg')
Here’s the output of the code:
Image Rotation with OpenCV
OpenCV-Python is a library of Python bindings for OpenCV (Open Source Computer Vision), a popular library for computer vision and image processing tasks. Compared to Pillow, OpenCV provides more flexibility and control over the rotation process, making it more suitable for advanced image processing tasks.
Install OpenCV in Python with the command below:
pip install opencv-python
Here is the code to rotate an image:
import cv2

# Read the image
image = cv2.imread('happy_dog.jpg')

# Get image dimensions
height, width = image.shape[:2]

# Compute the center of the image
center = (width/2, height/2)

# Define rotation angle in degrees
angle = 45

scale = 1

# Calculate rotation matrix
rotation_matrix = cv2.getRotationMatrix2D(center, angle, scale)

# Apply the computed rotation matrix to the image
rotated_image = cv2.warpAffine(image, rotation_matrix, (width, height))

# Save the rotated image
cv2.imwrite('output_image.jpg', rotated_image)
In the code above:
cv2.imread()reads the input image.cv2.getRotationMatrix2D()calculates the rotation matrix.cv2.warpAffine()applies the rotation transformation to the image.cv2.imwrite()saves the rotated image to disk.
The scale parameter in getRotationMatrix2D() is used to resize the image. For example, a value of 1 will keep the output image the same as the original image, while a value of 2 will make the output image double the size of the original image.
Below is the output of the code above:
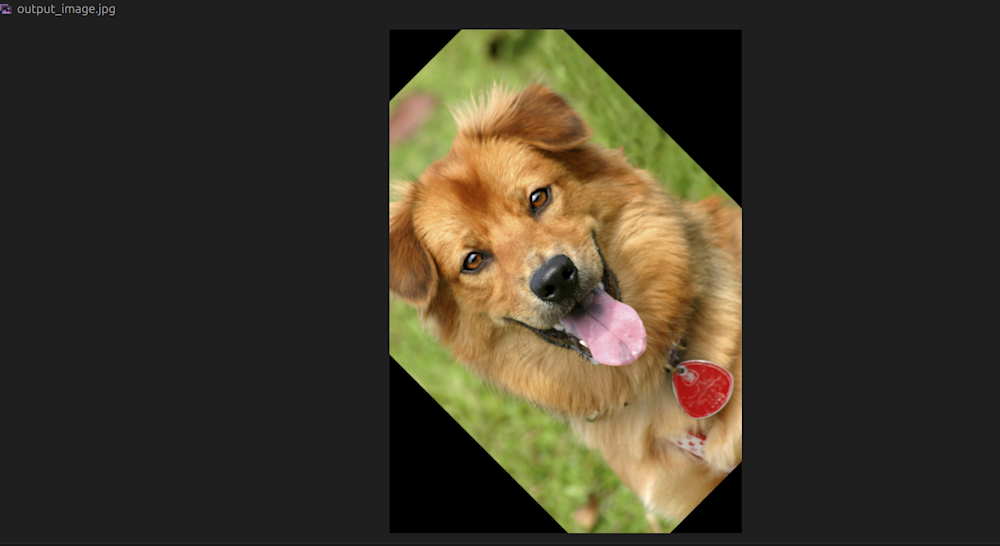

Image Rotation Using Cloudinary
There are two methods of achieving image rotation in Cloudinary. The first is to apply the transformation parameters directly to the URL of an image that has already been uploaded to Cloudinary. The second method is to use the APIs provided in the programming language SDKs supported in Cloudinary.
Rotating an Image through Its URL
Let’s take the image below with the following URL for example:
https://res.cloudinary.com/demo/image/upload/cld-sample.jpg
This is what the image looks like:

We can simply rotate the image by applying the following transformation parameters to the image URL:
https://res.cloudinary.com/demo/image/upload/a_45/b_rgb:000000/cld-sample.jpg
In the URL above:
- The
a_45parameter rotates the image clockwise by 45 degrees - The
b-rgb:000000parameter sets the background color of the areas surrounding the rotated image to black. The default color is white.
Below is the output of the rotated image:

Rotating an Image Using the Cloudinary Python SDK
Cloudinary provides a simplified image manipulation and processing API through its Python SDK. Using Python and Cloudinary, we can use various methods to rotate an image.
Suppose we have a FastAPI application running. First, run the following command to install the necessary packages for the application:
python3 -m pip install fastapi python-multipart cloudinary
pydantic-settings python-dotenv uvicorn[standard]
Below is the complete code for the application:
from fastapi import FastAPI
from fastapi import FastAPI, File, UploadFile
from pydantic_settings import BaseSettings
import cloudinary
import os

# Configure environment variables
class Settings(BaseSettings):
    CLOUDINARY_CLOUD_NAME: str
    CLOUDINARY_API_KEY: int
    CLOUDINARY_API_SECRET: str
    class Config:
        env_file = ".env"

settings = Settings()

config = cloudinary.config(cloud_name = settings.CLOUDINARY_CLOUD_NAME, api_key = settings.CLOUDINARY_API_KEY, api_secret = settings.CLOUDINARY_API_SECRET)

import cloudinary.uploader
import cloudinary.api

app = FastAPI()


@app.get("/")
async def root():
    return {"message": "Hello, World!"}

# Function to upload the image to Cloudinary
async def cloudinary_upload(file):

# Rotate the uploaded image by 45 degrees and set the background color to black
    rotated_image =  cloudinary.uploader.upload(file, angle=45, background="#000000")
    return rotated_image

# Endpoint to upload the image to the server
@app.post("/upload")
async def create_image(image: UploadFile = File(...)):
    os.makedirs("images", exist_ok=True)
 # Save the image to disk
    file_location = f"images/{image.filename}"
    with open(file_location, "wb+") as file_object:
        file_object.write(image.file.read())

    result = await cloudinary_upload(file_location)

    rotated_img = result["secure_url"]

    return f"The rotated image can be found here: {rotated_img}"
When we upload an image to the /upload endpoint, we’ll get a URL to the rotated image. Here’s the result after we uploaded the image from the previous example to the /upload endpoint:
https://res.cloudinary.com/cloudinarymich/image/upload/v17123996
27/icvzxgthywbzzre1yuiz.jpg
Wrapping Up
In this post, you learned about image rotation in Python using different methods. We started with two popular Python libraries: Pillow and OpenCV. In Pillow, we used the Image.rotate() method, and in OpenCV, we utilized the getRotationMatrix2D method.
Next, we explored how to use Cloudinary to achieve the same functionality but in a much simpler and more efficient way. However, image rotation is just one of the many features provided by Cloudinary.
Transform and optimize your images and videos effortlessly with Cloudinary’s cloud-based solutions. Sign up for free today!

