Creating an image slider using HTML, CSS, and JavaScript is a great way to enhance the visual appeal of your website. According to Statista, these remain the most used programming languages, so mastering them can take you a long way.
In this tutorial, we’ll explore the step-by-step process of building an image slider that is not only aesthetically pleasing but also functional and interactive.
In this article:
What Is an Image Slider?
An image slider, also known as a carousel, is a web element that displays a series of images in a rotating fashion. It allows for the dynamic presentation of content, making websites more engaging and dynamic.

Where Are CSS Sliding Images Used?
Sliding images find widespread use in various parts of web design. They are commonly used on homepages, product pages, and portfolios to showcase multiple visuals in a limited space. Image sliders are prominently featured on the front pages of websites, creating a visually striking introduction.
Additionally, sliders are employed in product galleries, enabling users to preview different items without navigating away from the current page. Understanding the versatility of sliding images helps you choose the right design approach for your specific use case.

Making an Automatic Image Slider With Navigation Buttons
Building an automatic image slider with navigation buttons combines HTML for structure, CSS for styling, and JavaScript for functionality. Let’s look at the process of setting up a basic HTML CSS slider that automatically transitions between images and provides user-friendly navigation buttons for manual control.
To create an HTML slideshow, start by creating a new HTML file and pasting the following code:
<!DOCTYPE html>
<html>
<head>
    <title>Cloudinary Sliding Image</title>
    <!-- Link to external stylesheet -->
    <link rel="stylesheet" href="styles.css">
</head>
<body>
</body>
</html>
We will start by adding a div container of 500 pixels. This division will help us control the maximum size of our image slider. Next, we will create another div element inside this container that will contain our images for our HTML slider:
        <!-- Container for the HTML slideshow -->
        <div class="imageshow-container">
            <!-- Individual image slides -->
            <div class="imageClass fade">
                <img src="cld-sample.jpg" style="width:100%">
                <!-- Caption for the first image -->
                <div style="text-align: center;">Image 1</div>
            </div>

            <div class="imageClass fade">
                <img src="cld-sample-2.jpg" style="width:100%">
                <!-- Caption for the second image -->
                <div style="text-align: center;">Image 2</div>
            </div>

            <div class="imageClass fade">
                <img src="cld-sample-3.jpg" style="width:100%">
                <!-- Caption for the third image -->
                <div style="text-align: center;">Image 3</div>
            </div>
        </div>
Here, we have added different classes to our images. The imageClass is used to show our image, while the fade class adds a fade animation when we switch images. Additionally, the imageshow-container class allows us to style the image container.
Now that the image container is ready, we can add dots to help us select our images. To do this, create a div container and add three span elements. We will add an onclick method to each element, allowing us to control their functionality.
        <div style="text-align:center">
            <span class="dot" onclick="currentImage(1)"></span>
            <span class="dot" onclick="currentImage(2)"></span>
            <span class="dot" onclick="currentImage(3)"></span>
        </div>
Here, we have assigned the span elements a function called currentImage, which is called whenever we click on the span element. This function will help us switch between the images. Here is what our code looks like:
<!DOCTYPE html>
<html>
<head>
    <title>Cloudinary Sliding Image</title>
    <!-- Link to external stylesheet -->
    <link rel="stylesheet" href="styles.css">
</head>
<body>

    <div style="width: 500px">
        <!-- Container for the HTML slideshow -->
        <div class="imageshow-container">
            <!-- Individual image slides -->
            <div class="imageClass fade">
                <img src="cld-sample.jpg" style="width:100%">
                <!-- Caption for the first image -->
                <div style="text-align: center;">Image 1</div>
            </div>

            <div class="imageClass fade">
                <img src="cld-sample-2.jpg" style="width:100%">
                <!-- Caption for the second image -->
                <div style="text-align: center;">Image 2</div>
            </div>

            <div class="imageClass fade">
                <img src="cld-sample-3.jpg" style="width:100%">
                <!-- Caption for the third image -->
                <div style="text-align: center;">Image 3</div>
            </div>
        </div>
        <br>

        <!-- The dots/circles for navigation -->
        <div style="text-align:center">
            <span class="dot" onclick="currentImage(1)"></span>
            <span class="dot" onclick="currentImage(2)"></span>
            <span class="dot" onclick="currentImage(3)"></span>
        </div>
    </div>
</body>
</html>
Finally, we will load in our JavaScript code, which will help us add functionality to our HTML file:
    <!-- Link to external JavaScript file -->
    <script src="script.js"></script>
With this, our webpage is ready, and we can add our styling using CSS. To do this, create a new file called styles.css and add the following code:
/* CSS Slider container */
.imageshow-container {
    max-width: 1000px;
    position: relative;
    margin: auto;
}

/* Hide the images by default  */
.imageClass {
    display: none;
}

/* Adding fading animation */
.fade {
    animation-name: fade;
    animation-duration: 1.5s;
}

@keyframes fade {
    from {
        opacity: .4
    }

    to {
        opacity: 1
    }
}

/* Defining the dot styles */
.dot {
    cursor: pointer;
    height: 15px;
    width: 15px;
    margin: 0 2px;
    background-color: #bbb;
    border-radius: 50%;
    display: inline-block;
    transition: background-color 0.6s ease;
}

/* Setting a different style for hovering and active */
.active,
.dot:hover {
    background-color: #717171;
}
In this code, we have created a new class called imageshow-container that helps us style our entire image slider. The imageClass and dot classes allow us to style our image and span elements, respectively. Finally, the fade class will enable us to add a fade animation to our slider.
Here is what our webpage looks like:
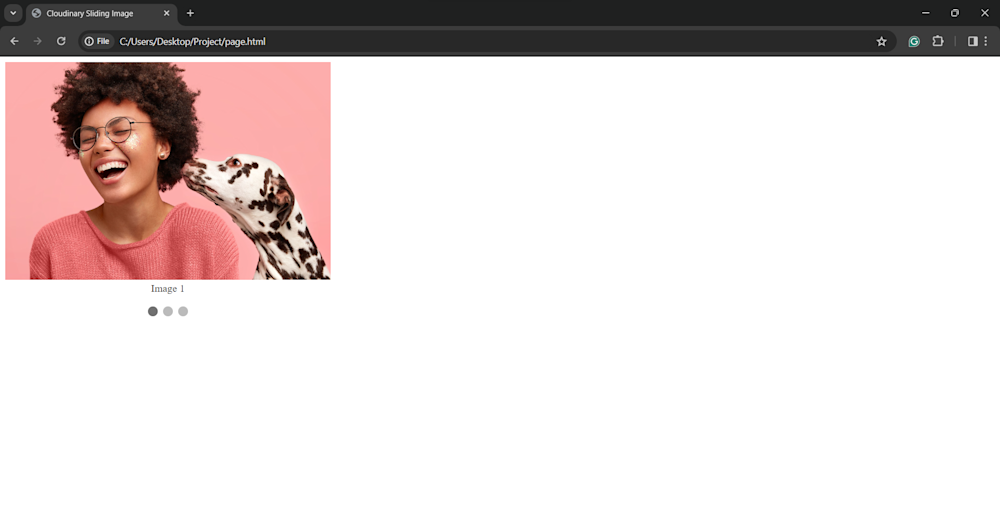
Now that our webpage is ready, we need to add functionality to our project!
For this, create a new JavaScript file called script.js. Here, we will start by creating a function called showImages that takes in a parameter n and displays the nth image in our image collection. Next, we use the getElementsByClassName function to retrieve all our images and dots from our webpage:
// Function to display the images
function currentImage(n) {
    var i;
    // Get all elements with the class name "imageClass"
    var images = document.getElementsByClassName("imageClass");
    // Get all elements with the class name "dot" (navigation dots)
    var dots = document.getElementsByClassName("dot");
Now, we loop through all images and set their display property as none. This hides all the images that are currently displayed on our webpage. Next, we will loop through the navigation dots and deactivate them by removing the active class from their class name:
    // Hide all images
    for (i = 0; i < images.length; i++) {
        images[i].style.display = "none";
    }
    // Remove the "active" class from all navigation dots
    for (i = 0; i < dots.length; i++) {
        dots[i].className = dots[i].className.replace(" active", "");
    }
Finally, we will display the image corresponding to the image index and set the dot corresponding element as active. Here is what our function looks like:
// Function to display the images
function currentImage(n) {
    var i;
    // Get all elements with the class name "imageClass"
    var images = document.getElementsByClassName("imageClass");
    // Get all elements with the class name "dot" (navigation dots)
    var dots = document.getElementsByClassName("dot");
    for (i = 0; i < images.length; i++) {
        images[i].style.display = "none";
    }
    // Remove the "active" class from all navigation dots
    for (i = 0; i < dots.length; i++) {
        dots[i].className = dots[i].className.replace(" active", "");
    }
    // Display the image corresponding to the current index
    images[n - 1].style.display = "block";
    // Add the "active" class to the corresponding navigation dot
    dots[n - 1].className += " active";
}
Now that our function is ready, all we need to do is call this function and display our first image. Here is what our script.js file looks like:
// Function to display the images
function currentImage(n) {
    var i;
    // Get all elements with the class name "imageClass"
    var images = document.getElementsByClassName("imageClass");
    // Get all elements with the class name "dot" (navigation dots)
    var dots = document.getElementsByClassName("dot");
    for (i = 0; i < images.length; i++) {
        images[i].style.display = "none";
    }
    // Remove the "active" class from all navigation dots
    for (i = 0; i < dots.length; i++) {
        dots[i].className = dots[i].className.replace(" active", "");
    }
    // Display the image corresponding to the current index
    images[n - 1].style.display = "block";
    // Add the "active" class to the corresponding navigation dot
    dots[n - 1].className += " active";
}

// Display the initial image
currentImage(1);
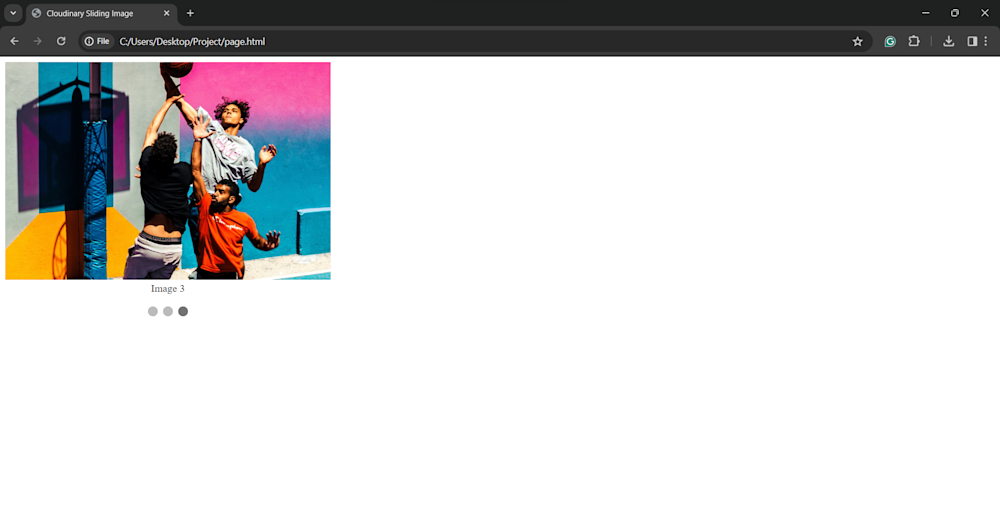
With this, our image slider is ready. Here is what our completed webpage looks like:
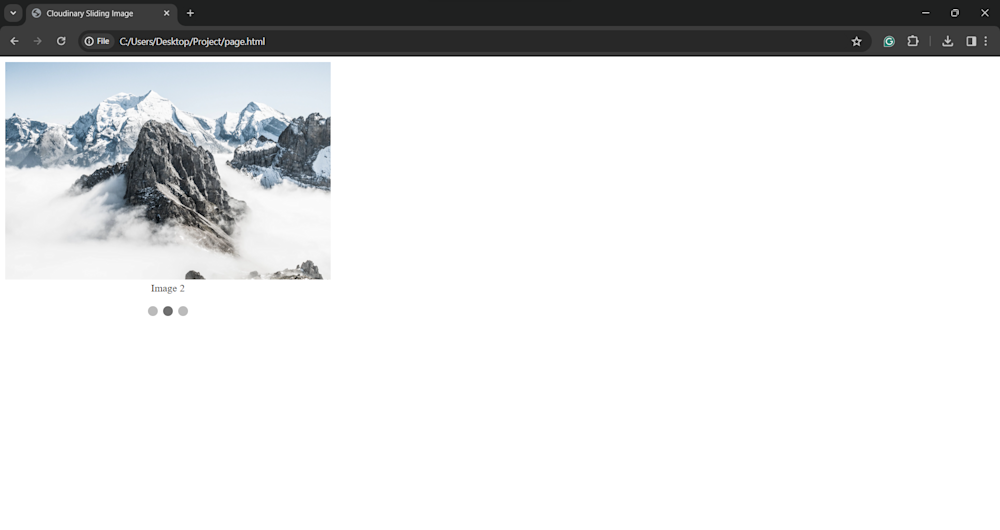
Now, we can even click on the dot elements to navigate through our images:
Create a Sliding Image With Cloudinary
Integrating Cloudinary into your image slider brings additional benefits, such as efficient image storage, optimization, and manipulation. So, let’s discuss how to leverage Cloudinary to enhance the performance and responsiveness of your image slider, making it an even more powerful and scalable solution.
To begin, sign up for a free Cloudinary account if you haven’t already. Once you’ve signed in, you’ll gain access to a dashboard where you can upload, manage, and manipulate your images effortlessly.
The first step is to upload your images to Cloudinary. You can do this manually through the dashboard or programmatically using Cloudinary’s API, which offers various SDKs for popular programming languages like JavaScript, Python, and Ruby.

Once your images are uploaded, navigate to the Assets tab and copy your image URL.
Cloudinary provides a unique URL for each image, allowing you to reference them easily in your HTML code. This URL can also be customized to deliver images in different formats, sizes, and qualities based on your specific requirements, ensuring optimal performance and visual fidelity across different devices and screen resolutions.

Now, all you have to do is replace the URL in your webpage with Cloudinary URLs. This will allow you to specify transformations such as cropping, resizing, and applying effects to your images on the fly.
Final Thoughts
Mastering the art of creating image sliders with HTML, CSS, and JavaScript opens up new possibilities for web designers and developers. Whether you opt for a manual slider with navigation buttons or explore advanced features with Cloudinary, implementing these techniques will undoubtedly elevate your website’s visual appeal and user experience.
Empower your development team with Cloudinary’s easy-to-use APIs and SDKs. Sign up for a free account today!
Learn more:
- Working With CSS Images
- Create Responsive Images in Plain HTML
- Working with Video? Check Video API

