
Adding a sepia effect to your images can give them a vintage feel, and can quickly turn your contemporary photos into ones with a flair. This post will demonstrate how to use Cloudinary to add a sepia effect efficiently, and at scale.
In this article:
What is Cloudinary?
Most image editing apps and programs, such as Photoshop, include sepia effects. However, when you have to perform this at scale, it becomes a tedious task. This is where Cloudinary can help.
Cloudinary is an end-to-end media management platform for websites and applications that enables you to quickly and easily add improvements and effects to your images and video. A wide range of cloud-based image manipulations are included in Cloudinary. When dynamic image URLs are viewed, transformations happen instantly, then are promptly cached on CDN servers for the quickest delivery.
Cloudinary effectively delivers images with a sepia effect with just one parameter and a few optional characteristics. Let’s see it in action!
Adding sepia effect to your images programmatically
Prerequisites
To start applying sepia effects to your images, you’ll first need to sign up at Cloudinary. If you don’t have an account, you can sign up for free.
In addition, you should have Node JS installed on your computer. If not, you can install it from their official webpage.
Uploading Images to Cloudinary
Before adding an effect to the image, upload it to Cloudinary. For this tutorial, we will upload the image to Cloudinary using the Cloudinary API.
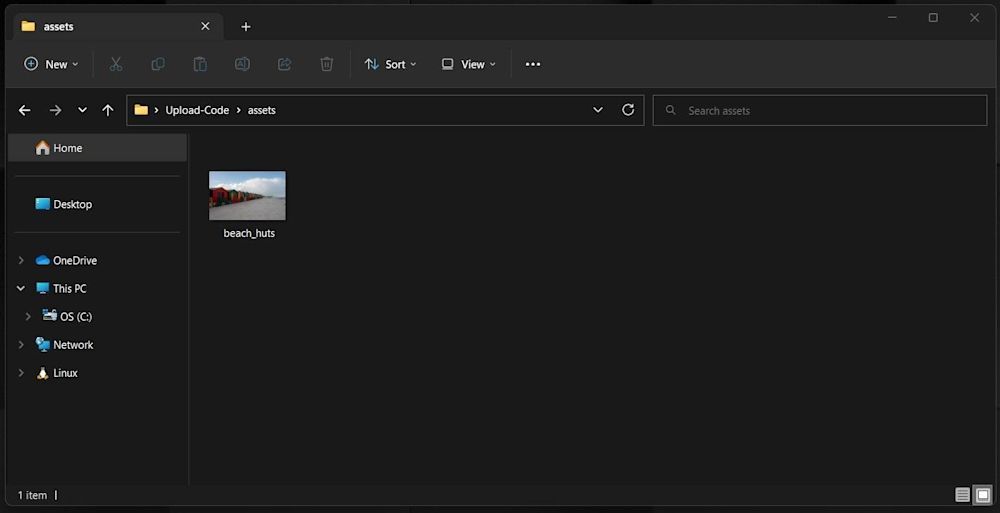
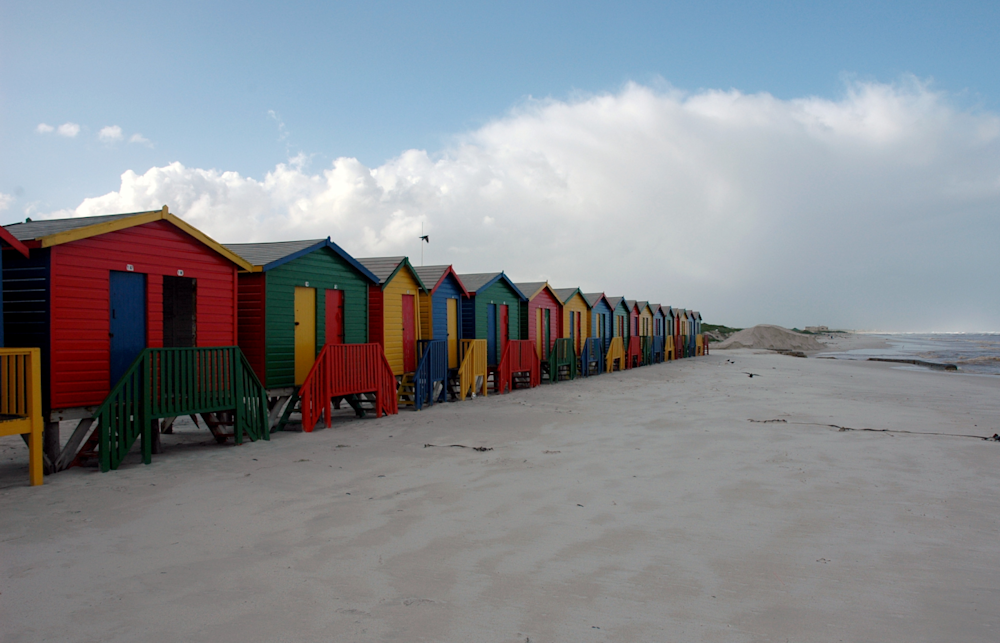
Select the image you want to upload. For this, we’ll use the following beach_huts.jpg image:
Next, you’ll need to get your environment variable for Cloudinary. After logging in, you’ll be directed to the Cloudinary dashboard where you’ll see you’re environment variable :

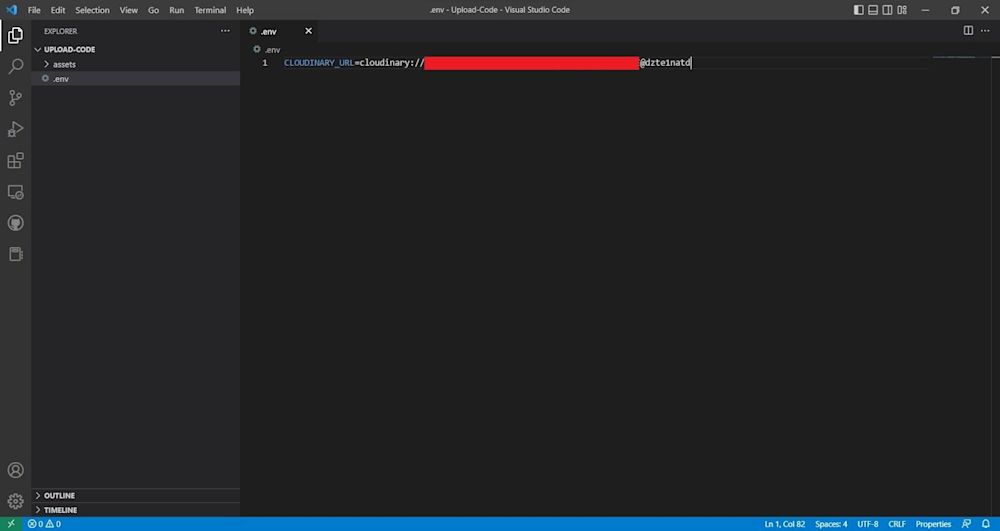
Copy the ‘API Environment variable,’ then create a .env file in your code folder and paste the variable:
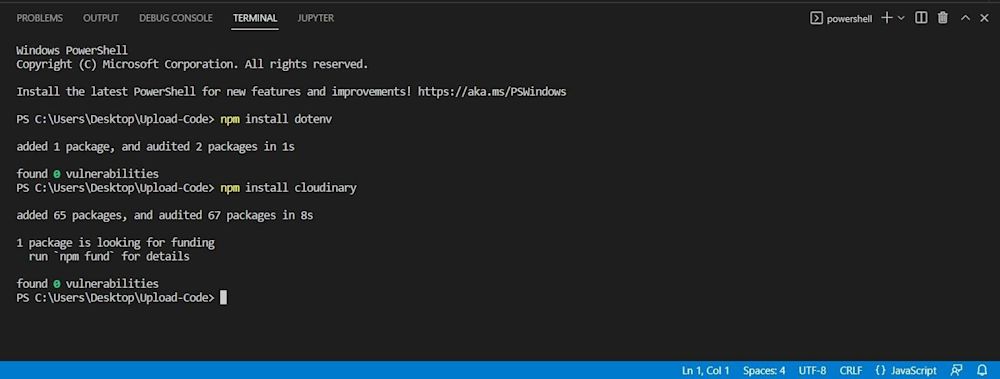
Now, create your JS script. Open your code folder and create a JS file named ‘upload.js.’ We’ll use the dotenv library to authenticate our API. We will use the Cloudinary Node JS SDK to upload the assets. First, open a terminal and install the script libraries using the following commands:
npm install dotenv
npm install cloudinary
Open your upload.js file and import the libraries:
// Reads the Cloudinary Environment variable
require("dotenv").config();

// Using V2 of Cloudinary Node JS SDK
const cloudniary = require("cloudinary").v2;

// Picking up env and configuring
console.log(cloudniary.config().cloud_name);
Call the Cloudinary upload API and specify the file you want to upload, adding this to the callback function:
// Calling upload API
cloudniary.uploader
.upload("./assets/beach_huts.jpg", {
    // Default resource type is image if your even if your don't specify
    // it
    resource_type: "image", public_id: "beach_huts"
})
.then((result) => {

    // Provide output in a formatted string
    console.log("sucess", JSON.stringify(result, null, 2));

})
.catch((error) => {
    console.log("error", JSON.stringify(error, null, 2));
});
Here, not only are we calling our API, but we’re also using promises to handle the success and failures of the API. By default, Cloudinary provides a random public_id (the name of the asset in Cloudinary) to assets. We’re explicitly defining it as “beach_huts.” This will allow us to retrieve and keep track of the image.
Run the code using Node JS:
node upload.js
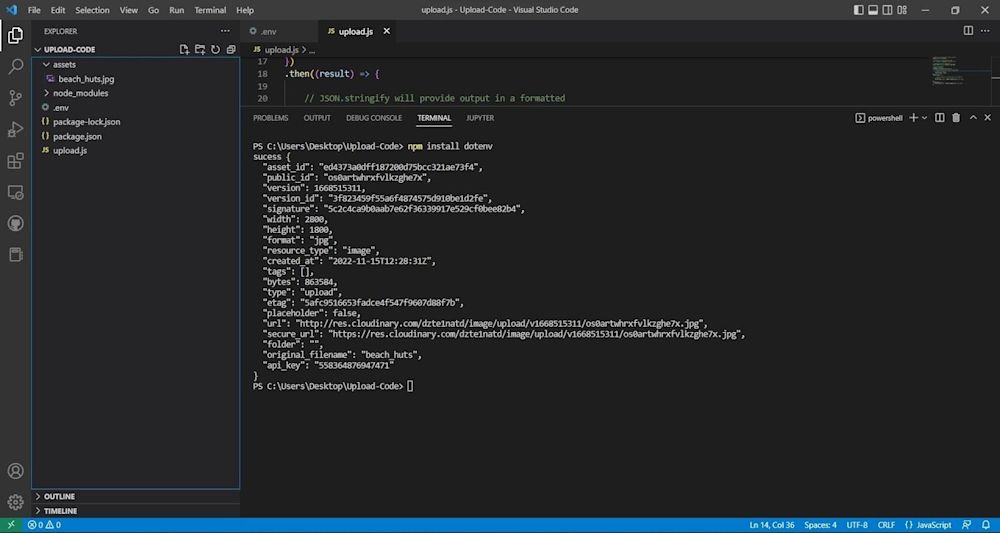
Your image has successfully been uploaded to Cloudinary! You can view the image in any URLs returned in JSON:
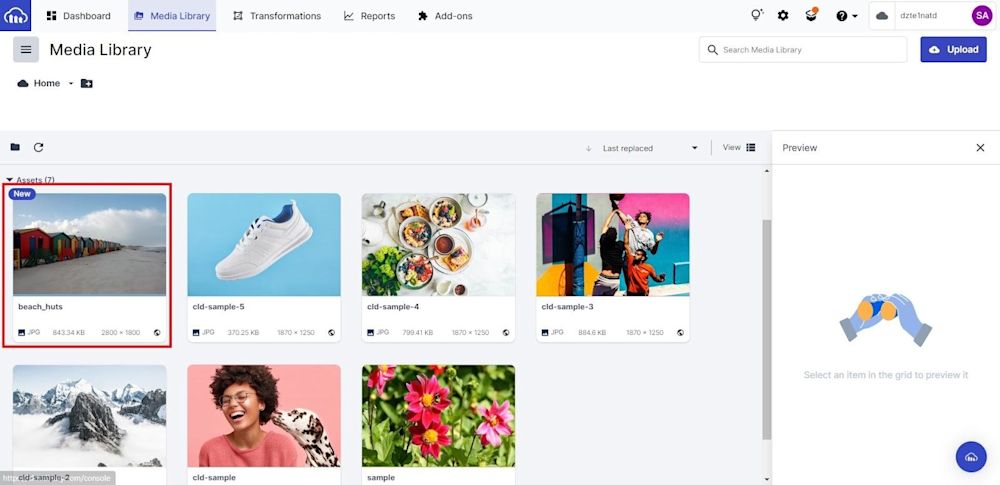
You can also view your image by going to the Media Library tab on your Cloudinary account:
Adding sepia effect to images
To add sepia effect, we’ll use the same functions and libraries. The only thing we’ll be doing is retrieving the image.
Create a .env file and add your environment variable. Then, create a file named retrieve.js and import the same libraries:

Before we can add the effect to the image, retrieve it. Call the Cloudinary API and specify the public_id of the image, adding it to the console:
// Retrieving image
const img = cloudinary.image("beach_hut");

console.log('images', img)
Running the code will result in a URL:
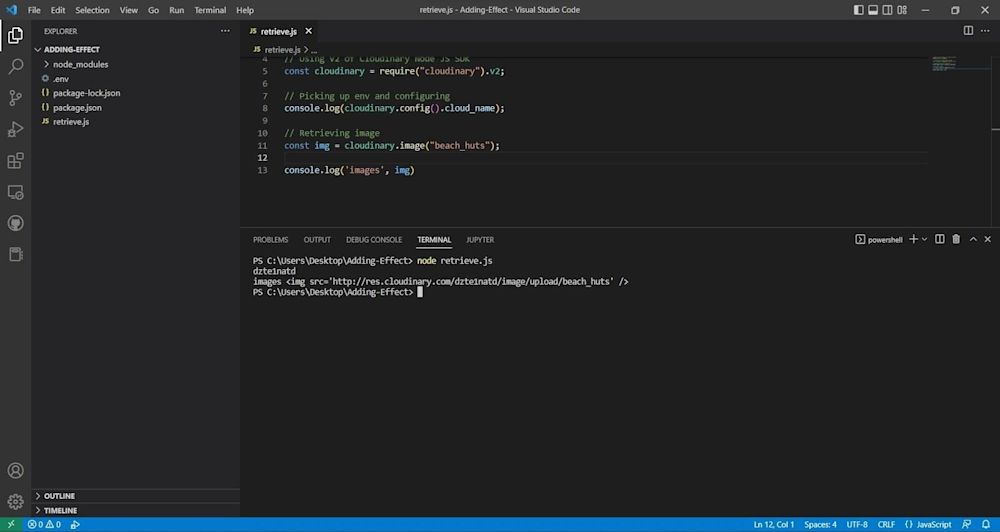
Opening the URL will yield the image:
Modify the Cloudinary call by adding an effect parameter and specifying the ‘sepia’ effect:
const img = cloudinary.image("beach_huts", {effect: "sepia"});
Here’s the final code:
// Reads the Cloudinary Environment variable
require("dotenv").config();

// Using V2 of Cloudinary Node JS SDK
const cloudinary = require("cloudinary").v2;

// Picking up env and configuring
console.log(cloudinary.config().cloud_name);

// Retrieving image
const img = cloudinary.image("beach_huts", {effect: "sepia"});

console.log('images', img)
Running the code yields the following image:

Conclusion
You’ve successfully used Cloudinary to apply sepia effect to images, dynamically. Cloudinary’s aesthetic effects are an easy way to alter how your images appear on your website or application. You can alter the format, blur and pixelate them, improve their quality, adjust colors, apply filters, and much more. All this is possible with a free Cloudinary account. In addition, Cloudinary offers SDKs (Software Development Kits) for backend, frontend, and mobile development. You can read about the SDKs available in the Cloudinary Documentation.
More from Cloudinary:

