
Adding a blur effect to faces is important for security, privacy, and several other reasons. This article will show you how to accomplish blurring faces using programming and a console.
Why do you need to add blur effects automatically to your images?
There are many reasons for blurring faces. It can prevent unintentionally revealing your location, highlight certain colors and features, or to maintain the privacy of faces.
There are many free online resources that you can use to blur faces in photographs, but these websites do not edit at scale. This is where Cloudinary can help.
Cloudinary is an end-to-end media management platform for websites and applications that enables you to quickly and easily add effects and other aesthetic improvements to your images and video. Cloudinary automatically optimizes your images and videos and delivers them with a small file size while maintaining high visual quality using less bandwidth and providing a better user experience.
Let’s learn how to blur faces in your images with Cloudinary.
Creating an app that blurs all faces in your images
To follow along, you need to install Node JS on your system.
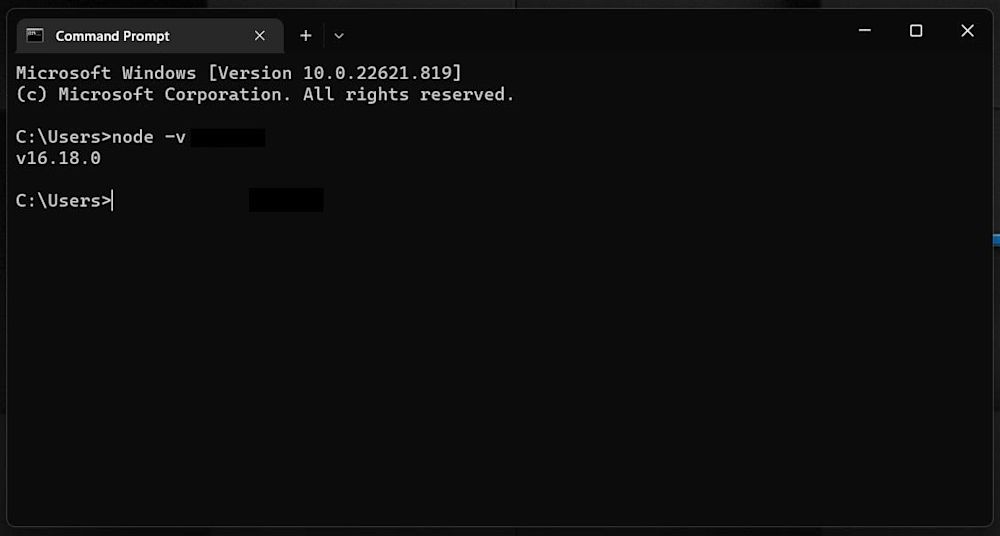
If you’ve successfully installed Node, you can test it out by running the command:
node -v
If you’ve successfully installed Node, you will receive the following output:
Step 1: Creating a React App
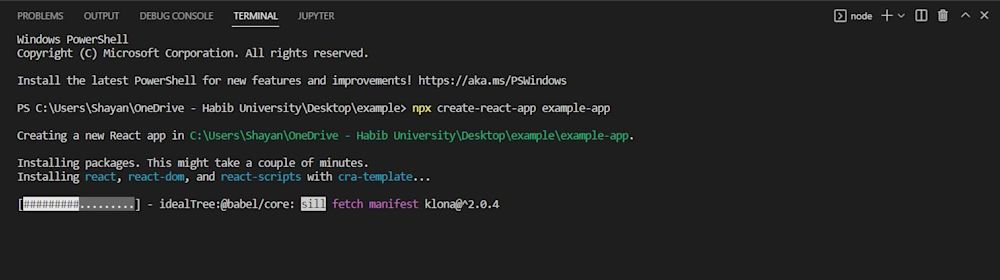
Open up your terminal and navigate to your desired directory. Then, create your React project by running:
npx create-react-app example-app
Note: React provides you with a boilerplate code implementation for your application.
Since we won’t need this for our project, you can ignore the code generated.
Next, open up the terminal in VS Code or the editor of your choice, and navigate to your app directory. Start your app using npm start:

Step 2: Signing up to Cloudinary
Before we can start writing code for our React app, you have to set up Cloudinary. You can create a free account here, however, you won’t need one for this.
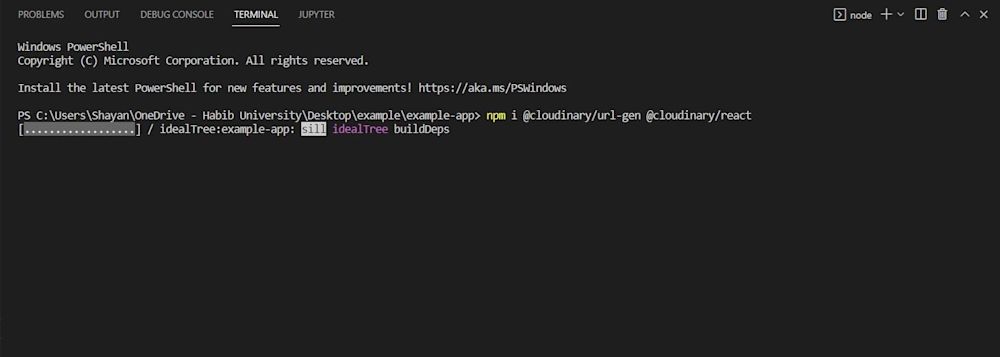
Head to the terminal and type the following command to install the Cloudinary’s JavaScript and React packages:
npm i @cloudinary/url-gen @cloudinary/react
Step 3: Adding an image to the React App
Now it’s time to start coding. Head over to your src directory in your app folder and open App.js. Next, copy and paste the following code:
import React from 'react'
import {Cloudinary} from "@cloudinary/url-gen";

const App = () => {

  // Create a Cloudinary instance and set your cloud name.
  const cld = new Cloudinary({
    cloud: {
      cloudName: 'demo'
    }
  });

};
export default App;
The code above imports and creates an instance of the Cloudinary API. This will help us format and automatically add blurred faces to images.
Note: We are setting the cloudname to demo . However, if you wish to use your own images, first upload them to Cloudinary, then change the cloud name to your cloud.
For this tutorial, we will add an image to our React app. But before we can add any images, we need a format to display them:
import './App.css';

import React from 'react';
import {Cloudinary} from "@cloudinary/url-gen";
import {AdvancedImage} from '@cloudinary/react';
Now, add the image to our React app:
const myImg = cld.image("plain_face.jpg");
Return the image:
  return (
    <div>
      <AdvancedImage cldImg={myImg} controls/>
    </div>
  )
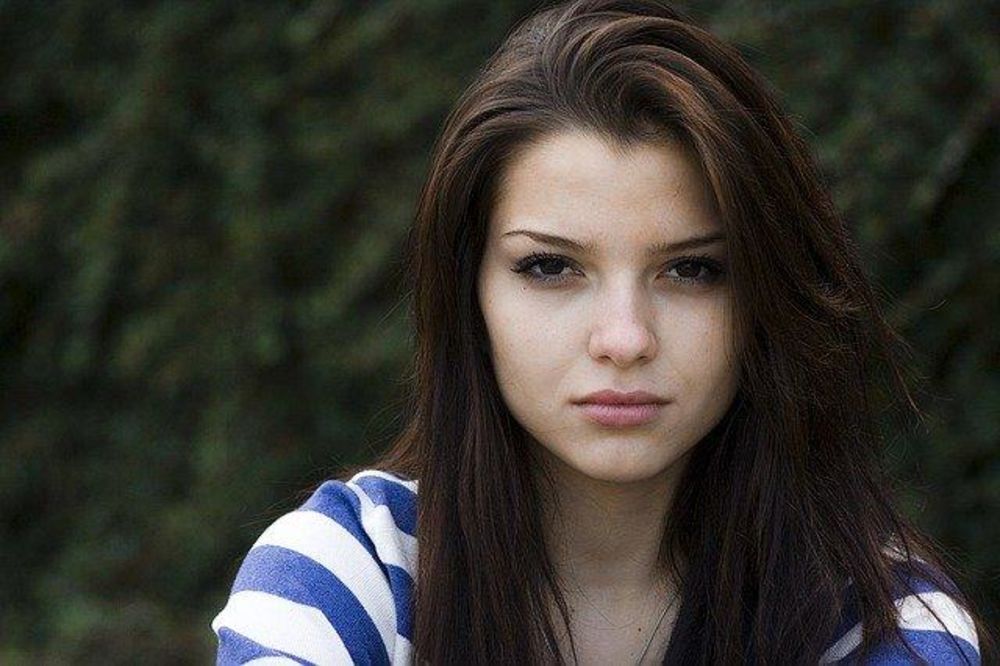
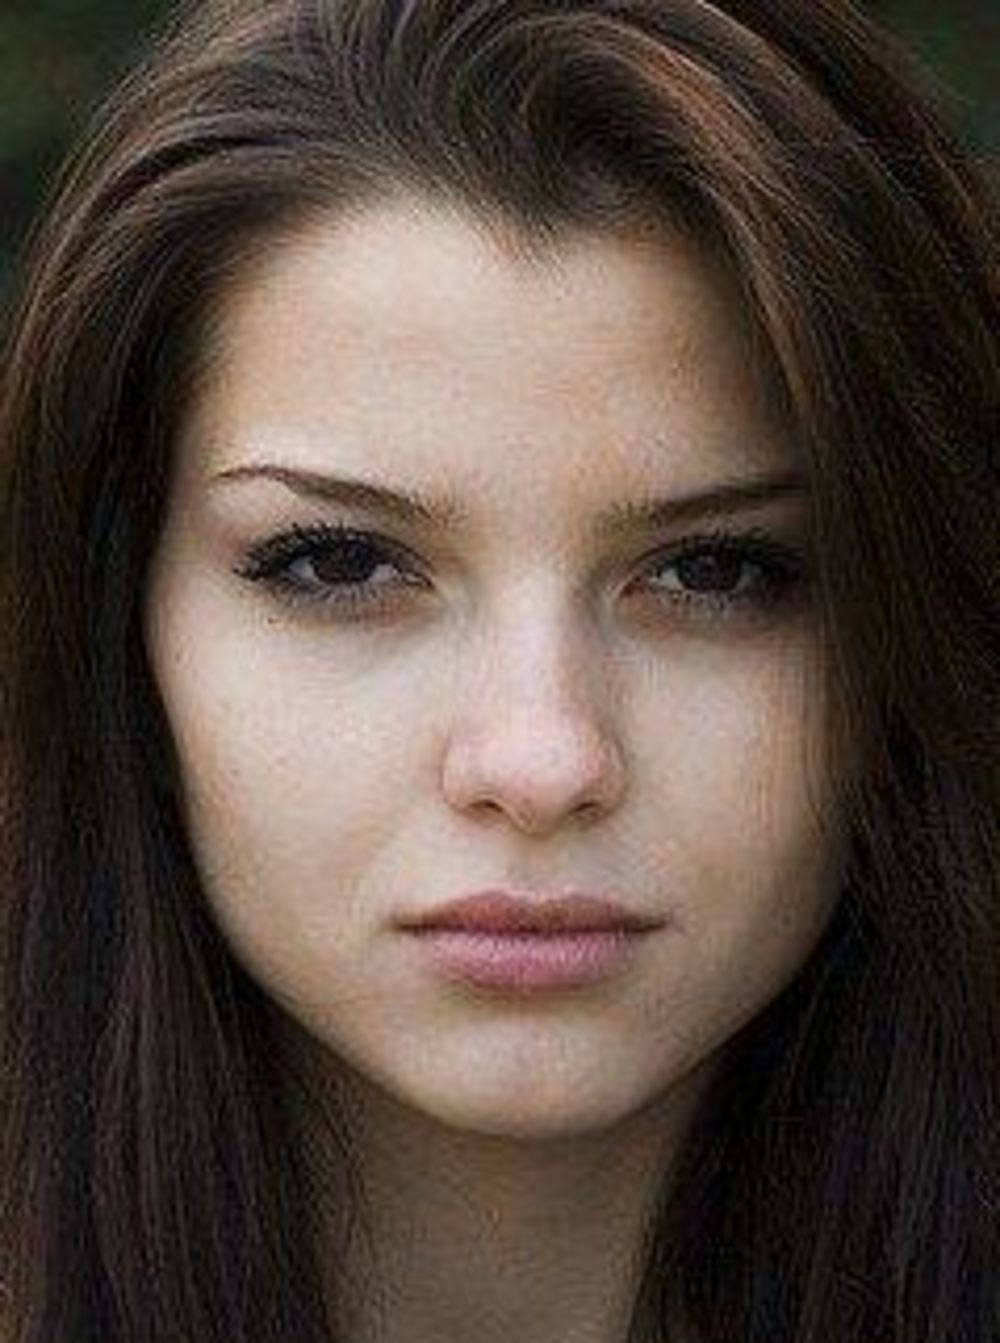
Here’s the sample image returned from the demo cloud:

Step 4: Adding blurred faces to images
The blur effect can now be added. Face-detection techniques from Cloudinary enable automatic changes based on the identified faces in an image.
Let’s make a 200x200 thumbnail focused on the woman’s face. First, import:
import { focusOn } from '@cloudinary/url-gen/qualifiers/gravity';
import {thumbnail, crop} from "@cloudinary/url-gen/actions/resize";
import {FocusOn} from "@cloudinary/url-gen/qualifiers/focusOn";
Next, select the thumb crop mode and add the face parameter for gravity:
  const myImg =  cld.image("docs/plain_face.jpg").resize(
    thumbnail()
      .width(200)
      .height(200)
      .gravity(focusOn(FocusOn.face()))
  );
Here is what the returned image looks like:
Without specifying resize dimensions for the original image, you can also automatically crop to the face area identified by face-detection:
  const myImg =  cld.image("docs/plain_face.jpg").resize(
    crop()
      .gravity(focusOn(FocusOn.face()))
  );
Using the effect parameter, set one of the following values to apply a blur or pixelation effect:
e_blur_faces: automatically blur all faces in the image that are recognized; the intensity of the blur effect is controlled by an extra number that is optional (Range: 1 to 2000, Default: 500).e_pixelate_faces: automatically pixelate all faces in the image. An optional additional parameter determines the pixelation squares’ width (Range: 1 to 200, Default: 5).
To automatically blur the face of the woman in the image, first import the blur transformation and the region to automatically detect her face:
import {blur} from "@cloudinary/url-gen/actions/effect";
import {faces} from '@cloudinary/url-gen/qualifiers/region';
Then add the blur effect with strength specified as 1000:
  const myImg =  cld.image("docs/plain_face.jpg").effect(
    blur()
      .strength(1000)
      .region(faces())
  );
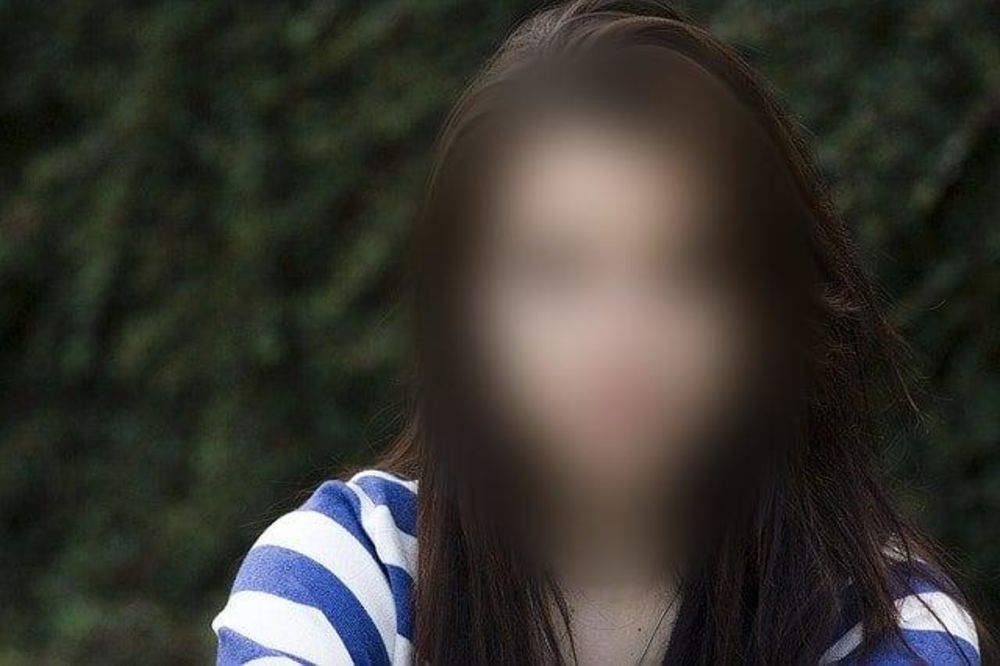
Here is what this looks like:
import './App.css';

import React from 'react';
import {Cloudinary} from "@cloudinary/url-gen";
import {AdvancedImage} from '@cloudinary/react';
import {blur} from "@cloudinary/url-gen/actions/effect";
import {faces} from '@cloudinary/url-gen/qualifiers/region';

const App = () => {

  // Create a Cloudinary instance and set your cloud name.
  const cld = new Cloudinary({
    cloud: {
      cloudName: 'demo'
    }

  });

  const myImg =  cld.image("docs/plain_face.jpg").effect(
    blur()
      .strength(1000)
      .region(faces())
  );

  return (
    <div>
      <AdvancedImage cldImg={myImg} controls/>
    </div>
  )
};
export default App;
Run the code. Here is the result:
Using the Cloudinary Console
In addition to using the Cloudinary API, you can use the Cloudinary Console to add transformations such as blur faces to your images.
First, go to the Cloudinary website and login to your free account:

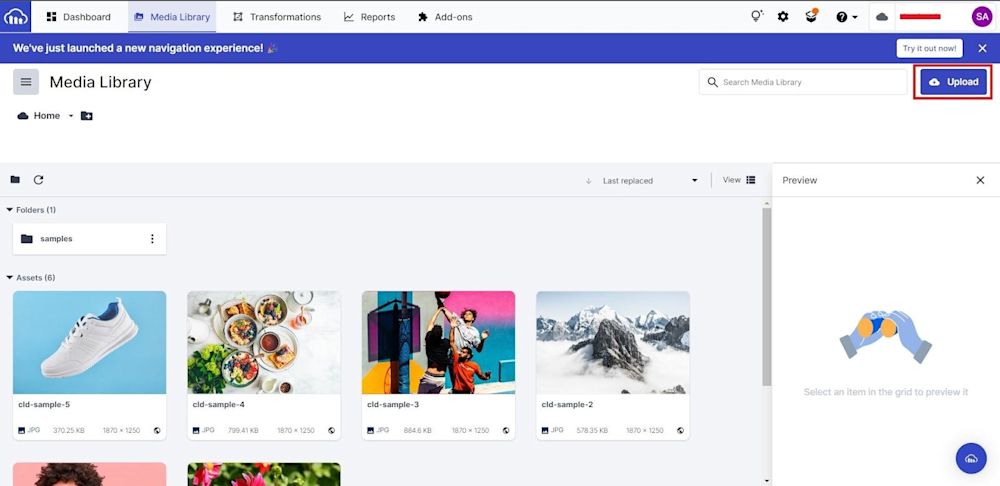
You will be directed to the Dashboard. You will need to upload your image to the cloud. To do this, click on the Media Library tab on the top:

Then click on the Upload button:
/>
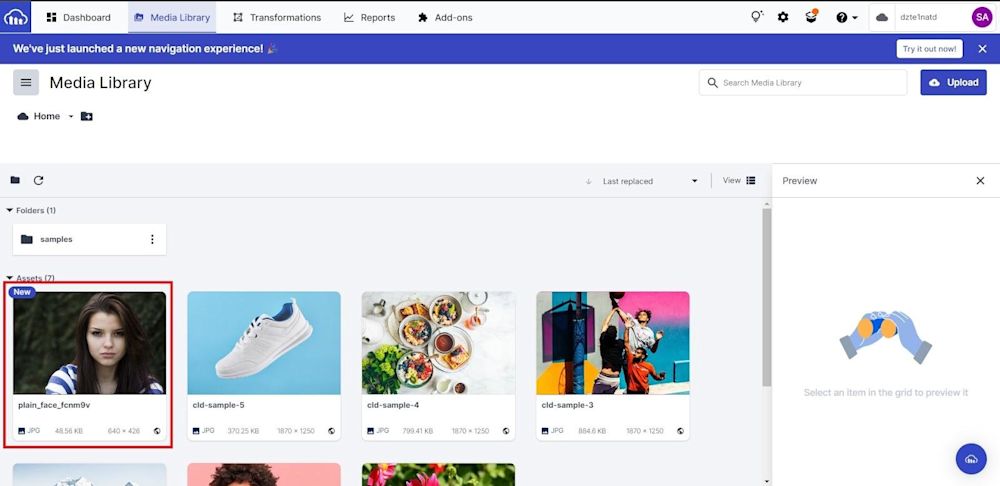
Here, you can select various methods of uploading our image. After uploading, you’ll be redirected back to the Media Library page where you can see your uploaded image along with its unique Public ID (the unique identifier for an asset stored in Cloudinary).
Note: You can change the Public ID to whatever you like but for this tutorial, we kept it the same.
Copy the Public ID of your image and then click on the Transformations Tab at the top of the page:

Note: The Transformations page is where you can add or create different transformations to your images.
Click on Add New to start creating transformations:

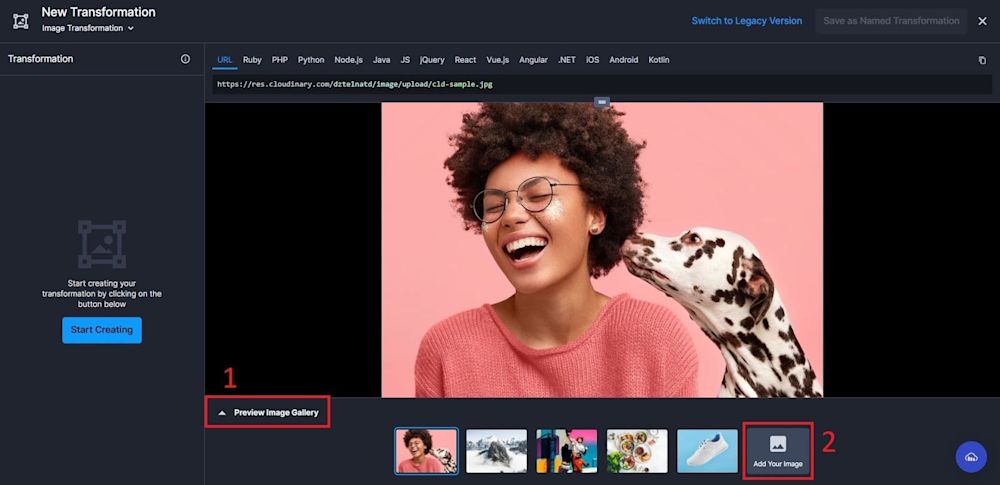
Now, open up the Preview Image Gallery tab at the bottom of the page and select the Add Your Image button:
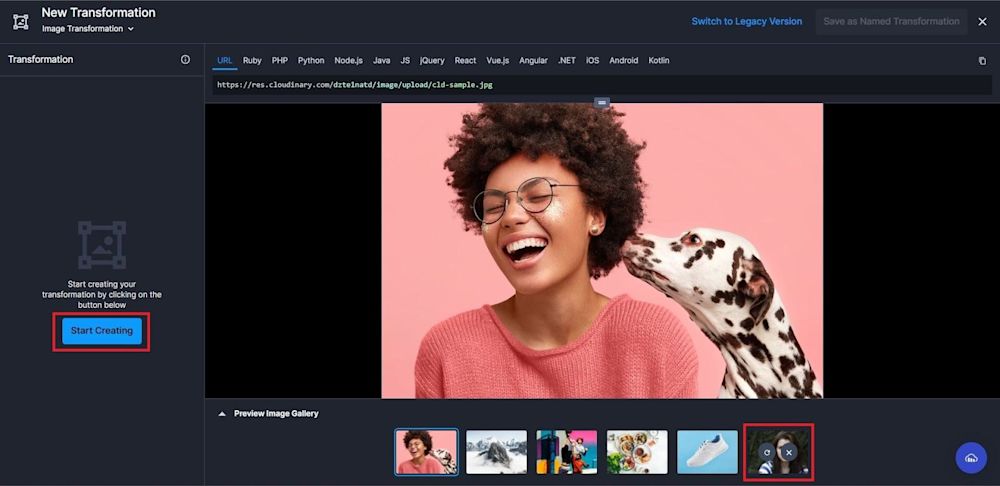
Here, you will paste your image Public ID. Select your image and click on the Start Creating button on the left panel:
This will open up the select action tab on your page.
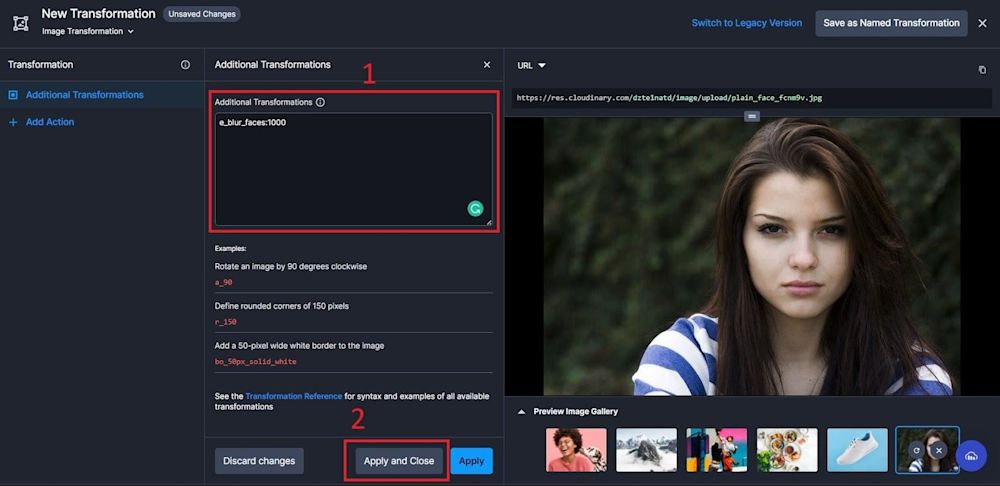
Scroll down and select the Additional Transformation button. Add the following command to the text box to blur faces in the image. Click Apply and Close:
e_blur_faces:1000
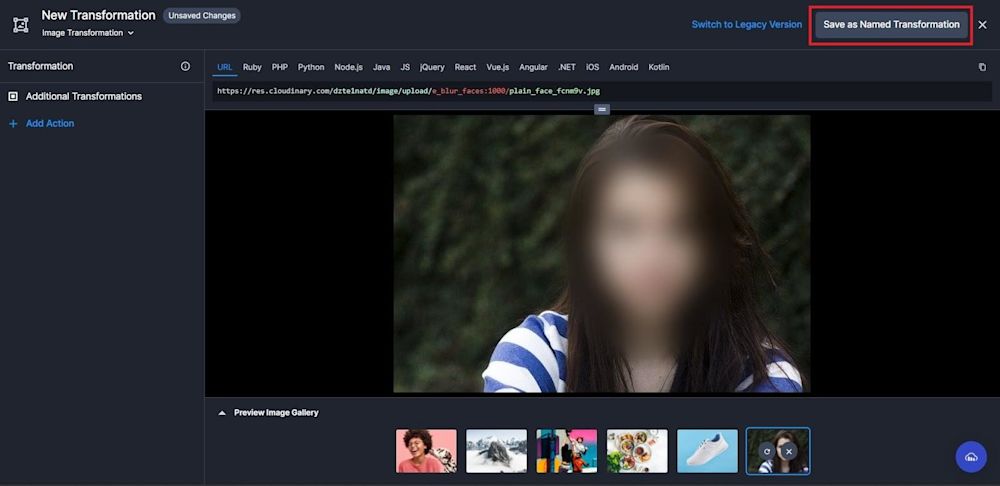
Here is the resulting image:

Finally, click on Save as Named Transformation:
/>
Conclusion
You can simply conceal a person’s face before sharing an image to prevent issues.
Your media can be easily managed with Cloudinary, and there are many benefits to using the platform. Using AI, Cloudinary can dynamically crop and resize images to focus on key elements. Cloudinary uses intelligent, responsive breakpoints to implement dynamic cropping. It has optimization features and options to make sure that your photographs are delivered to users as efficiently as possible.
For more details, check out the Cloudinary Documentation.
More from Cloudinary:
Automatically Add Background Removal Effect to an Image

