As websites become increasingly media-rich, balancing high-quality images and loading speed becomes a delicate dance. For web developers, ensuring that media content is visually stunning and efficiently loaded is paramount. This article delves into the art and science of resizing images with JavaScript, a fundamental technique in media optimization and image transformation strategies.
This article aims to dive deep into the realm of image optimization, specifically focusing on the technique of resizing images using JavaScript. Whether coding manually or leveraging sophisticated tools like Cloudinary, understanding how to resize images effectively is crucial for any web developer looking to enhance their website’s speed and visual appeal.
In this article:
- Why Image Resizing is Crucial for Web Development
- Understanding the Basics of Image Resizing in JavaScript
- Step-by-Step Guide: Resizing Images with JavaScript
- Advanced Techniques and Best Practices for Resizing with JavaScript
- Resizing Images at Scale with JavaScript and Cloudinary
Why Image Resizing is Crucial for Web Development
In web development, image optimization, specifically resizing, is crucial. Large, heavy images often impede a webpage’s load time and consume unnecessary bandwidth, leading to a less satisfying user experience. By resizing images with JavaScript, developers can effectively reduce image size without compromising quality, akin to optimally packing a suitcase – fitting all essentials in while maintaining a manageable weight.
Resized and optimized images contribute to faster web page loading times, enhancing user experience, reducing bounce rates, and potentially boosting user engagement. Plus, search engines favor fast, user-friendly websites, so resized images can significantly improve your SEO rankings and online visibility.
Understanding the Basics of Image Resizing in JavaScript
Web development is a balancing act. We need high-quality graphics to engage users, but these often lead to longer load times. Resizing is our secret weapon to combat this. It involves reducing images’ dimensions and ensuring top-quality visuals with minimal size—essentially tighter, more efficient packaging of pixel data.
But how can JavaScript help?
The canvas element allows for dynamic, scriptable rendering of images. We can effectively change image dimensions using the drawImage() method, passing width and height parameters as desired. It’s as simple as:
let canvas = document.createElement('canvas');
canvas.width = desiredWidth;
canvas.height = desiredHeight;
let context = canvas.getContext('2d');
context.drawImage(img, 0, 0, desiredWidth,  desiredHeight);
This native JavaScript method ensures optimal resizing without straining load times.
Step-by-Step Guide: Resizing Images with JavaScript
Optimizing images is crucial for enhancing site performance and user experience. Let’s dive into a simple, effective method for image resizing that can be integrated into your web projects.
Loading the Image
Before resizing an image, you must load it into your JavaScript code. You can create a new `Image` object and set its `src` attribute to the image’s URL.
var img = new Image();
img.src = 'path/to/your/image.jpg';
img.onload = function() {
  // Image is loaded; now, resize it
  resizeImage(img);
};
This code snippet creates an image object and triggers the resizeImage function once the image is fully loaded.
Resizing the Image
The core of resizing an image in JavaScript involves the HTML <canvas> element, which can be used to draw and manipulate images in the browser.
function resizeImage(image) {
  var canvas = document.createElement('canvas');
  var maxWidth = 800; // Define the maximum width of the image
  var maxHeight = 600; // Define the maximum height of the image
  var width = image.width;
  var height = image.height;

  // Calculate the new dimensions, maintaining the aspect ratio
  if (width > height) {
    if (width > maxWidth) {
      height *= maxWidth / width;
      width = maxWidth;
    }
  } else {
    if (height > maxHeight) {
      width *= maxHeight / height;
      height = maxHeight;
    }
  }

  // Set the canvas dimensions to the new dimensions
  canvas.width = width;
  canvas.height = height;

  // Draw the resized image on the canvas
  var ctx = canvas.getContext('2d');
  ctx.drawImage(image, 0, 0, width, height);

  // Insert the canvas into the DOM or use it otherwise
  document.body.appendChild(canvas);
}
This function creates a canvas, calculates the new image dimensions while maintaining the aspect ratio, and then draws the resized image on the canvas. Finally, it adds the canvas to the document to display the image on the webpage.
Here are some of the parameters used in the above code for a better understanding:
maxWidthandmaxHeight: These define the maximum dimensions for the resized image, ensuring it doesn’t exceed a certain size.widthandheight: The current dimensions of the image.canvas.widthandcanvas.height: The dimensions of the canvas, which are set to the new dimensions of the image.ctx.drawImage(): This method draws the image onto the canvas. The parameters `0, 0` specify the x and y coordinates on the canvas where the image should be placed, while `width` and `height` specify the size of the image.
Cloudinary allows you to easily transform your images on the fly to any required format without the need for coding skills. Simply upload your images to Cloudinary and deliver them in your desired format via URL.
Advanced Techniques and Best Practices for Resizing with JavaScript
Elevating web performance through advanced image resizing techniques in JavaScript enhances user experience and bolsters SEO. Here are some more advanced methods you can consider trying:
- Utilize Progressive Loading. Implement progressive image loading to display a low-resolution image first, gradually increasing its quality. This technique keeps users engaged while the full-resolution image loads in the background.
- Adopt Responsive Images. Use JavaScript to dynamically serve different image sizes based on the user’s device, optimizing download times and improving responsiveness. The `srcset` attribute in HTML5 works hand-in-hand with JavaScript to facilitate this.
- Leverage Compression Algorithms. Before resizing, apply image compression algorithms to reduce file size without compromising quality. JavaScript libraries like `
compressor.js` offer easy integration for this purpose. - Incorporate Caching Mechanisms. Cache resized images using service workers. This saves bandwidth and ensures faster loading times on subsequent visits.
Resizing Images at Scale with JavaScript and Cloudinary
Efficiently managing and resizing images can be quite a hurdle, especially when handling a large volume of media. While effective for smaller tasks, traditional JavaScript methods often fall short regarding scalability and performance.
Manually resizing images with JavaScript involves loading the entire image into memory, manipulating its dimensions using the HTML `<canvas>` element, and saving the output. Although straightforward for individual images, this process becomes increasingly cumbersome and resource-intensive as the number of images grows. It strains your server and leads to inconsistent results across different devices and browsers.
Cloudinary offers an elegant, scalable solution for image resizing. Through its robust API and simple Transformation URLs, Cloudinary allows developers to resize images on the fly without needing pre-processing or manual intervention.
How to Resize Images with Cloudinary
- Upload your image to Cloudinary. You can upload your image through Cloudinary’s web-based interface or their API. Once uploaded, each image is accessible via a unique URL.
- Apply the resize transformation. Cloudinary’s URL structure makes it easy to apply transformations. For example, to resize an image to a width of 300 pixels, you would modify the URL as follows:
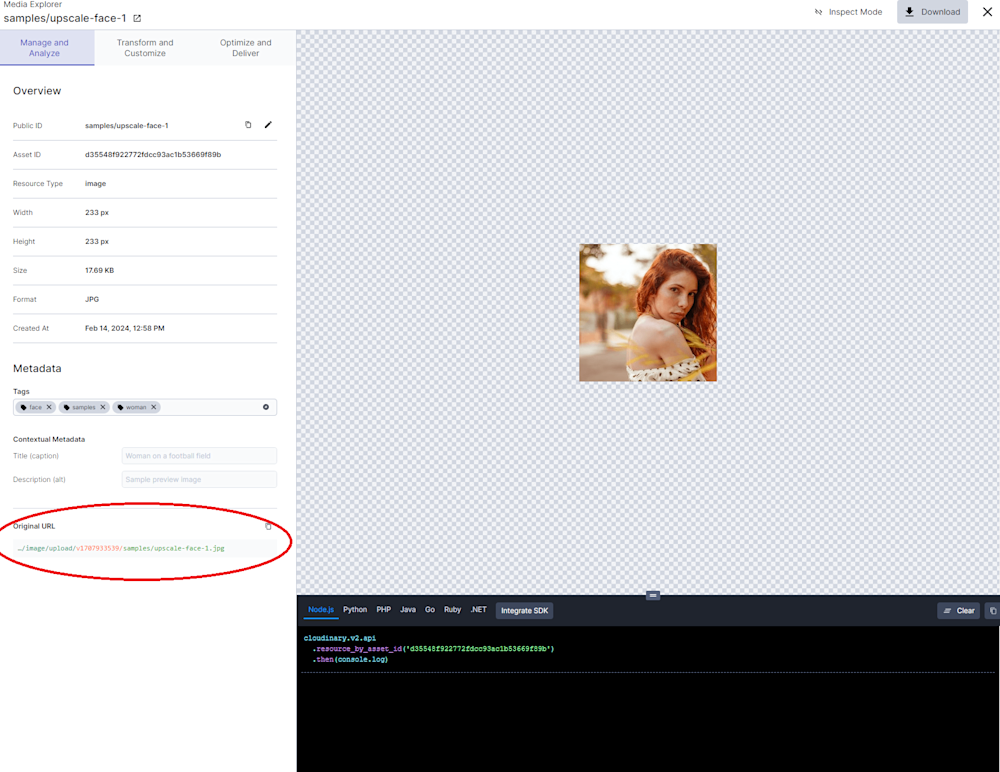
https://res.cloudinary.com/your_account/image/upload/w_300/your_image.jpg
- Serve the image. The transformed image is ready to be served directly to your users, perfectly optimized for their devices.
This method ensures that images are only resized when requested, significantly reducing the load on your servers and streamlining the delivery process. Moreover, Cloudinary’s intelligent caching system means that once an image is resized, it’s stored and instantly available for subsequent requests, further enhancing performance.
Wrapping Up
The importance of resizing images for web development cannot be overstated. It’s a crucial step in optimizing your website’s performance, enhancing user experience, and improving your SEO rankings. While traditional JavaScript methods offer a manual approach to resizing images, they often fall short when dealing with large volumes of media or ensuring optimal performance across diverse devices and browsers.
With its powerful API and easy-to-use features, Cloudinary streamlines the image resizing process and offers tools to elevate your site’s overall media handling capabilities. Start optimizing your images with Cloudinary today and experience a noticeable improvement in your website’s performance and user engagement.

