Web aesthetics are a crucial factor in nailing user experience, with gradient fades offering a smooth, visually pleasing alternative to making abrupt shifts in color or transparency. Widely recognized as modern web design currency, gradient fades seamlessly elevate images and interfaces, creating a sense of depth, harmony, and visual intrigue.
Whether you’re a beginner or an experienced developer, this guide will simplify the concept of gradient fades and teach you how to craft them effectively.
In this article:
- What is a Gradient Fade?
- How to Create Gradient Fades with Different Programs
- Optimizing Images with Gradient Fades for Better Performance
- Cloudinary’s Gradient Fade Feature
- Step-by-Step Guide: Implementing Gradient Fades with Cloudinary
What is a Gradient Fade?
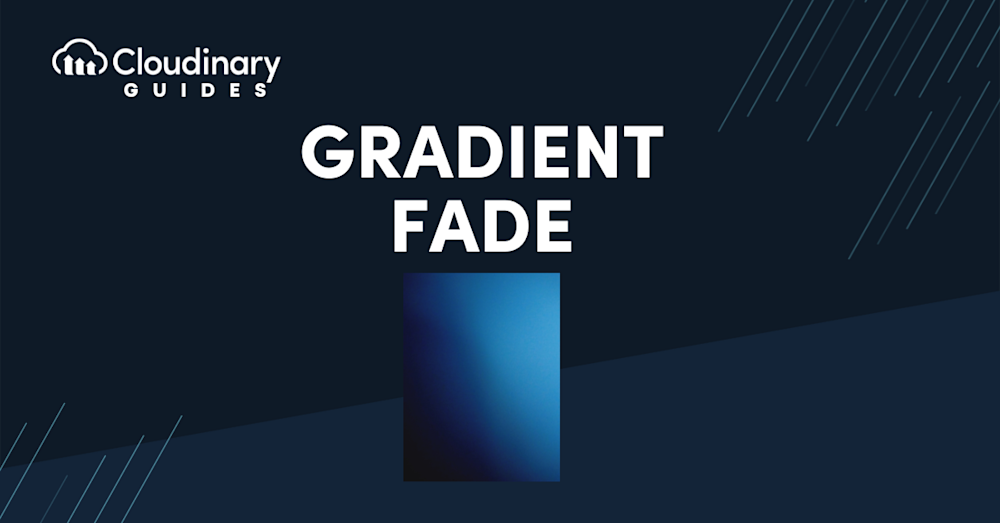
A gradient fade is a visual technique where two colors transition smoothly. This transition can be linear or radial, offering a spectrum of aesthetic effects. For a subtle background or a bold overlay, gradient fades bring a dynamic, almost fluid quality to your designs. Gradient fades are more than just a pretty feature, they’re a tool. It’s about creating a visual flow, guiding the viewer’s eye across the design in an intuitive and pleasing way.
The Role of Gradient Fades in Modern Web Design
Now, let’s talk about why gradient fades matter, especially in modern web design. Today, websites aren’t just information portals; they’re experiences. Users expect not only functionality but also an engaging visual journey. This is where gradient fades shine. They add depth, dimension, and emotion to what might otherwise be a flat, uninspiring page.
Consider the psychological impact of colors and how they blend. A well-crafted gradient can evoke calmness, excitement, or even curiosity. It’s not just about aesthetics; it’s about user experience. By skillfully using gradient fades, you enhance the visual appeal and subtly influence how users feel and interact with your site.
How to Create Gradient Fades with Different Programs
Creating gradient fades is relatively straightforward with the right tools. Let’s explore how to craft these gradients in various popular design programs.
- Photoshop – Start by adding a new layer to your project. This layer will be your canvas for the gradient. Next, add a layer mask. This mask is where you’ll apply your gradient. Use the Gradient tool to draw a line across your image. This line determines the direction and extent of your gradient fade.
- Paint.NET – Here, you’ll use the Gradient Tool’s transparency mode. This feature is perfect for blending two images or creating a fade effect. You can adjust the direction and intensity of the fade, allowing for a range of creative possibilities.
- Figma – Drop your desired image onto the canvas. Then, create a shape layer and apply a gradient to it. This gradient layer acts as a mask for your image, allowing you to manipulate how the colors fade and interact.
- Illustrator – Start by choosing your gradient colors. Drag and drop these colors onto the gradient slider. The key here is to adjust the opacity settings. This control lets you determine how subtle or bold your fade will be. It’s all about finding the right balance that fits your design vision.
Optimizing Images with Gradient Fades for Better Performance
Not all formats handle gradients equally. Formats like JPEG are excellent for complex images but can sometimes lead to banding in gradients. PNGs handle gradients well, but they can be larger in file size. Here’s where experimenting with formats like WebP can be beneficial. They balance quality and file size, making them ideal for web use.
Next up, compression. The trick is to compress the image without losing the smoothness of your gradient. Aggressive compression can introduce artifacts, ruining the subtle transition of colors. Tools like Cloudinary offer smart compression, which intelligently reduces file size while preserving the quality of your gradient.
Finally, consider responsive design. Your gradient fades need to look good on all devices and screen sizes. This means creating multiple versions of the image optimized for different resolutions.

Cloudinary’s Gradient Fade Feature
Cloudinary automates the optimization process. Upload your image with or without the gradient fade, and Cloudinary takes care of the rest. It intelligently selects the best format and compression level, ensuring your image looks great without slowing down your site. Want to adjust the gradient’s direction or intensity? No problem. Need to apply the gradient to a set of images? Easy. All of this can be done on-the-fly, with simple URL parameters.
Another standout feature is the ability to create responsive images. Cloudinary automatically generates multiple versions of your image, each optimized for different devices and resolutions. This means your gradient fades will look perfect whether viewed on a desktop, tablet, or smartphone. With their global CDNs, images are delivered quickly, no matter where your users are. Combined with the optimized file sizes, this means your website remains fast and responsive.
Cloudinary’s gradient fade feature is a powerful tool in your web design arsenal. It simplifies the process, from creation to optimization, ensuring that your gradient fades look stunning and contribute to your site’s overall performance.
Step-by-Step Guide: Implementing Gradient Fades with Cloudinary
Now that we know what Cloudinary can do with our images, let’s break down how to implement a gradient fade with it:
- Upload Your Image to Cloudinary. This can be an existing image or a new one if you want to apply a gradient fade. You can sign up for a free account and get started in minutes.
- Choose Your Gradient Style. Once your image is uploaded, decide on the style of gradient fade you want. Do you prefer a linear gradient or a radial one? What colors will you use in the gradient? Cloudinary’s interface lets you experiment with different styles until you find the perfect match for your design.
- Apply the Gradient Fade With Cloudinary, applying the gradient fade is as easy as adjusting a few settings. You can directly control the direction, intensity, and color of the gradient on the platform. This is where your creativity comes into play.
- Optimize for Performance. After applying the gradient, it’s time to optimize the image. Cloudinary automatically suggests your image’s best format and compression settings (using
q_autoandf_auto), ensuring it looks great without compromising your site’s performance. - Make It Responsive. The final step is to ensure your image with the gradient fade is responsive. Cloudinary provides tools to create different versions of your image, each optimized for various screen sizes and resolutions. This ensures that your gradient fades look fantastic on any device.
- Embed in Your Website. Embed the optimized, responsive image into your website. Cloudinary provides a URL for the image, which you can easily insert into your site’s HTML or CSS. This integration is seamless, making the whole process efficient and developer-friendly.
Closing Thoughts
Gradient fades are versatile and powerful tools that enhance your website’s aesthetic appeal and user experience. By mastering gradient fades you can create visually engaging designs that are beautiful and functional.
Cloudinary stands out as an invaluable resource in this process. It simplifies and streamlines every aspect of working with gradient fades, from creation to optimization. Whether you’re a seasoned developer or new to web design, Cloudinary’s gradient fade feature offers an easy-to-use, efficient solution for incorporating stunning visual effects into your web projects.
Ready to give it a try? Sign up for a free account and get started today!

