Images are used for a variety of use cases; advertising, preserving memories, and highlighting beauty to name a few. Sometimes, a perfect image might be ruined by a flaw such as an undesirable object or from harsh lighting. When a flaw draws a viewer’s attention away, you may want to consider removing the background from the image.
This post will discuss how to automatically remove a background from an image—and at scale.
In this article:
- Why is background removal useful?
- What is Cloudinary?
- Getting started
- How to remove background when uploading images to Cloudinary
- How to remove background programmatically from images
- Removing the background from images programmatically at scale
Why is background removal useful?
Sometimes there are unwanted items in an image, and rather than taking time to re-shoot them, background removal can be the most efficient process.
Although you can accomplish background removal through traditional tools, these tools require large amounts of time. Many free online tools state they can automatically remove backgrounds, but these tools often yield random and sporadic results. Enter Cloudinary.

What is Cloudinary?
With Cloudinary, you can automatically perform background removal effects, at scale. It uses machine learning and artificial intelligence to quickly and accurately identify the main foreground before removing the background. What’s more, Cloudinary can perform this on multiple images simultaneously.
So let’s move ahead and see how you can use Cloudinary to remove backgrounds from your images
Getting started
To remove backgrounds from images using Cloudinary, first create a free account.
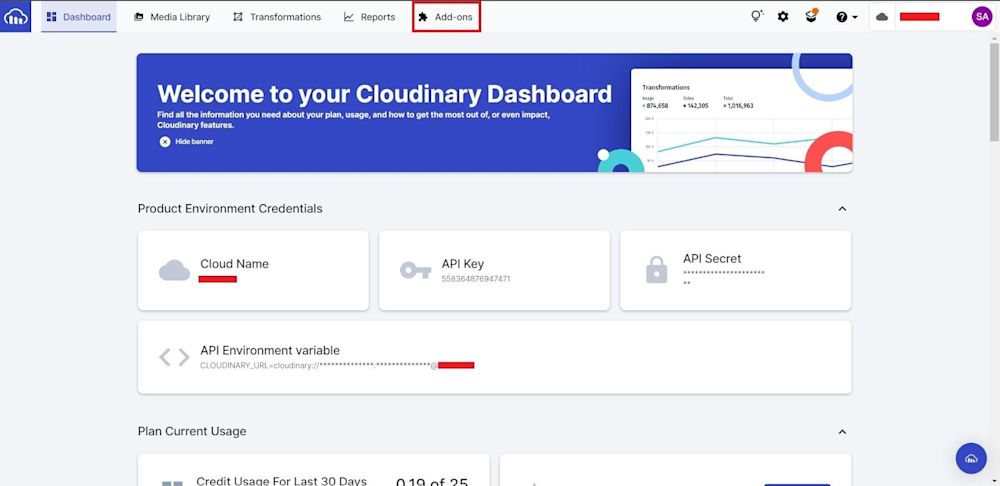
Additionally, you must have the Node JS SDK installed on your PC, and register for the “Cloudinary AI Background Removal” add-on. To register, login to your account and navigate to the “Add-ons” tab:
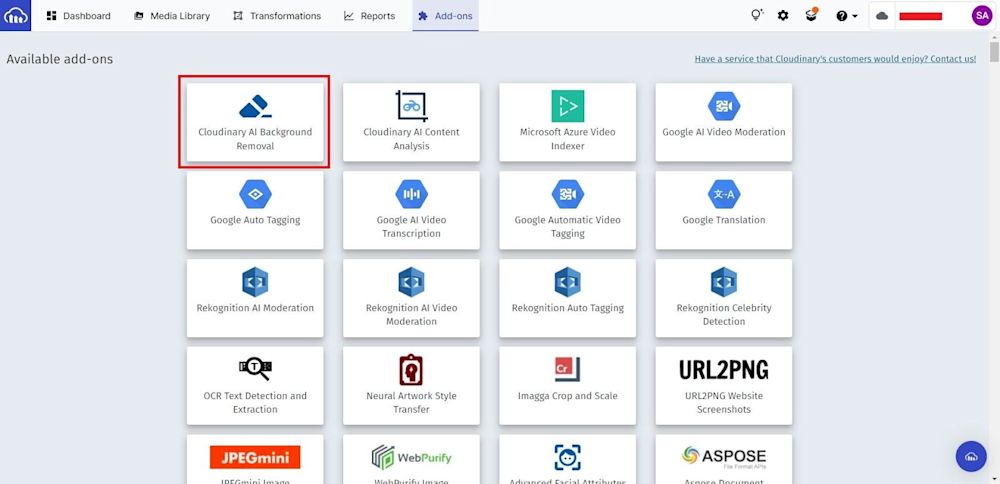
Scroll down and select the “Cloudinary AI Background Removal” add-on:
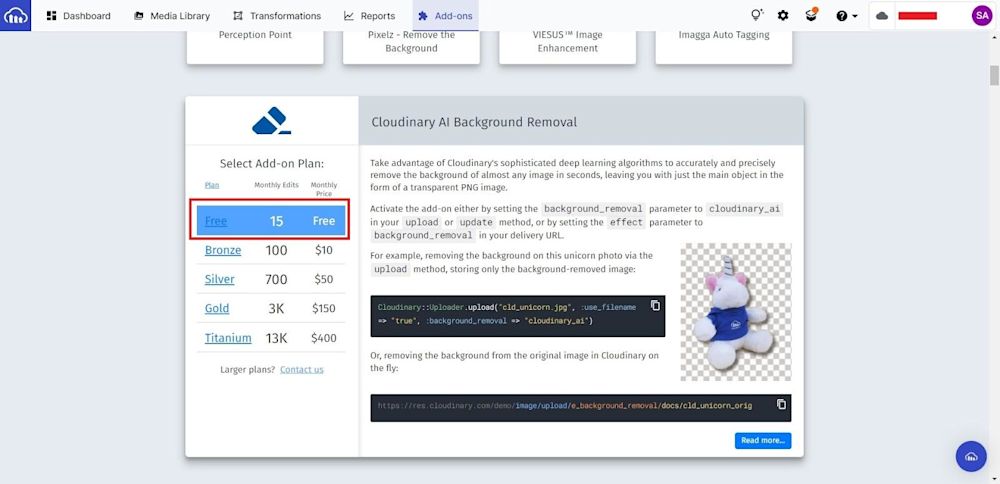
Then choose the best plan for you. The free plan is what we will use in this tutorial:
Now that you’ve set up your account, it’s time to start removing backgrounds from images!
How to remove background when uploading images to Cloudinary
Cloudinary allows you to request background removal a few ways; either when uploading images to Cloudinary (from your server-side code or directly from the browser) or updating an existing image, either programmatically or interactively.
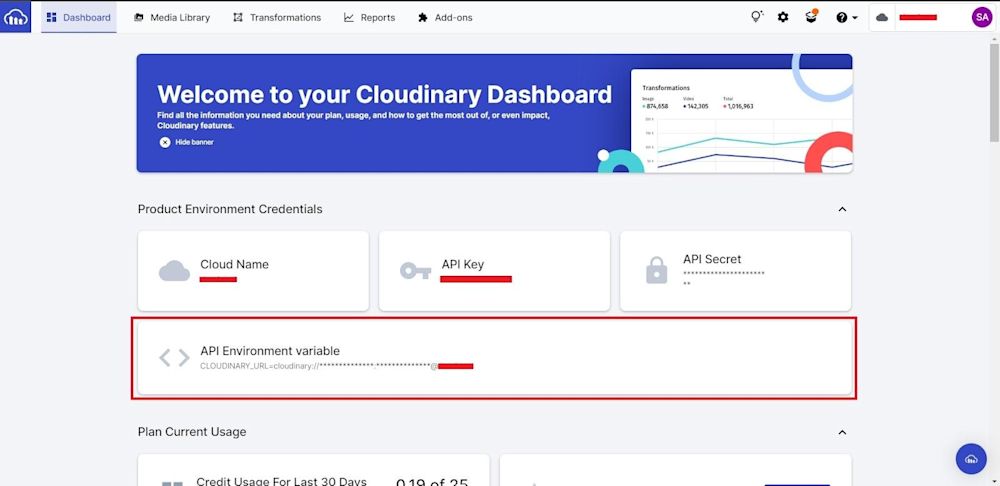
Let’s start by creating a JS script that uploads images to the cloud. To do this, you’ll first need your Cloudinary environment variable. Retrieve this by clicking on “Dashboard” and looking at the API Environment variable as shown below:
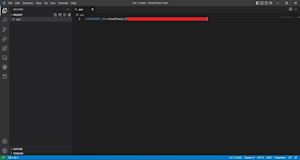
Then, create a project folder on your computer. Open the folder and create a file with an .env extension. Open this file and paste your environment variable:
Next, set up your upload environment. You’ll use two different libraries, the Cloudinary Node JS SDK and the dotenv, allowing the development environment to use your Cloudinary account credentials to upload assets. Open the terminal and navigate to your project folder. Run the following commands to install the libraries:
npm install dotenv
npm install cloudinary
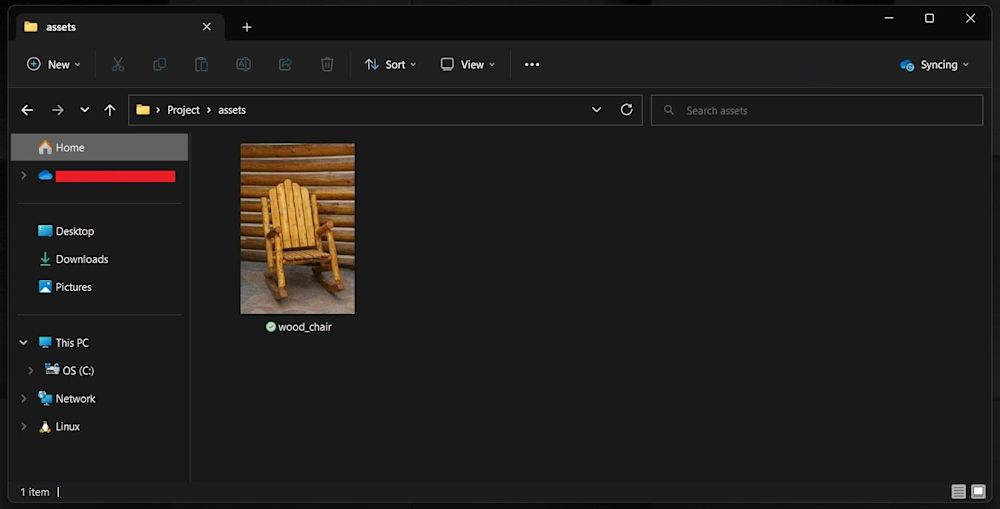
Create an assets folder in your project folder and add the images you want to upload:
Now set up the upload script. Create a file named Upload.js in your project folder and import the relevant libraries:
// Reads the Cloudinary Environment variable
require("dotenv").config();

// Using V2 of Cloudinary Node JS SDK
const cloudinary = require("cloudinary").v2;

// Picking up env and configuring
console.log(cloudinary.config().cloud_name);
Call the upload API and reference the file you want to upload:
// Calling upload API
cloudinary.uploader
.upload("assetswood_chair.jpg", {
    // Specifying the resource type of the image
    // image is the default resource type even if
    // you don't specify
    resource_type: "image", public_id: "wood_chair"
})
.then((result) => {

    // JSON.stringify will provide output in a formatted
    // string
    console.log("success", JSON.stringify(result, null, 2));

})
.catch((error) => {
    console.log("error", JSON.stringify(error, null, 2));
});
Then, run the code using Node:
node Upload.js
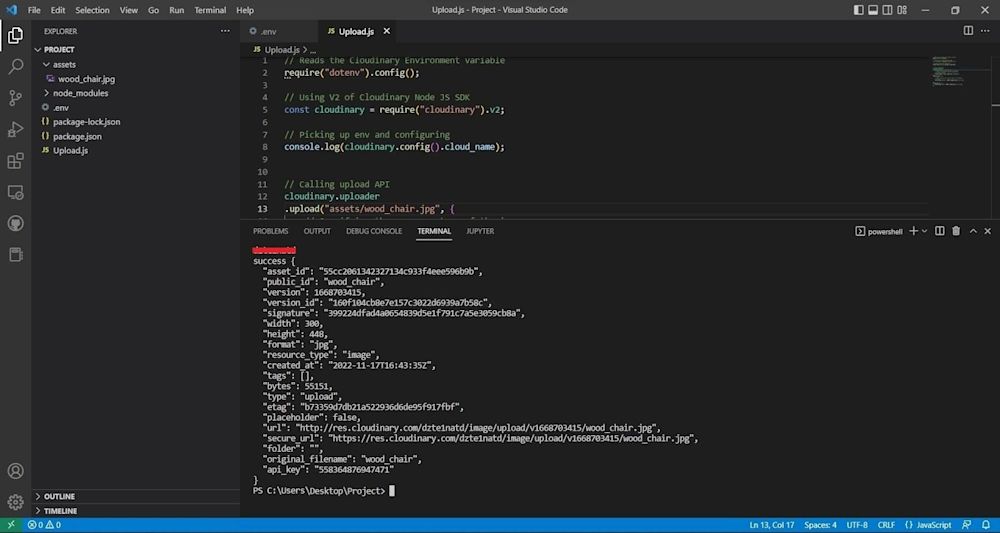
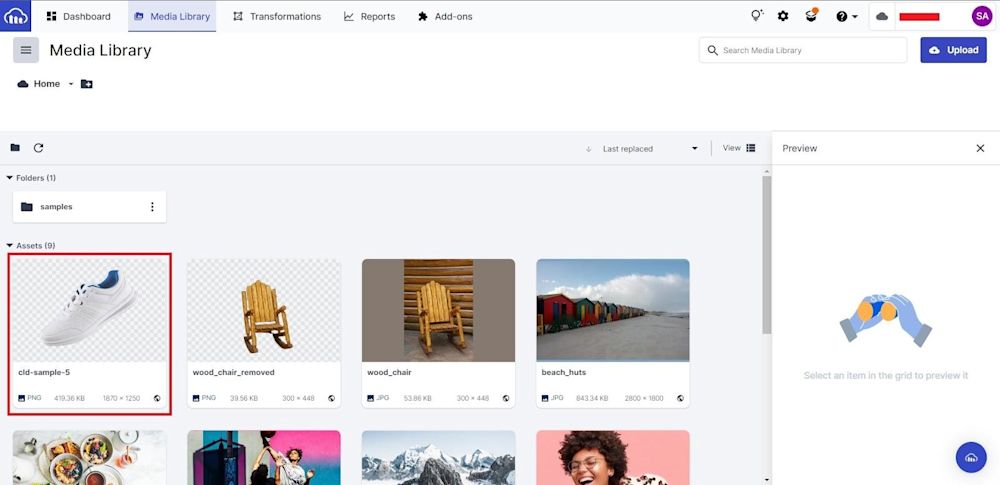
You can view the uploaded image by using the URL provided in the terminal or going to the “Media Library” tab in Cloudinary:

You’ll notice the image name carried over from upload. The image name is also called the Public ID in Cloudinary.
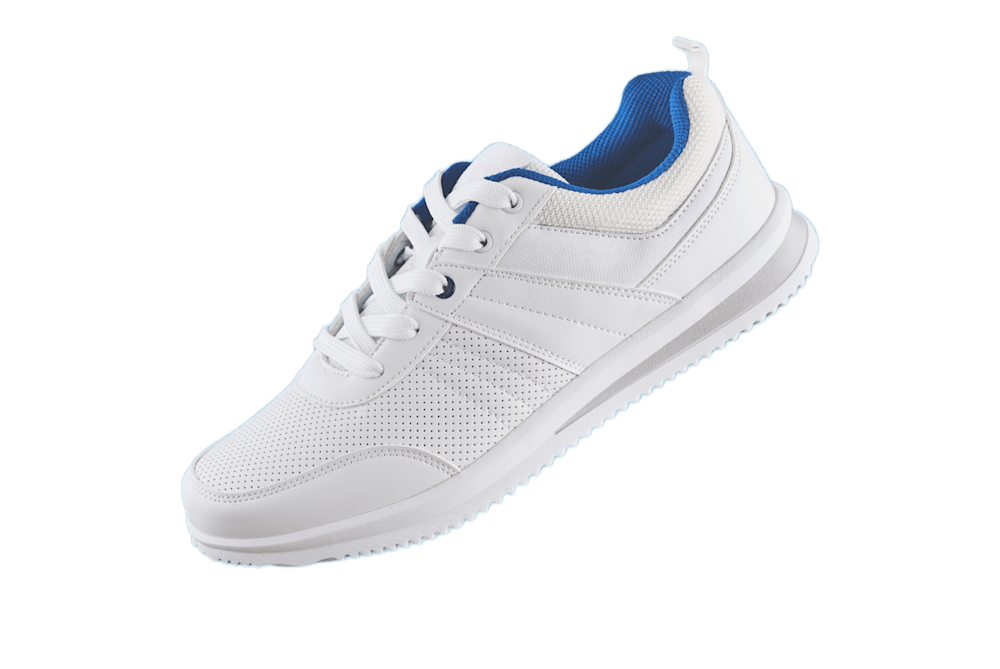
Here is the uploaded image:

To remove the background from the image, simply modify the upload API by adding background_removal and specifying it as "cloudinary_ai":
// Calling upload API
cloudinary.uploader
.upload("assets/wood_chair.jpg", {
    // Specifying the resource type of the image
    // image is the default resource type even if
    // you don't specify
    resource_type: "image", public_id: "wood_chair_removed",

    // Adding Background Removal
    background_removal: "cloudinary_ai"
})
.then((result) => {

    // JSON.stringify will provide output in a formatted
    // string
    console.log("success", JSON.stringify(result, null, 2));

})
.catch((error) => {
    console.log("error", JSON.stringify(error, null, 2));
});
In addition, we also change the public_id (the unique identifier for an asset stored in Cloudinary) to wood_chair_removed in order to avoid overriding the existing image on the cloud.
Here is the final code to remove the background from the image:
// Reads the Cloudinary Environment variable
require("dotenv").config();

// Using V2 of Cloudinary Node JS SDK
const cloudinary = require("cloudinary").v2;

// Picking up env and configuring
console.log(cloudinary.config().cloud_name);

// Calling upload API
cloudinary.uploader
.upload("assets/wood_chair.jpg", {
    // Specifying the resource type of the image
    // image is the default resource type even if
    // you don't specify
    resource_type: "image", public_id: "wood_chair_removed",

    // Adding Background Removal
    background_removal: "pixelz"
})
.then((result) => {

    // JSON.stringify will provide output in a formatted
    // string
    console.log("success", JSON.stringify(result, null, 2));

})
.catch((error) => {
    console.log("error", JSON.stringify(error, null, 2));
Running the code yields the following image:

How to remove background programmatically from images
Now, let’s look at how to update images in the cloud. First, upload a sample image to the cloud. The image named cld-sample-5 (this is also the image Public ID) provided in your free account will be used for this tutorial:

Create a new file in your project folder named Update.js, and use the same libraries from previously. Call the Cloudinary API with the .update method while specifying the public_id of the image and the background removal transformation you want to apply:
// Reads the Cloudinary Environment variable
require("dotenv").config();

// Using V2 of Cloudinary Node JS SDK
const cloudinary = require("cloudinary").v2;

// Picking up env and configuring
console.log(cloudinary.config().cloud_name);

// Updating the Image
cloudinary.api.
update("cld-sample-5",
  { background_removal: "cloudinary_ai"})
.then(result=>console.log(result));
In the Cloudinary Media Library, you’ll see the following:
Running the code yields the resulting image:
Additionally, you can use the API to remove backgrounds from images on the fly. Let’s remove the background from wood_chair, which was previously uploaded:

Using the same code as above, simply call the image using cloudinary.image and specify the effect parameter as "background_removal". Here is the final code:
// Reads the Cloudinary Environment variable
require("dotenv").config();

// Using V2 of Cloudinary Node JS SDK
const cloudinary = require("cloudinary").v2;

// Picking up env and configuring
console.log(cloudinary.config().cloud_name);

// Retrieving image while specifying red eye removal
const img = cloudinary.image("wood_chair",
    {effect: "redeye"}
    );

console.log('images', img)
Running the code yields the following image:
Removing the background from images programmatically at scale
With Cloudinary, you can apply different transformations to your images on the fly. To remove the background from hundreds of images, you must list your assets and run API calls on them.
To scale our transformation, you’ll first upload your assets to Cloudinary. For this demonstration, however, we will use the sample images provided by Cloudinary. Login to Cloudinary and navigate to the Media Library tab. The images are highlighted below:
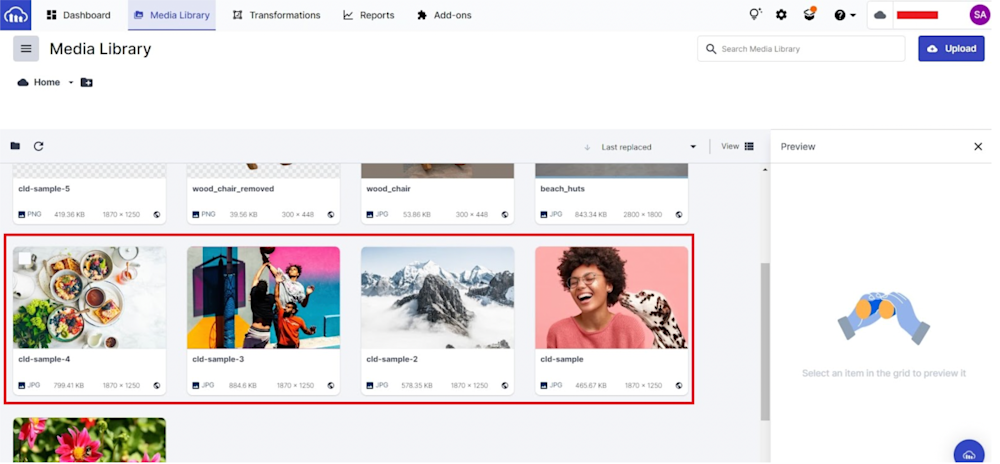
You can see the public_id of the uploaded images as versions of “cld-sample.” We will be using the Cloudinary API on these images.
Next, using the same code as before, run the same API call for the images with the only difference being the public_id:
// Reads the Cloudinary Environment variable
require("dotenv").config();

// Using V2 of Cloudinary Node JS SDK
const cloudinary = require("cloudinary").v2;

// Picking up env and configuring
console.log(cloudinary.config().cloud_name);

// Retrieving Images
const img1 = cloudinary.image("cld-sample", { effect: "background_removal"});
const img2 = cloudinary.image("cld-sample-2", { effect: "background_removal"});
const img3 = cloudinary.image("cld-sample-3", { effect: "background_removal"});
const img4 = cloudinary.image("cld-sample-4", { effect: "background_removal"});
console.log("images", img1);
console.log("images", img2);
console.log("images", img3);
console.log("images", img4);
Run the code to generate the image URLs:
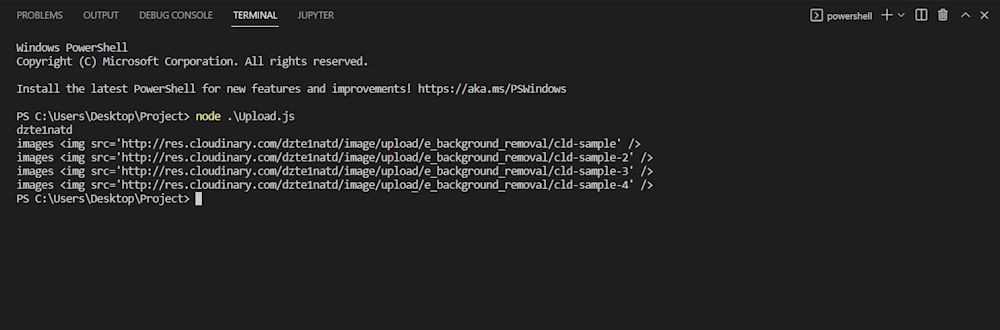
View the uploaded images using the URLs provided in the terminal. Here are the resulting images:


Conclusion
Background removal is a common use case that allows you to optimize your images as needed. Cloudinary is a powerful media-management platform that uses automation and machine learning to streamline workflows. Over a million developers choose Cloudinary to manage their media—bulk uploads of raw photos to on the fly transformations that create optimizations, media variants, and responsive delivery on all devices. To learn more, visit the Cloudinary Documentation. To get started, visit https://cloudinary.com/users/register_free.
More from Cloudinary:
Cloud-based API for applying effects on images
Send API Requests with Ease Using Cloudinary Postman Collections

