MEDIA GUIDES / Image Effects

What is Vignette? Guide to Vignette Image Editing

Vignette illustration

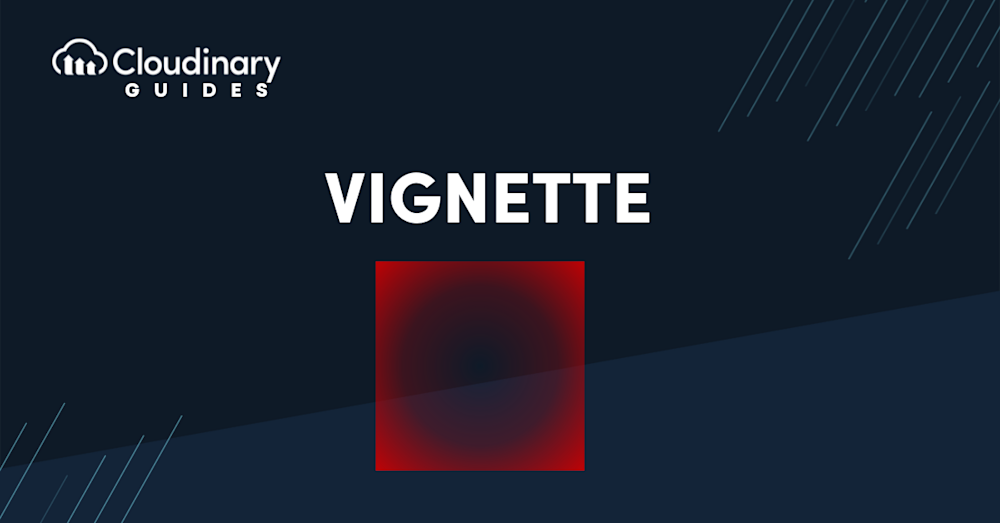
The vignette effect is a classic and widely used image editing technique that subtly darkens or fades the edges of an image, drawing the viewer’s eye toward the center. While caused initially by limitations in camera lenses, the vignette has evolved into a stylistic tool for creating mood, focus, and emotional depth in visual content.

In modern digital workflows, the vignette is often used to enhance storytelling and visual hierarchy in photography, video thumbnails, and web imagery. Whether applied subtly or dramatically, it helps isolate the subject and reduce distractions in the frame.

Why Use the Vignette Effect?

The vignette is especially effective when you want to bring attention to the core subject of an image. By darkening or desaturating the corners, your audience’s eyes naturally gravitate toward the center. This makes it ideal for product photography, portraits, UI graphics, and even marketing materials.

In e-commerce and social media, the vignette effect can create a professional and polished look without being overly complex or flashy. It works well in conjunction with other gradient effects and color adjustments to produce consistent, on-brand visual styles.

Applying a Vignette in a Digital Workflow

Adding a vignette used to require manual work in software like Photoshop or Lightroom. But today, cloud-based solutions allow developers and designers to apply vignette effects directly to digital assets using tools like Cloudinary.

With Cloudinary Image, you can generate and adjust vignette effects programmatically. This approach is ideal for teams that need to edit images at scale or apply consistent styles across large media libraries.

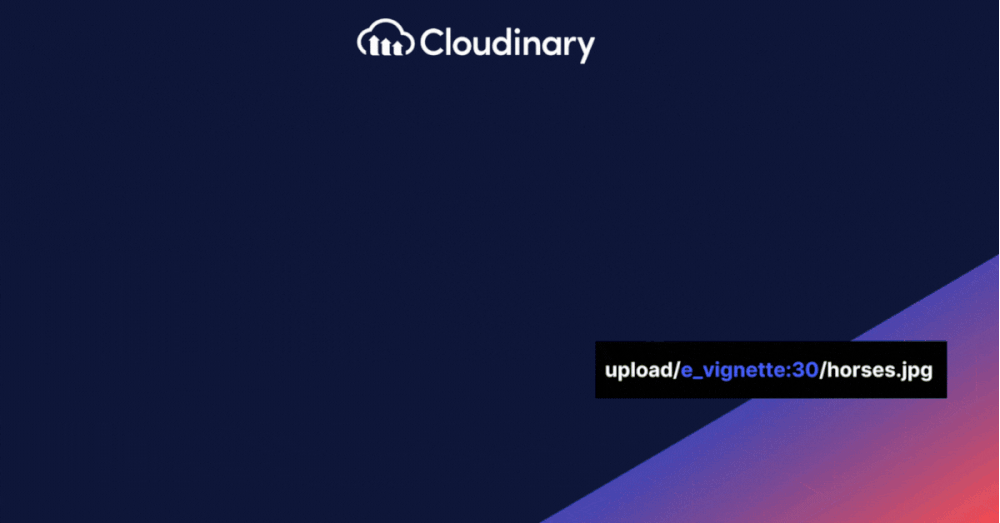
For example, with a single URL parameter, you can add a radial gradient to the edges of any image in your asset library, eliminating the need for manual editing. You can even chain this with other transformations, such as resizing, cropping, or sharpening, to create a fully automated image pipeline.

When to Use Vignette Effects

Vignettes aren’t just for artsy photography. They’re effective in many business and creative scenarios:

  • Highlighting key elements in hero banners or feature images
  • Creating a vintage or cinematic mood
  • Minimizing background noise in product shots
  • Drawing attention in social media previews or ad thumbnails
  • Pairing with other color adjustments for brand consistency

The key is to use the effect intentionally and subtly. Overusing vignettes can feel dated or artificial, but a well-executed vignette enhances visual storytelling without overwhelming the viewer.

Horse Gif

Try It Yourself: Experiment With Cloudinary

Ready to try it in your projects? You can experiment with Cloudinary and apply the vignette effect directly via URL-based parameters or through its comprehensive transformation API. Whether you’re enhancing a handful of product shots or processing thousands of user-uploaded digital assets, Cloudinary makes it scalable and efficient.

Optimize, transform, and manage your media assets like a pro with Cloudinary. Sign up for free today!

QUICK TIPS
Colby Fayock
Cloudinary Logo Colby Fayock

In my experience, here are tips that can help you better master and apply vignette effects for your images:

  1. Use vignettes to direct focus
    A subtle vignette is a powerful tool for guiding viewers’ eyes toward a central subject. Use a darker vignette around the image’s edges to create a natural spotlight effect, pulling attention to the most important areas of your composition without the distraction of peripheral details.
  2. Match the vignette shape to your subject
    Vignettes don’t always have to be circular or oval. Adjust the vignette shape to fit the subject and composition. For portraits, use a softer, oval shape to frame the face naturally. For landscape photos, try a horizontal vignette that complements the panoramic nature of the scene.
  3. Play with color vignettes for creative effects
    Consider using colored vignettes instead of just dark or light versions. A subtle hue that complements the image’s color palette can add mood and emotion. For example, a warm vignette can intensify a sunset image, while a cool-toned vignette can add a dreamy atmosphere to forest or water scenes.
  4. Use negative vignettes for a high-key look
    Instead of darkening the edges, a negative vignette lightens them. This approach works well in high-key photography, where the emphasis is on brightness and a soft, ethereal feel. It’s ideal for creating a sense of openness and airiness, perfect for floral, wedding, or baby photos.
  5. Adjust feathering for a smooth transition
    Feathering controls how gradually the vignette transitions from the center to the edges. For a natural look, use a high feather value, which creates a soft, subtle fade. For a more dramatic and defined look, use low feathering to create a sharper distinction between the vignette and the center of the image.
  6. Layer multiple vignettes for a sophisticated look
    Combining different vignette types can produce complex and intriguing effects. Try using a soft vignette for a general frame and then overlaying a lighter or darker secondary vignette to emphasize specific corners or edges. This technique can add visual depth and sophistication.
  7. Avoid vignetting on busy or cluttered backgrounds
    Vignettes can sometimes overwhelm intricate or busy backgrounds, making the image look heavy. When the background has a lot of details, keep the vignette subtle or skip it altogether to avoid adding visual noise and diminishing the clarity of the image.
  8. Use vignettes to create depth in flat compositions
    If your image lacks dimension, a vignette can create the illusion of depth by simulating how light naturally falls off toward the edges. This works especially well for flat compositions like product photos or minimalistic scenes. The added depth gives more visual weight to the subject.
  9. Combine vignettes with selective blur for extra emphasis
    Use a vignette alongside a soft blur effect around the image edges. This combination mimics a shallow depth of field, making the center subject pop even more. Adjust the blur radius and vignette size to balance the effect, avoiding an overly artificial appearance.
  10. Test vignettes on different backgrounds and contexts
    Images displayed on varying backgrounds (e.g., on websites with white or dark themes) can react differently to vignettes. Always test your vignetted images against multiple backgrounds to ensure they look as intended. Use Cloudinary’s responsive image tools to create different versions optimized for diverse contexts.

By utilizing these techniques, you can transform a simple vignette into a refined tool that enhances your images’ storytelling and visual impact.

Last updated: May 9, 2025