As a web developer or UI/UX designer, you know how crucial images are for creating engaging content on your website. However, it’s not just about the size or quality of the images you use – it’s also about how effectively they communicate your message and fit within your website’s layout.
By using object-aware cropping techniques to focus on the key elements in your photos, you can enhance the visual impact of your website. In this post, we’ll explore the benefits of object-aware cropping and show you how Cloudinary can help you implement this technique.
In this article:
- What Is Object-Aware Cropping?
- When Do You Need to Use Object-Aware Cropping?
- How To Use Object-Aware Cropping with Cloudinary
- Get The Most Out Of Your Images with Cloudinary
What Is Object-Aware Cropping?
Object-aware cropping is a technology that recognizes items in an image and crops the image appropriately using artificial intelligence and machine learning techniques. This technique lets you concentrate on the photo’s focal point while eliminating extraneous details.
AI and ML systems use object detection and recognition models to examine the content of an image and identify the things inside it. Once the object is located, the algorithm determines the best cropping borders based on location, size, and orientation.
When Do You Need to Use Object-Aware Cropping?
Object-aware cropping can be a game-changer in making photographs suitable for multiple platforms and devices. Here are some scenarios in which object-aware cropping may be necessary:
- When you need to fit several photos, each with a different size and aspect ratio, into a specific area on your website.
- When you want to eliminate a photograph’s background or extraneous features to concentrate on a particular area.
- When you want to design graphic elements for your website, like product photographs or social media posts.
Benefits of Object-Aware Cropping
Object-aware cropping can enhance the overall quality of the pictures on your website. Not only does it produce better-looking results, but it can also do more, such as:
- Improved User Experience. Object-aware cropping can create a more engaging and visually appealing experience for your website visitors by focusing on the most important elements of an image.
- Saves time. Automating the cropping process with object-aware cropping can help you save time and effort, allowing you to focus on other aspects of your website design and development.
- Consistency. Object-aware cropping can help you maintain visual consistency across your website’s images, ensuring they align with your branding and design principles.
- Better accessibility. Object-aware cropping can help create alternative image versions that cater to users with specific accessibility needs, ensuring that the most essential information is conveyed effectively, regardless of the viewing context or device.
How To Use Object-Aware Cropping with Cloudinary
Object-aware cropping is a powerful Cloudinary feature that allows you to crop images based on their content automatically. This means you can ensure the most important parts of your image are always visible, regardless of the image’s size or aspect ratio.
Let’s look at what is required to use Cloudinary’s object-aware cropping and how you can use it to enhance your media management.
Step 1: Sign Up for a Cloudinary Account
To use Cloudinary’s services, you’ll need to create an account. Go to the Cloudinary website and sign up for free.
Once you’ve created your account, you’ll need the latest version of Node.js on your computer. You can download it for free from the official Node.js website if you don’t already have it.
Finally, to make API calls to our cloud, we’ll need to use Cloudinary’s Node.js SDK, which will help us call our API and authenticate our requests. To install this library, start by creating a project folder in a directory of your choice. Next, open up your terminal, navigate to your project directory, and type the following command:
npm install cloudinary
Step 2: Upload an Image to Your Cloudinary Account
Now that we have set up our environment, we need to upload our images to our cloud. With Cloudinary, you can upload an image directly to your Media Library or use an API call instead.
To upload your images using the website, head to Cloudinary and log in to your account. Here you will be greeted with the Dashboard. Head to the Media Library tab as shown below:
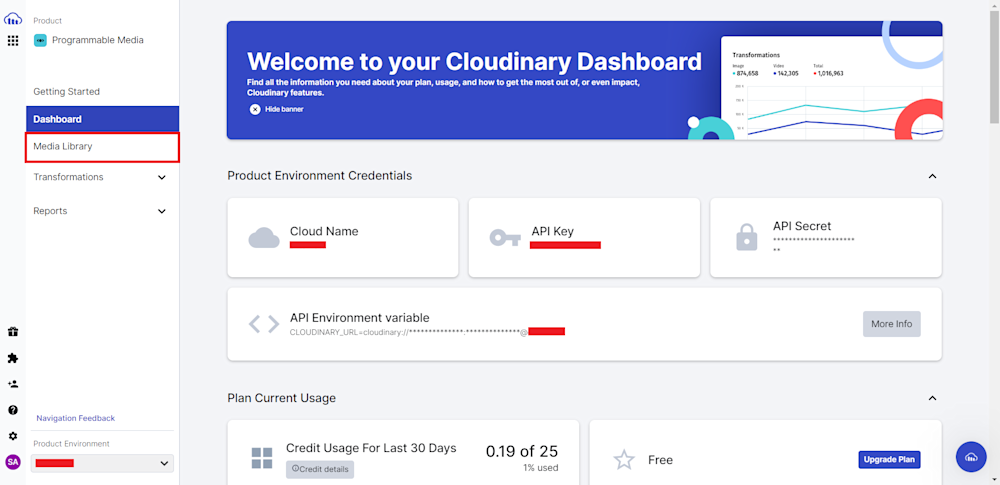
The Media Library tab shows all your assets on the cloud. To upload new assets, click the Upload button in the top-right corner.
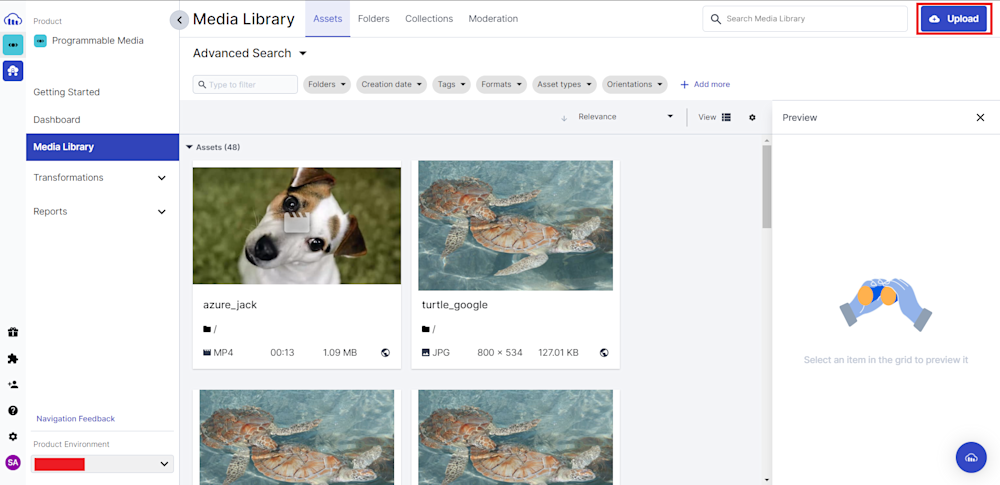
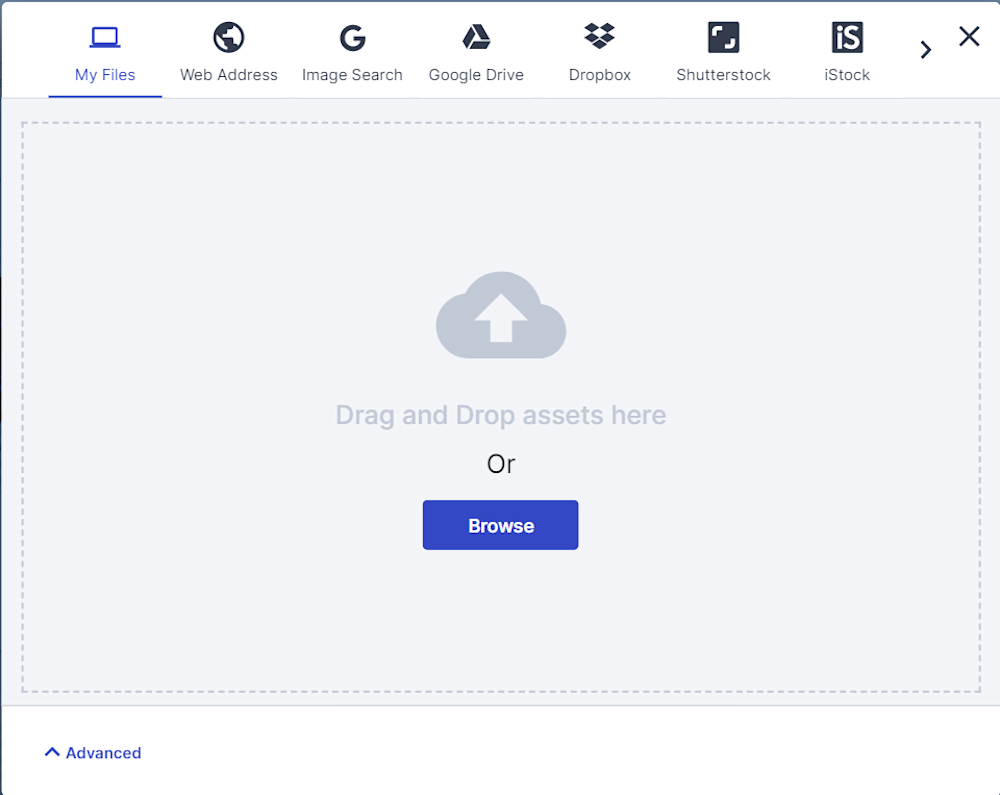
Finally, you can drag and drop an image file or click Browse to select the assets you want to upload.
As mentioned earlier, we can use the Cloudinary API to upload images to the cloud. Let’s create a Node JS script and programmatically upload our assets to the cloud.
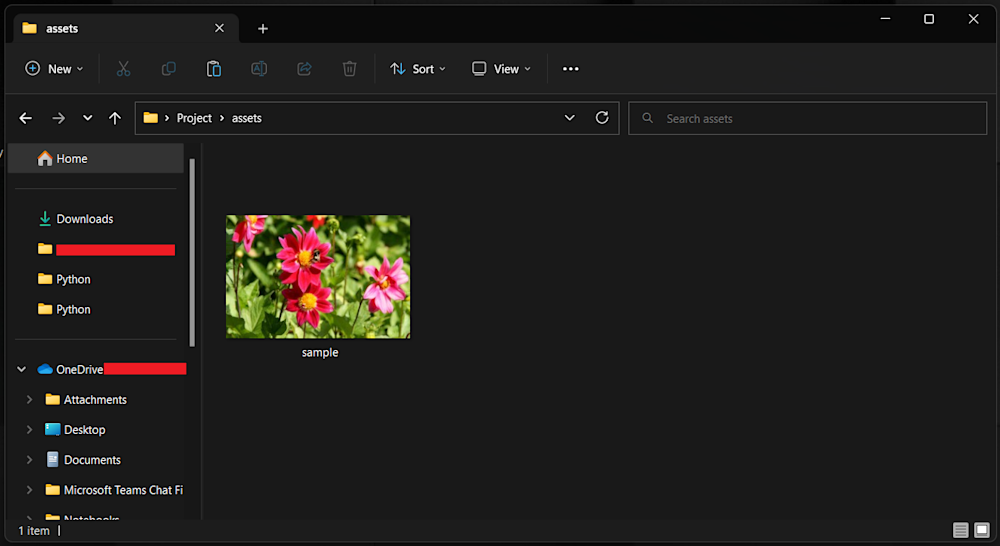
First, open up your project’s directory and create an assets folder. Now add the images you want to upload:
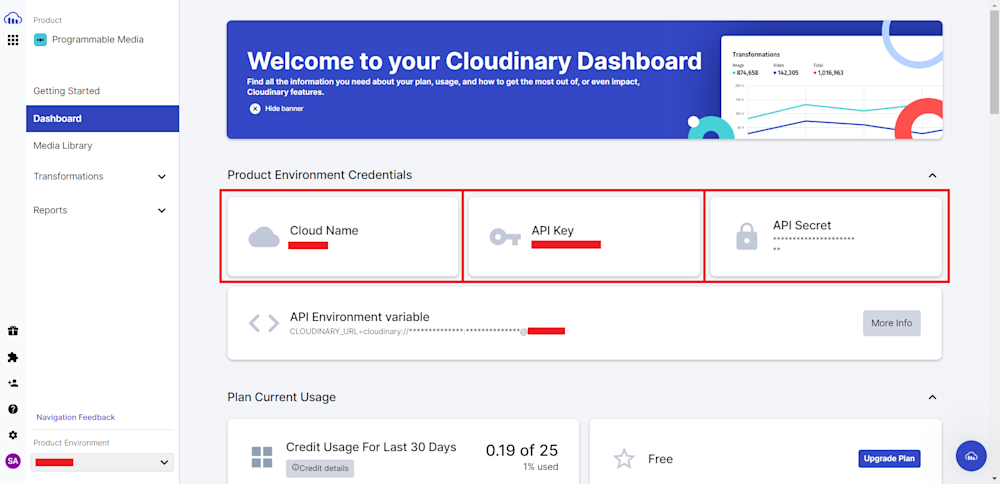
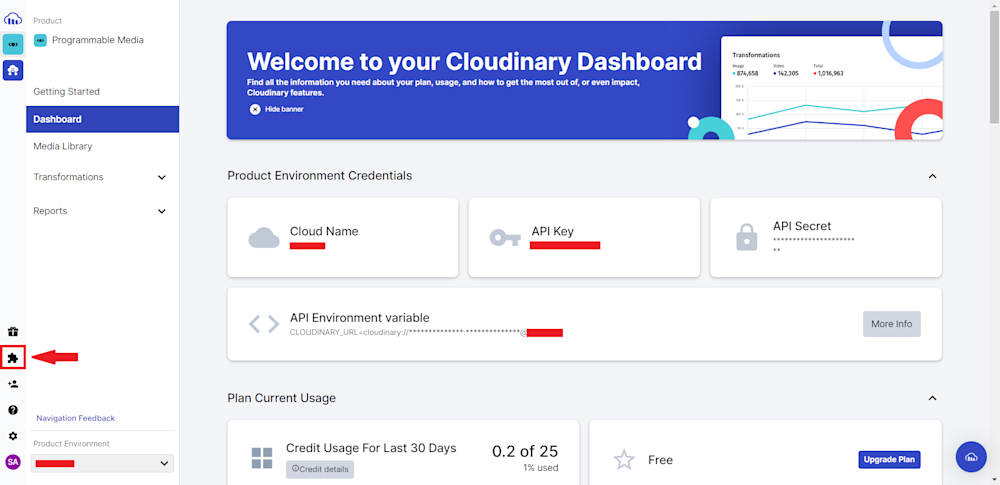
Next, log in to your Cloudinary account and head to the Dashboard tab. Here you will need to copy your Cloud Name, API Key, and API Secret:
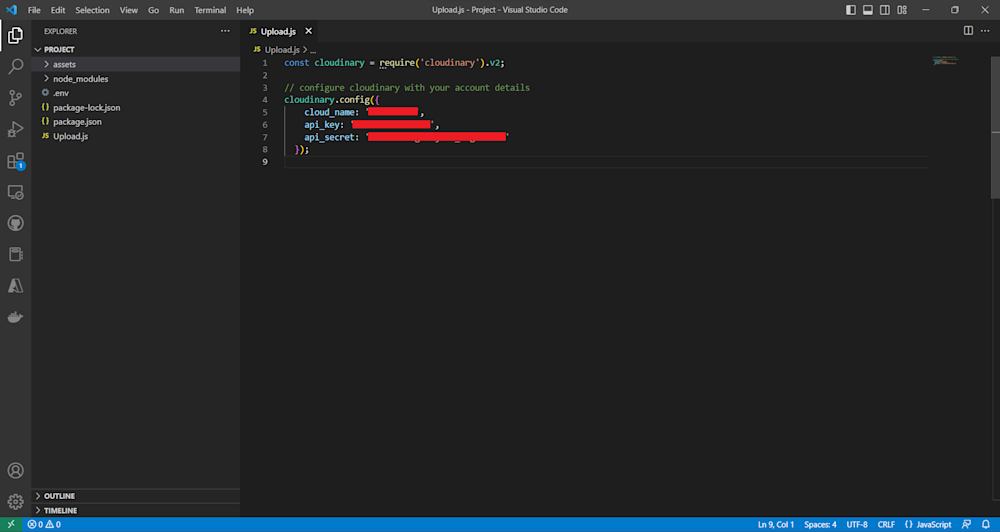
Now, open up the project folder in your favorite IDE, and create a new file named Upload.js. Open up the file and start by importing the Cloudinary SDK and defining our API with our account details:
const cloudinary = require('cloudinary').v2;

// configure cloudinary with your account details
cloudinary.config({
    cloud_name: 'CLOUD_NAME',
    api_key: 'API_KEY',
    api_secret: 'API_SECRET'
  });
Then, call the upload API with the assets you want to upload. We define two extra parameters, resouce_type, and public_id, as shown in the code below. As the name implies, the resouce_type allows us to specify the type of asset we want to upload. Here, we define our asset as an image.
The public_id parameter is a unique identifier allowing us to track our Cloudinary cloud assets. Keeping track of our resources will be easier if we define it explicitly. Otherwise, Cloudinary will generate a random public_id for us to check in our Media Library:
// Calling upload API
cloudinary.uploader
.upload("assets/sample.jpg", {
    // Specifying the resource type of the image
    // image is the default resource type even if
    // you don't specify
    resource_type: "image", public_id: "sample_raw",
})
.then((result) => {

    // JSON.stringify will provide output in a formatted
    // string
    console.log("success", JSON.stringify(result, null, 2));

})
.catch((error) => {
    console.log("error", JSON.stringify(error, null, 2));
});
Here is our file code in the Upload.js file:
const cloudinary = require('cloudinary').v2;

// configure cloudinary with your account details
cloudinary.config({
    cloud_name: 'CLOUD_NAME',
    api_key: 'API_KEY',
    api_secret: 'API_SECRET'
  });

// Calling upload API
cloudinary.uploader
.upload("assets/sample.jpg", {
    // Specifying the resource type of the image
    // image is the default resource type even if
    // you don't specify
    resource_type: "image", public_id: "sample_raw",
})
.then((result) => {

    // JSON.stringify will provide output in a formatted
    // string
    console.log("success", JSON.stringify(result, null, 2));

})
.catch((error) => {
    console.log("error", JSON.stringify(error, null, 2));
});
Now you can simply run the code using Node:
node Upload.js
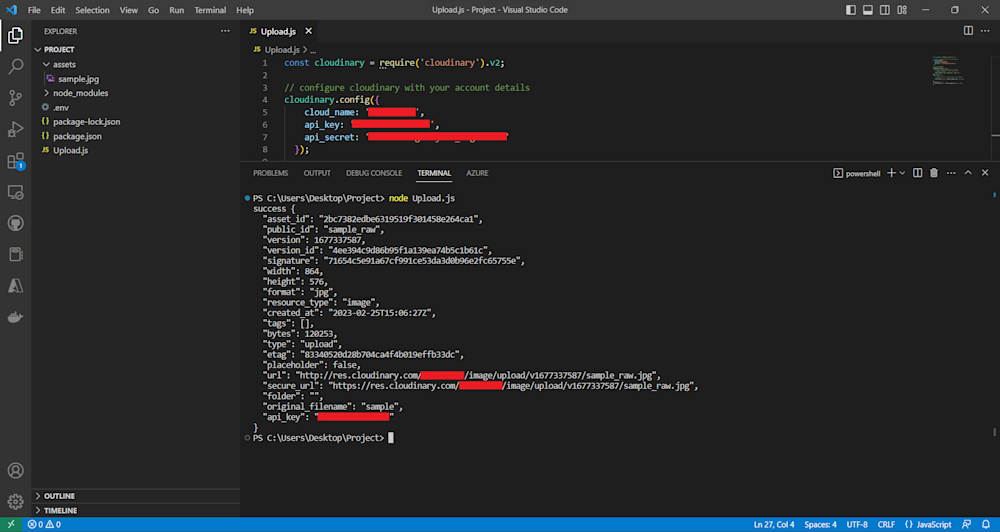
To verify your upload, you can either follow the URL given in the terminal output or head on to the Media Library tab:
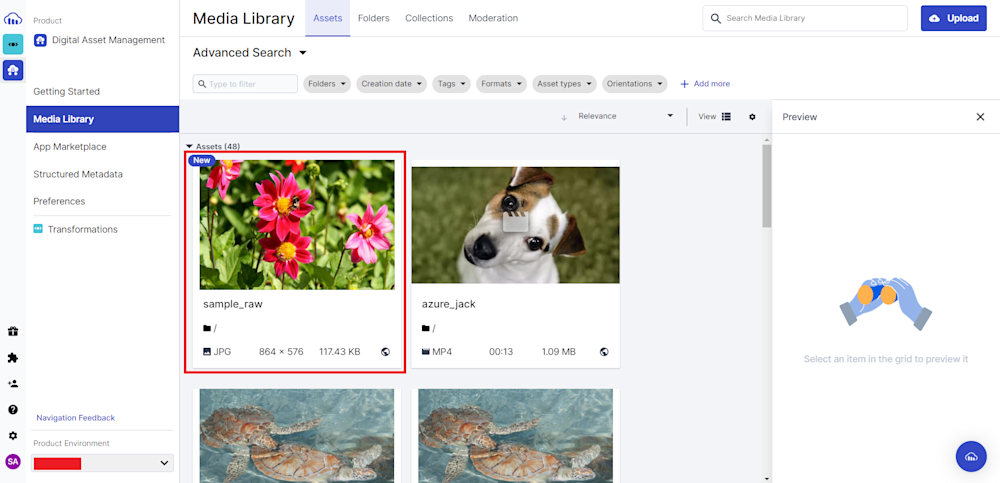
Step 3: Get the Public ID of Your Asset
Now that we have our image in the cloud, we can start retrieving the public_id of our images to start using object-aware cropping.
We need the URL of the image we want to crop, so log in to your Cloudinary account and head to the Media Library tab. You can see the public_id of your image right under the image preview. Select the public_id and copy it to your clipboard.
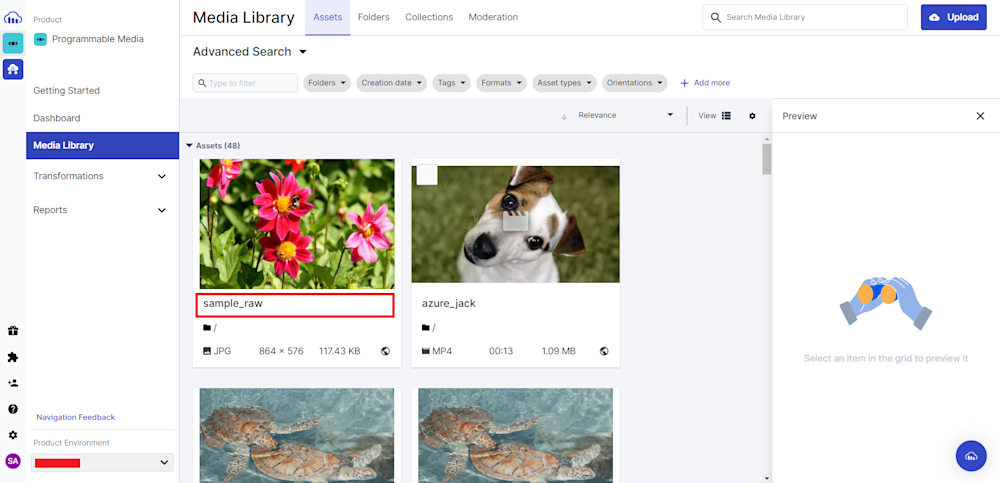
Now that we have our public_id, we can set up our add-on.
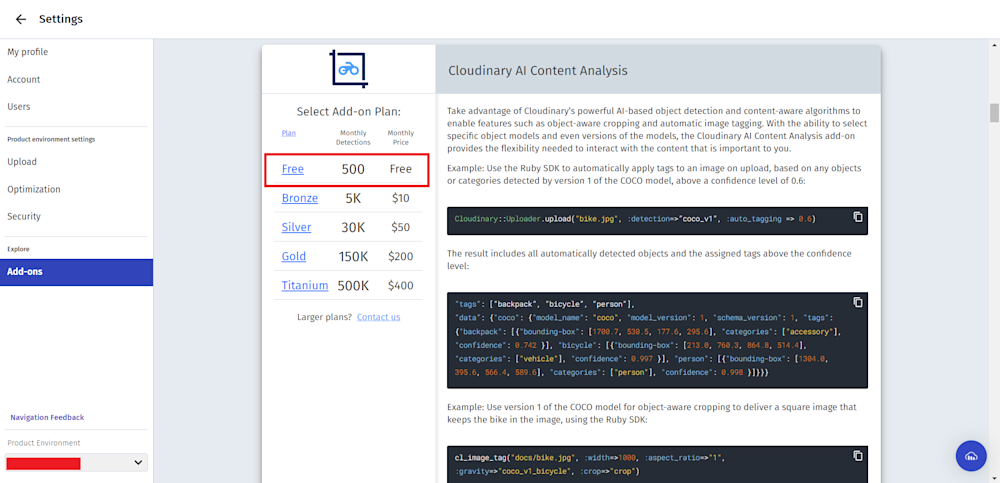
Step 4: Get the Cloudinary AI Content Analysis Add-on
Object detection is a feature of Cloudinary that allows you to identify objects within an image. You’ll need to enable it in your account to use it. So before we can run our code, we’ll need to add the Cloudinary AI Content Analysis service. So log in to your account and head to the Add-on tab.
Next, search for the Cloudinary AI Content Analysis add-on:
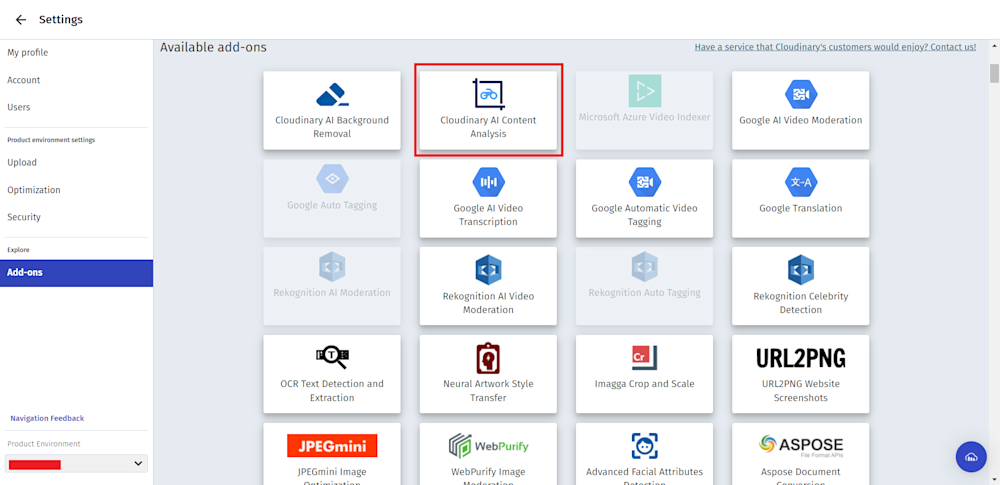
Click on the add-on and subscribe to the free plan:
Now that our environment is set up, we can start cropping our images.
Step 5: Get a Transformed Image URL
To perform object-aware cropping, you need to add parameters to the image URL that specify which objects to focus on. Thankfully, the Cloudinary Node JS SDK helps simplify this process.
Now, open up the project folder in your favorite IDE, and create a new file named Crop.js. Open it and start by importing the Cloudinary SDK and defining our API with our account details:
const cloudinary = require('cloudinary').v2;

// Configure Cloudinary with your account details
cloudinary.config({
    cloud_name: 'CLOUD_NAME',
    api_key: 'API_KEY',
    api_secret: 'API_SECRET'
  });
For now, we will simply be using Clodinary’s demo cloud to show you the capabilities of Cloudinary AI Content Analysis.
const cloudinary = require('cloudinary').v2;

// Configure with your cloud_name, api_key, and api_secret
cloudinary.config({
  cloud_name: 'demo'
});
Next, call the Cloudinary API to retrieve an image from the cloud:
// Retrieving bike from demo cloud
const url = cloudinary.image('samples/bike');

console.log(url);
Here is what our final Crop.js file looks like:
const cloudinary = require('cloudinary').v2;

// Replace with your cloud_name, api_key, and api_secret
cloudinary.config({
  cloud_name: 'demo'
});

// Retrieving bike from demo cloud
const url = cloudinary.image('samples/bike');

console.log(url);
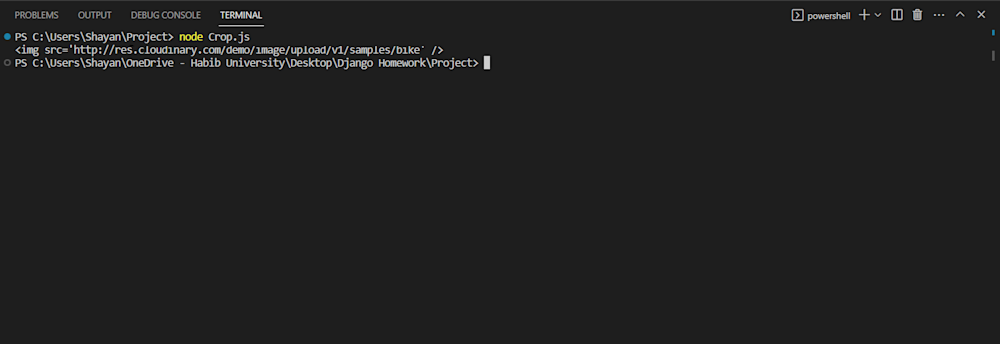
Running the code gives us the following output and image:

Cloudinary AI Content Analysis can be invoked to apply object-aware cropping in two ways. Automatic gravity with a high weighting towards a specified object is done by setting the gravity parameter to auto. Object-specific gravity is done by selecting an object or category in the gravity parameter. This allows you to accurately crop around objects without specifying dimensions or aspect ratio.
Let’s run Cloudinary AI Content Analysis with object-specific gravity by adding a transformation parameter to the API and specifying the gravity parameter on the bike:
const url = cloudinary.image('samples/bike', {transformation:[
  {gravity: "bike", aspect_ratio: "1", crop: "crop"}]});
Running the code yields the following image:

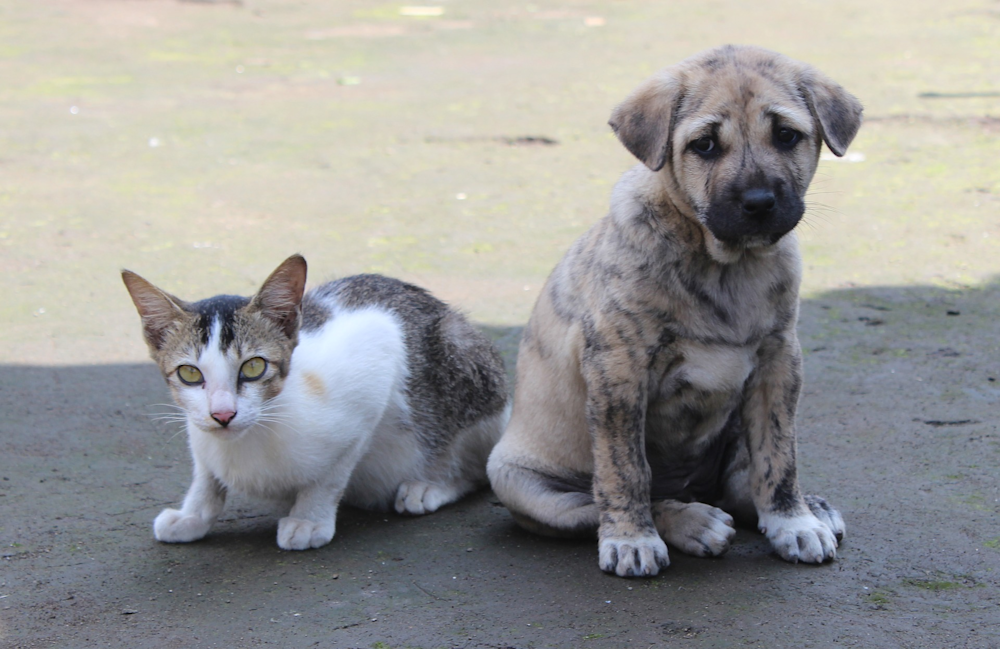
When using object-specific gravity to determine the area to keep in a crop, you can specify multiple focal_gravity options. Moreover, the order in which they are specified impacts the delivered image. For example, look at samples/sheep available in the demo cloud:
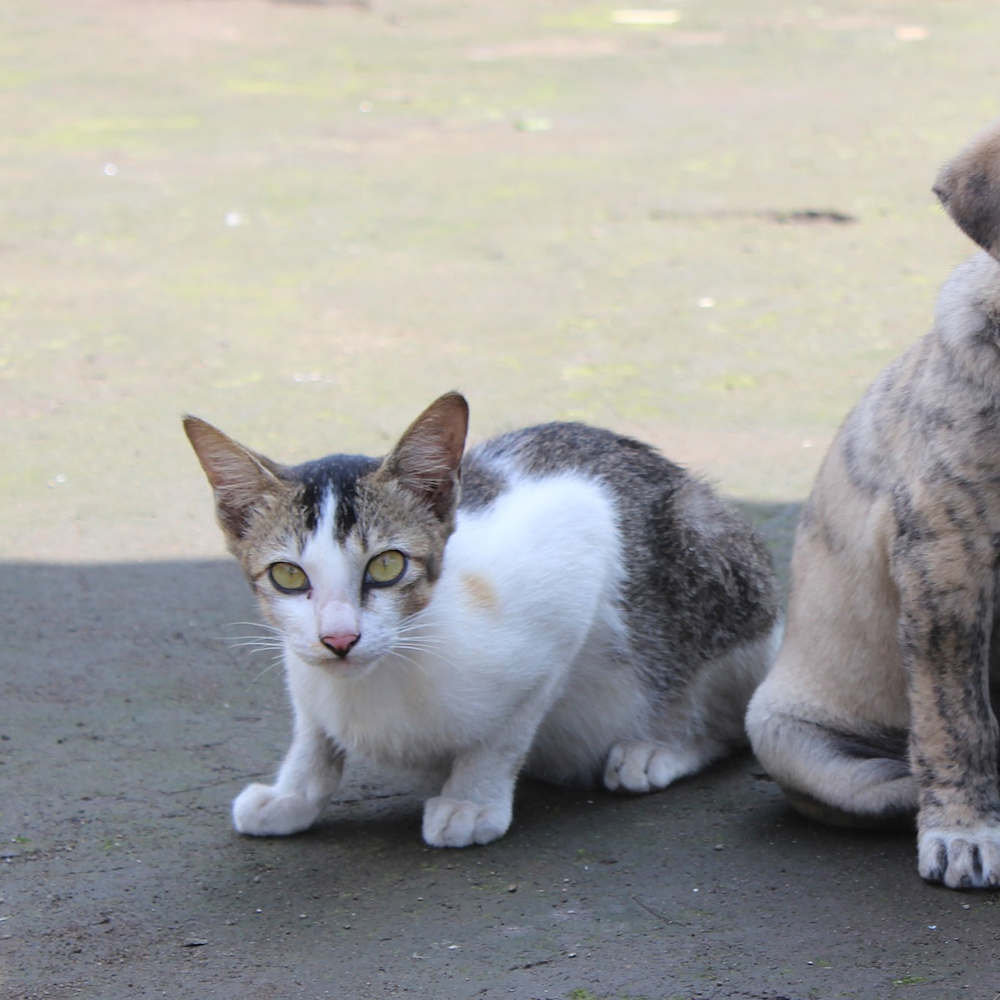
By setting the gravity parameter to cat:dog, the cat gets precedence:
const url = cloudinary.image("docs/one_cat_one_dog.jpg", {transformation:[
    {gravity: "cat:dog", aspect_ratio: "1", crop: "thumb"}]});

console.log(url);
Running the code gives the following image:
Get The Most Out Of Your Images with Cloudinary
Object-aware cropping is a game-changing technique that revolutionizes the way we approach image editing and optimization. By intelligently identifying and preserving the most important elements within an image, this advanced cropping method ensures that your visual content remains engaging, impactful, and accessible across various platforms and devices. As the digital landscape continues to evolve, adopting object-aware cropping in your content strategy is essential for staying ahead of the curve and delivering a seamless and captivating visual experience to your audience.
With Cloudinary’s comprehensive media management platform, you can effortlessly leverage object-aware cropping and a host of other advanced image optimization features to enhance your visual content and boost user engagement. Start your journey today and experience the transformative power of object-aware cropping for your business.
More from Cloudinary:

