
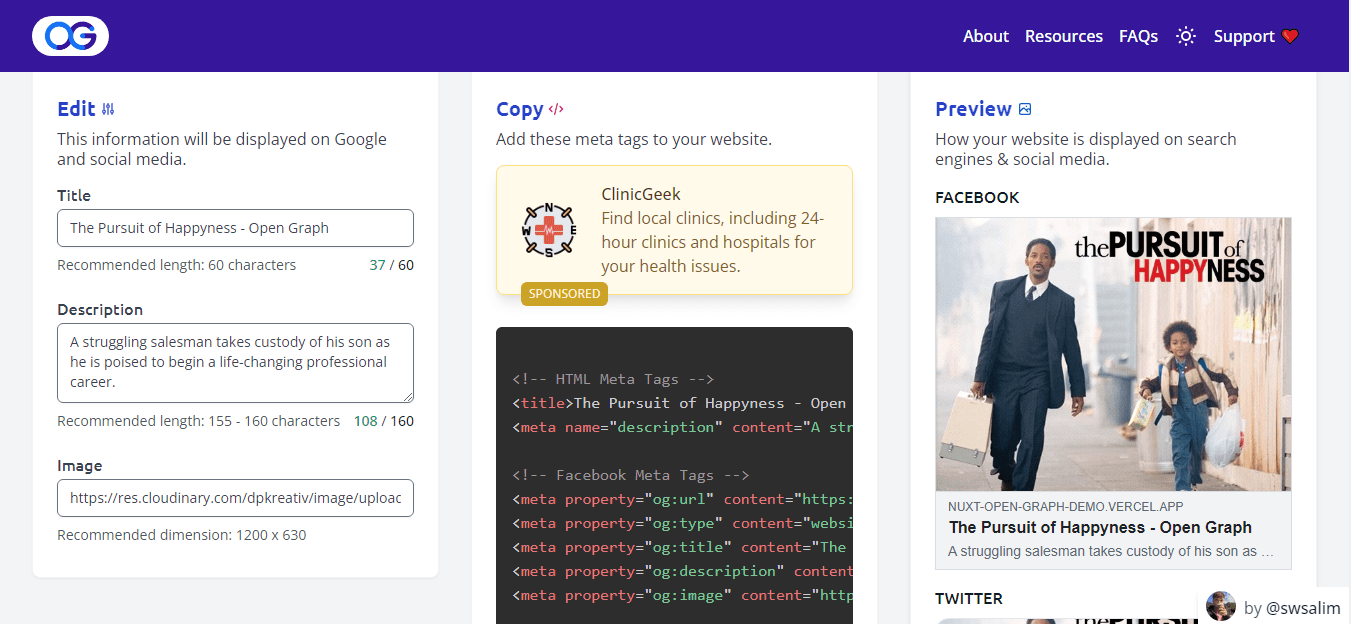
People create content on the internet with at least one primary goal: to share with other internet users. When you share a website’s URL through social media platforms like Facebook, Twitter, Messenger, or WhatsApp, you may notice that the shared URL forms a card that looks like the image below:

The information on this card gives an idea of what to expect when you open the website. Open Graph Protocol facilitates the creation of these preview cards.
Open Graph is an internet protocol created by Facebook that uses metadata in your code to enable your website to become a rich object on a social graph.
It gives you more control over how your website’s preview card looks on social media platforms by putting Open Graph <meta> tags in your website’s <head> section.
This article explores how to manage Open Graph images on your NuxtJS website.
Click the CodeSandbox link below to view the demo used in this article:
https://codesandbox.io/embed/nuxt-open-graph-demo-drkmv0?fontsize=14&hidenavigation=1&theme=dark
To view its source code on GitHub, click here.
This article requires the following:
- Basic knowledge of HTML tags.
- Knowledge of Git and GitHub.
- A Cloudinary account to manage your images – create a free one here.
- A Vercel account to deploy your NuxtJS website.
- Proficiency in JavaScript, VueJS, and NuxtJS is not a strict requirement but is preferred.
Open Graph Protocol – Basics
The basic structure of an Open Graph <meta> tag is:
<meta property="" content="" />
You can specify the Open Graph property with an og: prefix and fill out its content.
There are four required Open Graph properties for every website:
-
og:title– containing the title of your website. -
og:type– specifying the type of rich object. -
og:image– an image URL displayed on your preview card. -
og:url– the URL of your website (often auto-generated).
For example, the image above used to illustrate the meaning of Open Graph will have the following meta tags:
<head>
  <meta property="og:title" content="Build a Video Blog in NuxtJS" />
  <meta property="og:type" content="website" />
  <meta property="og:image" content="http://res.cloudinary.com/mediadevs/image/upload/v1/mediajams/MediaJams-og-blog-2" />
  <meta property="og:url" content="https://mediajams.dev/post/build-a-video-blog-in-nuxtjs" />
</head>
Check the Open Graph Protocol documentation to see the list of available properties.
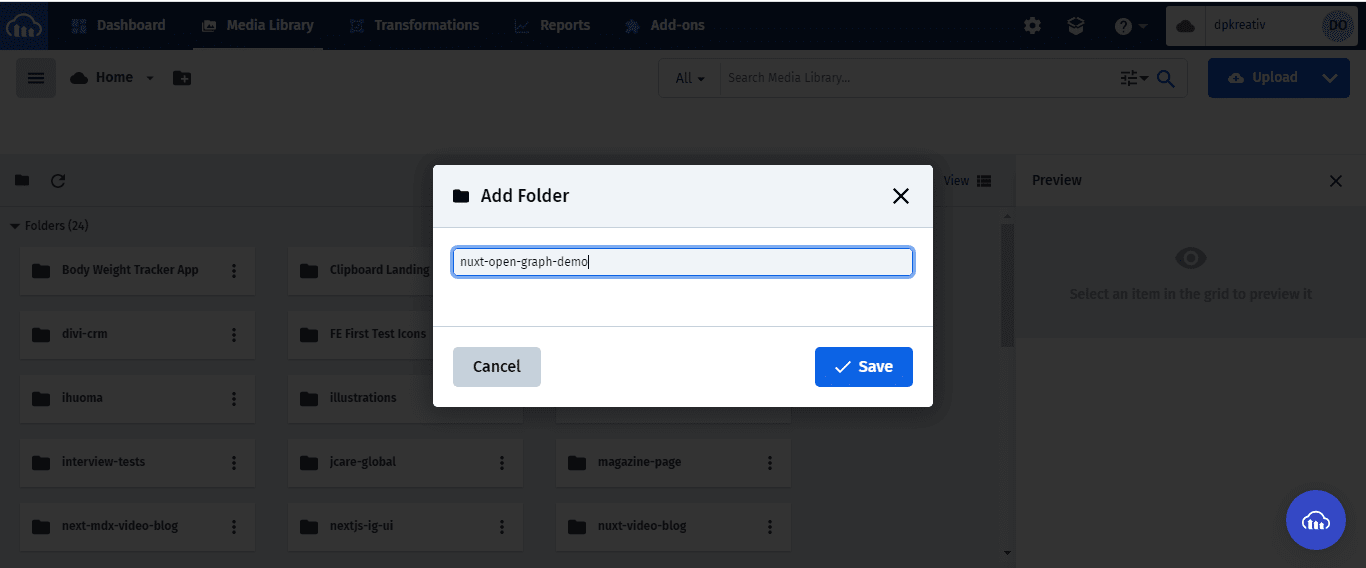
For this project, you’ll store your image son Cloudinary. You can also choose to store them locally or using another cloud provider. In your browser, open cloudinary.com/console to access your Cloudinary dashboard. Click on the “Media Library” tab, and create a new folder to store your images:
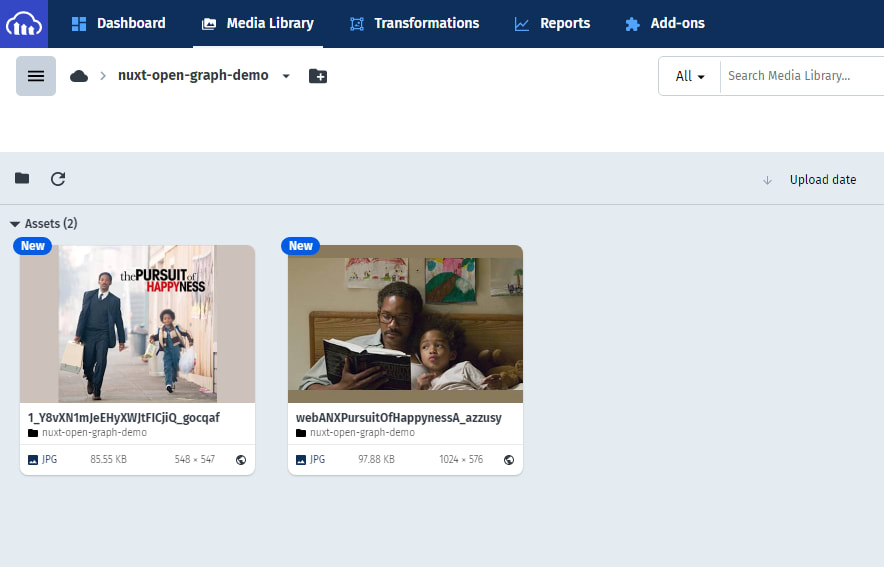
Double-click on your newly created folder to open, then add your desired images:
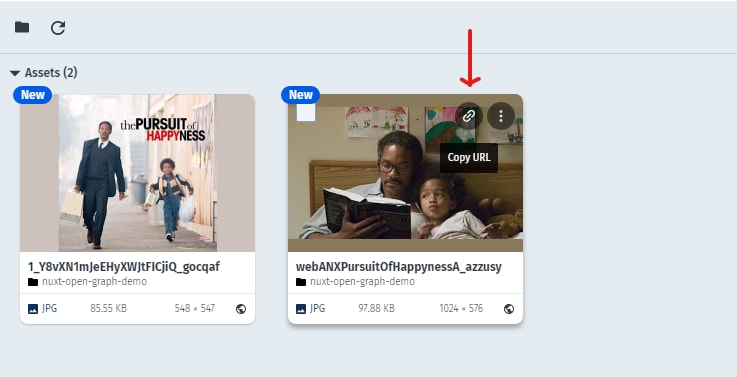
To get the URL of an image on Cloudinary, hover over the image card and click the link icon that appears:
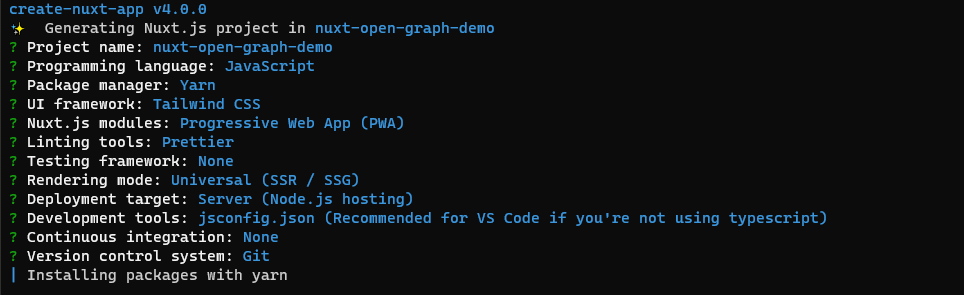
In your terminal, navigate to your desired project folder and run the command below to create a new project:
npx create-nuxt-app nuxt-open-graph-demo
You will be prompted with selections to aid project setup. Choose options based on the recommendations below:
After a successful setup, open the project in your preferred code editor, and run the command below in its terminal:
yarn dev
This will set up a dev environment with hot reload that you can view on your browser at localhost:3000. Alternatively, you can use NPM, the Node.js package manager.
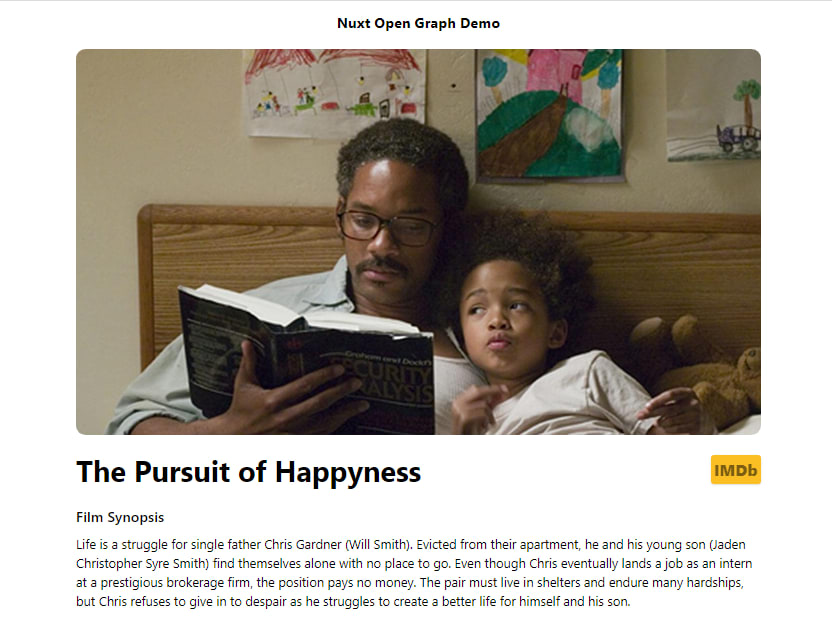
In pages/index.vue, update <template> with the code below:
<template>
  <main class="w-full max-w-4xl mx-auto px-5">
    <nav class="py-5 text-center font-bold text-lg">Nuxt Open Graph Demo</nav>
    <section class="overflow-hidden rounded-xl">
      <img src="https://res.cloudinary.com/dpkreativ/image/upload/v1648291772/nuxt-open-graph-demo/webANXPursuitOfHappynessA_azzusy.jpg"
        alt="The Pursuit of Happyness: cover image" class="object-cover"
      />
    </section>
    <section class="py-5">
      <div class="lg:flex justify-between items-center">
        <h1 class="font-bold text-2xl lg:text-4xl my-1">The Pursuit of Happyness</h1>
        <a href="https://www.imdb.com/title/tt0454921/">
          <button class="bg-yellow-400 font-black text-xl p-1 rounded shadow">
            <p class="animate-pulse">IMDb</p>
          </button>
        </a>
      </div>
      <div class="mt-5">
        <h2 class="font-semibold text-lg">Film Synopsis</h2>
        <p class="mt-2">
          Life is a struggle for single father Chris Gardner (Will Smith).
          Evicted from their apartment, he and his young son (Jaden Christopher
          Syre Smith) find themselves alone with no place to go. Even though
          Chris eventually lands a job as an intern at a prestigious brokerage
          firm, the position pays no money. The pair must live in shelters and
          endure many hardships, but Chris refuses to give in to despair as he
          struggles to create a better life for himself and his son.
        </p>
      </div>
    </section>
  </main>
</template>
In this code, you added some markup and styled it with TailwindCSS classes. Here’s the result below:
There are three ways to add meta tags to a NuxtJS project:
- Globally in your
nuxt.config.jsfile. - Locally by creating a
headobject in your<script>section. - Locally by creating a
head()function in your<script>. This method gives you access todata()and computed properties.
In this project, you will use the third method. Navigate to pag``es/index.vue and update <script> with a head() function as seen below:
<script>
export default {
  name: 'IndexPage',
  head() {
    return {
      title: 'The Pursuit of Happyness - Homepage',
      meta: [
        {
          hid: 'og:title',
          name: 'og:title',
          content: 'The Pursuit of Happyness - Open Graph',
        },
        {
          hid: 'og:type',
          name: 'og:type',
          content: 'website',
        },
        {
          hid: 'og:image',
          name: 'og:image',
          content:
            'https://res.cloudinary.com/dpkreativ/image/upload/v1648291780/nuxt-open-graph-demo/1_Y8vXN1mJeEHyXWJtFICjiQ_gocqaf.jpg',
        },
        {
          hid: 'og:description',
          name: 'og:description',
          content:
            'A struggling salesman takes custody of his son as he is poised to begin a life-changing professional career.',
        },
      ],
    }
  },
}
</script>
In the code above, the head() function returns an object with two specified properties:
-
titletakes in the content to display on the<title>tag of your website’s<head>. -
metais an array of objects which will each create a<meta>tag with the content inside it.
Right-click on your web page and click on “View page source” to view its code in your browser. In the <head> section, you will see the <meta> tags containing the og: properties and their content.

First, ensure that you have pushed your code to GitHub (or any other source control manager), then access your Vercel dashboard in your browser:

Click on “New Project”, and in the “Import Git Repository” section, search for your project and click on “import”:

In the “Configure Project” section, click on “Build and Output Settings” and toggle “Override”:
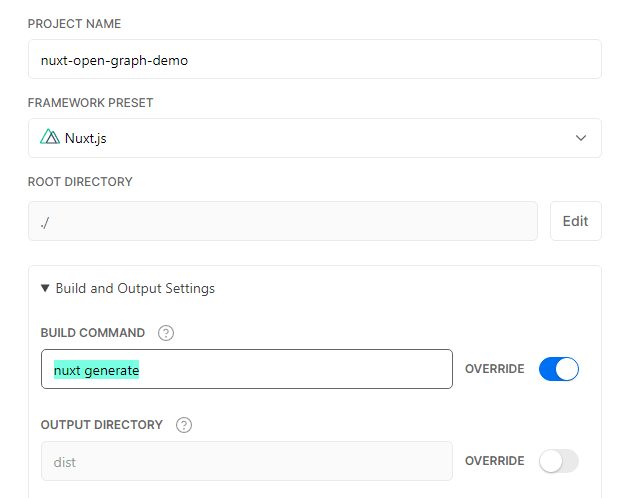
You toggled override because NuxtJS uses Vue2, and its build command is nuxt generate instead of nuxt build. Vercel has strict rules regarding build settings, and this override will help you avoid build errors.
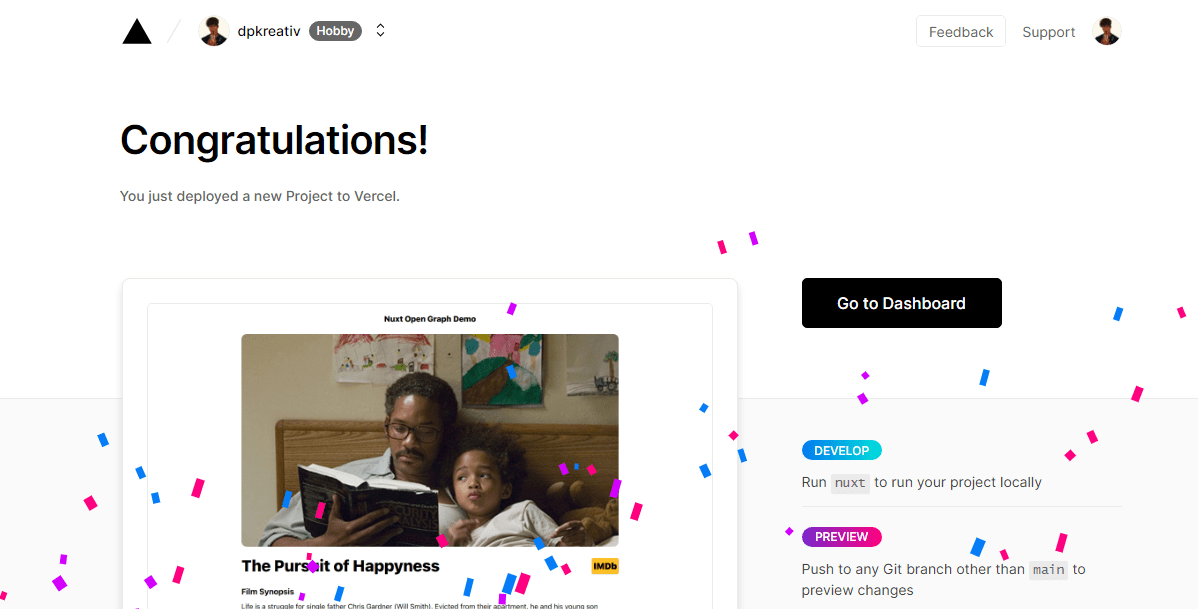
Scroll down and click “Deploy” to start the build process. You will see this message below after successfully deploying your Nuxt project.
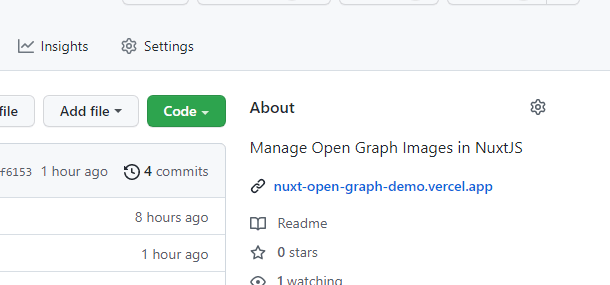
Check your GitHub repo for a live URL created by Vercel:
In your browser, navigate to opengraph.xyz and paste the URL of your website to see its previews on different social media platforms:

When you click on “Check Website”, it will generate the previews based on the Open Graph tags you specified in your code:
In this article, you learned how to improve your NuxtJS website’s traffic by implementing and managing Open Graph images. To understand Open Graph and its importance in web development, check out the resources below.