
In this blog post, we’ll explore how to create a public image gallery that allows users to upload their own images. This solution is ideal for websites focusing on user-generated content (UGC) because it leverages Cloudinary’s WebPurify moderation add-on service to ensure uploaded images meet content guidelines. This approach encourages community engagement by allowing user contributions and ensures the content meets quality and suitability standards. We’ll cover every step, from setting up the project to handling notifications for image moderation status.
Our public image gallery allows users to upload images with Cloudinary, which are then sent to Cloudinary’s WebPurify add-on for moderation. Users receive real-time notifications about their image’s status: pending, approved, or rejected. Additionally, users can check for rejected images by clicking a button that lists their IDs.
The project is built using Python with Flask, along with SocketIO and a few lines of JavaScript for the toast notifications.
- Image upload. Users can upload images to the gallery.
- Moderation. Images are moderated using Cloudinary’s WebPurify add-on service.
- Real-time notifications. Users are notified of their image’s status via toast notifications.
- Rejected images listing. Users can view IDs of rejected images.
- If you haven’t yet done so, sign up for Cloudinary here.
- Install Cloudinary and the other necessary packages:
pip install flask python-dotenv cloudinary flask_socketio
- Configure Cloudinary
- In your project, create a file called
.envcontaining your API key, API secret and cloud name, as shown in the example. You can find these in your Cloudinary account, by navigating to the Programmable Media dashboard, and clicking on ‘Go to API Keys’.
# Copy and paste your API environment variable.

# =============================================

CLOUDINARY_URL=cloudinary://<api_key>:<api_secret>@<cloud_name>

Code language: PHP (php)- In your project, create a new file called
app.py, then copy and paste the following into this file to configure Cloudinary for the project:
from  dotenv  import  load_dotenv
from  flask  import  Flask, render_template, request, redirect, url_for, jsonify
from  flask_socketio  import  SocketIO
from  cloudinary  import  CloudinaryImage
import  cloudinary
import  cloudinary.api
import  cloudinary.uploader

load_dotenv()
app = Flask(__name__)
socketio = SocketIO(app)
config=cloudinary.config(secure=True)
Code language: JavaScript (javascript)- To use WebPurify, you can subscribe to it from the Add-ons menu.
We’ll review the different parts of the code and explain the functionality.
We’ll upload an image from our computer and apply the moderation functionality.
@app.route('/upload', methods=['POST'])
def  upload():
	files_to_upload = request.files.getlist('file')
	for  file_item  in  files_to_upload:
		if  file_item:
			cloudinary.uploader.upload(file_item,
									   folder = "public_gallery",
									   moderation = "webpurify",
									   notification_url = 'your_ngrok_url/status_notification')

	return  redirect(url_for('index'))
Code language: CSS (css)
Using Cloudinary’s upload method, we can define some settings while uploading the file.
The folder part refers to what folder we’d like to upload our images. In the moderation parameter, we have to specify that we’d like to use the WebPurify add-on. To get notifications about the moderation status of an uploaded image, add the notification_url parameter. For this example, we’ll use Ngrok to help us expose the appropriate endpoint running within our Flask app to the internet, so the webhook notification can be handled.
To get all the images from a specific folder, and to apply some transformations, we’ll use the following code:
def  get_transformed_images():
	all_images = cloudinary.Search().expression('folder:public_gallery').sort_by('public_id', 'desc').max_results(10).execute()
	transformed_images = []
	for  item  in  all_images["resources"]:
		public_id = item['public_id']
		cloudinary_image = CloudinaryImage(public_id)
		image_url = cloudinary_image.build_url(transformation=[
			{'width': 400, 'height': 400, 'crop': 'fill'},
			{'fetch_format': 'auto', 'quality': 'auto'}
		])
		transformed_images.append(image_url)
	return  transformed_images
Code language: JavaScript (javascript)
This function searches through our folder called public_library and grabs 10 images from the folder, which are sorted in descending order by the public_id of the images. This means that only 10 images will be displayed on the site from the specified folder.
In the for loop, we’ll apply transformations that define that the images have to be cropped to fill a 400 pixels wide and 400 pixels height square. The 'fetch_format': 'auto' and the 'quality': 'auto' refers to an optimisation method, where the image will be shown to the user in the best format appropriate for the requesting browser, and the quality of the image will be reduced in a non-visible way to decrease the file size.
While uploading an image to Cloudinary using WebPurify, the image has to go through moderation first. You can check the status of the moderation in your Media Library by clicking on ‘Moderation’ in the top menu and changing the view from ‘Manual’ to ‘WebPurify’. To get notifications about the status of the uploaded image, we’ll use Socket.IO to enable communication between the web client and the server, effectively subscribing to real-time notifications via the websocket protocol.
@app.route('/status_notification', methods=['POST'])
def  status_notification():
	data = request.get_json(silent=True)
	if  data  is  None:
		return  jsonify({"status": "No data received"}), 400

# Check for 'moderation' key in data
	if  'moderation'  in  data:
		status = data['moderation'][0].get('status')
		socketio.emit('moderation', {'status': 'pending'})

# Check for 'approved' status
	elif (data['moderation_status'] == 'approved'):
		socketio.emit('moderation', {'status': 'approved'})
# Check for 'rejected' status
	else:
		socketio.emit('moderation', {'status': 'rejected'})

	return  jsonify({"status": "Received"}), 200
Code language: PHP (php)
In this code, we’ll look through the data to find the status of the uploaded images. First, we’ll identify the pending status in our data. In the elif part of the function, look for the approved status, and in the else part for the rejected status. When any of these three statuses have been found, the server will emit a message via SocketIO, which the client listens for. Based on the emitted events, we can enable the following actions in the browser:
SocketIO will trigger the following script in our HTML file:
<script>
// Status notification
	document.addEventListener('DOMContentLoaded', () => {
		const  socket = io();
				socket.on('moderation', (data) => {
			const  toastEl = document.getElementById('liveToast');
			const  toastBody = document.getElementById('toastBody');
			if (data.status === 'pending') {
				toastBody.innerHTML = `<div class="alert alert-info" role="alert">
					'Your photo is pending for moderation'
				  </div>`
			} else  if (data.status === 'approved') {
				toastBody.innerHTML = `<div class="alert alert-success" role="alert">
					'Your photo has been approved'
				  </div>`
			} else  if (data.status === 'rejected') {
				toastBody.innerHTML = `<div class="alert alert-danger" role="alert">
					'Your photo has been rejected'
				  </div>`
			}
			new  bootstrap.Toast(toastEl).show();
		})
	})
</script>
Code language: HTML, XML (xml)
This script brings up the actual notification on our site using Bootstrap’s toast notifications. The code will be activated from our app.py file, using SocketIO.
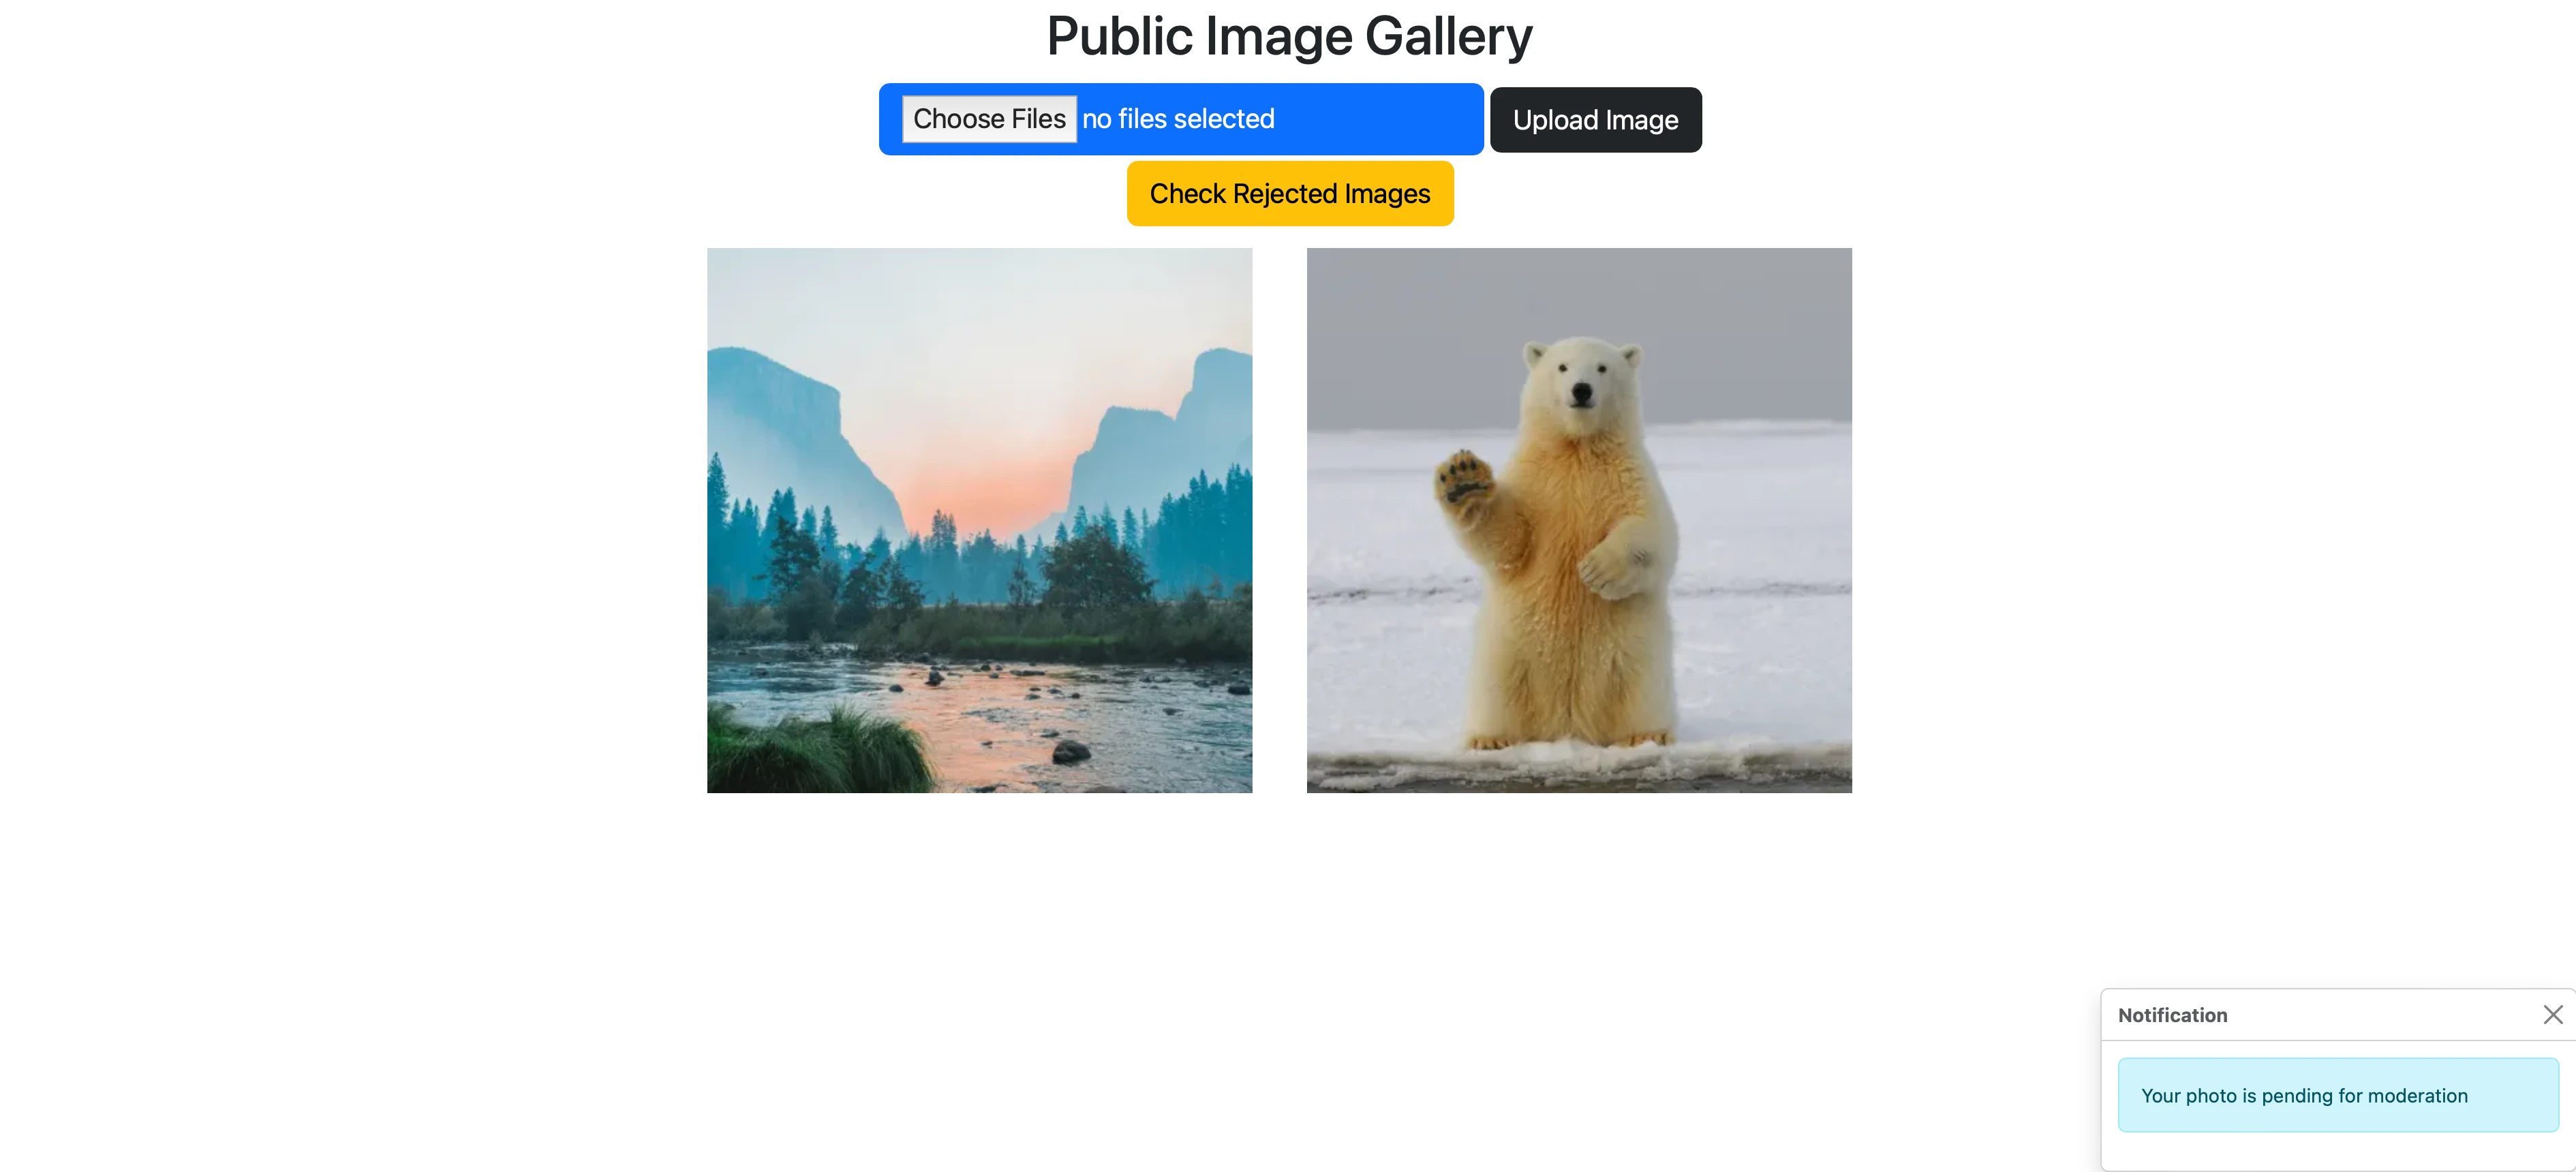
As soon as the image is uploaded, you’ll get a “Your photo is pending for moderation” message:
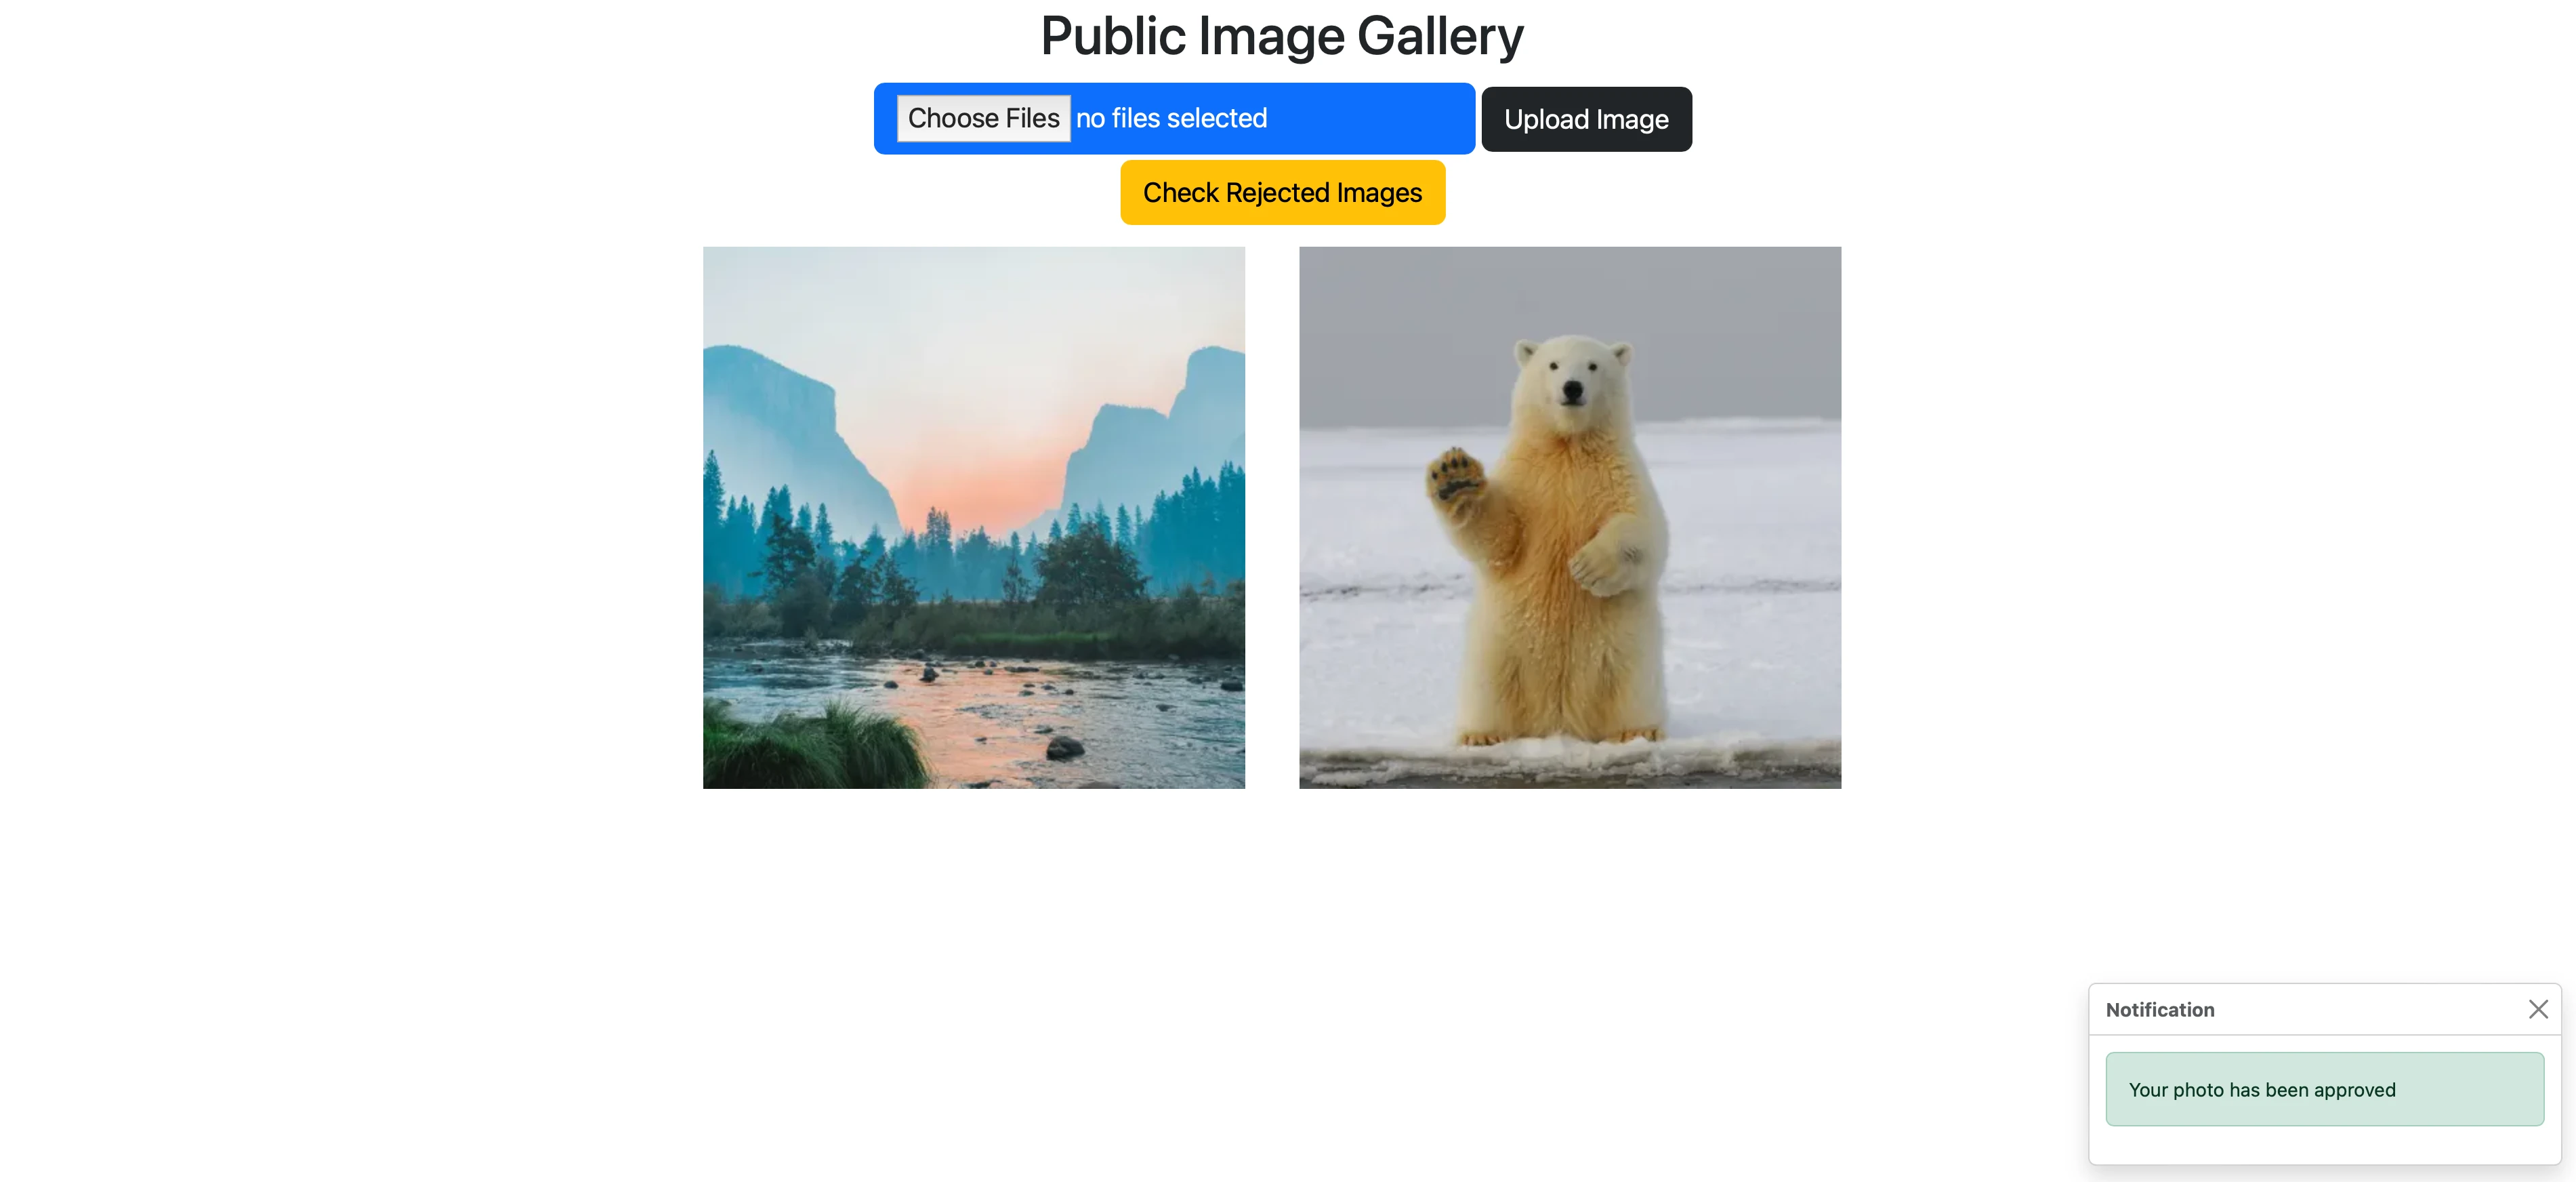
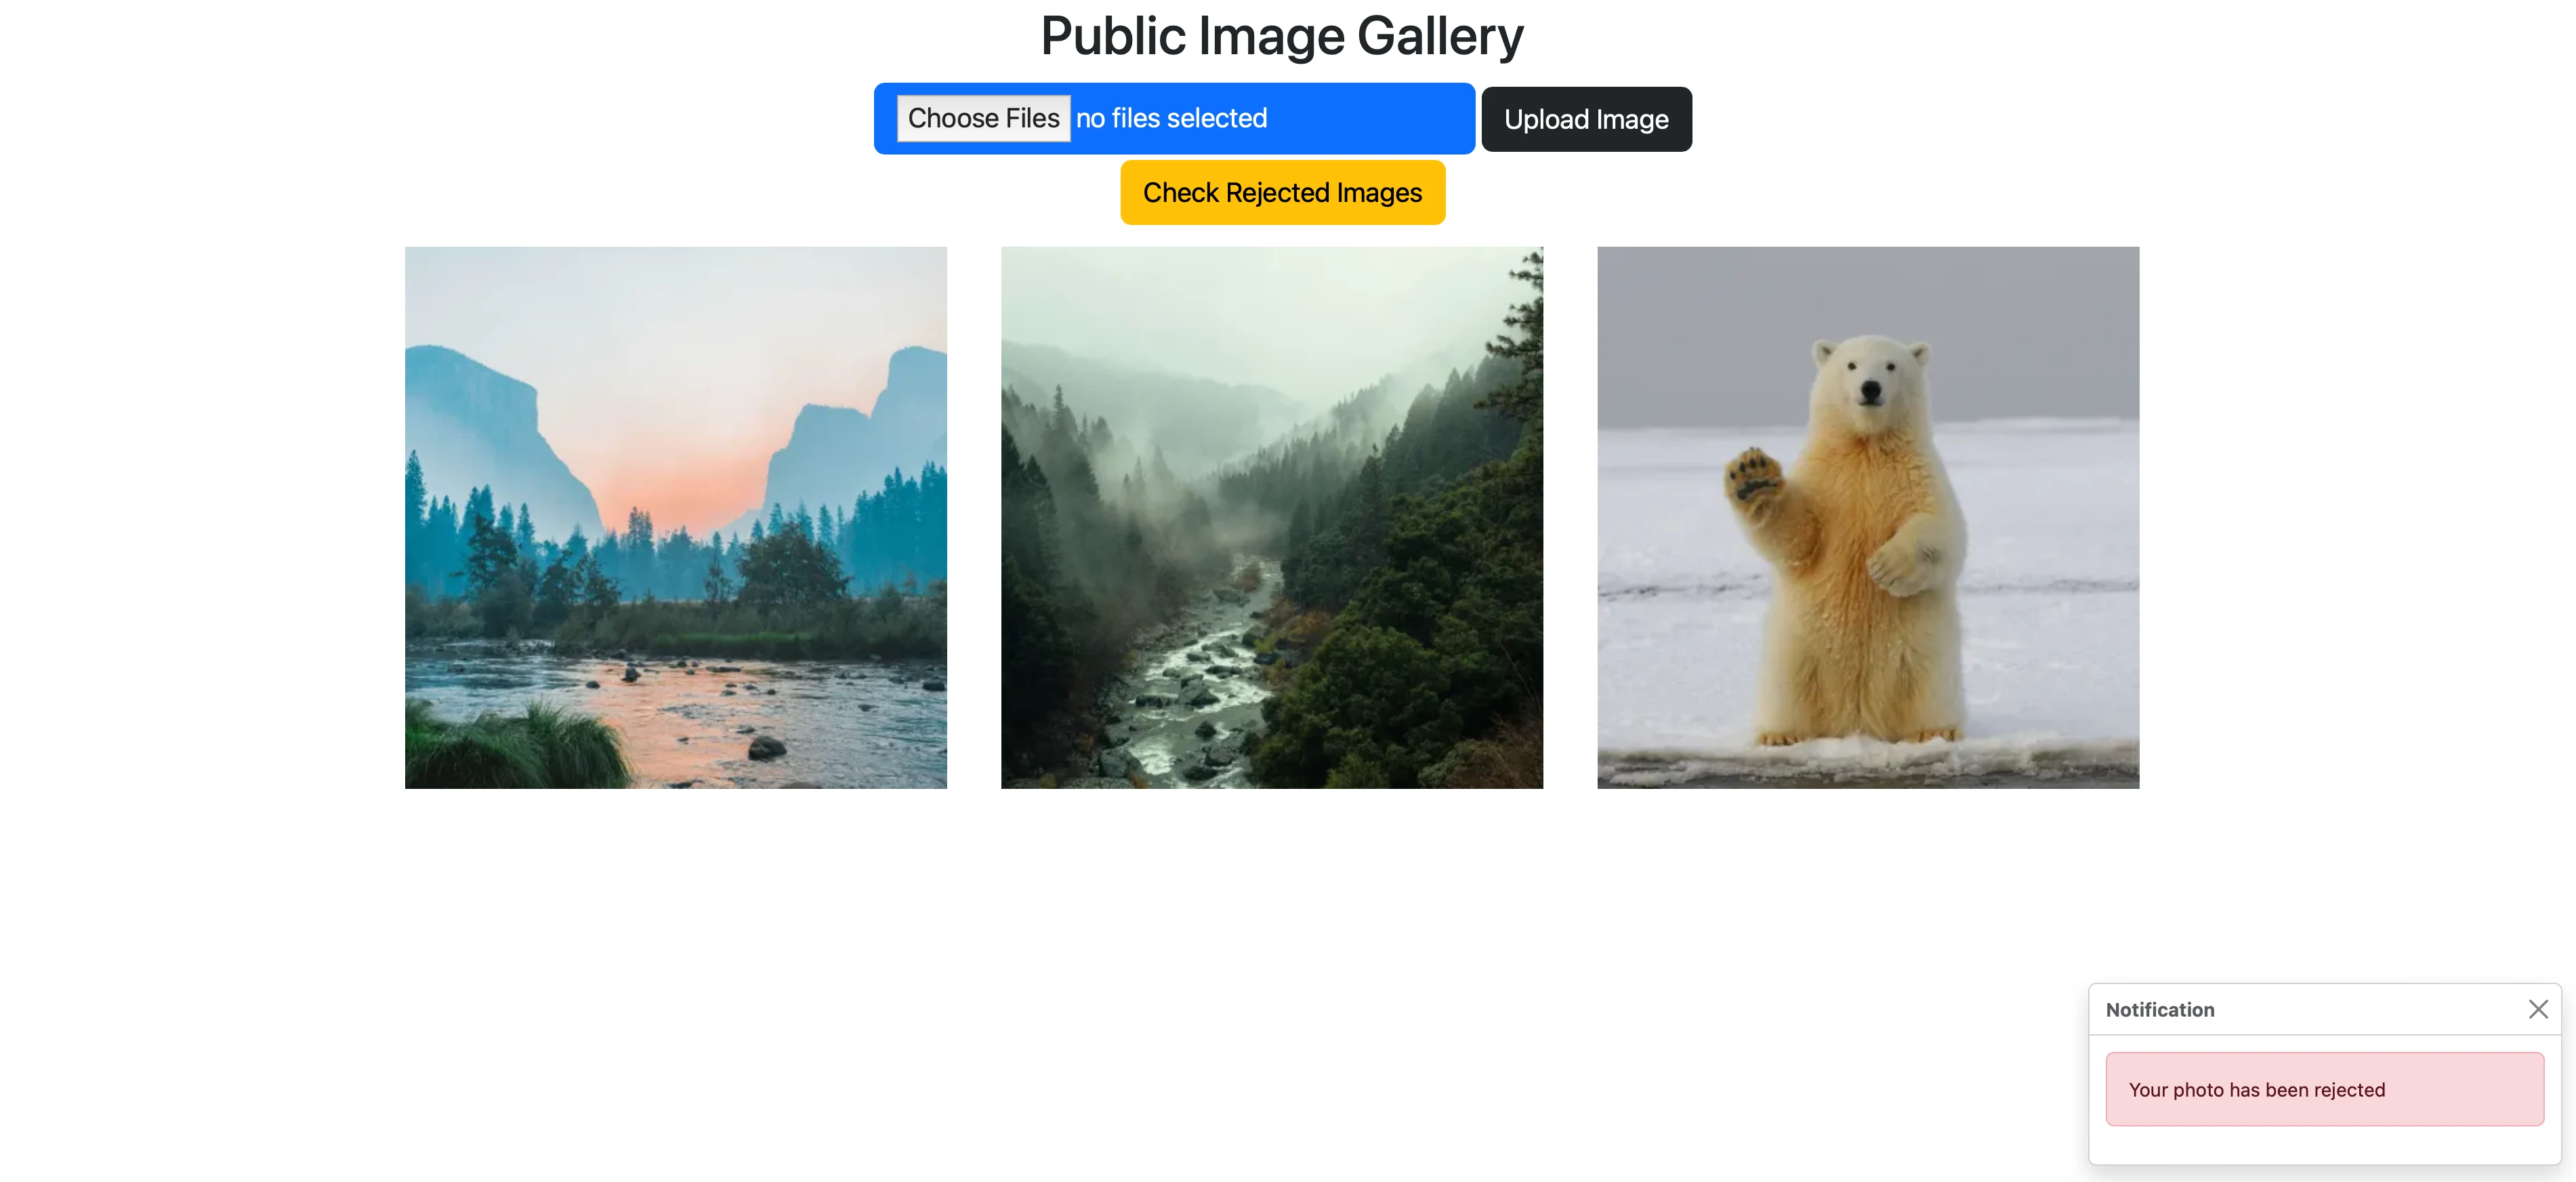
After a few minutes, when the image went through the moderation, the notification will appear again, with either a rejected or an approved message.
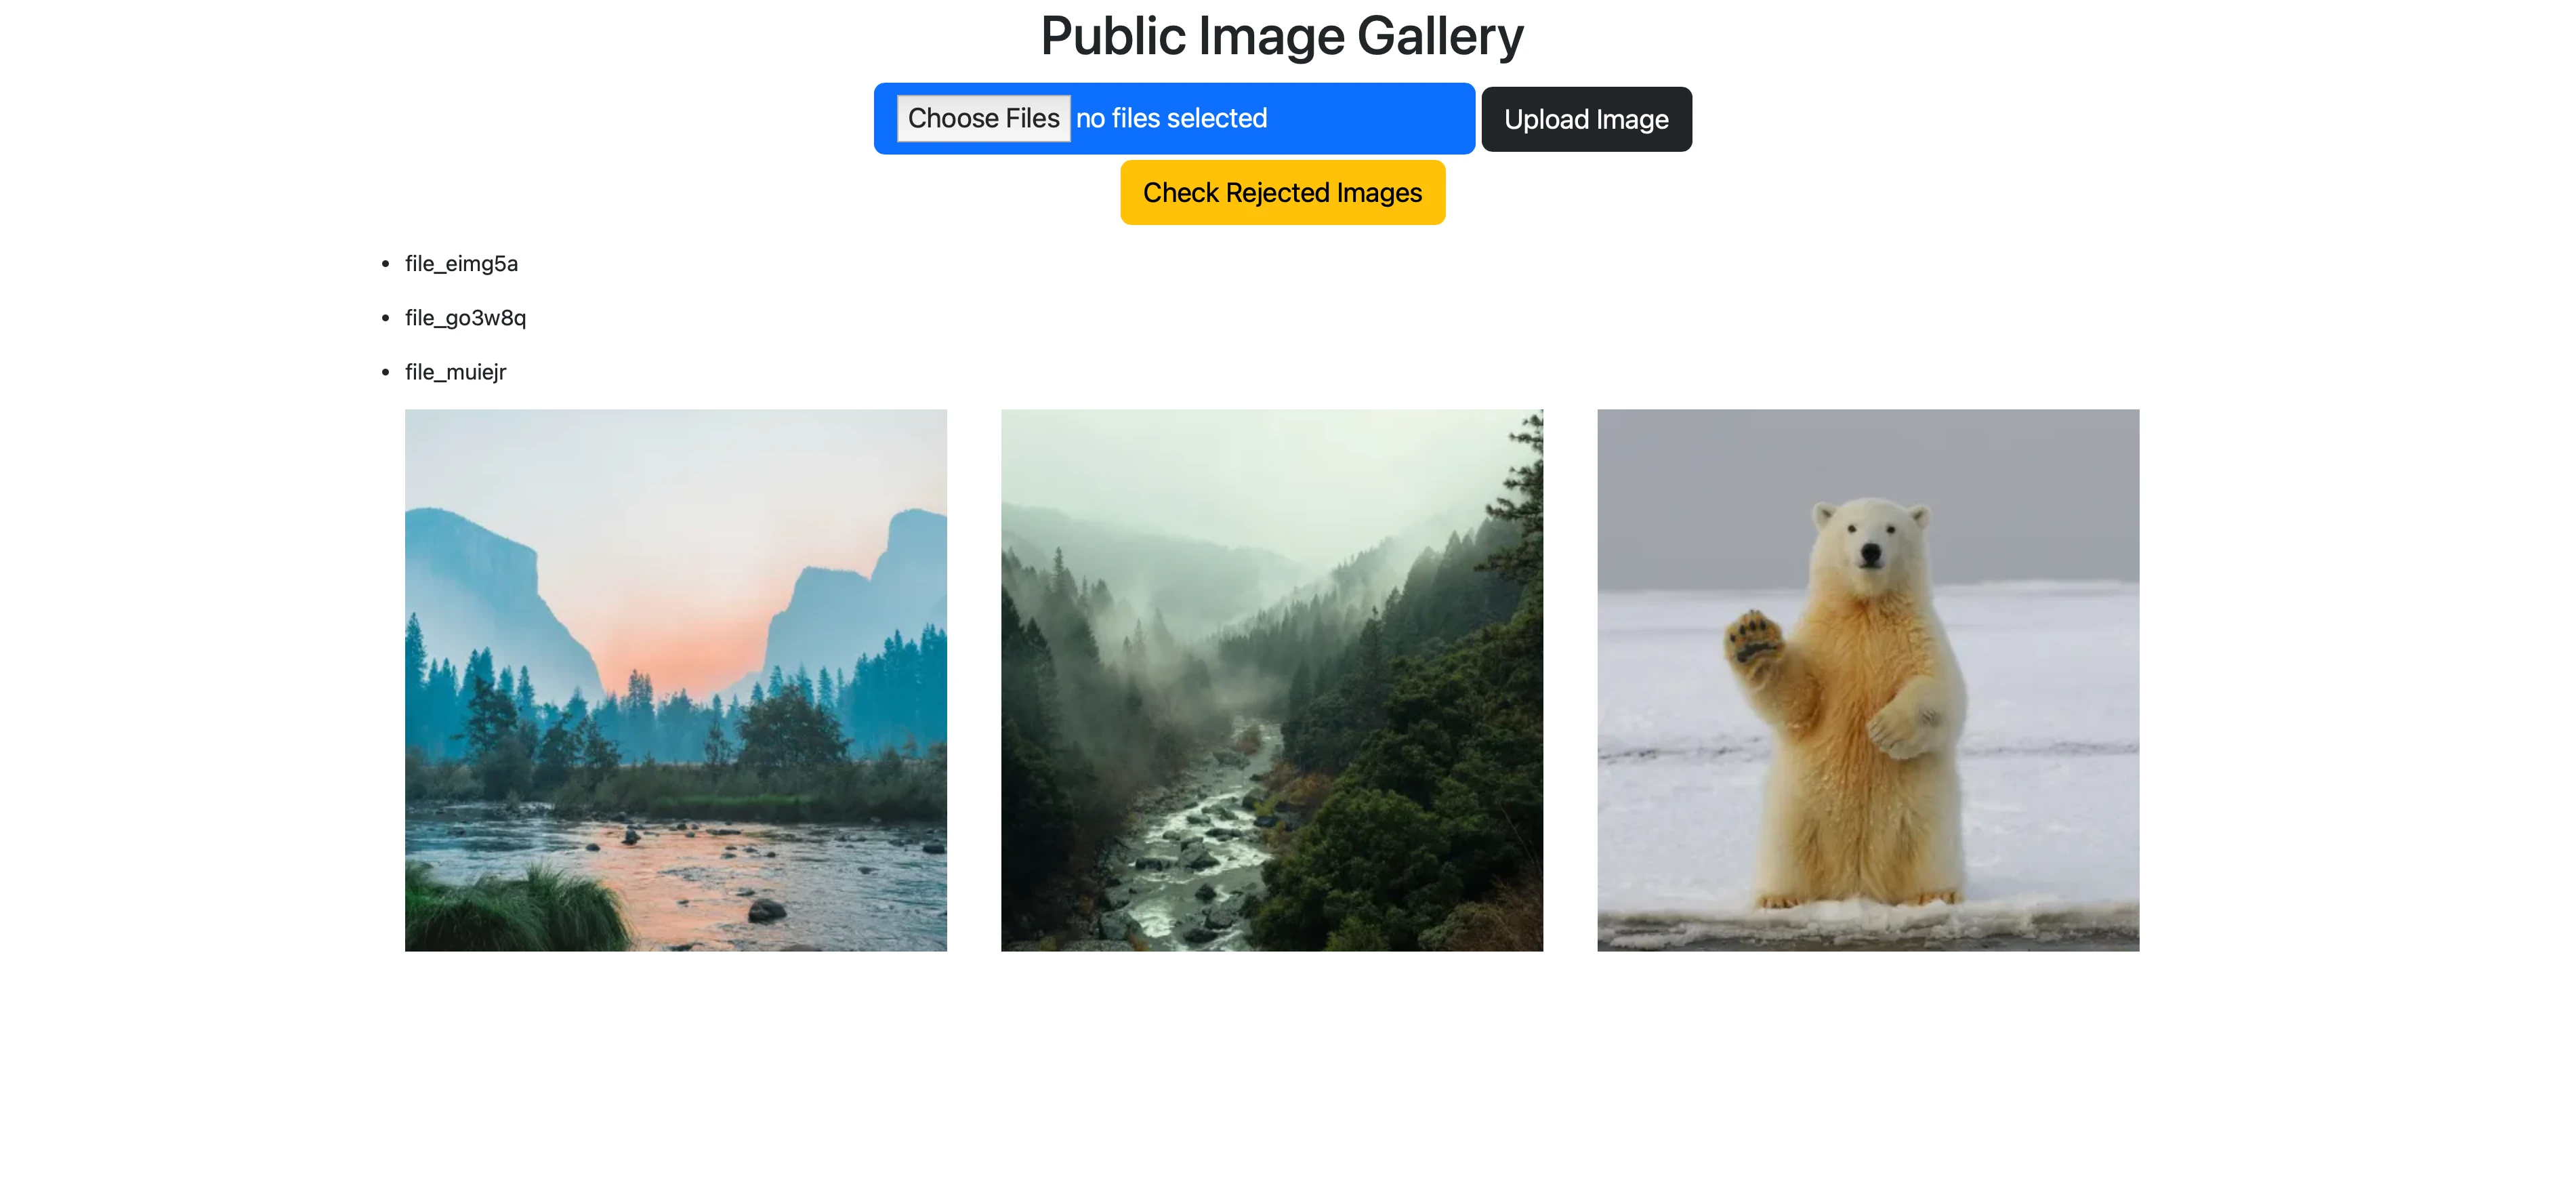
Once an image is rejected, you can still get some information about it, like listing the IDs of the rejected images. To get the IDs, the following code will be used:
@app.route('/rejected_images', methods=['GET', 'POST'])
def  rejected_images():
	rejected_images = []
	if  request.method == 'POST':
		results = cloudinary.api.resources_by_moderation("webpurify", "rejected")
		for  img  in  results['resources']:
		image_info = img['public_id'].split('/')[-1]
		rejected_images.append(image_info)

	transformed_images = get_transformed_images()
	return  render_template('index.html', transformed_images=transformed_images, rejected_images=rejected_images)
Code language: JavaScript (javascript)
This will check all moderated images, and will give back a list with the image IDs of the rejected ones. From here we can easily add these to our site on request.
Building an image gallery with Cloudinary’s WebPurify moderation and notifications is a good way to protect your UG app from inappropriate images. With this feature, we can ensure that all uploaded images meet our content guidelines. The combination of Flask, SocketIO, and Bootstrap allows us to create an interactive user interface that notifies users of their image status promptly. Whether you’re looking to add moderation to an existing project or build a new image gallery from scratch, we hope this post shows how you can integrate these technologies efficiently. You can find the working demo in this Github repository.


