
This is part one of our three-part blog series that focuses on UGC’s significance and positive impact on engagement, and how to manage, moderate, and curate this content within the Cloudinary platform. Be sure to check back for parts two and three.
For a more comprehensive look at UGC, explore our free, 45-minute self-paced workshop in the Cloudinary Academy, which expands on the content in this blog series.
User-generated content (UGC), sometimes referred to as “earned media,” is original, brand-specific content created by customers and published on social media or other channels. It comes in many forms but is usually blog posts, comments, and is often accompanied by significant user-created videos and images, setting it apart from content generated by marketing departments.Because UGC is considered to be more authentic and honest, its value is incalculable, and the power consumer influence plays in purchase decision-making can’t be overstated. There’s more weight placed on UGC than the content released by retailers. Nielsen estimates that 92% of consumers trust organic, user-generated content more than they trust traditional advertising. It would be challenging to find an online platform that doesn’t have at least one form of UGC.

If you’ve made an online purchase, chances are you’ve encountered and engaged with customer reviews or testimonials. Typically, these opinions from fellow consumers greatly influence the decision to buy a product.
86% of consumers credit reviews as pivotal in their purchasing decisions.
Those same UGC photos and reviews are responsible for a 28% uplift in social media engagement compared to posts without UGC.
When Bazaarvoice surveyed their network, they found a conversion rate increase of 144% on platforms where users can interact with UGC and a 162% increase in revenue per visitor.
By now it should be clear that UGC has a direct impact on revenue, along with the pluses of increased brand awareness, greater brand trust, and higher conversion rates.
Imagine you’re a business with the need to handle UGC in your application. Maybe you’d like your users to accompany their review with photos and videos. Maybe you have a food delivery app, where many restaurants need to upload images of their food. Or you have a dating app, where the ability for users to upload content is the main functionality of your app. Perhaps you’re in travel and tourism and know that hotel images and video are the most important aspect of a successful booking.
Let’s explore how Cloudinary can help you manage this content.
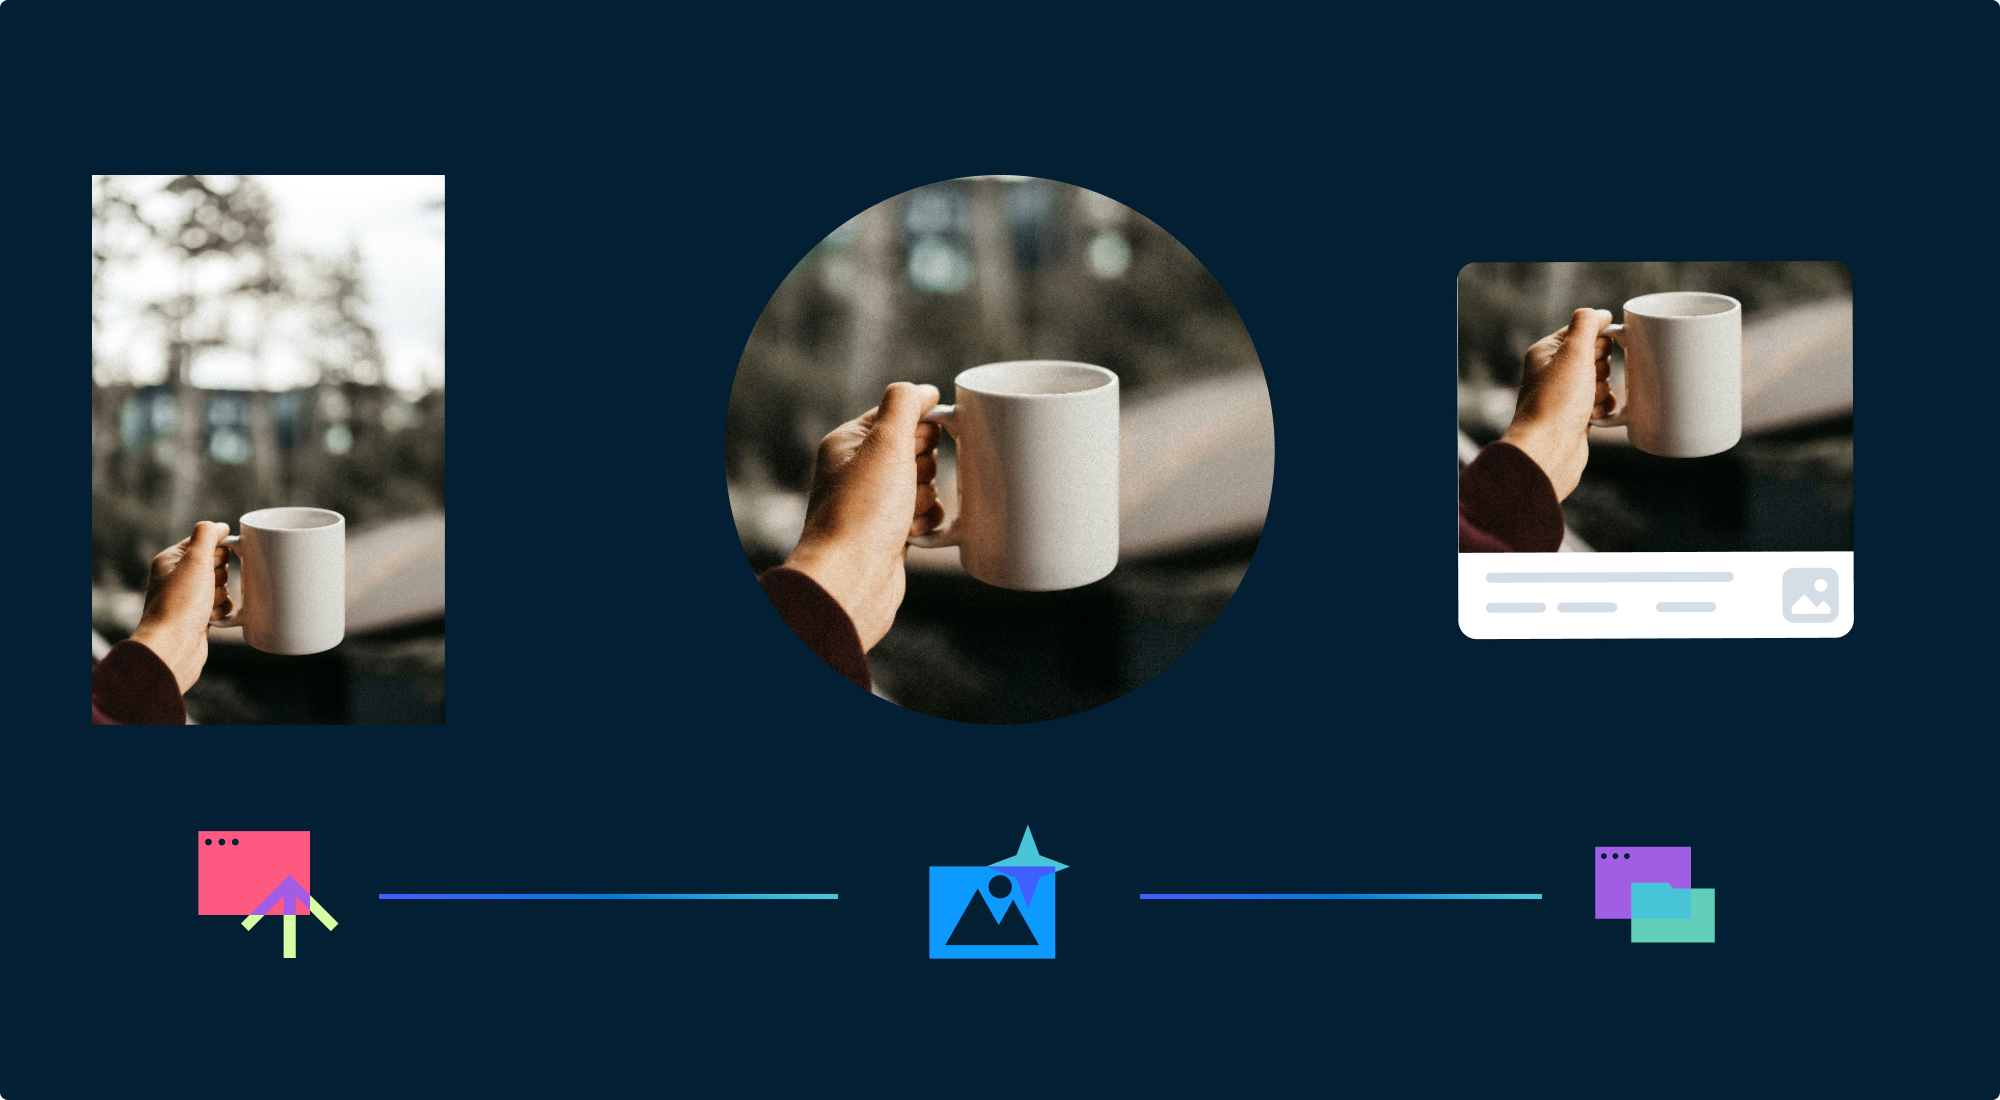
First, you’ll need to standardize uploaded assets to ensure they meet the requirements of your application. This is accomplished by incoming transformations.
Incoming transformations are applied to videos and images at the moment of upload. This means you can apply optimizations, resizing, and adjust quality, among other modifications, to the content before storing it.
Cloudinary’s incoming transformations are important because by default, uploaded assets are stored in their original form (without transformations) upon upload, which is likely not needed for UGC.
Incoming transformations can be created programmatically via the Upload API or using Upload presets.
Using incoming transformations streamline your workflow to deliver optimized assets which consume less bandwidth, improve the user experience, and all but eliminate the need to manually transform every asset.

Now that we’ve established what incoming transformations are, you’ll need a way to actually apply them to your UGC. Here’s where we’d like to introduce upload presets.
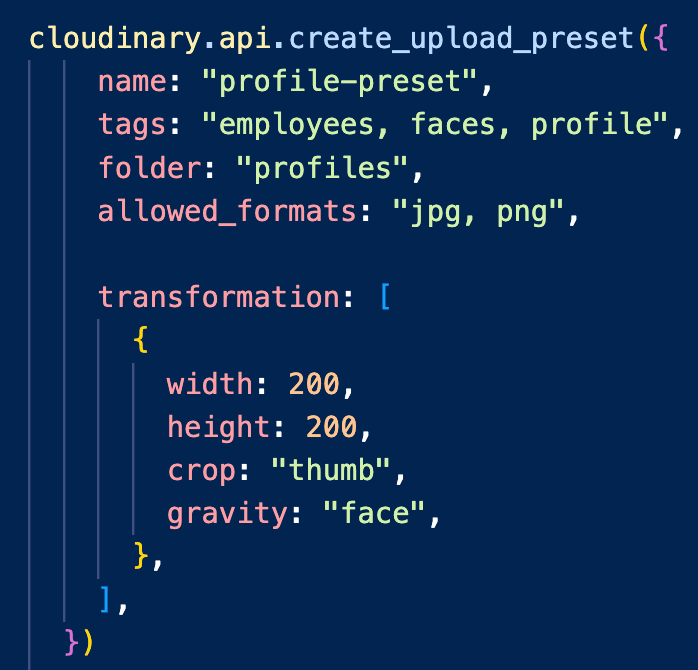
Upload presets are a way to centrally define a set of options, such as tags and transformations. An upload preset can be applied to any amount of assets within a single upload call instead of having to apply transformations individually.
This provides you with a convenient way to maintain consistent upload settings and security measures to every asset while giving you the ability to apply that preset to all user uploads. This streamlines your content management by saving time, preventing errors, and allowing for uniformity in bulk uploads.
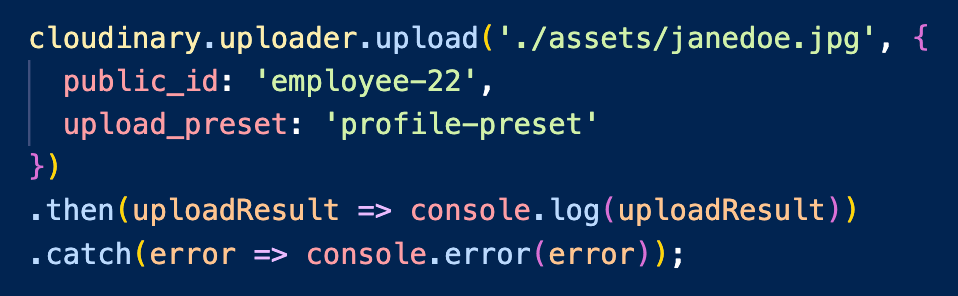
Here, we’ve created a custom upload preset designed specifically for the use case of a user uploading an image for their account’s profile picture.
For a UGC use case, moderation might be something to account for within an upload preset. More on this in part 2.
Check out this tutorial to learn more about upload presets.
Next, we need an easy, intuitive way to utilize all of this functionality in one spot. This is where Cloudinary’s fully customizable Upload widget comes in.

With just a line of code within a script tag, you can be up and running with your Upload widget!
To get going with the Upload widget, follow these steps:
- Include the Cloudinary widget JavaScript file in your web page.
- Add the widget. Use the createUploadWidget method to create your widget, specifying the upload preset that you created in the first step, your cloud name, and some additional widget options.
- Add a button. Add an HTML button to the page to display the widget when clicked.
- Add an event listener to open the widget when the button is clicked.
Check out this tutorial to learn more about the Upload Widget.
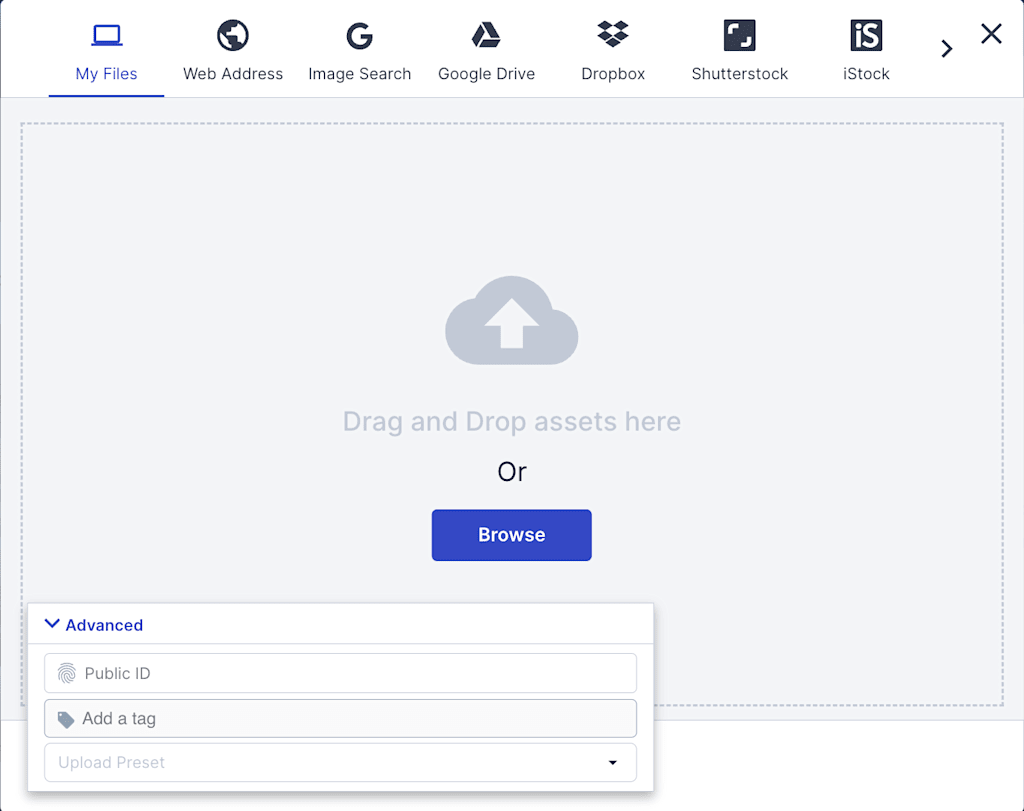
Within the upload widget, you can:
- Manually select any of the upload presets you’ve created.
- Manually add any tagging, if you haven’t already specified that in your upload preset.
- Manually specify a Public ID, if you haven’t already specified in your upload preset.
- Choose assets from a variety of integrated sources. See the bar at the top of the widget for more options when you scroll horizontally.
- Browse local assets on your computer to upload, or drag and drop assets directly into the widget.
Cloudinary’s Upload widget will seamlessly integrate with your application and allow uploads directly from your user’s devices. Additionally, the upload widget is responsive right out of the box, allowing you to implement security and moderation via upload validation, and will provide scalability and reliability as your application grows.
To dive deeper into managing your UGC with Cloudinary, explore our comprehensive UGC guide in the documentation.
We’ve only scratched the surface of crafting user-generated content with Cloudinary. In part two of this series, we’ll go over file resizing, organizational structure, and content analysis, so make sure to check it out!
Ready to try Cloudinary now? Sign up here.


