
The Next Cloudinary library, created and maintained by my good friend Colby Fayock, allows you to easily use components out of the box within the library with these features:
- Automatically optimize images and videos and deliver in modern formats.
- Remove backgrounds from images.
- Dynamically add image and text overlays to images and videos.
- Use AI to crop and resize images and videos.
- Transform images and videos using color and effects.
- Generate Open Graph Social Media cards on the fly.
- Drop-in Upload widget.
In this blog post, we’ll create a simple image showcase and focus on the usage of the library with Next.js 14. The components we’ll use are CldImage and CldVideoPlayer. If you want more details on the other components, please refer to the docs and Colby’s YouTube channel.
You’ll need foundational knowledge of the Cloudinary platform, Next.js 14, and Node.js. For an introductory tutorial, please refer to the Cloudinary and Next.js 14 documentation.
The Next Cloudinary Library is a high-performance solution tailored for image and video delivery and uploading in Next.js applications, leveraging the power of Cloudinary. This library facilitates automatic optimization of images and videos, delivering them in modern formats optimized for efficiency and speed. It includes features that allow for dynamic transformations, such as background removal, image and text overlays, AI-based cropping and resizing, and applying various color and effect filters.
In addition to these features, the library offers the ability to generate Open Graph Social Media cards dynamically, a drop-in Upload widget for easy integration, and comprehensive customization options to tailor the media delivery to specific requirements. It supports the latest versions of Next.js, including 13 and 14, with full support in the src directory, and provides components that are marked as Client Components when used in the app directory.
Let’s start by installing the Next Cloudinary library. Go to your terminal, and after installing a new Next.js 14 project, run npm install next-cloudinary in your Next.js project directory.
Once installed, you’ll need to configure your Cloudinary environment. Create a .env.local file in your Next.js 14 project and add this key and value:
NEXT_PUBLIC_CLOUDINARY_CLOUD_NAME="<Your Cloud Name>"Code language: HTML, XML (xml)If you want to follow along step by step and surpass the boilerplate setup spinning up a new Next.js 14 app, you can clone down my repo here.
Next.js 14 provides a new, fundamental way to build Next.js apps with the App Router (/app directory). Part of that includes using React.js technology such as server components that have different requirements when bundling applications.
Using Next Cloudinary in the app directory currently requires marking the parent page or component as a Client Component. The directive for this would be placed at the top of the file like so: “use client”.
This is due to the split of components in two types: Client Components and Server Components.
We’ll avoid making the entire page a Client Component. To do this, go to the root of your app folder and create a components folder. In this components folder, create a CloudinaryWrapper.jsx file and copy and paste in this code block:
"use client";

import { CldImage as CldImageDefault } from "next-cloudinary";

const CldImage = (props) => {

  return <CldImageDefault {...props} />;

};

export default CldImage;Code language: JavaScript (javascript)
What this component is doing is taking the CldImage component and renaming it to CldImageDefault from the next-cloudinary package. Then it takes a functional component named CldImage that takes the props as the argument.
After that it returns and renders the CldImageDefault component and spreads the props received from CldImage. This will act as our wrapper and now we can call the component anything we want and use it across our app. In this case, we called it CloudinaryWrapper.jsx.
The next thing we want to do is create a video image component. In the components directory we put the image wrapper in, add a file called CldVideo.jsx. Then copy and paste this code block:
"use client";

import { CldVideoPlayer } from "next-cloudinary";

import "next-cloudinary/dist/cld-video-player.css";

function CldVideo() {

  return (

    <div className="mx-auto max-w-md">

      <CldVideoPlayer

        width="1900"

        height="1080"

        src="Golden_Gate_Bridge__SaveYouTube_com__nlefau"

        className="w-full h-auto rounded-lg"

      />

    </div>

  );

}

export default CldVideo;Code language: JavaScript (javascript)
This component is importing the CldVideoPlayer from the next-cloudinary library and applying the css necessary for the video player at the top of the file.
Next, we have a functional component named CldVideo that will render and return the video player on the page with the props that are passed to it: the source, width, and height. I also added some rounding with Tailwind. In this case, I’ll use a video of the Golden Gate Bridge. You can pass in whatever the value of your src is.
Before we see what our images and videos look like on the browser, let’s make some client-side links to navigate users to the different images and the video we’ll create to their individual routes and pages.
The new approach in Next.js 14 is called route segmentation.
Let’s create three pages. One to show a cartoon effect of an image (a home page of a default image), an image without a background, and a video player page.
In the root of the app folder, create these three folders separately:
app/cartoonifyapp/removebgapp/video
Following that, on each individual folder, create a file called page.jsx.
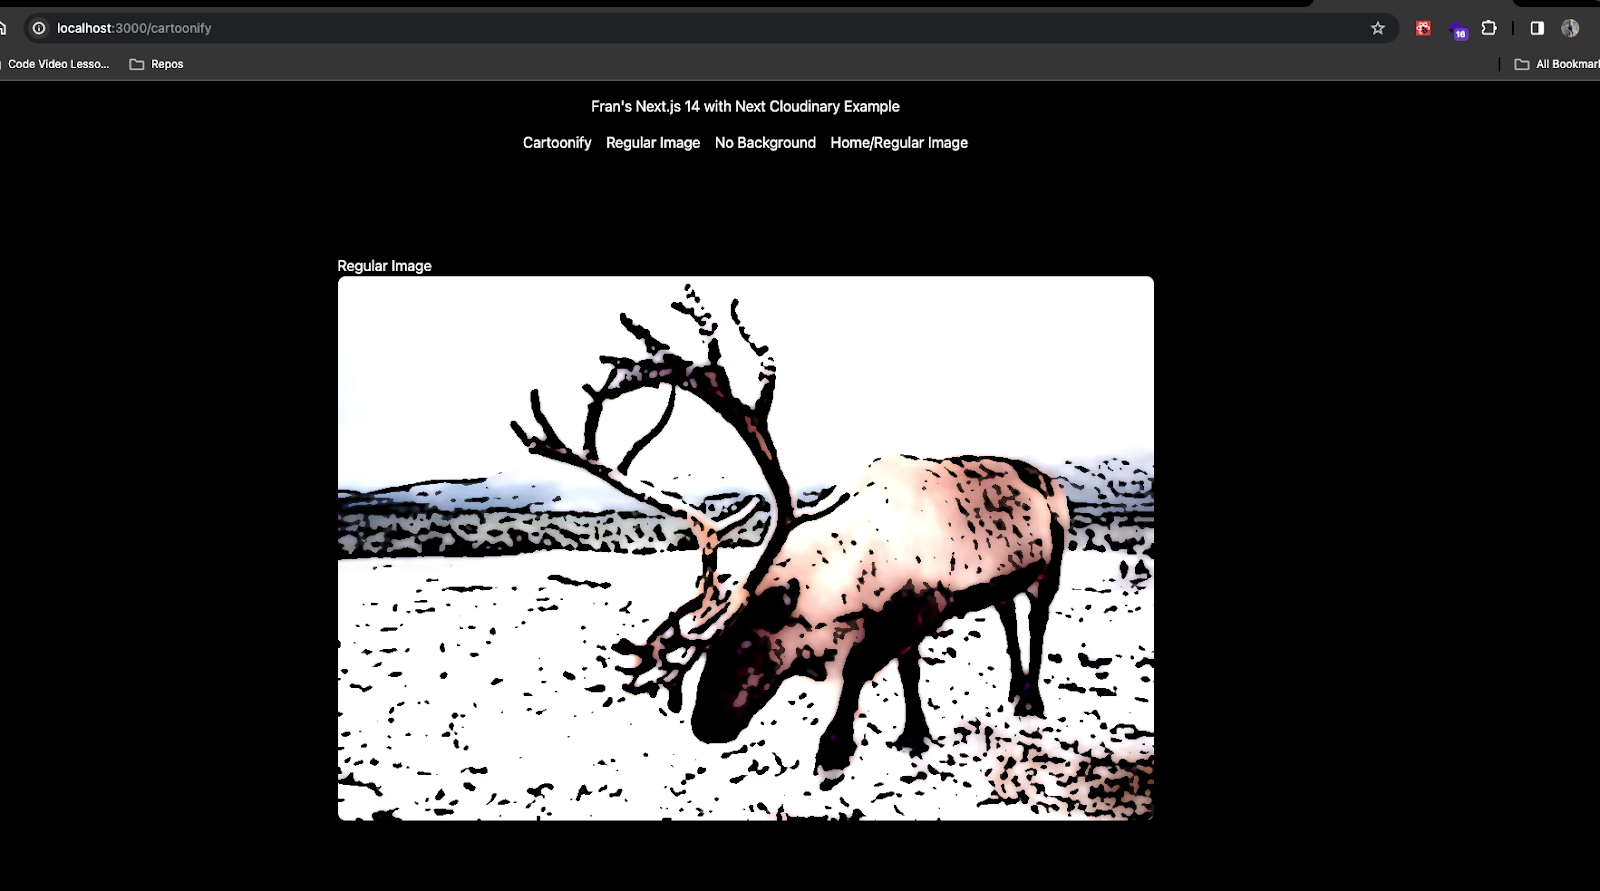
Cloudinary supports a wide variety of effects and artistic filters. All we need to do is pass in the respective prop. Stoked! Let’s use these props in our components to change the appearance of our images. We’ll use the two props, cartoonify and removeBackground, because I think they look the coolest.
In the app/cartoonify/page.jsx file, add this code block:
import CloudinaryWrapper from "../components/cloudinarywrapper";

export default function Home() {

  return (

    <main className="flex min-h-screen flex-col items-center justify-between p-24">

      <div>

        <h1>Cartoonify </h1>

        <CloudinaryWrapper

          cartoonify

          width="900"

          height="500"

          src="https://res.cloudinary.com/dxrwygxse/image/upload/v1695311368/reindeer.jpg"

          sizes="100vw"

          alt="Cartoon"

          className="rounded-lg"

        />

      </div>

    </main>

  );

}Code language: JavaScript (javascript)In the app/removebg/page.jsx file, add this code block:
import CloudinaryWrapper from "../components/cloudinarywrapper";
export default function Home() {
return (
<main className="flex min-h-screen flex-col items-center justify-between p-24">
<div>
<h1>No BackGround </h1>
<CloudinaryWrapper
removeBackground
width="900"
height="500"
src="https://res.cloudinary.com/dxrwygxse/image/upload/v1695311368/reindeer.jpg"
sizes="100vw"
alt="no background reindeer"
className="rounded-lg"
/>
</div>
</main>
);
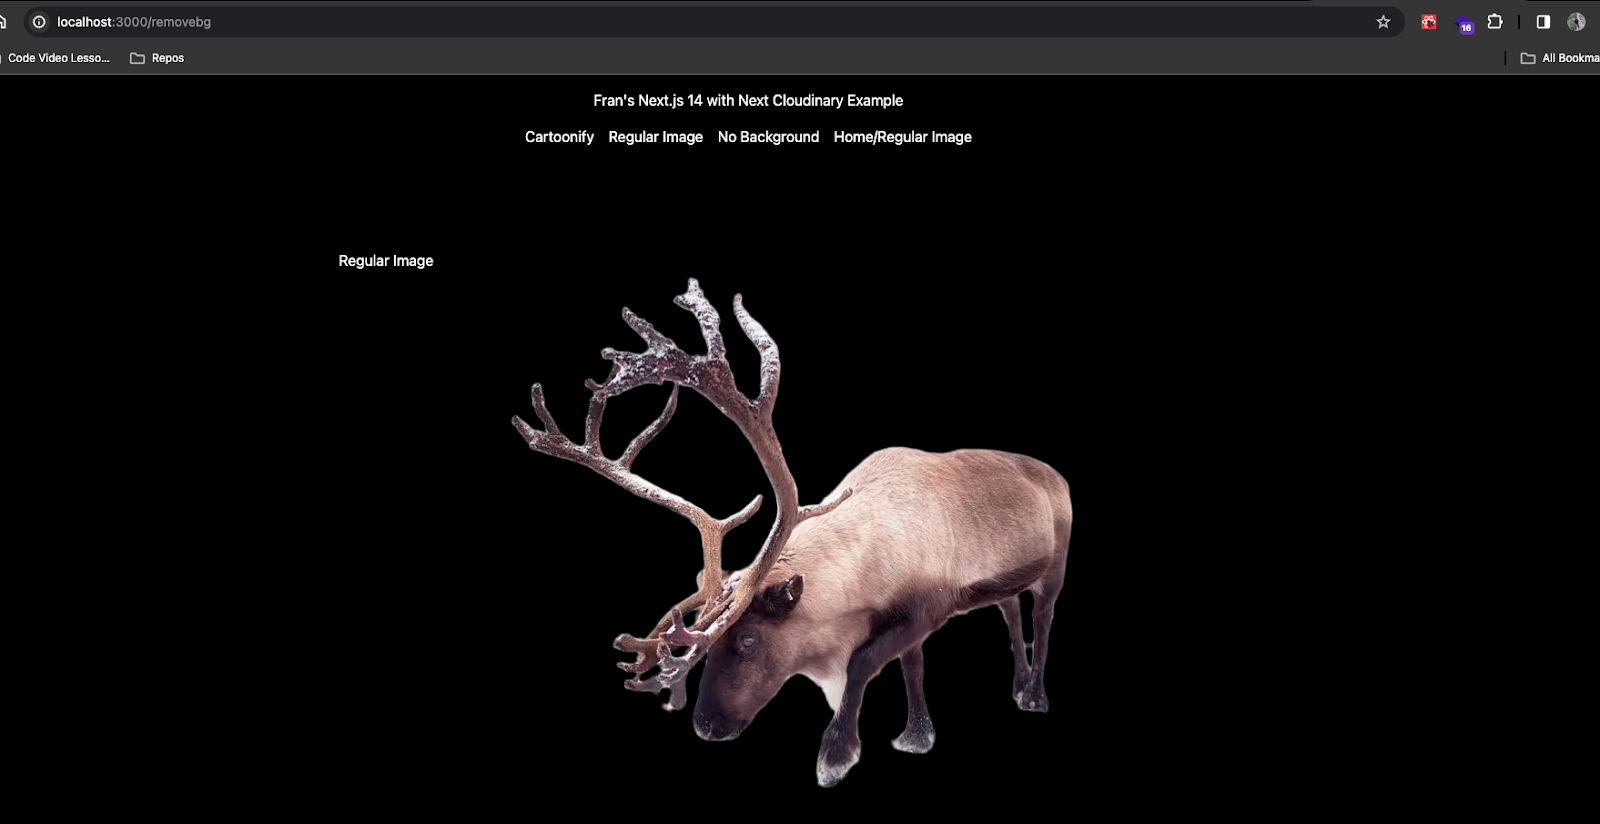
}Code language: JavaScript (javascript)Both the cartoonify and no background pages are utilizing effects by taking in the Cloudinary props to alter the image.
We’re also taking advantage of the CldImage support of passing in a fully qualified Cloudinary URL as the src, which includes the version number to be correctly parsed on these pages.
In the app/video/page.jsx file, add this code block:
import CldVideo from "../components/CldVideo";
export default function Home() {
return (
<main>
<div className="text-center">
<h1>Video</h1>
<CldVideo />
</div>
</main>
);
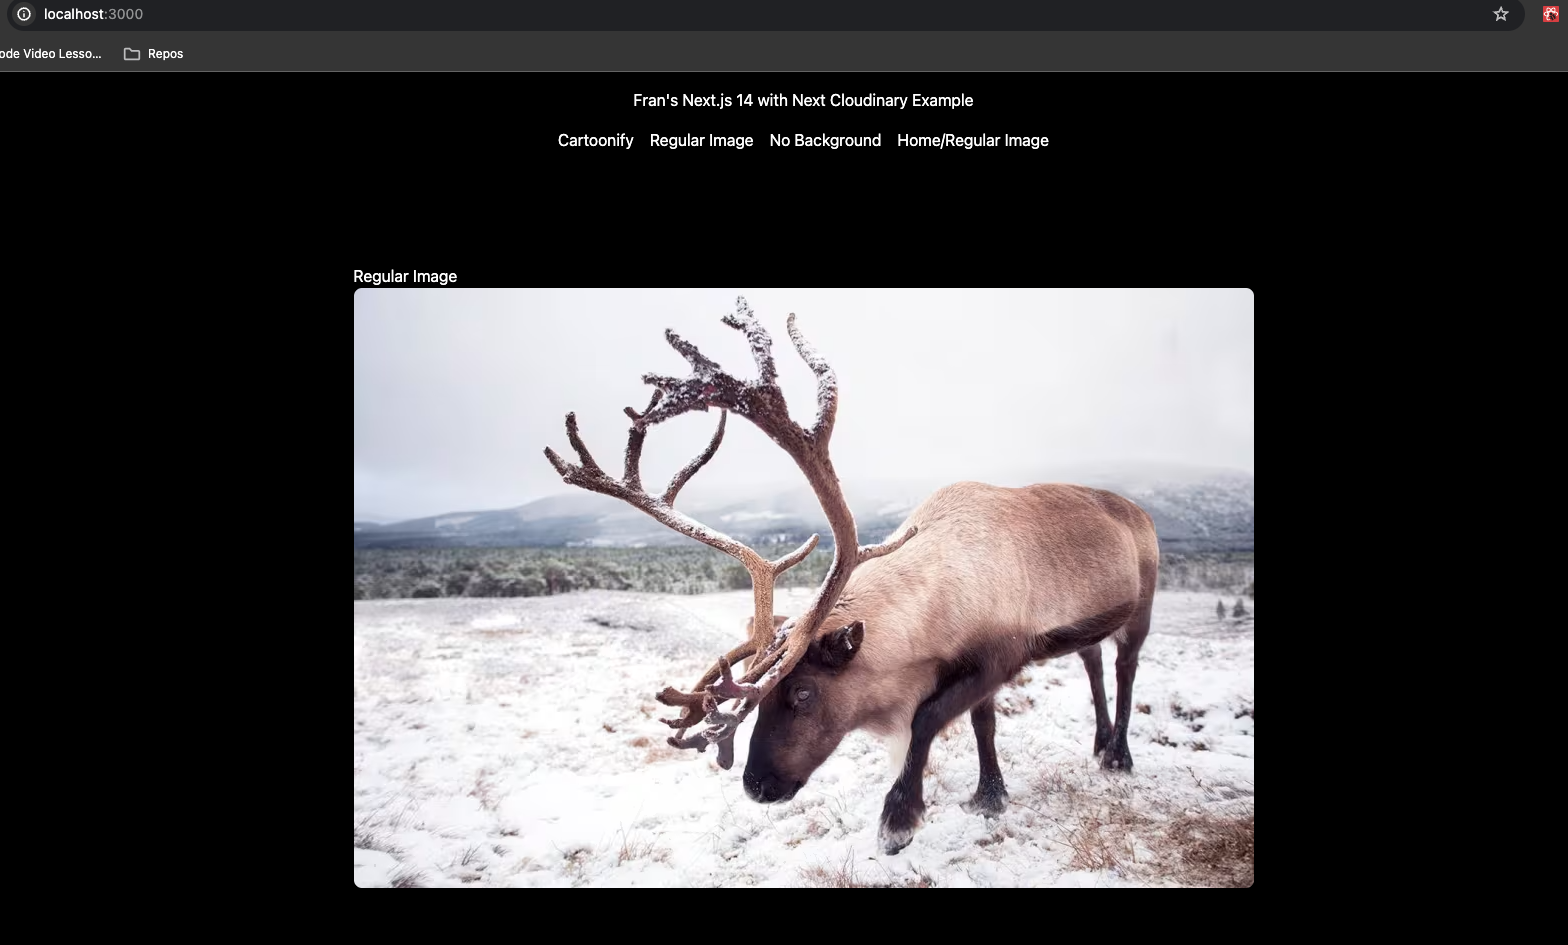
}Code language: JavaScript (javascript)On the last page, we’ll need to add code to our home page, which is located in app/page.jsx and was already created for us with the boilerplate code. This acts as the home page and regular image version of our Cloudinary image. Add this code:
import CloudinaryWrapper from "./components/cloudinarywrapper";

export default function Home() {

  return (

    <main className="flex min-h-screen flex-col items-center justify-between p-24">

      <div>

        <h1>Regular Image </h1>

        <CloudinaryWrapper

          width="900"

          height="500"

          src="https://res.cloudinary.com/dxrwygxse/image/upload/v1695311368/reindeer.jpg"

          sizes="100vw"

          alt="Regular Reindeer Image"

          className="rounded-lg"

        />

      </div>

    </main>

  );

}Code language: JavaScript (javascript)
All four page files are taking in the components we created as imports, and these will be the page components responsible for rendering the images and video on the page.
Lastly, let’s create a navbar so the user can navigate to the individual pages with client-side routing.
In the components folder, create a file called Navbar.jsx. Copy and paste this code block:
import Link from "next/link";
export default function Navbar() {
return (
<nav className="flex flex-col items-center py-4">
<h1 className="mb-4">
Fran's Next.js 14 with Next Cloudinary Example
</h1>
<div className="flex justify-center space-x-4">
<Link href="/cartoonify">Cartoonify</Link>
<Link href="/">Regular Image</Link>
<Link href="/removebg">No Background</Link>
<Link href="/video">Video Player</Link>
</div>
</nav>
);
}Code language: JavaScript (javascript)This is a navbar component that links the user to each of the routes and pages we created.
To add the navbar globally, import and add it to your layout.jsx file at the root of the app folder like so:
import { Inter } from "next/font/google";
import "./globals.css";
import Navbar from "./components/Navbar";
export const metadata = {
title: "Create Next App",
description: "Generated by create next app",
};
export default function RootLayout({ children }) {
return (
<html lang="en">
<body>
<Navbar />
{children}
<footer
style={{ textAlign: "center", marginTop: "20px", fontSize: "14px" }}
>
© 2023 Fran Agulto Dev Stoke
</footer>
</body>
</html>
);
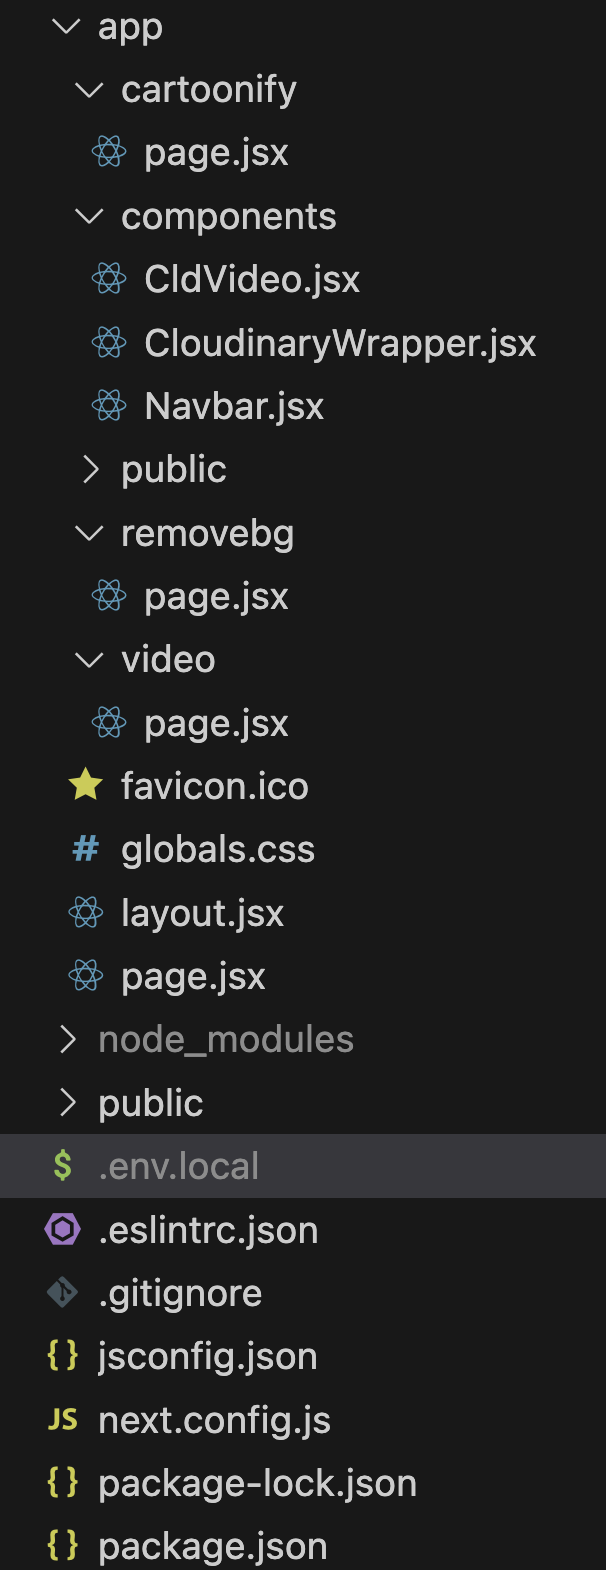
}Code language: JavaScript (javascript)Your folder and file structure should look like this:
Now, go to your terminal and run npm run dev to start up the development server. Go to your browser to localhost:3000 and you should see the images, effects, pages, and video we created:

I hope this blog post showed you a new way to optimize your images with the Next Cloudinary library. If you want a video form of this content that uses headless WordPress as the content database for these images, check out the event Colby and I did here.
As always, I look forward to seeing what you build out there on the web and if you have any feedback, please share in the Cloudinary Community forums or the associated Discord.


