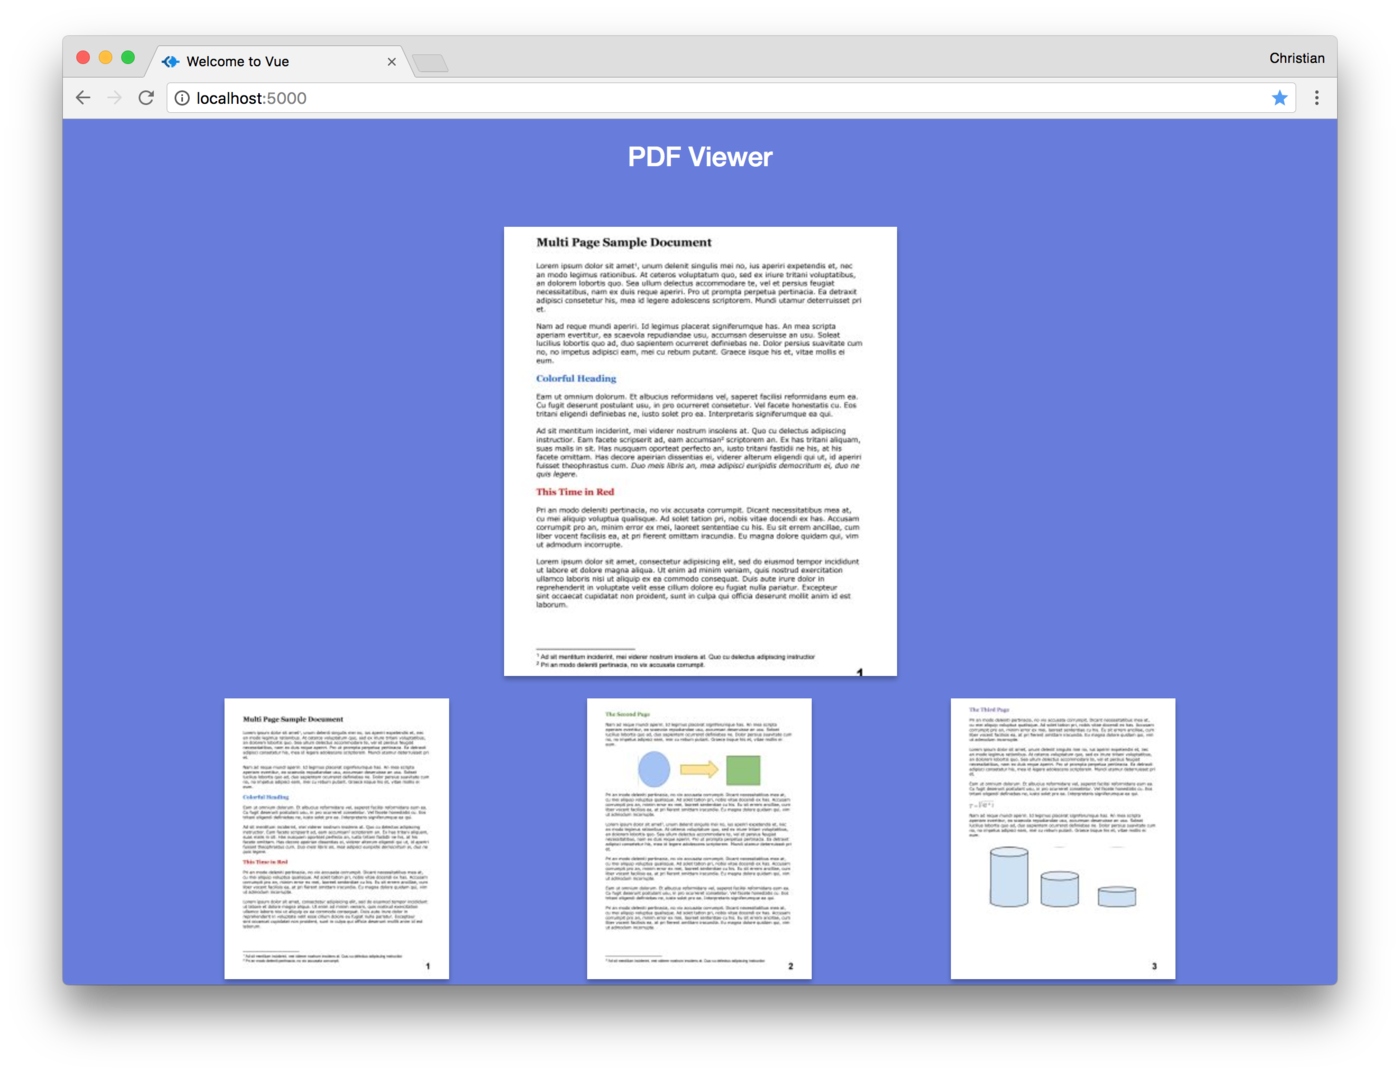
Cloudinary offers an interesting feature: The ability to generate images from the PDF files and pages. With Cloudinary, you can create thumbnail images of your documents for previewing purposes. It’s useful when you don’t want to grant user access to the content, but need to give them a sneak peek of what they’re missing if they haven’t downloaded the PDF yet.
In this blog, we will share a hands-on example for building such solutions using Cloudinary. Here are the tools you’ll need:
- Cloudinary: End to end image and video management service
- Vue: Progressive JavaScript framework
The best and easiest way to get started on a Vue project is via the command line tool. You can install it with npm using the following command:
npm install -g vue-cli
This installation exposes Vue commands to the CLI, which you could use to perform various tasks including creating a new Vue project. Here is the command that creates a new project:
vue init simple pdf-viewer
simple is the project template we prefer to use as our very simple example, while pdf-viewer is the name of the project we are creating.
This command creates a file, index.html with some simple markup. Feel free to empty this file and replace with the following:
<html>
<head>
  <title>Welcome to Vue</title>
  <link href="https://maxcdn.bootstrapcdn.com/bootstrap/3.3.7/css/bootstrap.min.css" rel="stylesheet" integrity="sha384-BVYiiSIFeK1dGmJRAkycuHAHRg32OmUcww7on3RYdg4Va+PmSTsz/K68vbdEjh4u" crossorigin="anonymous">
  <link rel="stylesheet" href="/style.css">
  <script src="https://unpkg.com/vue"></script>
</head>
<body>
  <div id="app">
    <div class="container">
      <h3 class="text-center" style="color:#fff">PDF Viewer</h3>
      <div class="row">
        <div class="col-md-6 col-md-offset-3" v-if="file">
          <img :src="preview" alt="" class="preview">
        </div>
      </div>
      <div class="row pages">
        <div class="col-md-4" v-for="page in pages">
          <img :src="page.url" alt="" class="img-responsive" @click="selectImage(page.page)">
        </div>
      </div>
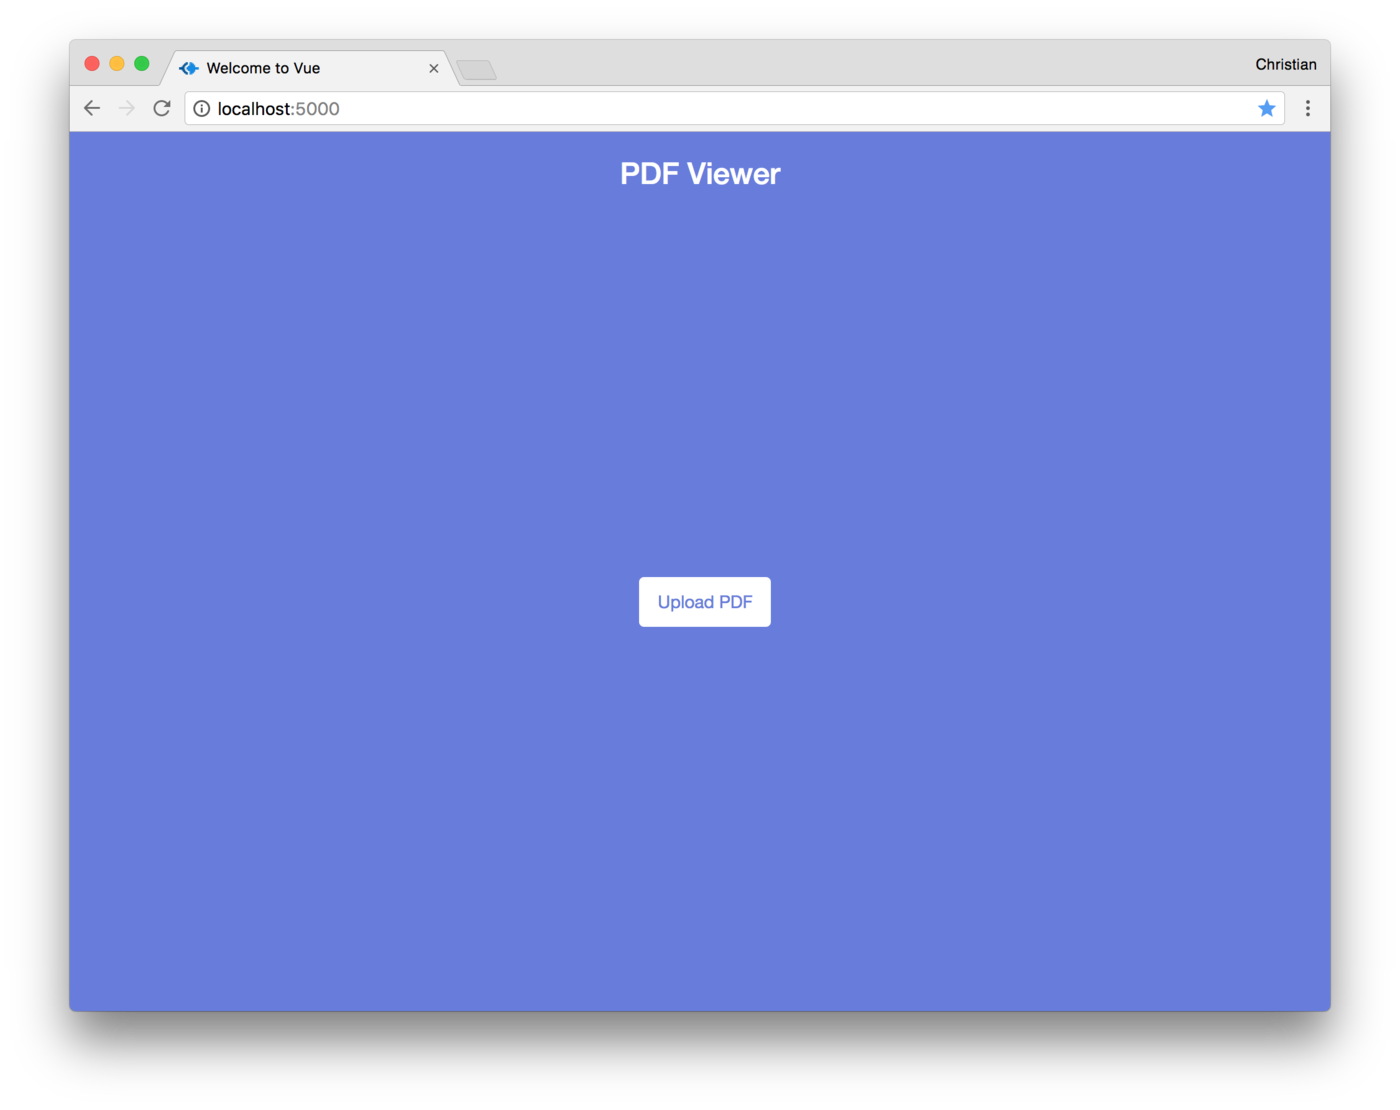
      <div class="row upload" v-if="!file">
        <div class="col-md-offset-4 col-md-4">
          <button @click="openWidget()">Upload PDF</button>
        </div>
      </div>
    </div>
  </div>
  <script src="//widget.cloudinary.com/global/all.js" type="text/javascript"></script>
  <script src="/script.js"></script>
</body>
</html>
Code language: HTML, XML (xml)-
Most of our dependencies are included via content delivery networks (CDNs) including Bootstrap, Vue and Cloudinary JavaScript SDK. We also include a
style.cssandscript.jsfiles, which we will need to create. -
There are three bootstrap-generated rows:
- The first shows a large preview of the PDF pages and is only active when the
fileproperty on the Vue instance is not null. It has an image whosesrcattribute is bound to apreviewproperty. - The second row displays a thumbnail of the PDF as images using a
pagesarray on the Vue instance. When each of the images are clicked, theselectImagemethod is called to update the larger viewer. - Finally, the third contains a button to open the Cloudinary upload widget.
- The first shows a large preview of the PDF pages and is only active when the
Before we start seeing the logic in action, create a ./style.css and update with the following basic CSS:
html, body, #app, .container {
  height: 100%;
}

.preview {
  margin-top: 40px;
}
img {
  display: block;
  margin: auto;
  border: #E1E1E1;
  box-shadow: 0px 3px 6px 0px rgba(0,0,0,0.3);
}

.upload {
  margin-top: 30%;
  margin-left: 14%;
}

button {
  color: #687DDB;
  padding: 10px 15px;
  border: #e1e1e1;
  background: #fff;
  border-radius: 4px;
}

#app {
  background: #687DDB;
}

.pages {
  margin-top: 20px
}
Code language: CSS (css)Now that we have a platform, let’s start uploading PDF files. First create the JavaScript file we included earlier. Next create a Vue instance and add a method for uploading images:
new Vue({
  el: '#app',
  methods: {
    openWidget(url) {
      window.cloudinary.openUploadWidget(
        {
          cloud_name: 'CLOUD_NAME',
          upload_preset: 'UPLOAD_PRESET',
          tags: ['pdf'],
          sources: [
            'local',
            'url',
          ]
        },
        (error, result) => {
          console.log(error, result);
        }
      );
    }
  }
});
Code language: CSS (css)
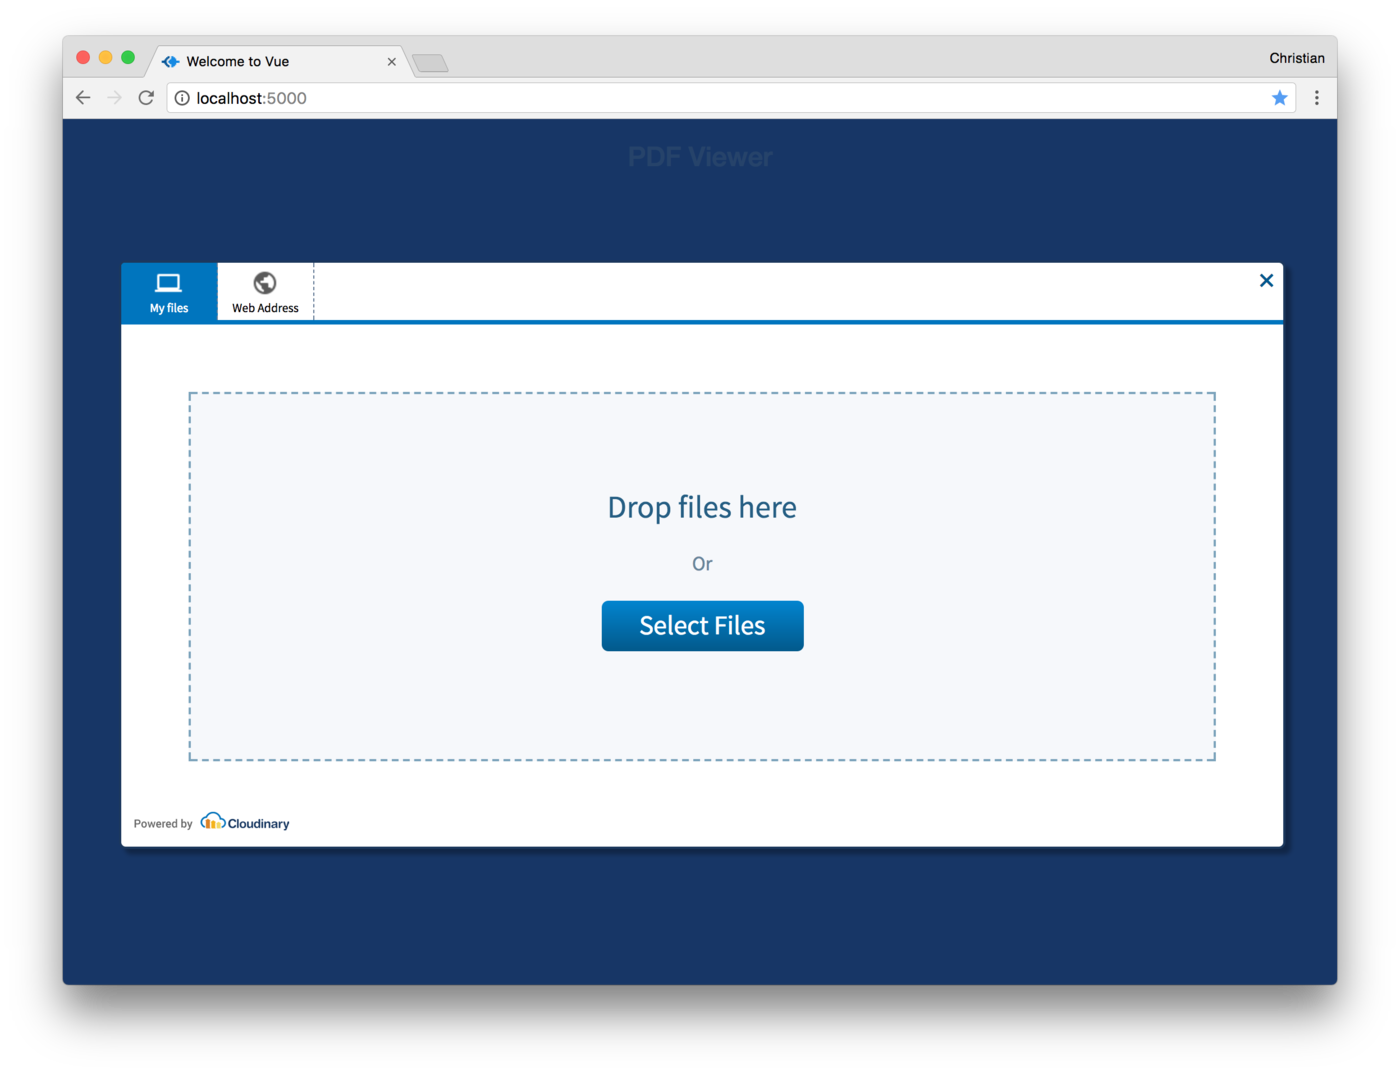
When the button is clicked, the upload widget pops up and should look like this:


The openUploadWidget method on the Cloudinary object takes a config and a callback method. The config must have at least a cloud name that is assigned on creating an account and an unsigned upload preset that can be generated from the settings dashboard.
The callback function gets triggered once the upload is successful and is passed a payload of the upload information.
Uploading a PDF file logs the result to the console. Hence, we need to start showing the PDF pages as image thumbnails on the view.
new Vue({
  el: '#app',
  data: {
    file: null,
    preview: null,
    pages: []
  },
  methods: {
    openWidget(url) {
      window.cloudinary.openUploadWidget(
        {
          cloud_name: 'christekh',
          upload_preset: 'qbojwl6e',
          tags: ['pdf'],
          sources: [
            'local',
            'url',
          ]
        },
        (error, result) => {
          console.log(error, result);
          this.file = result[0];
          this.preview = `https://res.cloudinary.com/christekh/image/upload/w_350,h_400,c_fill,pg_1/${this.file.public_id}.jpg`;
          for (let i = 1; i <= this.file.pages; i++) {
            this.pages.push(
              {
                url: `https://res.cloudinary.com/christekh/image/upload/w_200,h_250,c_fill,pg_${i}/${this.file.public_id}.jpg`,
                page: i
              }
            )
          }
        }
      );
    }
  }
});
Code language: JavaScript (javascript)
Back to the callback function for the upload widget – when an image is uploaded, we attempt to do two things:
- Set a property
previewwith a large preview of the image using Cloudinary’s URL transformation feature. We set the width to 350, height to 400 and page to 1. To convert the PDF page to an image, we just add an image extension at the end of the URL (.jpg). - Secondly, we create smaller images (200 x 250) of all the pages in the PDF and store all the image URLs in a
pagesarray. This array is iterated over and displayed on the view.

Lastly, we want to update the image preview when the thumbnails are clicked. We already have a bound selectImage method. Let’s implement this method now:
selectImage(page) {
      this.preview = `https://res.cloudinary.com/christekh/image/upload/w_350,h_400,c_fill,pg_${page}/${this.file.public_id}.jpg`
    }
Code language: JavaScript (javascript)
All it does is update the preview property by setting the page URL to the selected page. Of course the width and height will be 300 X 400 to match the dimensions of the previously previewed image.
Another good point to be aware of is you could improve the quality of the image using the dn transformation parameter:
https://res.cloudinary.com/christekh/image/upload/dn_50,w_350,h_400,c_fill,pg_${page}/${this.file.public_id}.jpg
To even get more strict with the PDF contents, you can use Cloudinary’s overlay feature to add watermarks to the images and protect the content. You can learn more about this feature from the docs provided by Cloudinary.
Cloudinary offers a lot more functionality for generating image previews and thumbnails from a PDF. Learn more about more about Cloudinary’s image manipulation capabilities, sign up for free to start using these features.
This was originally posted on VueJS Developers
