
You can integrate unique video viewer analytics to understand video engagement, enhance the viewer experience, and optimize your video’s performance. This will provide valuable insights into how users engage with your videos, track views, and optimize your video strategy for conversion.
In this tutorial, you’ll learn how to add unique video viewer analytics to your video in Nuxt.js using the Cloudinary video analytics library. Simply put, you’ll display all your video’s unique views on the page.
Cloudinary provides a comprehensive and secure API for tracking video analytics and uploading media files quickly and efficiently from the server side, the browser, or a mobile application.
Check out the Github repository here.
You should have:
- Node.js installed on your computer.
- Knowledge of Nuxt.js.
- An understanding of JavaScript.
- A free Cloudinary account.
We provide a starter project to help you speed through to the analytics implementation. Clone the starter project into your preferred folder and checkout to the starter branch using the git commands below.
The project contains a video served by Cloudinary, to which you will add unique viewer analytics.
git clone https://github.com/Olanetsoft/cloudinary-video-analytics-in-nuxt.git
cd cloudinary-video-analytics-in-nuxt
git checkout starterCode language: PHP (php)
Run the following command to install all dependencies using the npm package manager and start the project on http://localhost:3000.
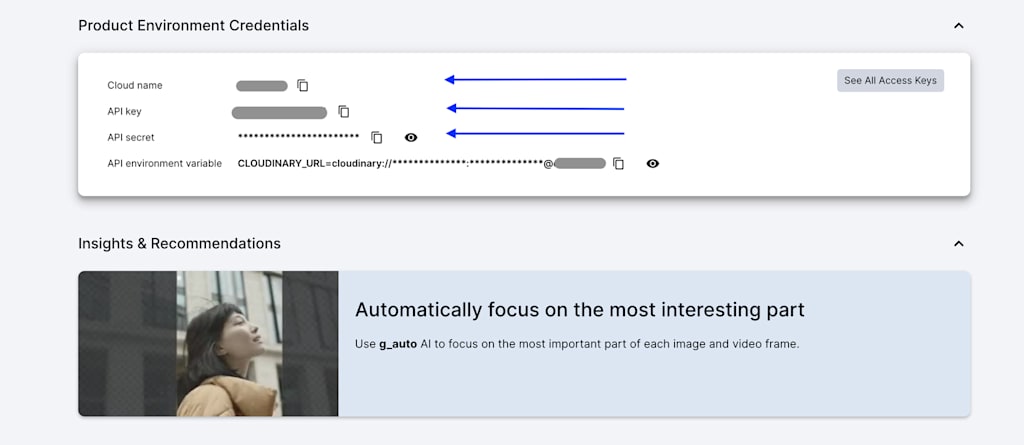
npm install && npm run devLog in to your Cloudinary dashboard to retrieve product environment credentials such as the cloud name, API key, and API secret.
Then, create an .env file in the root folder of the project using the following command:
For macOS and Linux:
touch .envCode language: CSS (css)For Windows(Command Prompt):
type NUL > .envCode language: CSS (css)For Windows(PowerShell):
New-Item -Path .env -ItemType FileCode language: CSS (css)Add your product environment credentials:
CLOUDINARY_CLOUD_NAME="*********************"
NUXT_ENV_CLOUDINARY_PUBLIC_ID="*********************"
NUXT_ENV_CLOUDINARY_API_KEY="*********************"
NUXT_ENV_CLOUDINARY_API_SECRET="*********************"Code language: JavaScript (javascript)
Replace ********************* with your credentials.
Add samples/sea-turtle to your .env as your NUXT_ENV_CLOUDINARY_PUBLIC_ID for this tutorial.
For this demo, we took a video already on Cloudinary. In your implementation, you should have handled the video upload to Cloudinary and retrieved the video’s public ID on the front end.
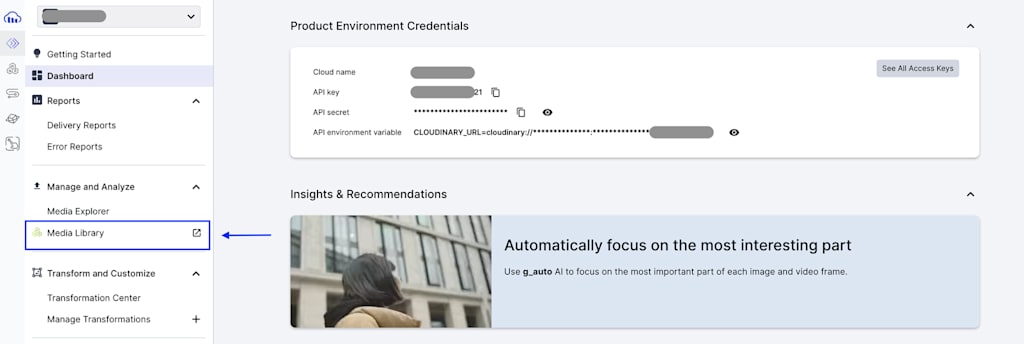
You can access your media library on Cloudinary to obtain a public ID for your video. To do this, go to the Media Library on your dashboard.
Next, copy the link.
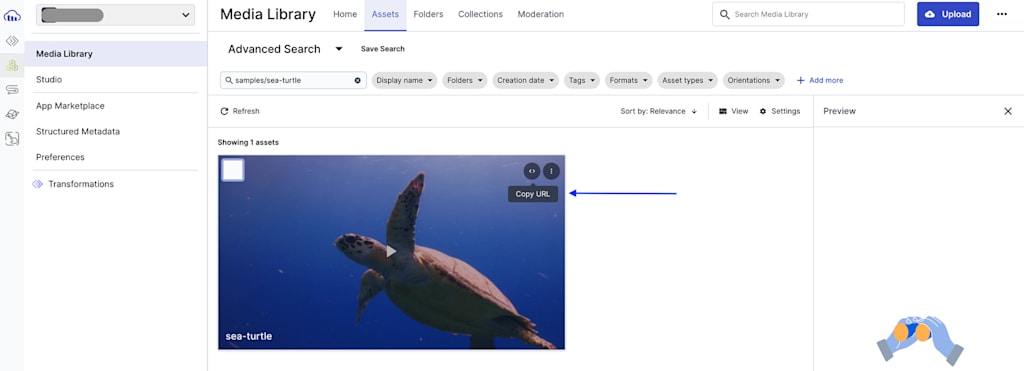
The link you copied should look like this: https://res.cloudinary.com/<your-cloud-name>/video/upload/v1554336425/<public_id>.mp4. Add the public_id value to your .env.
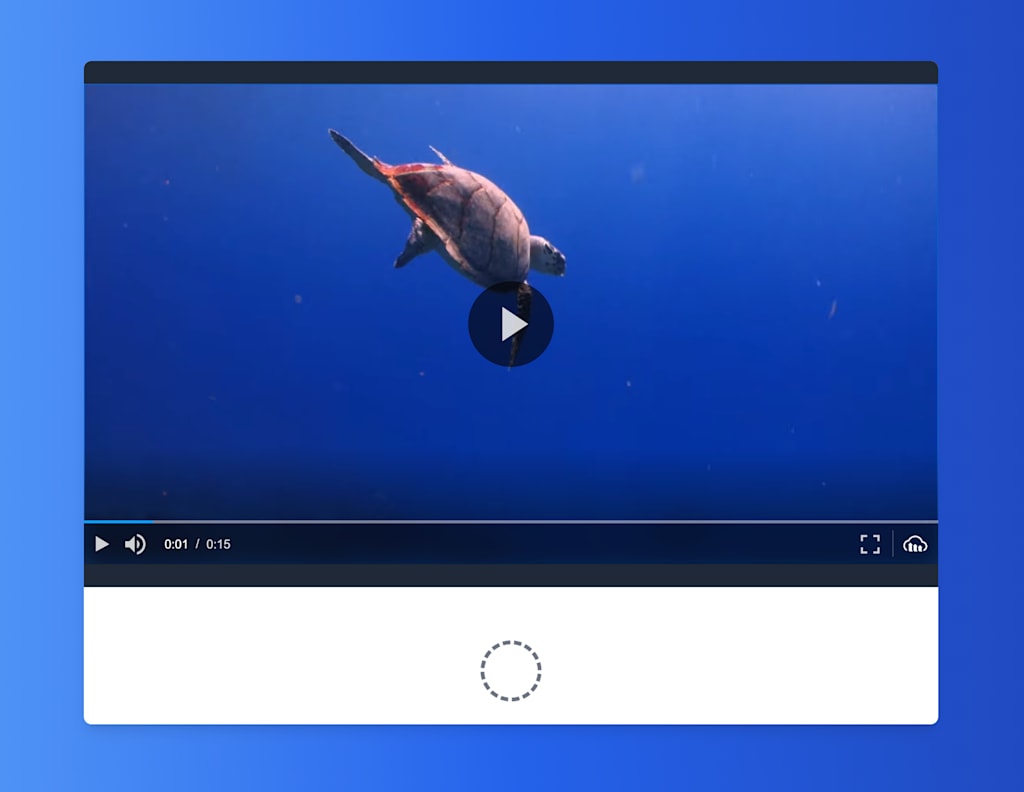
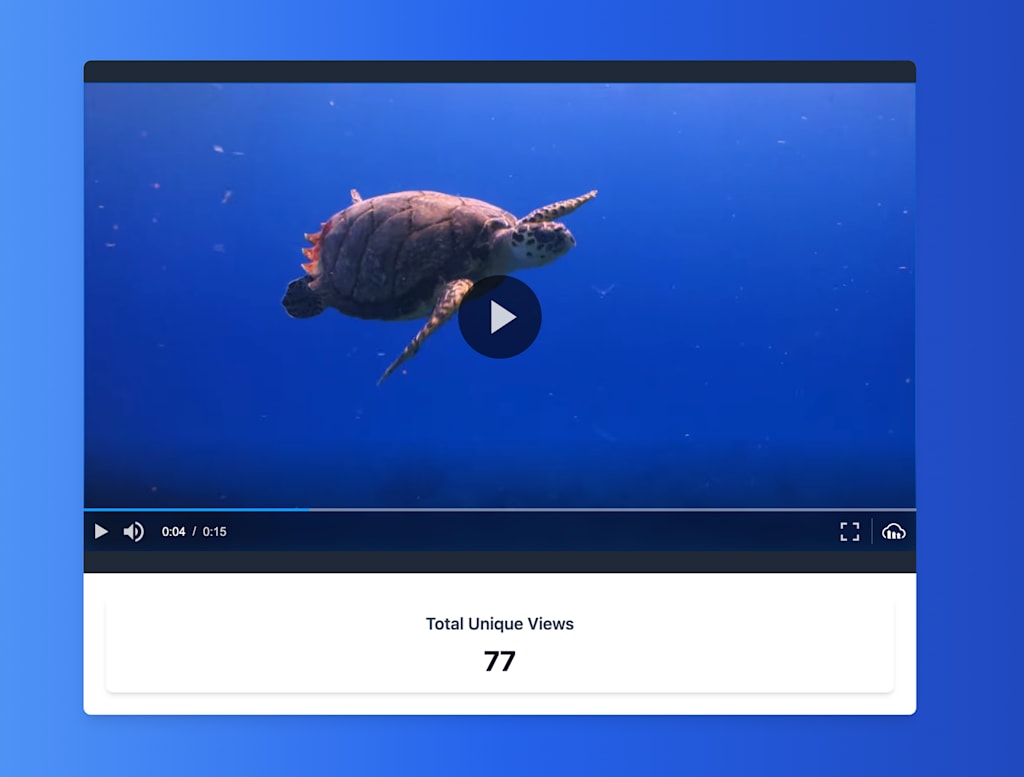
Next, if you navigate to http://localhost:3000, you should see a page similar to what is shown below if you used samples/sea-turtle as the public ID. That’s all you need to get started.
The Cloudinary Video Player automatically collects metrics for all videos delivered through it. To collect analytics for videos not delivered through the Cloudinary Video Player, you can install the JavaScript library and configure it on any page with a video player or by accessing video view data programmatically.
In this next step, you’ll learn how to access video view data programmatically within your Nuxt.js application.
Create a folder inside the server directory called api and add a file named fetchAnalyticsData.js. In this file, you’ll define a serverless function to send API requests to https://api.cloudinary.com/v1_1/<cloud name>/video/analytics/views?expression=video_public_id=<public id> with your cloud name, video public ID, API key, and API secret to retrieve the analytics data. You can learn more about the parameters.
The following code snippet makes an API request to retrieve video analytics data inside the fetchAnalyticsData.js file:
// server/api/fetchAnalyticsData.js
export default defineEventHandler(async (event) => {
  const {
    CLOUDINARY_CLOUD_NAME,
    NUXT_ENV_CLOUDINARY_PUBLIC_ID,
    NUXT_ENV_CLOUDINARY_API_KEY,
    NUXT_ENV_CLOUDINARY_API_SECRET,
  } = process.env;

  const cloudinaryUrl = `https://api.cloudinary.com/v1_1/${CLOUDINARY_CLOUD_NAME}/video/analytics/views?expression=video_public_id=${NUXT_ENV_CLOUDINARY_PUBLIC_ID}&max_results=500`;

  const authorizationHeader = `Basic ${Buffer.from(
    `${NUXT_ENV_CLOUDINARY_API_KEY}:${NUXT_ENV_CLOUDINARY_API_SECRET}`
  ).toString("base64")}`;

  let response;
  try {
    response = await fetch(cloudinaryUrl, {
      headers: {
        Authorization: authorizationHeader,
      },
    });
  } catch (fetchError) {
    throw createError({
      statusCode: 502,
      statusMessage: "Failed to fetch analytics data from Cloudinary",
    });
  }

  try {
    const data = await response.json();
    return data;
  } catch (parseError) {
    throw createError({
      statusCode: 500,
      statusMessage: "Failed to parse analytics data",
    });
  }
});Code language: JavaScript (javascript)
To aid troubleshooting, handle errors in case the request fails.
// server/api/fetchAnalyticsData.js

export default defineEventHandler(async (event) => {
  //...

  if (
    !CLOUDINARY_CLOUD_NAME ||
    !NUXT_ENV_CLOUDINARY_PUBLIC_ID ||
    !NUXT_ENV_CLOUDINARY_API_KEY ||
    !NUXT_ENV_CLOUDINARY_API_SECRET
  ) {
    throw createError({
      statusCode: 500,
      statusMessage: "Cloudinary environment variables are not set",
    });
  }

  //...

  if (!response.ok) {
    throw createError({
      statusCode: response.status,
      statusMessage: response.statusText,
    });
  }

  //...
});Code language: JavaScript (javascript)
Navigate to the VideoAnalyticsData.vue file inside the components folder to implement the fetchAnalyticsData.js API.
Inside the VideoAnalyticsData.vue file:
- Import
ref,onMounted, andcomputedhooks from Vue. - Define a
refcalledanalyticsDatavariable with an initial null value. - Fetch analytics data in the
onMountedblock. - Set the response to the
analyticsDatavariable created.
<!-- VideoAnalyticsData.vue  -->

<template>
  <!-- //... -->
</template>

<script setup>
  import { ref, onMounted, computed } from "vue";

  const analyticsData = ref(null);

  onMounted(async () => {
    try {
      const response = await fetch("/api/fetchAnalyticsData");

      if (!response.ok) {
        throw new Error("Failed to fetch analytics data");
      }
      analyticsData.value = await response.json();

    } catch (error) {
      console.error("Error fetching analytics data:", error);
    }
  });
</script>
Code language: HTML, XML (xml)
Next, start your application or check your console to see if your application is still running. You should see something similar to what is shown below (if you logged the data output):
{ request_id: 'c42c30475fd5fd0f4bff9fb8085b7afc',
  next_cursor: null,
  data:
   [
      {
         video_public_id: 'samples/sea-turtle',
         video_duration: 15,
         video_transformation: 'q_auto/f_auto:video',
         video_extension: '',
         viewer_application_name: 'Chrome',
         viewer_location_country_code: 'NG',
         viewer_os_identifier: 'Mac OS X 10.15.7',
         view_watch_time: 0,
         view_ended_at: '2024-05-18T23:32:27.000Z'
     },
     {
        video_public_id: 'samples/sea-turtle',
        video_duration: 15,
        video_transformation: null,
        video_extension: null,
        viewer_application_name: 'Chrome',
        viewer_location_country_code: 'NG',
        viewer_os_identifier: 'Mac OS X 10.15.7',
        view_watch_time: 1,
        view_ended_at: '2024-05-18T23:21:27.000Z'
     },
      ...
    }
  ]
}Code language: CSS (css)In this step, you will add the views data returned from the API you implemented. While multiple datapoints are returned, for the sake of this tutorial, you’ll only focus on implementing unique video views.
- Navigate to the
VideoAnalyticsData.vuefile. - Use the
computedhook to implement unique views for the video. - Create a
Setto store unique view identifiers. - Combine
viewer_application_nameandview_ended_atto create a unique key for each view. - Count the number of unique keys in the set to get the total number of unique views.
<!-- VideoAnalyticsData.vue  -->

<template>
 <!-- //... -->
</template>

<script setup>
 <!-- //...  -->

  const uniqueViews = computed(() => {
  if (!analyticsData.value?.data) return 0;

  const uniqueViewSet = new Set();

  analyticsData.value.data.forEach((view) => {
    // Create a unique identifier for each view
    const uniqueKey = `${view.viewer_application_name}-${view.view_ended_at}`;
    uniqueViewSet.add(uniqueKey);
  });

  return uniqueViewSet.size;
});

</script>Code language: HTML, XML (xml)If you’ve made it this far, congratulations! It’s time to test the application to verify the unique views feature. Start by clicking to watch the video on your current device. Based on the API response, you should see the unique views count increase after a while.
Try viewing and playing the video on another device or browser to ensure the count accurately reflects unique views. After a while, the video views count should also increase, confirming that the feature works as intended.
This blog post teaches you how to add unique video viewer analytics to your video in the Nuxt.js application using the Cloudinary video analytics library. This data could be crucial to making informed content decisions, improving content strategies, and creating a more successful video presence.
If you found this blog post helpful and want to discuss it in more detail, feel free to join the Cloudinary Community forum and its associated Discord.


