For video-intensive applications, recommendations are a standard feature. We see recommendations seamlessly function in video apps such as Netflix and YouTube. In this article, we’ll learn how we can add them to our custom applications.
The final project can be viewed on Codesandbox.
You can find the full source code on my Github repository.
The first step is to create the scaffold of our app. We’ll use Nuxt.Js, a popular Vue.Js framework. It boasts of being performant while giving developers an enjoyable user experience.
We’ll use the create-nuxt-app utility. Ensure you have yarn or npm v5.2+/v6.1+ installed. Open the terminal in your preferred working directory:
yarn create nuxt-app nuxtjs-video-recommendations

# OR

npx create-nuxt-app nuxtjs-video-recommendations

# OR

npm init nuxt-app nuxtjs-video-recommendations

Code language: PHP (php)
The above command will trigger a set of setup questions. Here are our recommended defaults:
Project name: nuxtjs-video-recommendations
Programming language: JavaScript
Package manager: Yarn
UI framework: Tailwind CSS
Nuxt.js modules: N/A
Linting tools: N/A
Testing framework: None
Rendering mode: Universal (SSR/SSG)
Deployment target: Server (Node.js hosting)
Development tools: N/A
Once the setup is complete, you may enter and run your project:
cd nuxtjs-vidoe-recommendations


yarn dev

# OR

npm run dev

Code language: PHP (php)
The app should now be running on https://localhost:3000.
Before we start building, we need to ensure we have the videos we need. We’ll store our videos on Cloudinary, a media management platform with a powerful set of APIs and SDKs. Storing them on Cloudinary will reduce or app size, hosting costs while delivering the files via a content delivery network (CDN), thus reducing load time. If you don’t have an account, create one here.
Proceed to the media library and create a folder called nuxtjs-video-recommendations. Within the folder, add the following videos:
You should now have a folder that resembles this:

The stock HTML5 video tag doesn’t support advanced features such as video recommendations. For this reason, we’ll use Cloudinary’s video player.
The setup process is simple. All we need to do is add the video player’s CSS and JavaScript files globally in our project. We’ll use files hosted on the UNPKG CDN network. Let’s add them to the head section of our nuxt.config.js file.
// nuxt.config.js
export  default  {
  ...
  link: [
    ...
    { rel:  'stylesheet', href:  'https://unpkg.com/cloudinary-video-player@1.5.9/dist/cld-video-player.min.css'  }
  ],
  script:  [
      { src:  'https://unpkg.com/cloudinary-core@latest/cloudinary-core-shrinkwrap.min.js'  },
      { src:  'https://unpkg.com/cloudinary-video-player@1.5.9/dist/cld-video-player.min.js'  },
    ],
  },
  ...
}
Code language: JavaScript (javascript)
Additionally, we also want to be able to connect our Cloudinary account to our codebase by configuring our cloud name globally. To do this, we’ll add it as an environmental variable in our .env file. First, create the file if it doesn’t exist.
touch .env

Code language: CSS (css)
Then, add your Cloudinary cloud name. You can find yours in the Account Details section of the Dashboard.
NUXT_ENV_CLOUDINARY_CLOUD_NAME=<cloudinary-cloud-name>

Code language: HTML, XML (xml)Before we show our video recommendations, we need to instantiate the video player with a video to play.
// pages/index.vue

<script>
  export default {
    name: 'IndexPage',

    data(){
      return {
        cld:null,
        player:null,
        source1:  {
          publicId:  "nuxtjs-video-recommendations/street",
          title:'Night Street',
          subtitle:'Street at night with traffic and pedestrians',
          description:'Street at night with traffic and pedestrians'
        },
      };
    },

    mounted(){
      this.cld  =  cloudinary.Cloudinary.new({
        cloud_name:  process.env.NUXT_ENV_CLOUDINARY_CLOUD_NAME,
        secure:  true,
        transformation:  {crop:  'limit', width:  300, height:900}
      });
      this.player  =  this.cld.videoPlayer('recommendations-player', {
          sourceTypes:  ['mp4']
        }
      );
      this.player.source(this.source1);
    }
  }
</script>

Code language: HTML, XML (xml)
In the above code, we’ll create our Cloudinary instance, create the video player based on the recommendations-player id, configure the video source, and ensure that the video player loads in MP4 format.
Let’s now add the necessary HTML.
<template>
  <div>
    <video id="recommendations-player" controls muted class="cld-video-player cld-video-player-skin-dark w-2/3 h-96 mx-auto"></video>
  </div>
</template>

Code language: HTML, XML (xml)
We add the cld-video-player cld-video-player-skin-dark classes to ensure it receives the necessary CSS as well as the dark theme. We should now have a functional video player.

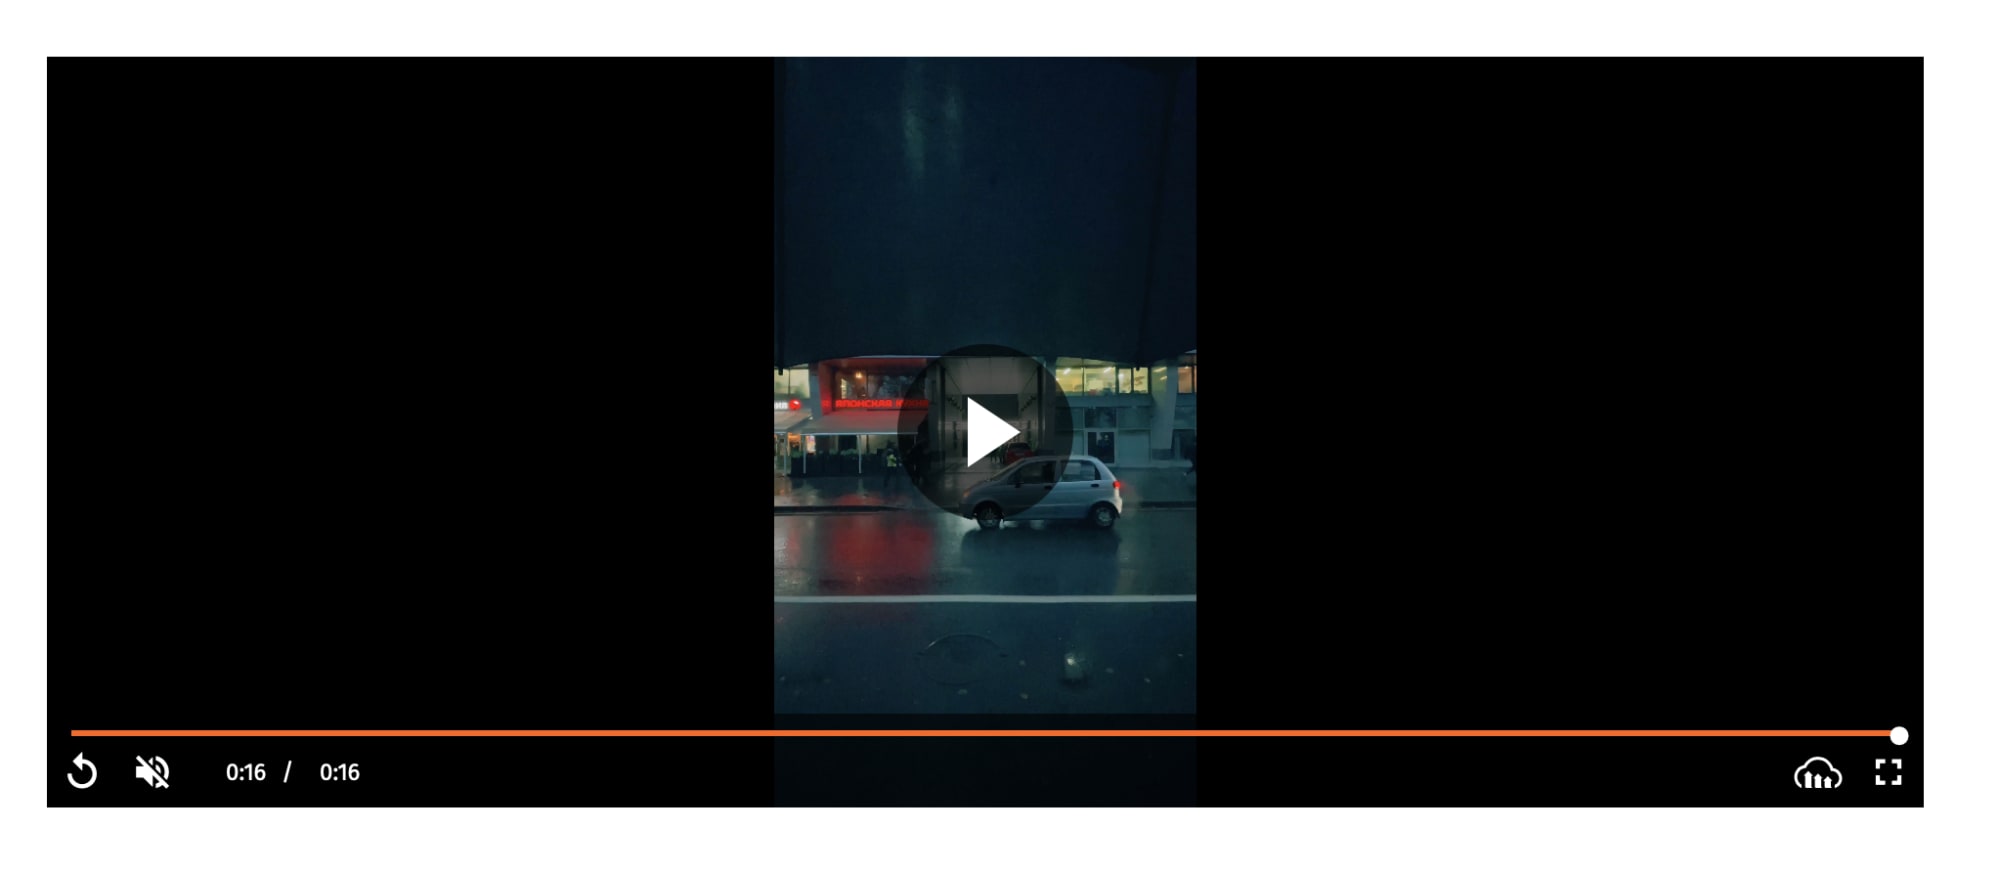
Right now, when the video finishes playing, we don’t get any recommendations. The only action we can take is to replay the current video.

To show recommendations, let’s first add the other video sources to our data section.
// pages/index.vue
<script>
  export default {
    name: 'IndexPage',
    data(){
      return {
        cld:null,
        player:null,
        source1:  {
          publicId:  "nuxtjs-video-recommendations/street",
          title:'Night Street',
          subtitle:'Street at night with traffic and pedestrians',
          description:'Street at night with traffic and pedestrians'
        },
        source2:  {
          publicId:  "nuxtjs-video-recommendations/cookie",
          title:'Cookie',
          subtitle:'Decorating a Cupcake with Gingerbread Cookie',
          description:'Decorating a Cupcake with Gingerbread Cookie'
        },
        source3:  {
          publicId:  "nuxtjs-video-recommendations/food",
          title:'Food',
          subtitle:'Video of a Food on Table',
          description:'Video of a Food on Table'
        },
        source4:  {
          publicId:  "nuxtjs-video-recommendations/plant",
          title:'plant',
          subtitle:'Close-Up of Plant With Green Leaves',
          description:'Close-Up of Plant With Green Leaves'
        },
      };
    },
    ...
  };
</script>

Code language: HTML, XML (xml)
Now that we have all the sources, we need to set them as recommendations for the first video. We do this by creating a recommendations object in the first video with the value of an array of the recommendations.
// pages/index.vue
<script>
  export default {
    ...
    mounted(){
      this.source1.recommendations  =  [
      this.source2,
      this.source3,
      this.source4
      ];
      ...
    },
    ...
  }
</script>

Code language: HTML, XML (xml)
Now we just need to instruct the video player to display the recommendations. We do this by setting autoShowRecommendations to true.
// pages/index.vue
<script>
  export default {
    ...
    mounted(){
      ...
      this.player  =  this.cld.videoPlayer(
        'recommendations-player', {
          autoShowRecommendations:  true,
          sourceTypes:  ['mp4']
        }
      );
      ...
    }
  }
</script>

Code language: HTML, XML (xml)
When the video ends, we should see some recommendations.

Feel free to review the Video Player API to see how to achieve more with your video assets.
Have feedback or want to learn more about the topic of this blog? Head over to the Cloudinary Community forums and its associated Discord to get all your questions answered!
