
Identification on the world wide web is a critical component that we connect with through various social media platforms. Gravatar, a service meaning Globally Recognized Avatar built by WordPress, provides a universal image that identifies you across the web. This image is proper, especially when you comment on blog sites and interact online.
In this tutorial, we’ll discuss how to build a Gravatar service in NextJS. We’ll use Cloudinary for media storage, transformation, and delivery.
You can find the source code of the entire project on Codesandbox. Fork it to run the code.
We focused on building this project with Next.js, a React.js framework. However, experience in JavaScript and React is a necessity. To follow through the steps, we also need to do the following:
- Set up an account on Cloudinary. It is free to signup.
- Have NodeJS and
npminstalled on our computer. We use npm, a package manager, to install dependencies for our program. NPM is available when you installnode. - Use a code editor of our choice.
To set up the starter project for development, install the boilerplate on our machine and run the command.
npx create-next-app nextvatar && cd nextvatar
After the installation of nextvatar, we need to install the required dependencies.
npm install cloudinary-react lodash
cloudinary-react, a Cloudinary plugin we use to transform and render stored images from Cloudinary into our React components. The Cloudinary upload widget requires Lodash.
To handle image uploads, we’ll utilize the Cloudinary upload widget.
First, we add the Cloudinary widget’s JavaScript file from a CDN to the head of the page in the sections/Layout.js. We’ll create a folder titled ‘sections’ and in it a file titled Layout.js with the following content.
<!— Can you please mention to create folder ‘sections’ and new file ‘Layout.js’ —>
sections/Layout.js
    import Head from "next/head";

    const Layout = ({ children, pageMeta }) => {
      return (
        <>
          <Head
            <script
              src="https://upload-widget.cloudinary.com/global/all.js"
              type="text/javascript"
            ></script>
          </Head>
          <div>
              <main>{children}</main>
          </div>
        </>
      );
    };
    export default Layout;
Code language: JavaScript (javascript)
With the widget script installed, we create a widget instance on the home page.
pages/index.js
    import React, { useState } from "react";
    import Layout from "../sections/Layout";
    import styles from "../styles/Home.module.css";

    export default function IndexPage() {
      const [url, setUrl] = useState(null);

    const widget = () => {
        setUrl(null);

        window.cloudinary
          .createUploadWidget(
            {
              cloudName: "terieyenike",
              uploadPreset: "avatar"
            },
            (error, result) => {
              if (!error && result && result.event === "success") {
                setUrl(result.info.url);
              }
            }
          )
          .open();
      };

      return (
        <div className={styles.container}>
          <Layout>
            <div className={styles.main}>
              <h1 className={styles.heading}>NEXTVATAR</h1>
              <p className={styles.small}>An enhanced Gravatar</p>
              {/* Rendered JSX goes in here */}
            </div>
          </Layout>
        </div>
      );
    }
Code language: JavaScript (javascript)
Here, we configured the upload widget using our cloud_name and an upload preset in a widget function. The image URL returned from the upload is assigned to a state variable, url.
The cloud name is a unique identifier for our Cloudinary account. You can retrieve it from our Cloudinary dashboard. You can find out more about an upload preset here.
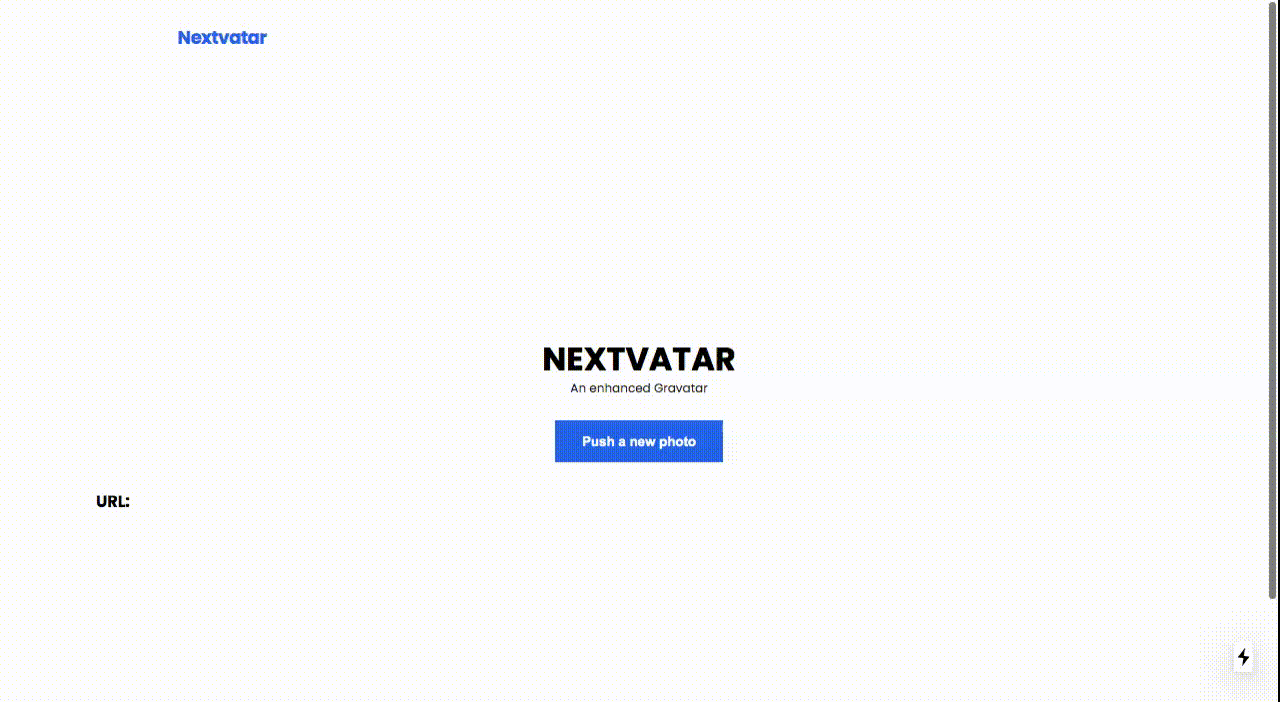
With a complete widget setup, we define the JSX markup to render a button that opens the widget. We also defined a text field to display the returned URL after a successful upload.
pages/index.js
    import React from "react";
    {/* other imports go below here */}

    export default function IndexPage() {
      {/* states go here */}

      const widget = () => {
        {/* cloudinary widget code */}
      };
      return (
        <div className={styles.container}>
          <Layout>
            <div className={styles.main}>
              <h1 className={styles.heading}>NEXTVATAR</h1>
              <p className={styles.small}>An enhanced Gravatar</p>
              <button onClick={widget} className={styles.btn}>
                Push a new photo
              </button>
              <p className={styles.pStyle}>
                <span>URL:</span> {url}
              </p>
            </div>
          </Layout>
        </div>
      );
    }
Code language: JavaScript (javascript)
Finally, we can import the following:
- The file
Logo.jsin thecomponentsfolder that contains the brand name,Nextvatarinto the componentsections/Header.js - Also, include the
Footer.jsandHeader.jsfiles into theLayout.jsfile.
<!— can you please mention to create folder ‘components’ and new file ‘Logos.js’ —> We create a new folder called ‘components’ with the file ‘Logo.js’ having the following content.
components/Logo.js <!— Fix to BOLD instead of italics —>
    import React from "react";
    import Link from "next/link";
    import styles from "../styles/Home.module.css";
    const Logo = () => {
      return (
        <Link href="/">
          <a className={styles.logo}>
            <span className={styles.logo__name}>Nextvatar</span>
          </a>
        </Link>
      );
    };
    export default Logo;

**sections/Header.js**
<!— Fix to BOLD instead of italics —>

    import Logo from "../components/Logo";
    import styles from "../styles/Home.module.css";
    const Header = () => {
      return (
        <header>
          <div className={styles.container}>
            <nav className={styles.nav}>
              <ul className={styles.nav__ul}>
                <Logo />
              </ul>
            </nav>
          </div>
        </header>
      );
    };
    export default Header;
Code language: JavaScript (javascript)
sections/Footer.js <!— Fix to BOLD instead of italics —>
import styles from "../styles/Home.module.css";
const Footer = () => {
return (
<div>
<footer className={styles.footer}>
<address className={styles.container}>
© {new Date().getFullYear()} | Made with ♥, remote.{" "}
<span>Built with NextJS and Cloudinary</span>
</address>
</footer>
</div>
);
};
export default Footer;
Code language: JavaScript (javascript)sections/Layout.js <!— Fix to BOLD instead of italics —>
import Head from "next/head";
import Footer from "./Footer";
import Header from "./Header";
import { useRouter } from "next/router";
const Layout = ({ children, pageMeta }) => {
// component definitions go in here
return (
<>
<Head>
<script
src="https://upload-widget.cloudinary.com/global/all.js"
type="text/javascript"
>Code language: JavaScript (javascript)<!— Final Layout.js page wonky, when I copied code over from procedure it did not function.. here is the fixed version
— const Layout = ({ children, pageMeta }) => { // component definitions go in here return (
— COMMENT: WILLIAM – I had shortened the codeblock to remove the lines of code in the ‘Head’ tag. However, I just put it back. —>
This project uses CSS modules and regular stylesheets with the naming convention, [name].module.css.
One advantage of using CSS modules is that it allows us to use CSS class names without worrying about name clashes. It outputs unique class names for our document.
styles/Home.module.css
    @import url("https://fonts.googleapis.com/css?family=Poppins:200,300,400,500,600,700,800,900&display=swap");

    .main {
      font-family: "Poppins", sans-serif;
      display: flex;
      align-items: center;
      justify-content: center;
      min-height: 100vh;
      flex-direction: column;
    }

    .container {
      max-width: 75rem;
      width: 85%;
      margin: 0 auto;
    }

    .btn {
      display: block;
      margin-top: 2em;
      border: 0;
      padding: 1em 2em;
      background: rgba(37, 99, 235, 1);
      color: #fff;
      cursor: pointer;
      font-weight: 700;
    }

    .nav {
      padding: 1.5em 0;
    }

    .img {
      max-width: 100%;
    }

    .nav__ul {
      display: flex;
      align-items: center;
      justify-content: space-between;
      width: 100%;
    }

    .heading {
      font-size: 2rem;
      font-weight: 700;
      margin-bottom: 0.2em;
    }

    .pStyle {
      margin-top: 2em;
      width: 100%;
      word-wrap: break-word;
    }

    .pStyle span {
      display: block;
      font-weight: 700;
    }

    .small {
      font-size: 0.75rem;
      color: #1a1a1a;
    }

    .logo {
      display: flex;
      align-items: center;
      color: rgba(37, 99, 235, 1);
      margin: 0;
      padding: 0;
    }

    .logo__name {
      white-space: nowrap;
      font-size: 1.125rem;
      line-height: 1.75rem;
      font-weight: 700;
      letter-spacing: -0.025em;
    }

    .section {
      padding: 2em 0;
    }

    .footer {
      width: 100%;
      text-align: center;
      padding-bottom: 1em;
      z-index: 999;
      font-size: 0.75rem;
    }

    .footer span {
      display: block;
      margin-top: 0.5em;
    }

    @media screen and (max-width: 768px) {
      .pStyle span {
        font-size: 1rem;
      }
    }
Code language: CSS (css)
With the above stylesheet created, we can import it wherever we create a new component and use it to style.
One thing to note here is we can update the _app.js file with some global syles. The styles will apply to all pages and components in our application.
To avoid conflicts, we may only import the stylesheet in the
pages/_app.jsfile.
With this, we can manage the image upload portion of our Gravatar service.
In this post, we managed the image upload portion of a Gravatar service. In part 2, we will describe how to apply modifications to the uploaded image, transforming it into an avatar.
You may find these useful: