
A picture is worth a thousand words, and that also holds true for video, one minute of which, according to Dr. James McQuivey of Forrester Research, is worth 1.8 million words. That’s why online stores rely on rich media to promote products and sales. Images and videos impart a real sense of involvement with a purchase—a car, a vacation getaway, an apartment rental—setting your business apart from the competition.
Make no mistake, visual media wields a huge influence in the real-estate industry by offering an idyllic picture of a visitor’s forever home. Of significance, video can offer pertinent details about a property before potential customers begin the process of working with a real-estate agent on visits and so forth.
Linear video is helpful, but enhancing it to enable navigation like in an image gallery and go directly to the points of interest is a big plus. Traditionally, you as web developers implement that enhancement with software by manually navigating through linear video to add markers and navigation points. Automating those tasks would result in tremendous savings in time and labor.
Check out cloud-based services like Cloudinary for a smooth, automated process along with advanced capabilities. Your site visitors would greatly welcome the convenience and ease with which they can steer through your app’s videos and locate the specifics that interest them.
This article steps you through the procedure in the following sections:
- Understanding the Requirements
- Tagging Videos
- Uploading, Tagging, and Storing Video Files
- Extracting Tags From Processed Videos
- Creating Navigation Markers in Videos
- Rendering Video With Markers
- Handling Large Video Files
- Moving On to the Next Steps
What goes into the process of auto-tagging videos?
First, you must analyze the video, frame by frame, to select and tag objects in the frame. It’s a bit like processing images, but you’d be processing a bunch of images all linked together. For a desktop app, it’s fairly straightforward. Doing that for a self-service web app, however, means that you must tackle these challenges:
- Upload and storage of large video files.
- Processing and editing, such as blurring and applying various digital filters.
- AI for object recognition.
- Edge deployment and content caching for serving video.
On top of that, the files must be manageable and organizable. Often, you must share videos through URLs and controlled access. You might also need to implement ratings and feedback capabilities.
Last, you must optimize videos for fast rendering through the website or app.
How do you do all that without creating a patchwork of separate tools and services?
This section shows you how to auto-tag a video in a real-estate website with Cloudinary so as to enable visitors to navigate a property through the video. Specifically, you’ll learn how to perform these two tasks:
- Upload a video for hosting in the cloud.
- Tag the video automatically with Videojs-markers to show how certain rooms appear, as shown in the photo below:

The companion code is on GitHub.
You probably have someone on your team creating videos. For a reasonable simulation of this example, I first downloaded three pictures from Unsplash, which depict the kitchen, bedroom, and living room. I then created a simple real-estate video with iMovie to render those pictures, each one spanning four seconds, resulting in a 12-second video (see video on GitHub).
Afterwards, I did the following:
1. I signed up for a free Cloudinary account and enabled the Google Automatic Video Tagging add-on, the underlying Cloudinary service for automatically tagging videos. You manage add-ons through the Cloudinary website, as shown below:

2. I went back to the dashboard to note my cloud name and API credentials:
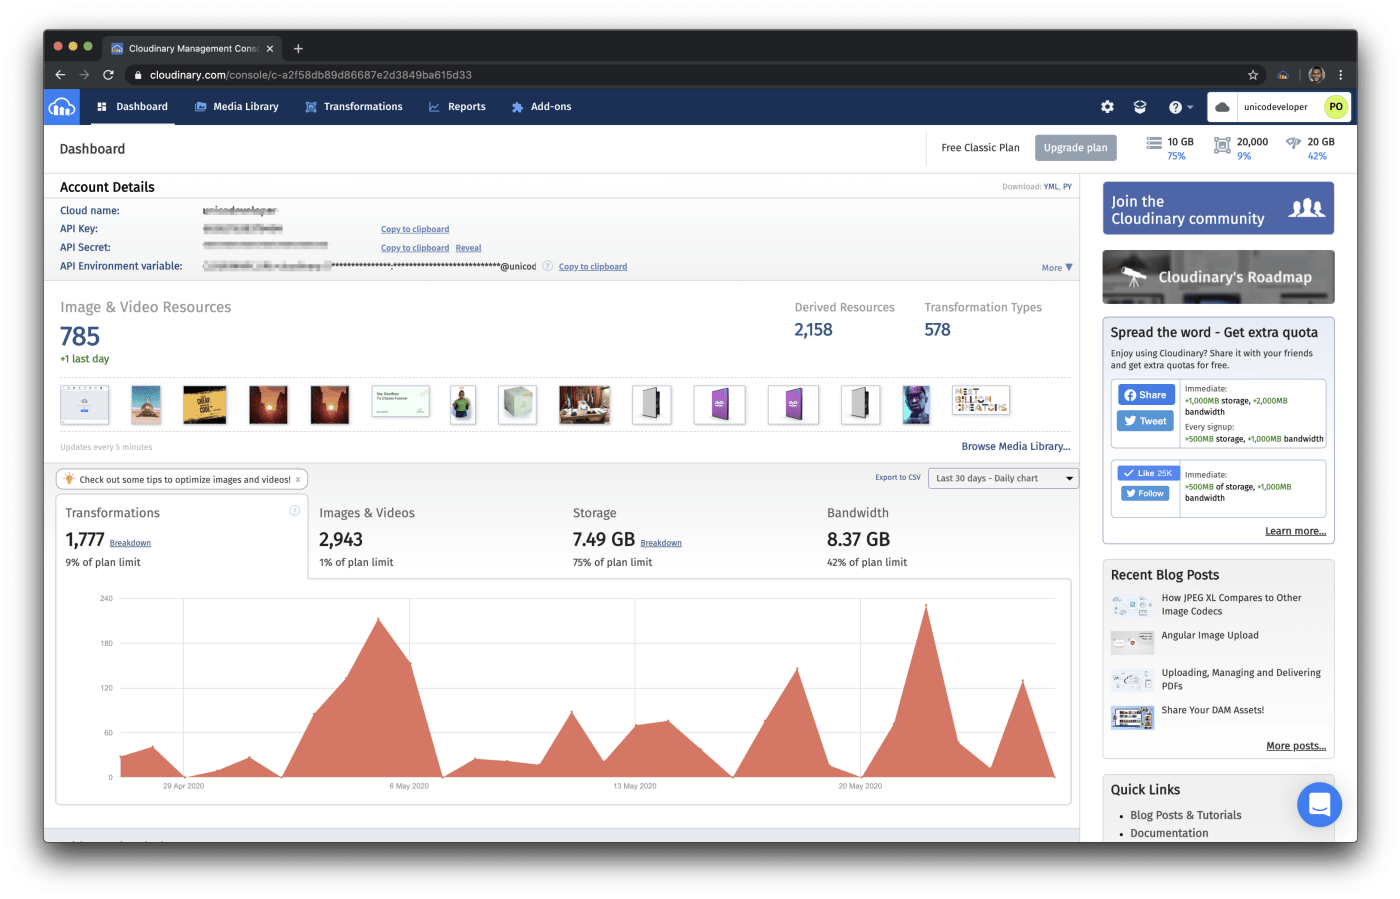
Now I have everything I need to start coding.
3. As a first step for using Cloudinary’s Node.js SDK, I installed the Cloudinary npm package with this command:
npm install cloudinary
4. I created the common.js module, into which I imported the npm package and then configured the API credentials:
var cloudinary = require('cloudinary').v2;

cloudinary.config({
    cloud_name: '<YOUR_CLOUD_NAME>',
    api_key: '<YOUR_KEY>',
    api_secret: '<YOUR_SECRET>'
});

exports.cloudinary = cloudinary;
5. I created the uploadVideo.js file, which references the common.js file and invokes the upload function from the Cloudinary SDK:
var common = require('./common.js');

common.cloudinary.uploader.upload('./video/house.mp4', {
        resource_type: 'video',
        categorization: 'google_video_tagging',
        auto_tagging: 0.5
    },
    (error, result) => {
        console.log(result, error)

        // Display public id of the uploaded video
        console.log('Your public id is: ' + result['public_id']);
    }
);
The upload function takes several parameters. At a minimum, you must specify the video’s file path. You can also add upload parameters. For this example, I added three:
-
resource_type: This parameter notifies Cloudinary the type of content you are uploading. The possible values areimage,raw,video, andauto. -
categorization: This parameters contains a collection of add-ons. You can specify one of these values:google_video_taggingorazure_video_indexer. -
auto_tagging: This parameter specifies the confidence score you desire before tagging the resource.
In my example, Cloudinary adds all the tags with a confidence score higher than 50 percent to the resource. Note that this tagging is related to categorizing content within Cloudinary, i.e., Cloudinary adds the tags based on the recognized video content.
You must also pass to the upload function a callback, which I leveraged to report responses from Cloudinary. Here’s a typical response:
{
  asset_id: 'dc5b3c8891d9ad974455839816ba34af',
  public_id: 'dosfm1nxpjkystb3uqtj',
  version: 1610890792,
  version_id: '76121d9c617365ffbc24f15e2b043ba1',
  signature: 'ffd2f8daadd2f8a71097bdb69699548e1fc45c5f',
  width: 1280,
  height: 720,
  format: 'mp4',
  resource_type: 'video',
  created_at: '2021-01-17T13:39:52Z',
  tags: [],
  pages: 0,
  bytes: 18216284,
  type: 'upload',
  etag: 'bc2f54f085adaa0f365437027d0cc6f3',
  placeholder: false,
  url: 'http://res.cloudinary.com/futuresoftpl/video/upload/v1610890792/dosfm1nxpjkystb3uqtj.mp4',
  secure_url: 'https://res.cloudinary.com/futuresoftpl/video/upload/v1610890792/dosfm1nxpjkystb3uqtj.mp4',
  info: { categorization: { google_video_tagging: [Object] } },
  audio: {},
  video: {
    pix_format: 'yuv420p',
    codec: 'h264',
    level: 31,
    profile: 'High',
    bit_rate: '12032377',
    dar: '16:9',
    time_base: '1/30000'
  },
  frame_rate: 29.97002997002997,
  bit_rate: 12132057,
  duration: 12.012,
  rotation: 0,
  original_filename: 'house',
  nb_frames: 360
}
That’s the JSON object with all the details of your uploaded resource, including the public URLs you can cite within your website and the public identifier of the resource in your Cloudinary account. My callback displays this public identifier because I’ll use it later to obtain the video tags.
The response from the upload function does not display the tags. Instead, it only shows [Object] within the info.categorization.google_video_tagging property. You need additional code to reveal those tags. Specifically, you must traverse the resulting JSON:
result['info']['categorization']['google_video_tagging']['data']
To avoid reuploads of the video, I made use of the Cloudinary Admin API’s api.resource method, which, given the public identifier and resource type, returns the details of the resource.
Here’s the example for the video (see getMarkers.js in the companion code):
var common = require('./common.js');

public_id = 'dosfm1nxpjkystb3uqtj';

common.cloudinary.api.resource(public_id, {resource_type: "video"},
    (error, result) => {
    // Get categorization data
    categorizationData = result['info']['categorization']
        ['google_video_tagging']['data'];

    console.log(categorizationData)
    });
});
Running this code gives you all the information on the content detected in your video. Here’s a selected portion of the response for my video:
[
  {
    tag: 'interior design',
    categories: [],
    start_time_offset: 0,
    end_time_offset: 11.978633,
    confidence: 0.9868196845054626,
    shot_level: false
  },
  {
    tag: 'apartment',
    categories: [ 'building' ],
    start_time_offset: 0,
    end_time_offset: 11.978633,
    confidence: 0.7973060011863708,
    shot_level: false
  },
  {
    tag: 'house',
    categories: [ 'building' ],
    start_time_offset: 8.008,
    end_time_offset: 11.978633,
    confidence: 0.8208440542221069,
    shot_level: true
  },
  {
    tag: 'wall',
    categories: [],
    start_time_offset: 4.004,
    end_time_offset: 7.974633,
    confidence: 0.5453928709030151,
    shot_level: true
  },
  {
    tag: 'living room',
    categories: [ 'room' ],
    start_time_offset: 0,
    end_time_offset: 3.970633,
    confidence: 0.4006035029888153,
    shot_level: true
  },
  {
    tag: 'living room',
    categories: [ 'room' ],
    start_time_offset: 4.004,
    end_time_offset: 7.974633,
    confidence: 0.5230793952941895,
    shot_level: true
  },
  {
    tag: 'kitchen',
    categories: [ 'room' ],
    start_time_offset: 0,
    end_time_offset: 3.970633,
    confidence: 0.9755304455757141,
    shot_level: true
  },
  {
    tag: 'bedroom',
    categories: [ 'room' ],
    start_time_offset: 4.004,
    end_time_offset: 7.974633,
    confidence: 0.7389670610427856,
    shot_level: true
  },
  {
    tag: 'real estate',
    categories: [],
    start_time_offset: 8.008,
    end_time_offset: 11.978633,
    confidence: 0.8142818212509155,
    shot_level: true
  },
]
See how masterfully Cloudinary delivers a rundown of video content? The next section will show you how to create navigation markers with the tags in the response.
I rendered video markers with Videojs-markers. The examples on their site show that, to add a marker, you must specify several objects, each of which comprising two values: the time at which the marker should appear and the description (text).
The Cloudinary API returns objects with six values, of which I needed only two: tag and start_time_offset. In this example, the first one is for the marker text; and the second one, for the marker’s start time.
Also, the Cloudinary API contains tags I didn’t need because my video depicted a kitchen, a bedroom, and a living room only. So, I filtered out all the other tags with the underscore npm package (npm install underscore) and then modified getMarkers.js, as shown below:
var common = require('./common.js');
var _ = require('underscore');

public_id = 'dosfm1nxpjkystb3uqtj';

common.cloudinary.api.resource(public_id, {resource_type: "video"}, (error, result) => {
    // Get categorization data
    categorizationData = result['info']['categorization']['google_video_tagging']['data'];

    // Define rooms
    var rooms = ['kitchen', 'bedroom', 'living room'];

    // Get markers for each room
    // Use underscore to filter "tag" (get last element only)
    markers = [];
    rooms.forEach((room) => {
        data = _.where(categorizationData, {'tag': room}).pop();

        marker = {
            'time': data['start_time_offset'],
            'text': data['tag']
        }

        markers.push(marker);
    });

    console.log(markers)
});

The method now returns the list of markers we can use along with videojs-markers:

[
  { time: 0, text: 'kitchen' },
  { time: 4.004, text: 'bedroom' },
  { time: 8.008, text: 'living room' }
]
In the real world, Cloudinary generates thousands of tags, and you’d need mechanisms to properly manage them. To partition the results, you could use the max_results and derived_next_cursor options, which you pass next to the resource_type option.
To wire up everything and achieve the result shown in the photo of the room near the top of this post, I created a simple website (see website/index.html in the companion code), which references videojs-markers and some other helper JavaScript code. In the body section, a <video> HTML tag renders the sample real-estate video:
<video id="house" controls class="video-js vjs-default-skin"
    width="800" height="600">
    <source src="../video/house.mp4" type="video/mp4">
</video>
To optimize video rendering, you could replace the src tag with the one from Cloudinary, which in my case reads like this:
https://res.cloudinary.com/demo/video/upload/v1614368895/house_tour.mp4
You could further optimize the video with video transformations just by adding parameters to the URL, for example:
Afterwards, I added markers with the JavaScript video player:
<script>
    var player = optimizer.videoJS;

    player.markers({
        markerTip:{
            display: true,
            text: function(marker) {
                return marker.text;
            }
        },
        markers: [
            { time: 0, text: 'kitchen' },
            { time: 4.004, text: 'bedroom' },
            { time: 8.008, text: 'living room' }
        ]
    });
</script>
Cloudinary has now added markers to my video.
The above video example being a short one, uploading and rendering it was fast, requiring no additional tools. For long video files, however, a good practice would be to configure the asynchronous upload with a notification URL to keep you informed of when the upload is ready.
To render a video on a website, you could also employ adaptive bitrate streaming through the Cloudinary Video Player.
You’ve now learned how to tag video sequences through automation on Cloudinary and detect the content in a video, such as that of an apartment. From there, you can create markers to help visitors to your site navigate through the video.
The Cloudinary API and its comprehensive AI methods make for a straightforward process, enhancing apps with tagged, easy-to-navigate videos, a boon for visitors who would be sure to come back for more. Beyond real estate, you can employ the same techniques to add tags and structure to videos for events, training courses, and so forth.
Do try it out for your next project! Start with signing up for a free Cloudinary account.
Dawid Borycki is a software engineer and biomedical researcher with extensive experience in Microsoft technologies. He has completed a broad range of challenging software-development projects for device prototypes (mostly medical equipment), embedded device interfacing, and desktop and mobile programming. He’s also the author of two Microsoft Press books: Programming for Mixed Reality (2018) and Programming for the Internet of Things (2017).