
The Jamstack web-development architecture yields many benefits, including high performance and security. Plus, thanks to its APIs, which function as software as a service (SaaS), no back-end infrastructure is required for web applications.
The rise of platforms as a service (a type of SAAS) has rewarded the front end with a lot of autonomy. Even though Jamstack front ends are mostly associated with static site generators like Next.js, Gatsby, and Nuxt.js, I strongly believe that any application that contains a self-sustainable front end and that leverages APIs for specific purposes qualifies as a Jamstack front end. So, it can be a simple project coded with HTML, CSS, and logic.
Many front-end developers relish building stand-alone applications but must answer several questions at the outset, such as where to get the related data and how to authenticate it. Above all, if a PostgreSQL database already exists, how to connect it to the new Jamstack front end? Hasura.io is a silver bullet of a solution.
As defined on GitHub, Hasura is a superfast GraphQL server that “gives you instant, real-time GraphQL APIs over Postgres, with webhook triggers on database events and remote schemas for business logic.” You want to give the front end all the autonomy it needs, e.g., where to source data and how to structure and handle that data.
Data in Jamstack applications can usually originate from any source, e.g., one or multiple content management systems, assuming that you’re using a framework like Gatsby or connecting to an existing database like Postgres with Hasura.
Below is a demo that shows you how to use Hasura to connect and fetch data to an application built with HTML.
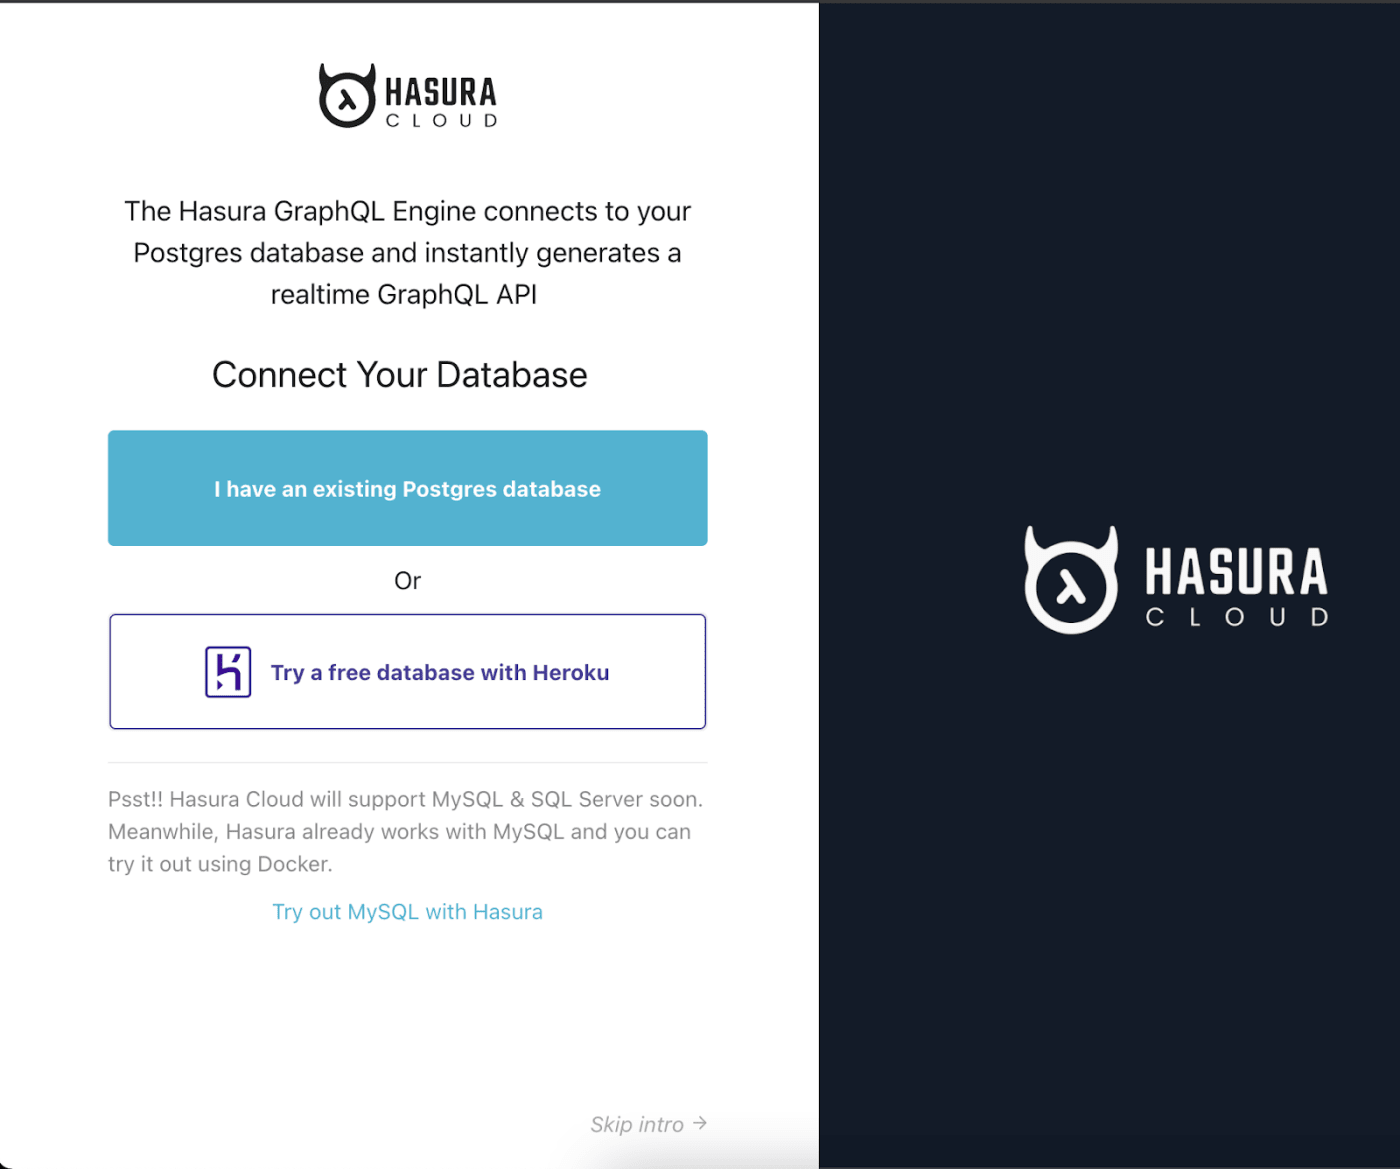
- Create a Hasura account and sign in.
- Click Try a free database with Heroku.
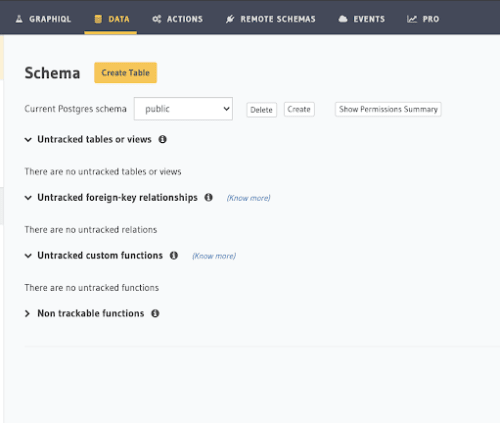
Next, click the DATA tab at the top and then click Create Table.
Assign types to your parameters, that is, define the data you want your queries to return on the front end and the data types.

Now connect the database to the sample application with the following:
- Two environment variables, which link your Hasura account and database with your application so that you can query for data from there.
- A utility function, which enables interactivity in the application.
- A serverless function. For an explanation of this function type, see the post Serverless Functions Deliver Dynamism to Static Sites.
Do the following:
-
Log in to Hasura cloud and go to
https://cloud.hasura.io/projects. -
Note the values of the two environment variables:
HASURA_API_URLandHASURA_ADMIN_SECRET.HASURA_API_URL = xxxxxx HASURA_ADMIN_SECRET = xxxxxx -
Create a
functionsdirectory in the root of the application with a folder calledutils.js, in which in turn create a file calledhasura.jsthat contains the code below. Be sure to replaceHASSURA_API_URLandHASURA_ADMIN_SECRETwith their values.
const fetch = require('node-fetch')
async function query({query,variables = {}}) {
    const result  =await fetch(process.env.HASURA_API_URL,{
        method: 'POST',
        headers: {
            'Content-type':'application/json',
            'X-Hasura-Admin-Secret': process.env.HASURA_ADMIN_SECRET,
        },
        body:JSON.stringify({query,variables}),
    })
    .then((response)=> response.json());

    //To do: check for errors and show errors
return result.data

}
exports.query = query
The above code posts queries to your Hasura workspace with the fetch API and then exports a query function with which you can extract data from your database.
Finally, connect a query to the application with a Netlify serverless function. In the functions directory, create a file called add-project.js with the code below, which imports the query function that enables you to write the GraphQL query generated in Hasura.
const { query } = require("./util/hasura");
exports.handler = async (event) => {
    const result = await query({
        query: `
        query {
          projects {
              id
              project
              tagline
              title
                }
            }
        `
    })
    return{
        statusCode:200,
        body:JSON.stringify(result),
    };

};
You can now use the serverless function to get data from a form. See the code below. Once the body is posted, it sends several parameters (id, title, etc.) to the serverless function for a response.
async function handleSubmit(event) {
    event.preventDefault(); // stops the submit from firing before the function runs
  const data = new FormData(event.target); //formdata API
  const result = await fetch('/.netlify/functions/add-project', {
    method :'POST',
      body: JSON.stringify({
        id: data.get('id'),
        title: data.get('title'),
        tagline: data.get('tagline'),
        project: data.get('project'),
      }),
  }).then((response) => {
      document.querySelector(
        '.message',
        ).innerText = `Response: ${response.status}`;
    });
}
For a consistent display, you’d want the images in the forms to have the same resolutions before being stored in your Cloudinary account’s Media Library in Cloudinary-generated URLs. Toward that end, leverage the Cloudinary capability called incoming transformations, which modifies images during or after their upload.
Do the following:
-
From your Cloudinary account’s dashboard, grab your Cloudinary name, API key, and API secret and store them as environment variables in a file called
.env(see the example below) in the project’s root directory.CLOUDINARY_NAME=my-project CLOUDINARY_API_KEY=xxxxxxxxxxxxxxxxxx CLOUDINARY_API_SECRET=xxxxxxxxxxxxxxxxxxxxx -
Create a utility function with the code below. Be sure to replace
LOUDINARY_NAME,CLOUDINARY_API_KEY, andCLOUDINARY_API_SECRETwith their values.
const cloudinary = require("cloudinary").v2;
const dotenv = require("dotenv");
dotenv.config();

cloudinary.config({
  cloud_name: process.env.CLOUDINARY_NAME,
  api_key: process.env.CLOUDINARY_API_KEY,
  api_secret: process.env.CLOUDINARY_API_SECRET
});

// When doing a signed upload, you'll use a function like this one:
exports.handler = async event => {
  const { project } = JSON.parse(event.body);
  const res = await cloudinary.v2.uploader.upload(project, { width: 2000, height: 1000, crop: "limit" },
  function(error, result) { console.log(result, error); });
  return {
    statusCode: 200,
    body: JSON.stringify(res)
  };
};
This function adds a preset, which limits the dimensions of an uploaded image to a maximum width of 2,000 pixels and a maximum height of 1,000 pixels.
You can apply more transformations to the uploaded images or generate assets derived from the originals with other Cloudinary features, such as eager transformation.
With Hasura, you can build numerous dynamic capabilities for Jamstack sites. Let your creativity soar!