
In this Media Jam, we will discuss how to build an Image Gallery in Sapper with Cloudinary and upload images to Cloudinary with drag and drop operation.
If you want to jump right into the code, check out the GitHub Repo here.
Before we get started, I wanted to point out that you can play around with the code described in this Jam on CodeSandbox, and you can find the live version here.
In your project’s root directory, run the following commands in the terminal to quickly set up the initial Sapper project using the sapper-template.
npx degit "sveltejs/sapper-template#webpack" sapper-cloudinary-example
cd sapper-cloudinary-example
npm install
npm run dev
Code language: JavaScript (javascript)
The last command will start the Sapper development server on http://localhost:3000/.
Head over to your Cloudinary dashboard and copy the API keys.
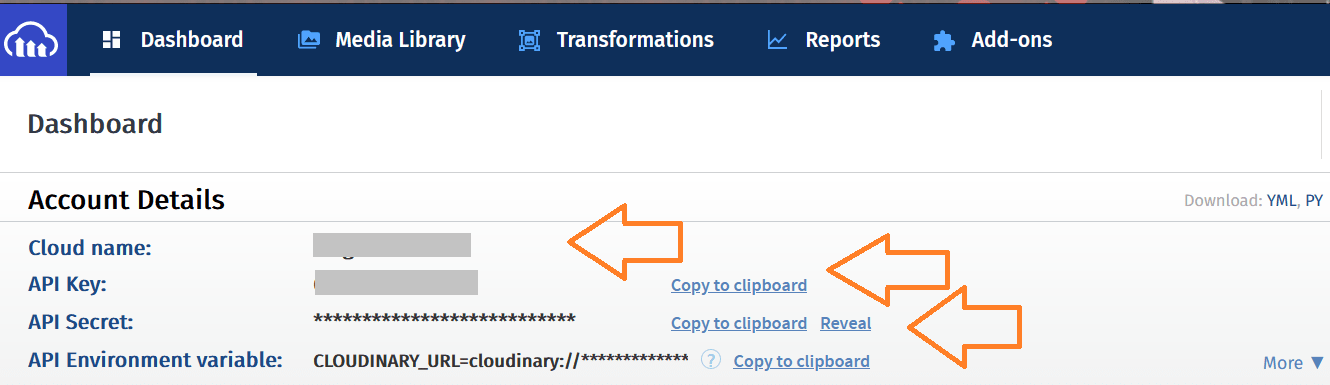
Create a new file named .env in your project’s root directory and paste the API keys in it, as shown below.
CLOUDINARY_CLOUD=''
CLOUDINARY_KEY= ''
CLOUDINARY_SECRET=''
Code language: JavaScript (javascript)
To use these environment variables, you will also need to install the dotenv package.
Run the following command to install dotenv and cloudinary libraries where cloudinary is the Node.js/server-side SDK you will use to upload the images to Cloudinary.
npm i dotenv cloudinary
The first step is to build the image gallery where you will display all the uploaded images. Create a new file named index.json.js inside the src directory, where you will create the server route to fetch the images from Cloudinary.
Server routes in Sapper are used to create JSON API, which exports functions, having HTTP request and response objects as arguments, corresponding to HTTP methods like GET, POST, etc.
You can create both the GET method to fetch the images and the POST method to upload the image inside the same index.json.js file, and Sapper will differentiate between them based on the type of request made.
Run the following command to create the index.json.js file.
touch src/routes/index.json.js
Add the following code to index.json.js.
require("dotenv").config();
const cloudinary = require("cloudinary").v2;

cloudinary.config({
  cloud_name: process.env.CLOUDINARY_CLOUD,
  api_key: process.env.CLOUDINARY_KEY,
  api_secret: process.env.CLOUDINARY_SECRET,
});

export  function get(req, res) {
  res.writeHead(200, {
    "Content-Type": "application/json",
  });

  let secureUrls;

   cloudinary.api.resources({type: 'upload'}, function (error, result) {
    secureUrls = JSON.stringify(
      result.resources.map((pic) => {
        return { secureUrl: pic.secure_url };
      })
    );

    res.end(secureUrls);
  });
}
Code language: JavaScript (javascript)
In the above code, you first access the environment variables using require("dotenv").config(); and pass them to cloudinary. Then, you create and export the get function where the images are fetched from Cloudinary using Cloudinary’s Admin API.
The image URLs are sent as a JSON response to the GET request. These URLs are then used within the src attribute of the img tag to display the images on the app.
Update the src/routes/index.svelte file like this.
<script context="module">
	export function preload() {
	  return this.fetch(`/index.json`)
		.then((r) => r.json())
		.then((images) => {
		  return { images };
		});
	}
  </script>

  <script>
	export let images;
  </script>

  <svelte:head>
	<title>Sapper Cloudinary Example</title>
  </svelte:head>
  <h2>Sapper Image Gallery</h2>

  <div class="container">
	{#each images as image (image.secureUrl)}
	  <section class="image">
		<img src={image.secureUrl} alt={image.secureUrl} width="400px" />
	  </section>
	{/each}
  </div>

  <style>
	h2 {
	  font-size: 2.4em;
	  text-transform: uppercase;
	  font-weight: 400;
	  margin: 0 0 0.5em 0;
	  text-align: center;
	}

.container {
    column-count: 3;
    column-gap: 20px;
  }
  section > img {
    flex: 100%;
    max-width: 100%;
    margin-top: 1rem;
    border-radius: 10px;
  }
  .image {
    margin-bottom: 1rem;
    display: flex;
  }

  @media only screen and (max-width: 600px) {
    .container {
      column-count: 1;
    }
  }
  </style>
Code language: HTML, XML (xml)
You use Sapper’s preload() function to fetch the images using this.fetch() method. This preload() function runs before the component is created and loads the data, i.e., images required by the gallery before the page is loaded.
<script context="module">
  export function preload() {
    return this.fetch(`/index.json`)
      .then((r) => r.json())
      .then((images) => {
        return { images };
      });
  }
</script>
Code language: HTML, XML (xml)
To display the images, you iterate over the images array, exported from the script tag, using the each block. You can read more about each block here.
{#each images as image (image.secureUrl)}
<section class="image">
<img src="{image.secureUrl}" alt="{image.secureUrl}" width="400px" />
</section>
{/each}
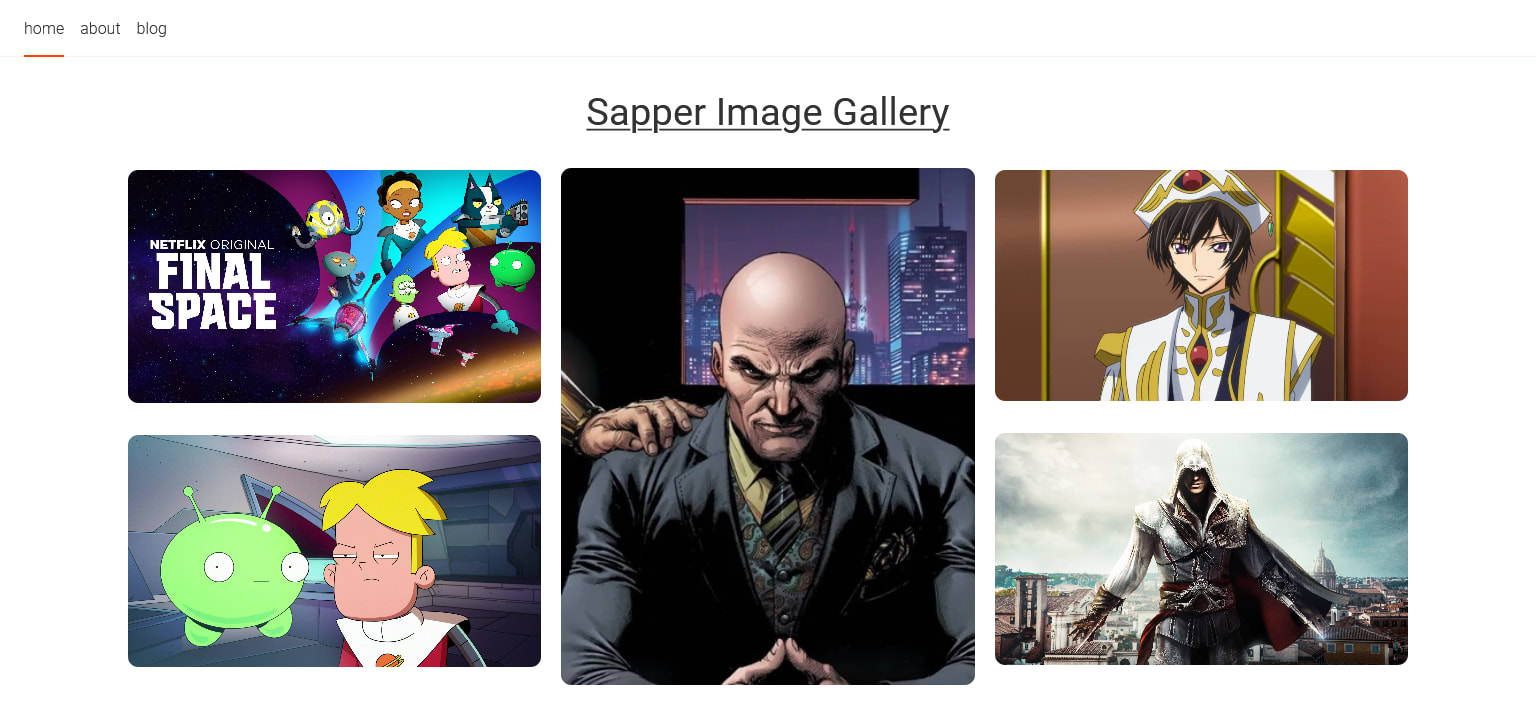
Code language: HTML, XML (xml)Here is how this Sapper Image Gallery looks like.
In this section, we will write the code to upload the image to Cloudinary and then show it in the Image Gallery created in the last section.
Update the script tag in index.svelte file like this.
<script>
  export let images;
  let preview, fileinput;

  const onFileSelected = (e) => {
    let image = e.files[0];
    let reader = new FileReader();
    reader.readAsDataURL(image);
    reader.onload = (e) => {
      preview = e.target.result;
    };
  };

  const uploadImage = () => {
    uploadImageToCloudinary(preview);
  };

  const uploadImageToCloudinary = async (imageDataUrl) => {
    const res = await fetch("/index.json", {
      method: "POST",
      headers: {
        "Content-Type": "application/json",
      },
      body: JSON.stringify({ imageDataUrl }),
    });
    const json = await res.json();
    if (json.imageUrl) {
      window.location.reload();
    }
  };
</script>
Code language: HTML, XML (xml)
Before uploading the image to Cloudinary, the web application needs to read the selected picture; this is done with the help of FileReader Web API.
The files object containing the selected file, obtained either from the FileList object when the user selects a file using the <input> element or drag and drop operations’ DataTransfer object is passed to the FileReader Web API. In this project, you will use both the <input> element and drag and drop operation.
The FileReader Web API reads the user’s selected file and then converts it to a data: URL using the .readAsDataURL() method. You can read more about this method here.
Using the .onload() method of FileReader, triggered each time the reading operation is successfully completed, the data: URL is stored inside the preview variable.
You have created another function named uploadImageToCloudinary () which takes the data URL as an argument and makes a POST request to /index.json using the fetch API. The data URL is sent to the server route as a JSON object.
Once the image has been uploaded, and a successful response is returned from the POST request, the entire page is reloaded to trigger the Sapper’s preload() function to update the Image Gallery with the newly uploaded image.
Add the code for the Upload component before the code for Image Gallery in the index.svelte file.
<div class="app">
  <h2>Upload Image</h2>
  <div
    class="dropzone"
    on:click={() => {
      fileinput.click();
    }}
    on:drop={(e) => {
      e.preventDefault();
      onFileSelected(e.dataTransfer);
    }}
    on:dragenter={(e) => {
      e.preventDefault();
    }}
    on:dragleave={(e) => {
      e.preventDefault();
    }}
    on:dragover={(e) => {
      e.preventDefault();
    }}
  >
    {#if preview}
      <img class="preview" src={preview} alt="preview" />
    {/if}

    <img
      class="upload-icon"
      src="https://static.thenounproject.com/png/625182-200.png"
      alt=""
      on:click={() => {
        fileinput.click();
      }}
    />
    <input
      style="display:none"
      type="file"
      accept=".jpg, .jpeg, .png"
      on:change={(e) => onFileSelected(e.target)}
      bind:this={fileinput}
    />
    {#if !preview}
      <div
        class="chan"
        on:click={() => {
          fileinput.click();
        }}
      >
        Drag N Drop Images or Click on Upload.
      </div>
    {/if}
  </div>
  {#if preview}
    <button
      on:click={() => {
        uploadImage();
      }}>Upload Image</button
    >
  {/if}
</div>
Code language: HTML, XML (xml)
You can refer to the code to style the Upload component here.
In the above code, you create a div element with class="app". In this div element, you add the event handlers required for the drag and drop operation. The on:dragenter, on:dragover, and on:dragover event just the page from reloading. The on:drop() event, triggered when the file is dropped on the div, passes the DataTransfer object to the onSelectedFile() function.
You bind the fileinput variable to the input element to get a reference to the input element. This input element only accepts .jpg, .jpeg, .png image types. You can change the accepted image types according to your application needs.
When the upload icon is clicked, the on:click() event is triggered, which runs the fileinput.click() function and the user is prompted to select the image.
After the user has selected the image, the on:change() event of the input element is triggered, which passes the FileList object to the onSelectedFile() function.
Whether an image is selected or not, either the Upload button is displayed or the text Drag N Drop Images or Click on Upload. is shown using the if block and preview variable.
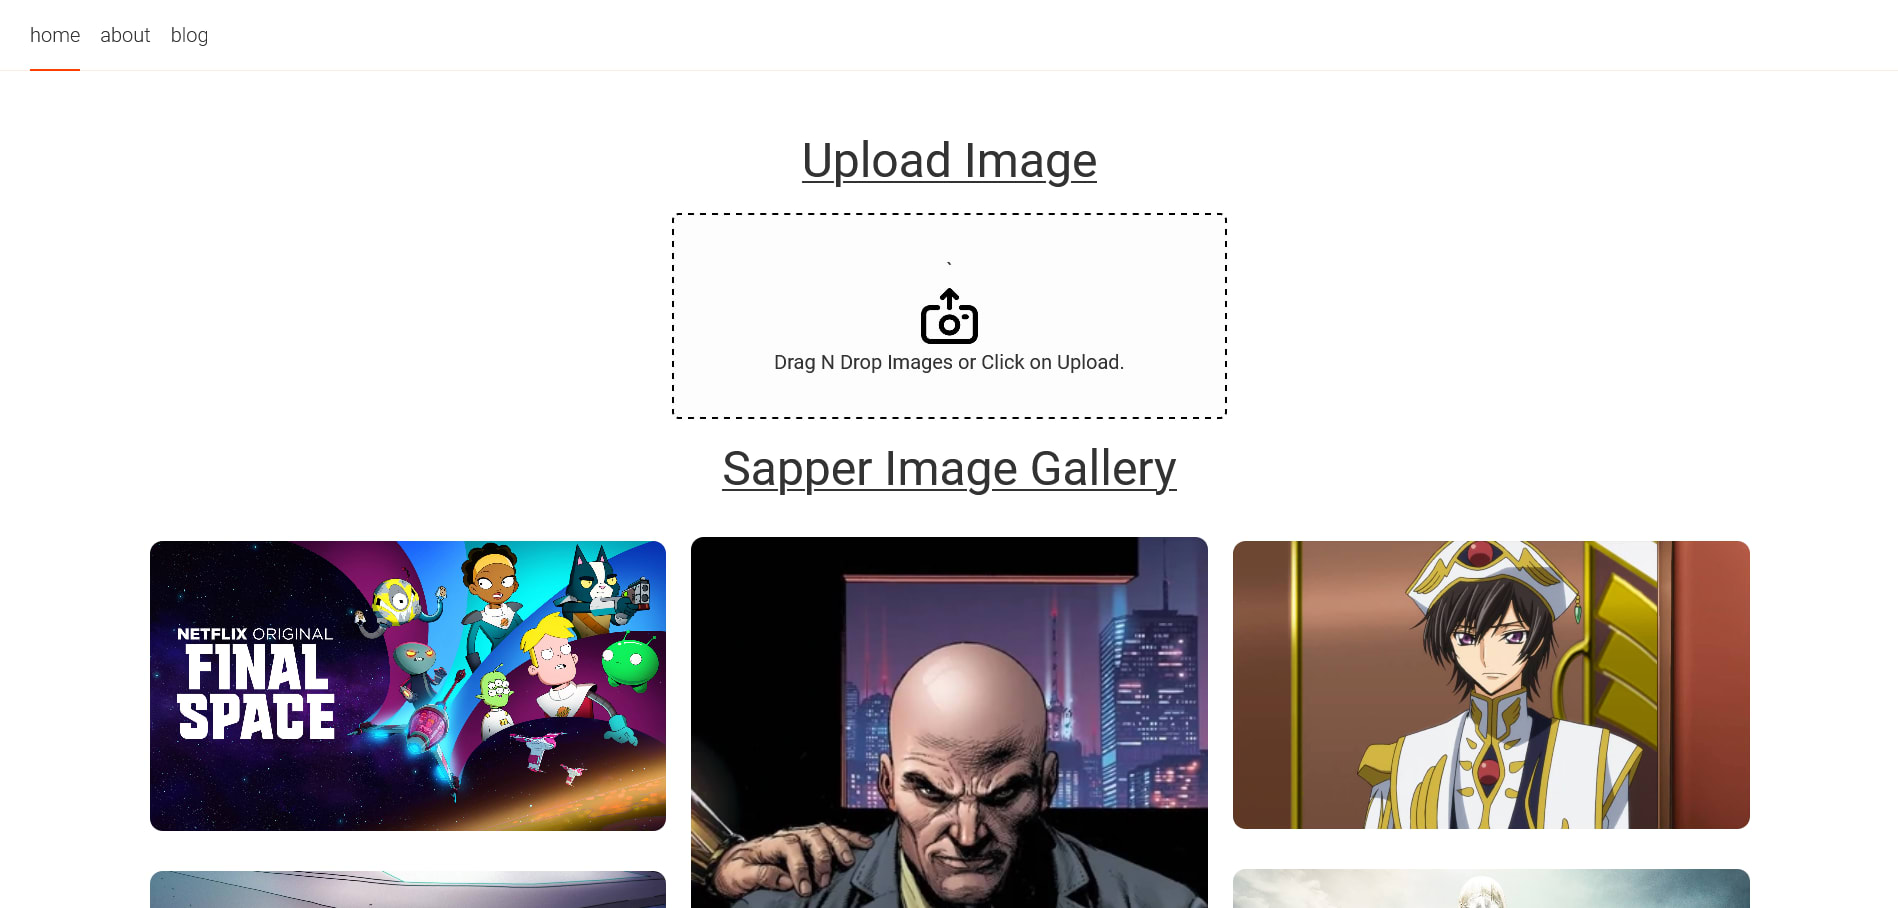
Here is how the Upload Component looks when no file is selected.
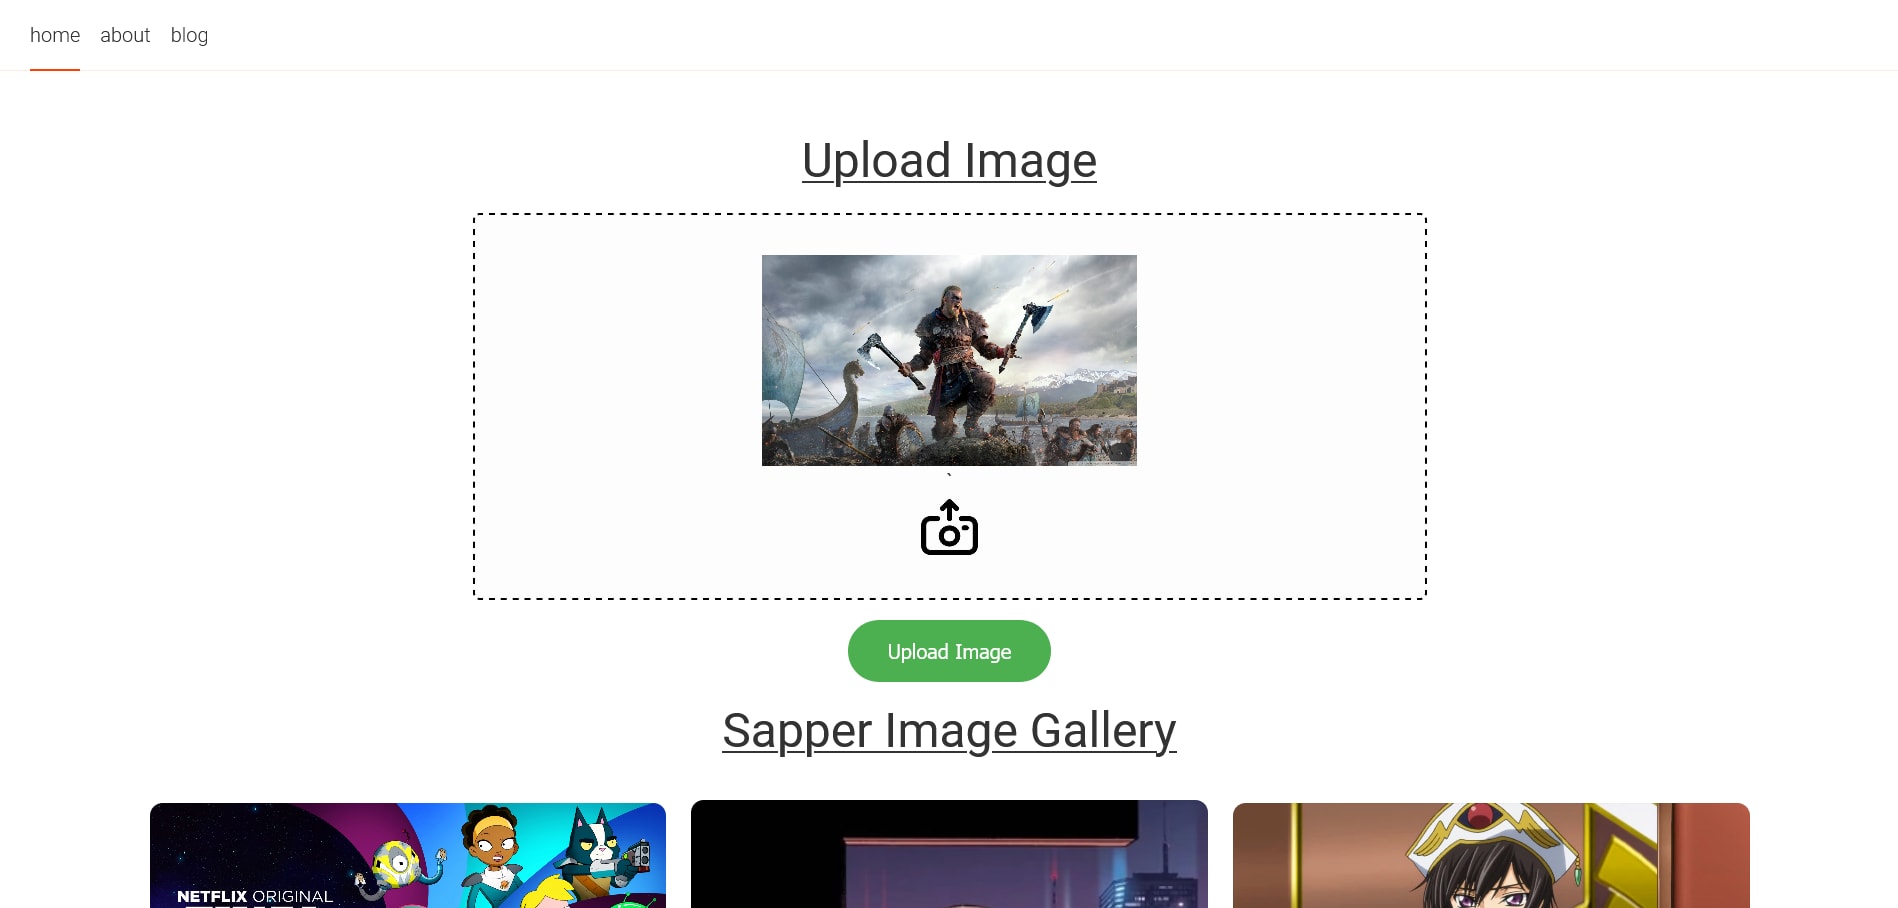
Here is how the Upload Component changes if an image is selected.
When the upload button is clicked, the uploadImage() function sends the POST request to the /index.json server route with the data URL of the image in the request body, and the image is uploaded to Cloudinary.
In the above code, you are sending the image data URL as a JSON request body. To parse this JSON request body in the POST request, you will need to install the body-parser package. You can read more about this library here.
Run the following command in your terminal to install body-parser.
npm install body-parser
You will also need to update the src/server.js file to include the body-parser library.
import sirv from "sirv";
import polka from "polka";
import compression from "compression";
import * as sapper from "@sapper/server";
const bodyParser = require("body-parser");

const { PORT, NODE_ENV } = process.env;
const dev = NODE_ENV === "development";

polka() // You can also use Express
  .use(
    bodyParser.json({
      limit: "50mb",
      extended: true,
    }),
    bodyParser.urlencoded({
      limit: "50mb",
      extended: true,
    }),

    compression({ threshold: 0 }),
    sirv("static", { dev }),
    sapper.middleware()
  )
  .listen(PORT, (err) => {
    if (err) console.log("error", err);
  });
Code language: JavaScript (javascript)
The last step is to create the POST method in the index.json.js file or the /index.json server route.
Add the following code for the POST method in the index.json.js file.
export function post(req, res) {
  const image = req.body.imageDataUrl;

  res.writeHead(200, {
    "Content-Type": "application/json",
  });

  cloudinary.uploader.upload(image).then((response) => {
    res.end(JSON.stringify({ imageUrl: response.secure_url }));
  });
}
Code language: JavaScript (javascript)
The above code uses Cloudinary’s Upload API to upload the image to Cloudinary. After a successful response, the Cloudinary URL of the image is returned as a JSON response.
You can also pass additional and optional parameters to the Upload API like the upload_preset, signature, folder, etc.
In this Media Jam, we discussed how to build an Image Gallery in Sapper with images being fetched from Cloudinary. We also saw how to upload images to Cloudinary using both the <input> element and drag and drop operation.
Here are some additional resources that can be helpful:
Happy coding!