
According to the Stack Overflow 2020 survey, Vue.js was one of the developer’s Most Loved Web frameworks. In this media jam, we will see how to upload an image to Cloudinary in Vue.js with a drag and drop operation.
If you want to jump right into the code, check out the GitHub Repo here.
In this tutorial, you will use Vue CLI to create the initial Vue.js project. Run the following command to install the Vue CLI.
npm install -g @vue/cli
Code language: CSS (css)
Now, create a Vue.js project named vue-image-upload by running the following command in the terminal.
vue create vue-image-upload
When prompted to choose the preset, the Default (Vue 3) ([Vue 3] babel, eslint) preset.
Vue CLI v4.5.13
? Please pick a preset:
  Default ([Vue 2] babel, eslint)
> Default (Vue 3) ([Vue 3] babel, eslint)
  Manually select features
Code language: CSS (css)
After the project has been created, run the following command to start the development server.
cd vue-image-upload
npm run serve
Navigate to http://localhost:8080/ in your browser, here is how your app will look like.

Update the src/App.vue file to clean the sample code like this.
<template>
  <h1>Vue Image Upload</h1>
</template>

<script>
export default {
  name: "App",
  components: {},
};
</script>

<style>
#app {
  font-family: Avenir, Helvetica, Arial, sans-serif;
  -webkit-font-smoothing: antialiased;
  -moz-osx-font-smoothing: grayscale;
  text-align: center;
  color: #2c3e50;
  margin-top: 60px;
}
</style>
Code language: HTML, XML (xml)
Here is how your app will look like now.

In this tutorial, you will upload the image with a POST request to the Cloudinary REST API. For this, you will need to create an unsigned preset to upload without any authentication signature.
Head over to Settings → Upload → Upload presets on your Cloudinary dashboard and create an unsigned preset if one doesn’t already exist and copy it.

Create a file named .env by running the following command to store your Cloudinary cloud name and Upload Preset securely.
touch .env
Code language: CSS (css)
Paste the cloud name and upload preset to the .env file.
VUE_APP_CLOUD_NAME =""
VUE_APP_UPLOAD_PRESET = ""
In this section, you will build the dropzone for dragging and dropping the images. You will use HTML5 Drag and Drop API to make this dropzone.
Update App.vue file like this.
<template>
  <h1>Vue Image Upload</h1>

  <div
    class="dropzone"
    @dragover.prevent
    @dragenter.prevent
    @dragstart.prevent
    @drop.prevent="handleFileChange($event.dataTransfer)"
  >
    <input
      id="file-input"
      type="file"
      accept="image/png, image/jpeg"
      @change="handleFileChange($event.target)"
      required
    />
    <h2 for="file-input">Click or Drag N Drop Image</h2>
    <img v-bind:src="preview" />
    <h3 v-if="preview">File name: {{ fileName }}</h3>
  </div>

  <button type="submit" v-on:click="upload">Upload</button>
</template>

<script>
export default {
  name: "App",
  data() {
    return {
      fileName: "",
      preview: null,
      preset: process.env.VUE_APP_UPLOAD_PRESET,
      formData: null,
      cloudName: process.env.VUE_APP_CLOUD_NAME,
      success: "",
    };
  },
  methods: {
    handleFileChange: function (event) {
      this.file = event.files[0];
      this.fileName = this.file.name;

      this.formData = new FormData();
      this.formData.append("upload_preset", this.preset);

      let reader = new FileReader();
      reader.readAsDataURL(this.file);

      reader.onload = (e) => {
        this.preview = e.target.result;
        this.formData.append("file", this.preview);
      };
    },
  },
};
</script>
Code language: HTML, XML (xml)
In the above code, you create a dropzone for dropping the images using @dragover, @dragenter, @dragstart, and @drop event handlers. The function handleFileChange() is triggered when selecting an image either by drag and drop operation or using the input element.
If an image is dropped in the dropzone, the DataTransfer object is passed to the handleFileChange() function. If a user selects an image using the input element, the target object is passed to the handleFileChange() function.
This function uses FileReader API to read the contents of the image and convert it to a data URL from a File Object. File objects are obtained either from a FileList object returned due to a user selecting files using the <input> element or from a drag and drop operation’s DataTransfer object.
The FileReader API converts the image to a Data URL using readAsDataURL() and onload() functions and is stored inside the preview variable. You can read more about readAsDataURL() here.
You also store the name of the image in a variable named fileName. Both the name and the image selected are displayed to the user using the v-if directive. You can read more about this directive here.
The data URL of the image or preview variable is appended to a FormData along with the upload_preset. This formData is sent to the API in the request body when the user clicks the Upload button triggering the upload() function. You will create the upload() function in the next section.
Here is how your app will look like.

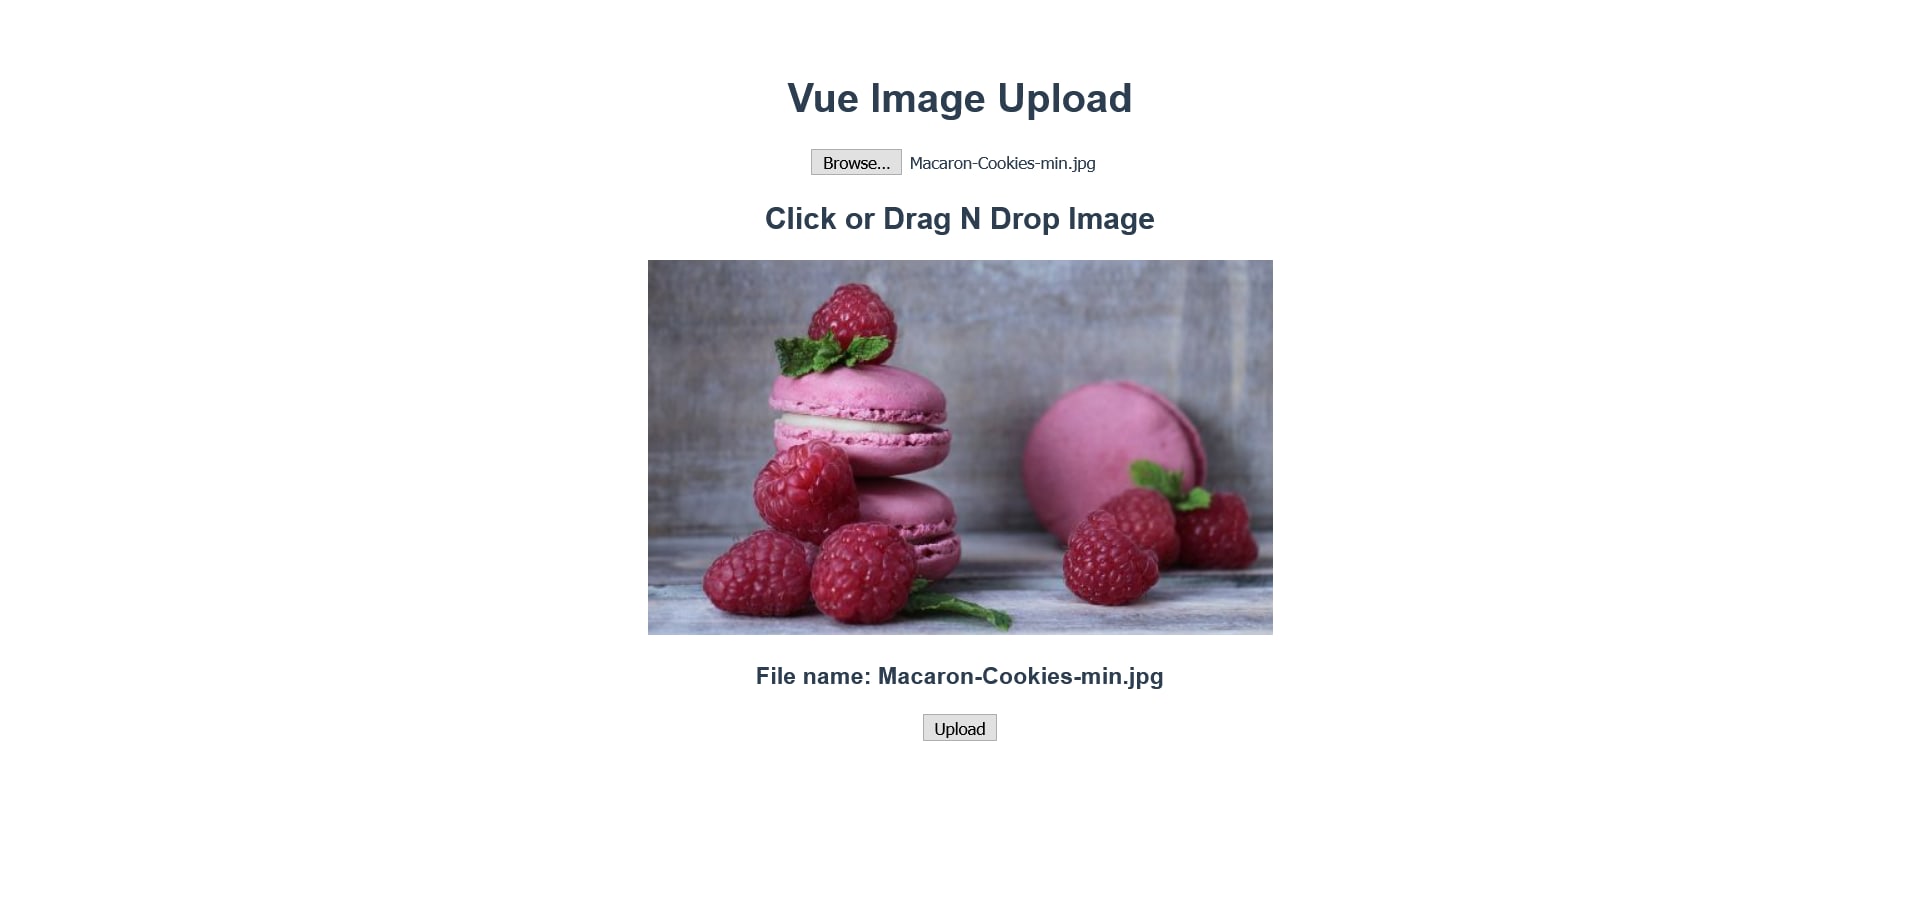
Here is how your app looks after selecting or dragging/dropping an image. You can see the chosen image and its name on the app with the help of the fileName and preview variables.
You can style the app by copying and pasting the following code to the style section.
<style>
#app {
font-family: Avenir, Helvetica, Arial, sans-serif;
-webkit-font-smoothing: antialiased;
-moz-osx-font-smoothing: grayscale;
text-align: center;
color: #2c3e50;
margin-top: 60px;
display: flex;
flex-direction: column;
}
.dropzone {
height: fit-content;
min-height: 200px;
max-height: 400px;
width: 600px;
background: #fdfdfd;
border-radius: 5px;
border: 2px dashed #000;
display: flex;
flex-direction: column;
justify-content: center;
align-items: center;
margin: 0 auto;
}
input[type="file"] {
position: absolute;
opacity: 0;
width: inherit;
min-height: 200px;
max-height: 400px;
cursor: pointer;
}
img {
width: 50%;
height: 50%;
}
button {
background-color: transparent;
border: 2px solid #e74c3c;
border-radius: 1em;
color: #e74c3c;
cursor: pointer;
display: flex;
align-self: center;
font-size: 1rem;
margin: 20px;
padding: 1.2em 2.4em;
text-align: center;
text-transform: uppercase;
font-family: "Montserrat", sans-serif;
font-weight: 700;
}
</style>
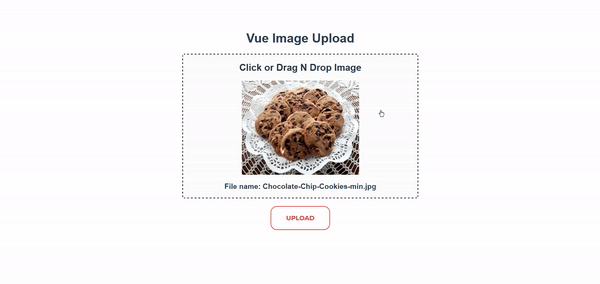
Code language: HTML, XML (xml)You can also use UI libraries like BootstrapVue, Vuetify, etc., to style the app. Here is how your app will look like.

Under script → methods create a function named upload that makes a POST request to https://api.cloudinary.com with the request body being formData containing the file or data URL and the unsigned upload_preset.
upload: async function () {
		const res = await fetch(
		  `https://api.cloudinary.com/v1_1/${this.cloudName}/image/upload`,
		  {
		    method: "POST",
		    body: this.formData,
		  }
		);
		const data = await res.json();
		this.fileName = "";
		this.preview = null;
		this.formData = null;
		this.success = data.public_id;
},
Code language: JavaScript (javascript)
After sending the POST request, you reset fileName, preview, and formData to their initial values. You also store the public_id of the image in the success variable, which is then displayed to the user.
Add the following code after the button in the template section. This code is displayed after a successful response is returned from the API, and success is not equal to empty strings.
<h3 v-if="success">File Uploaded Successfully. publicId: {{success}}</h3>
Code language: HTML, XML (xml)
Here is the entire upload operation in action.
After successful upload, the public_id of the image is displayed on the app.
In this media jam, we saw how to upload images to Cloudinary in Vue.js with drag and drop operation.
You uploaded a picture with an unsigned preset in this jam, but you can also upload a picture with a signed preset. For this, you will need to append api_key, timestamp, and signature in the form data along with the file.
Here are some additional resources that can be helpful: