Web Performance is something that is becoming more important every day for users and developers. When the user enters a website, they can get impatient if it does not load within a few seconds and eventually leave the site.
Let’s say you’re developing a web application that involves the rendering of hundreds or even thousands of elements.
In that kind of scenario, you may have to process a large set of data and the performance can be drastically affected due to the number of nodes that are being created in the DOM (the more data to display, the bigger the DOM tree).
In this article, I’ll explain a useful strategy to reduce the amount of rendered DOM nodes regardless of the size of your data set: Virtual Scrolling
Let’s suppose you’re building a web application that needs to render an image gallery of thousands of users. The app retrieves the images from a large set of data.
However, it’s required to display them within a defined area as the following screenshot shows.
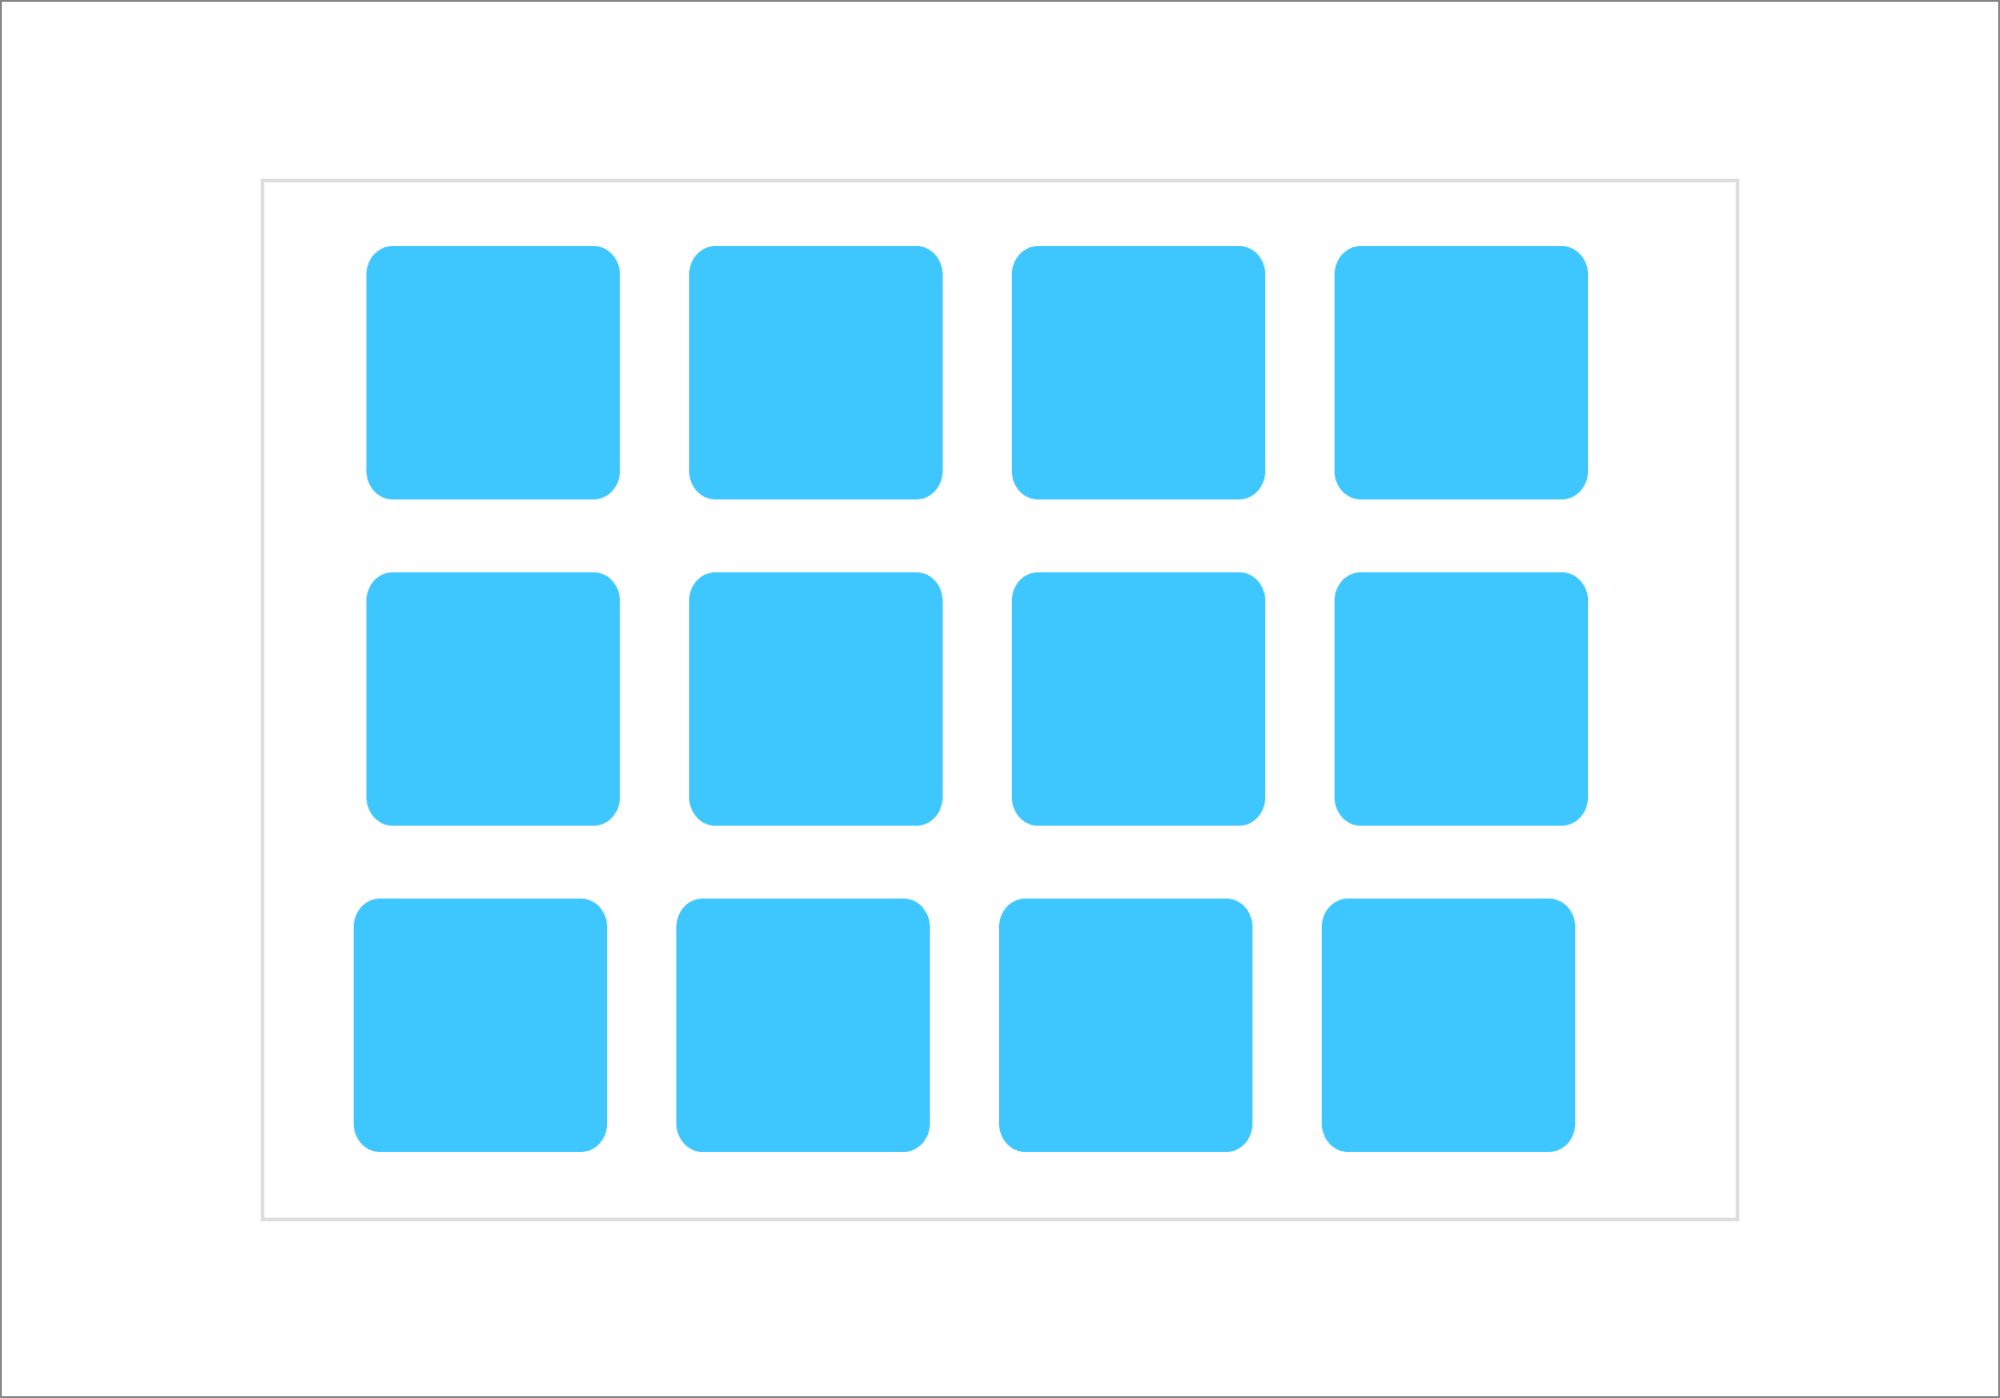
Given that scenario, it’s logical to think that it does not make much sense to render all the elements at the same time, but only the necessary ones.
Most popular frameworks have an implementation for virtualized content. Also, it’s worth mentioning the infinite list study group that covers research over virtualization solutions for the web and other platforms.
In a context of a Virtual Scroll implementation, the items will be removed or added as follows:
- It will delete the invisible rows while the user is going down through the scroll
- It will add new rows at runtime
- The View Port is the area that renders only the necessary elements
The Angular CDK is a set of behavior primitives for building UI components. Also, the Angular Material components have been defined using these utilities.
You can find more resources to learn about Angular CDK(and scrolling) at the end of this article.
For this project, we’ll use the Random User Generator API, which is free and allows us to generate random user data.
Just open a new tab in your favorite browser to see an example: https://randomuser.me/api/. The result will come as a User object with several properties.
Now try the following URL to get the pictures only of 100 users: https://randomuser.me/api/?results=100&inc=picture. You’ll get a result as follows:
{
  "results": [
    {
      "picture": {
        "large": "https://randomuser.me/api/portraits/women/96.jpg",
        "medium": "https://randomuser.me/api/portraits/med/women/96.jpg",
        "thumbnail": "https://randomuser.me/api/portraits/thumb/women/96.jpg"
      }
    },
    {
      "picture": {
        "large": "https://randomuser.me/api/portraits/women/77.jpg",
        "medium": "https://randomuser.me/api/portraits/med/women/77.jpg",
        "thumbnail": "https://randomuser.me/api/portraits/thumb/women/77.jpg"
      }
    }
  ]
}
Code language: JSON / JSON with Comments (json)
We’re ready to go! Let’s create the project as a next step.
Let’s create a brand new Angular project using the Angular CLI tool.
ng new load-images-virtual-scroll --routing --style css --prefix demo
Code language: JavaScript (javascript)
Next, let’s add the Angular Material dependency, which will install the Angular CDK library under the hood.
ng add @angular/material
Code language: CSS (css)
Then, let’s create a couple of modules and components to have a good code architecture.
ng generate module shared --module app
ng generate module shared/material --module shared
ng generate module gallery --module app
ng generate component gallery --module app
ng generate component gallery/gallery
ng generate service gallery/gallery
Code language: JavaScript (javascript)
Pay attention to every output of those commands to understand what’s happening with your project and directories. We’ll have the following structure:
|- src/
    |- app/
        |- app.module.ts
        |- app.component.ts|html|css
        |- gallery/
            |- gallery.module.ts
            |- gallery.component.ts|html|css
            |- gallery.service.ts
        |- shared/
            |- shared.module.ts
            |- material/
                |- material.module.ts
It’s time to define the data model. Create a new file app/gallery/user.ts
export interface User {
  picture: {
    large: string;
    medium: string;
  };
}
Code language: CSS (css)Before start using the Angular Material components, let’s add their modules in the material.module.ts file.
// material.module.ts
// ... other imports
import { MatToolbarModule } from '@angular/material/toolbar';
import { MatGridListModule } from '@angular/material/grid-list';
import { ScrollingModule, CdkScrollableModule} from '@angular/cdk/scrolling';

@NgModule({
  declarations: [],
  imports: [
    CommonModule,
    MatToolbarModule,
    MatGridListModule,
    ScrollingModule,
    CdkScrollableModule
  ],
  exports: [
    MatToolbarModule,
    MatGridListModule,
    ScrollingModule,
    CdkScrollableModule
  ]
})
export class MaterialModule { }
Code language: JavaScript (javascript)
This module is intended to define all material and CDK modules. That’s why we added the ScrollingModule and CdkScrollableModule from the @angular/cdk/scrolling package. This is important before start using the Virtual Scrolling implementation.
Next, update the shared.module.ts file:
// shared.module.ts

// ...other imports
import { MaterialModule } from './material/material.module';


@NgModule({
  declarations: [],
  imports: [
    CommonModule,
    MaterialModule
  ],
  exports: [
    MaterialModule
  ]
})
export class SharedModule { }
Code language: JavaScript (javascript)Update the content of the gallery.service.ts file:
import { HttpClient } from '@angular/common/http';
import { Injectable } from '@angular/core';
import { Observable } from 'rxjs';
import { User } from './user';


@Injectable({
  providedIn: 'root'
})
export class GalleryService {

  constructor(private httpClient: HttpClient) { }

  getImages(count: number = 100): Observable<{results: User[]}> {
    return this.httpClient.get<{results: User[]}>(`https://randomuser.me/api/?results=${count}&inc=picture`);
  }
}
Code language: JavaScript (javascript)
This Angular Service defines a single method getImages to retrieve a list of objects containing the required images for the gallery.
Let’s update the gallery.component.ts file with the following content.
// gallery.component.ts

import { Component, OnInit } from '@angular/core';
import { Observable } from 'rxjs';
import { GalleryService } from '../gallery.service';
import { User } from '../user';
import { map } from 'rxjs/operators';

@Component({
 // ...
})
export class GalleryComponent implements OnInit {
  users$: Observable<User[]>;

  constructor(private galleryService: GalleryService) {}

  ngOnInit(): void {
    this.users$ = this.galleryService
      .getImages(120)
      .pipe(map(({ results }) => results));
  }
}
Code language: JavaScript (javascript)
So what’s happening here?
- It creates an Observable attribute
users$to process the data as a stream. - It injects a
GalleryServiceinstance using the DI framework(Dependency Injection) - Once the component is being initialized(ngOnInit) it will perform an HTTP call through the service.
- Since the app is interested in the images only, we can use the
.pipe()function to use amapoperator to “extract” theresultsattribute only(See the example result from the API above).
We already got the data at this point. The next step involves the creation of the View Port to start using the Virtual Scrolling solution.
Add the following code in the gallery.component.html file.
<cdk-virtual-scroll-viewport itemSize="42" class="viewport">
  <mat-grid-list cols="4" rowHeight="1:1">
    <mat-grid-tile *cdkVirtualFor="let user of users$ | async">
      <img [src]="user.picture.large" />
    </mat-grid-tile>
  </mat-grid-list>
</cdk-virtual-scroll-viewport>
Code language: HTML, XML (xml)
Let’s explain the previous code snippet.
- The
<cdk-virtual-scroll-viewport>element defines the View Port area to be able to render the items that fit in it. - The
itemSizedirective tells thecdk-virtual-scroll-viewportthe size of the items in the list(in pixels). - The
class="viewport"is important here since, by default, the size of the View Port is 0, which means you’ll see a blank page only if the dimension is not set. - The
*cdkVirtualForis required here instead of using*ngFor(from Angular). This directive has the same API as*ngFor. - The
<mat-grid-list>defines the layout for the gallery and the<mat-grid-tile>element will contain every image. You can find more details about the Grid list component in the official documentation.
Important! Do not forget to edit the gallery.component.css file to set the View Port size(width x height).
mat-grid-tile {
  background: lightblue;
}

.viewport {
  height: 500px;
  max-width: 700px;
  margin-left: auto;
  margin-right: auto;
  border: 1px solid #e9e7e9;
}
Code language: CSS (css)
As a final step, you can open your browser’s developer tools to inspect the DOM and verify that elements are dynamically being added and removed as the next screenshot shows.

This project is available on GitHub and CodeSandbox.
If you prefer, you can play around with the project here too: