Every image should have some descriptive alt text so that our content stays as accessible as we can make it. That’s why it’s a good idea to start with accessibility in mind every time you write code. So we’ll create a way to add automatically add this text to our images based on the data we currently have.
In this post, we’ll take a look at how we can generate default alt text based on descriptions stored in a database. This will ensure that even if we don’t manually add alt text, there will be something to let users know what an image is.
We’ll be working with the Redwood framework so let’s generate a new project. Open a terminal and run the following command:
$ yarn create redwood-app --typescript alt-text-generator
This will make some new files and folders for you and it gives you a completely functional full-stack TypeScript app. We’ll pay the most attention to the web and api folders that hold the front-end and back-end respectively. Let’s start by connecting to a database.
We’ll be working with a Postgres instance. If you don’t have a local version of it, you can download Postgres here. You’ll need to know your username and password in order to connect it to the application.
The first thing we’ll do is open the .env file and update the DATABASE_URL value. This is the connection string to the database. Yours might look something like this:
DATABASE_URL=postgres://admin:password@localhost:5432/alt_text
Code language: JavaScript (javascript)
Now that we have our database connection string defined, let’s go to api > db and open schema.prisma. This is where we actually connect to the database with the string we just defined and define the database schema. First, we’ll need to update the provider value from sqlite to postgresql. This tells the app the kind of database it’s working with.
Next, we’ll delete the UserExample model and replace it with our own. This app is going to let us upload images to the Cloudinary so that we can get a URL along with a name and description so our model needs to account for that.
model Image {
  id            Int     @id @default(autoincrement())
  name          String  @unique
  description   String
  url           String
}
Code language: JavaScript (javascript)
This is the only model we’ll need for the app right now, but you can always come back here and add new models as your app grows and new business needs come up. Now we need to migrate this to our database to set up the schema. To do that, run the following command in your terminal:
$ yarn redwood prisma migrate dev
You’ll be prompted to name the migration and then it’ll update the database with the schema and any seed data you define. With the database migration running successfully, we can move on to setting up the GraphQL back-end of the app.
Our back-end will use GraphQL to handle all of the requests our front-end needs. One of the cool things about Redwood is that there’s a command to do almost everything. Since we have our database schema in place, we can use the following command to generate the types, queries, and mutations to handle the CRUD for the app.
$ yarn redwood generate sdl --crud image
If you take a look in api > src > services, you’ll see a new images folder. This has a few different files, but the main one is images.ts. Open this and you’ll see all of the resolvers to handle CRUD requests. Now take a look in api > src > graphql and you’ll see the images.sdl.ts. file. This has all of the types to support the resolvers we just saw.
All of this was generated by that one command and this is the entire back-end. Everything is in place and ready to go for the front-end!
Let’s start by adding a package we’ll need. In your terminal, go to the web directory and run the following command:
$ yarn add react-cloudinary-upload-widget
This will give us the package we need to upload images directly to Cloudinary and get the URL for the image in the response. We’ll use that URL as the source for the image when we get ready to render them on the page with the alt text.
Now we’ll run a command to generate a page for users to upload and view their images. In your terminal, go back to the root directory and run this command:
$ yarn redwood generate page image
Now we have the component we’ll need to start making this alt text generator. Go to web > src > pages > ImagePage and open the ImagePage.tsx. This is where we’ll start building the uploader functionality. You can go ahead and delete everything out of this component and we’ll start fresh with the imports.
Let’s add the imports we’ll need to get this component working. At the top of the ImagePage.tsx file, add these import statements.
import { useState } from 'react'
import { MetaTags, useMutation, useQuery } from '@redwoodjs/web'
import { WidgetLoader, Widget } from 'react-cloudinary-upload-widget'
Code language: JavaScript (javascript)
Now let’s start filling in the component by adding the Cloudinary upload button.
const ImagePage = () => {
  const uploadFn = () => { }

  return (
    <>
      <MetaTags title="Image" description="Image page" />

      <h1>ImagePage</h1>
      <WidgetLoader />
      <Widget
        sources={['local', 'camera']}
        cloudName={`${cloudName}`}
        uploadPreset={`${uploadPresetName}`}
        buttonText={'Open'}
        style={{
          color: 'white',
          border: 'none',
          width: '120px',
          backgroundColor: 'green',
          borderRadius: '4px',
          height: '25px',
        }}
        folder={'alt_text_imgs'}
        onSuccess={uploadFn}
      />
    </>
  )
}
Code language: JavaScript (javascript)
The main piece to note here is the <Widget>. It has several props that we’ll pay attention to. The cloudName, uploadPresetName, and folder all come from your Cloudinary account. If you aren’t sure what your cloudName and uploadPresetName are, you can find them in your dashboard. The folder prop can be anything. If the folder doesn’t exist, then it’ll be automatically created.
The other thing to note is that the uploadFn is just a placeholder at this point, but we’ll add the code for it in just a bit. For now, go ahead and run the app with the following command:
$ yarn redwood dev
This will start up the front-end and back-end of the app and it should open your browser to localhost:8910. From there, you’ll need to navigate to localhost:8910/image. This is what you should see so far.

It’s just the upload button, but if you test it out it does let you upload images to Cloudinary. Now we can work on how the alt text will be generated.
One of the funny parts about software is that we get all of the data from user input. So to generate the alt text for each image, we’re going to get some input from our users. Let’s add a few fields to this component and a few states.
const ImagePage = () => {
  const [name, setName] = useState<string>("")
  const [description, setDescription] = useState<string>("")

  const uploadFn = () => { }

  return (
    <>
      <MetaTags title="Image" description="Image page" />

      <h1>ImagePage</h1>
      <WidgetLoader />
      <div>
        <label htmlFor="name">Name of the image:</label>
        <input name="name" type="text" onChange={e => setName(e.currentTarget.value)} />
      </div>
      <div>
        <label htmlFor="description">Description of the image:</label>
        <input name="description" type="text" onChange={e => setDescription(e.currentTarget.value)} />
      </div>
      <Widget
        sources={['local', 'camera']}
        cloudName={`${cloudName}`}
        uploadPreset={`${uploadPresetName}`}
        buttonText={'Open'}
        style={{
          color: 'white',
          border: 'none',
          width: '120px',
          backgroundColor: 'green',
          borderRadius: '4px',
          height: '25px',
        }}
        folder={'alt_text_imgs'}
        onSuccess={uploadFn}
      />
    </>
  )
}
Code language: JavaScript (javascript)
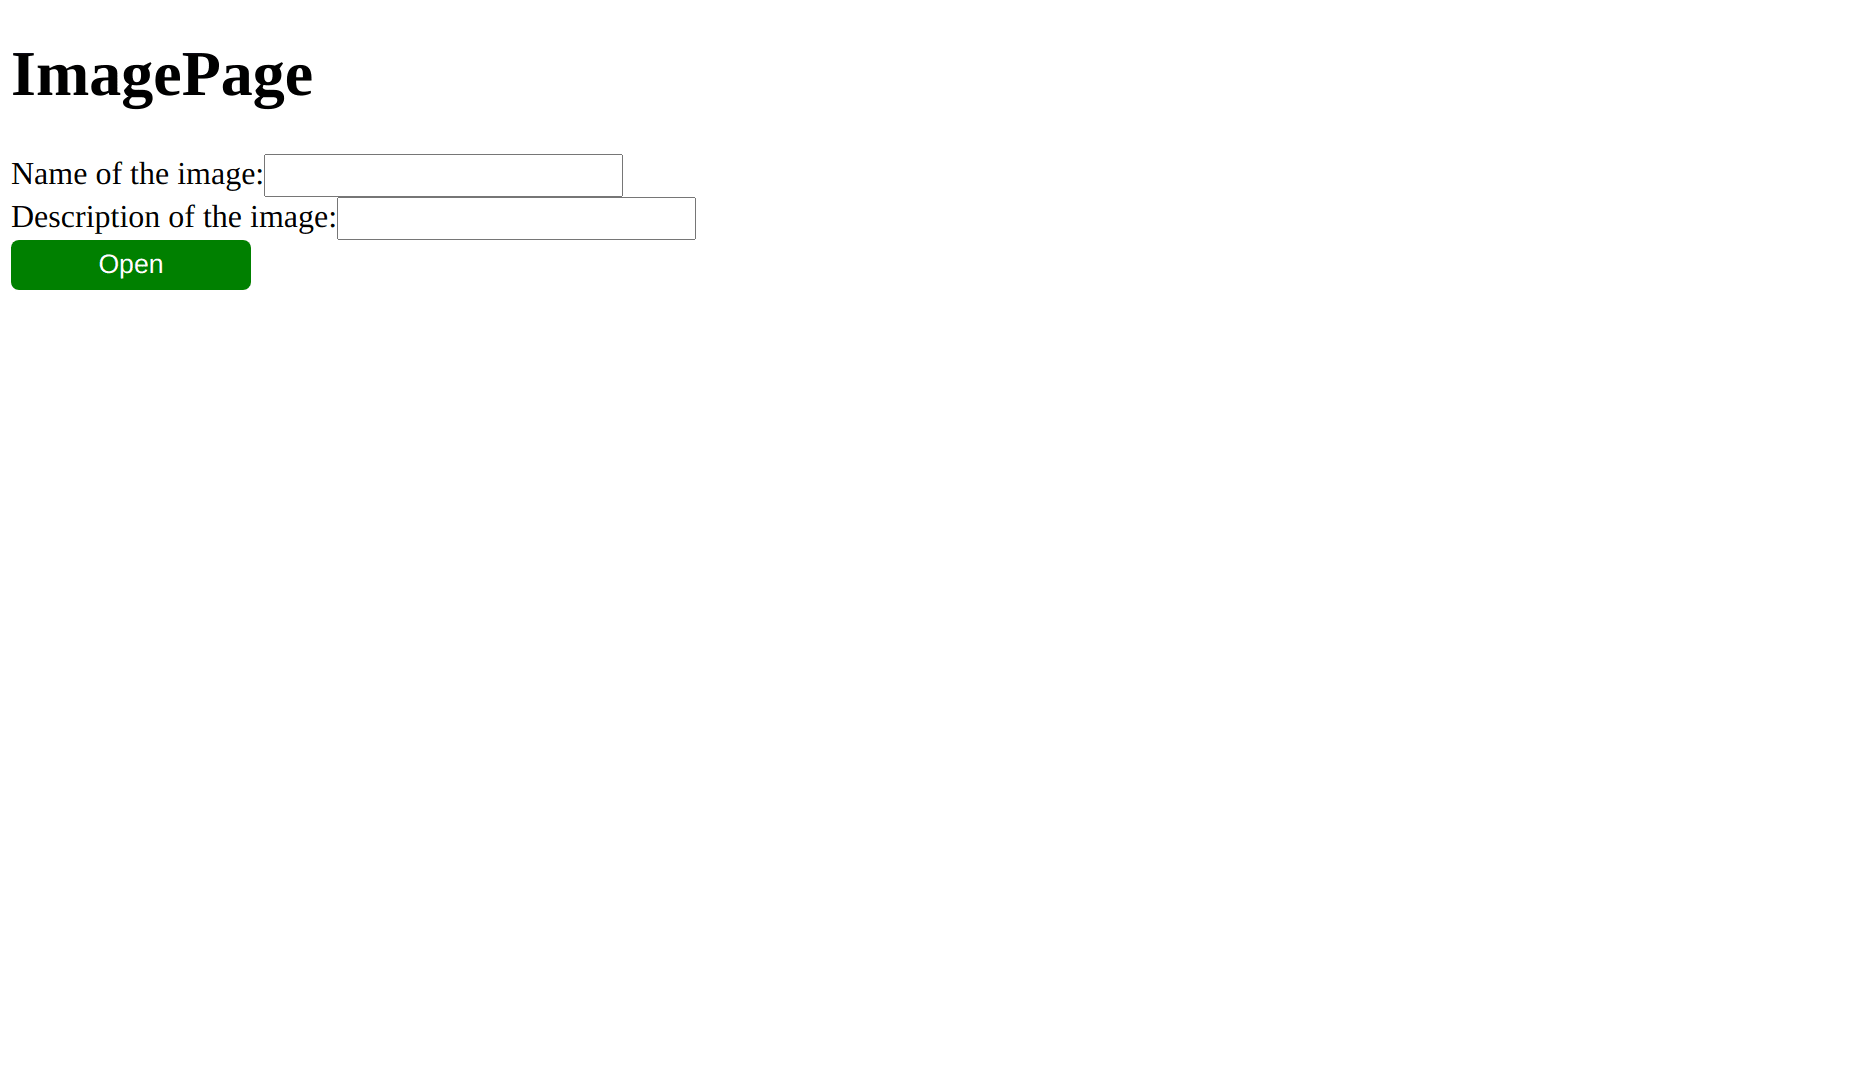
Here, we’ve added two states to store a name and a description for the image that we’ll use to make the alt text for each image we upload. You can see the input fields for these values right above the <Widget> element. These update the states whenever a user types something in the field.
Make sure the app is still running and if it’s not, run yarn redwood dev in your terminal. Now you should see something like this in the browser.

Now we’re ready to connect the upload functionality to our back-end. Whenever we upload an image, we want a new record created in the database that is associated with the user input we receive.
We’ll start by adding a GraphQL mutation right below all of the import statements.
const CREATE_IMAGE_MUTATION = gql`
  mutation CreateImageMutation($input: CreateImageInput!) {
    createImage(input: $input) {
      id
    }
  }
`
Code language: PHP (php)
This calls one of the resolvers on the back-end with the inputs the user enters. Now we’ll create the function we need in order to use this mutation. Inside the component, right above the states, add the following line.
const ImagePage = () => {
  // add the line below to the existing code
  const [createImage] = useMutation(CREATE_IMAGE_MUTATION)
  const [name, setName] = useState<string>("")
  const [description, setDescription] = useState<string>("")
Code language: JavaScript (javascript)
Next, we can use the createImage method to help finish off the uploadFn.
const uploadFn = (results: CloudinaryResult) => {
  const imageInfo = results.info

  const input = {
      name: name || imageInfo.original_filename,
      description: description,
      url: imageInfo.url
    }
  createImage({ variables: { input } })
}
Code language: JavaScript (javascript)
Before we explain the new code, take a look at the CloudinaryResult type on the results argument. We’re just taking advantage of having a TypeScript project and including a type definition for parts of the result we get from the Cloudinary upload result.
We need to add this definition right below the GraphQL mutation.
interface CloudinaryResult {
  info: {
    original_filename: string
    url: string
  }
}
Code language: CSS (css)
This includes some of the data we’ll take from the upload response that will be used for the alt text. Now let’s look back at the uploadFn. This is taking a combination of the state values and values from the upload response to create the input for the createImage mutation. Then we call that function and the record gets added to the database.
Go ahead and upload a few images with the inputs filled in so we’ll have some data to play with in a second. We only have one more piece of functionality before this app is finished!
We’ll need to add a GraphQL query to get the images we’ve uploaded. So right below the existing mutation, add the following code.
const GET_IMAGES = gql`
  query {
    images {
      name
      url
      description
    }
  }
`
Code language: JavaScript (javascript)
Then we’ll create the method we can call to get the image data. This will go inside the component, just above the mutation method.
const { data, loading } = useQuery(GET_IMAGES)
const [createImage] = useMutation(CREATE_IMAGE_MUTATION)
const [name, setName] = useState<string>("")
const [description, setDescription] = useState<string>("")
Code language: JavaScript (javascript)
We’re getting two values from this query, the data and the loading state of that data. The reason we get the loading state of the data is to render an element to tell the user the data hasn’t loaded yet. Once it is loaded, then we can render the images.
Right below the uploadFn we’re going to add a check to determine if we should show the loading message.
if (loading) {
  return <div>Loading...</div>
}
Code language: JavaScript (javascript)
That’s all for that! Now whenever the data is loading, the app won’t just crash on users. This is a good practice in any apps that you work on. With this in place, we can add the last bit to show the images. Add this code right below the <Widget> element.
<div style={{ display: 'block' }}>
  {data?.images &&
    data?.images.map(image => (
      <img
        key={image.name}
        style={{ padding: '24px', height: '100px', width: '100px' }}
        src={`${image.url}`}
        alt={`${image.name} - ${image.description}`}
      />
    ))
  }
</div>
Code language: HTML, XML (xml)
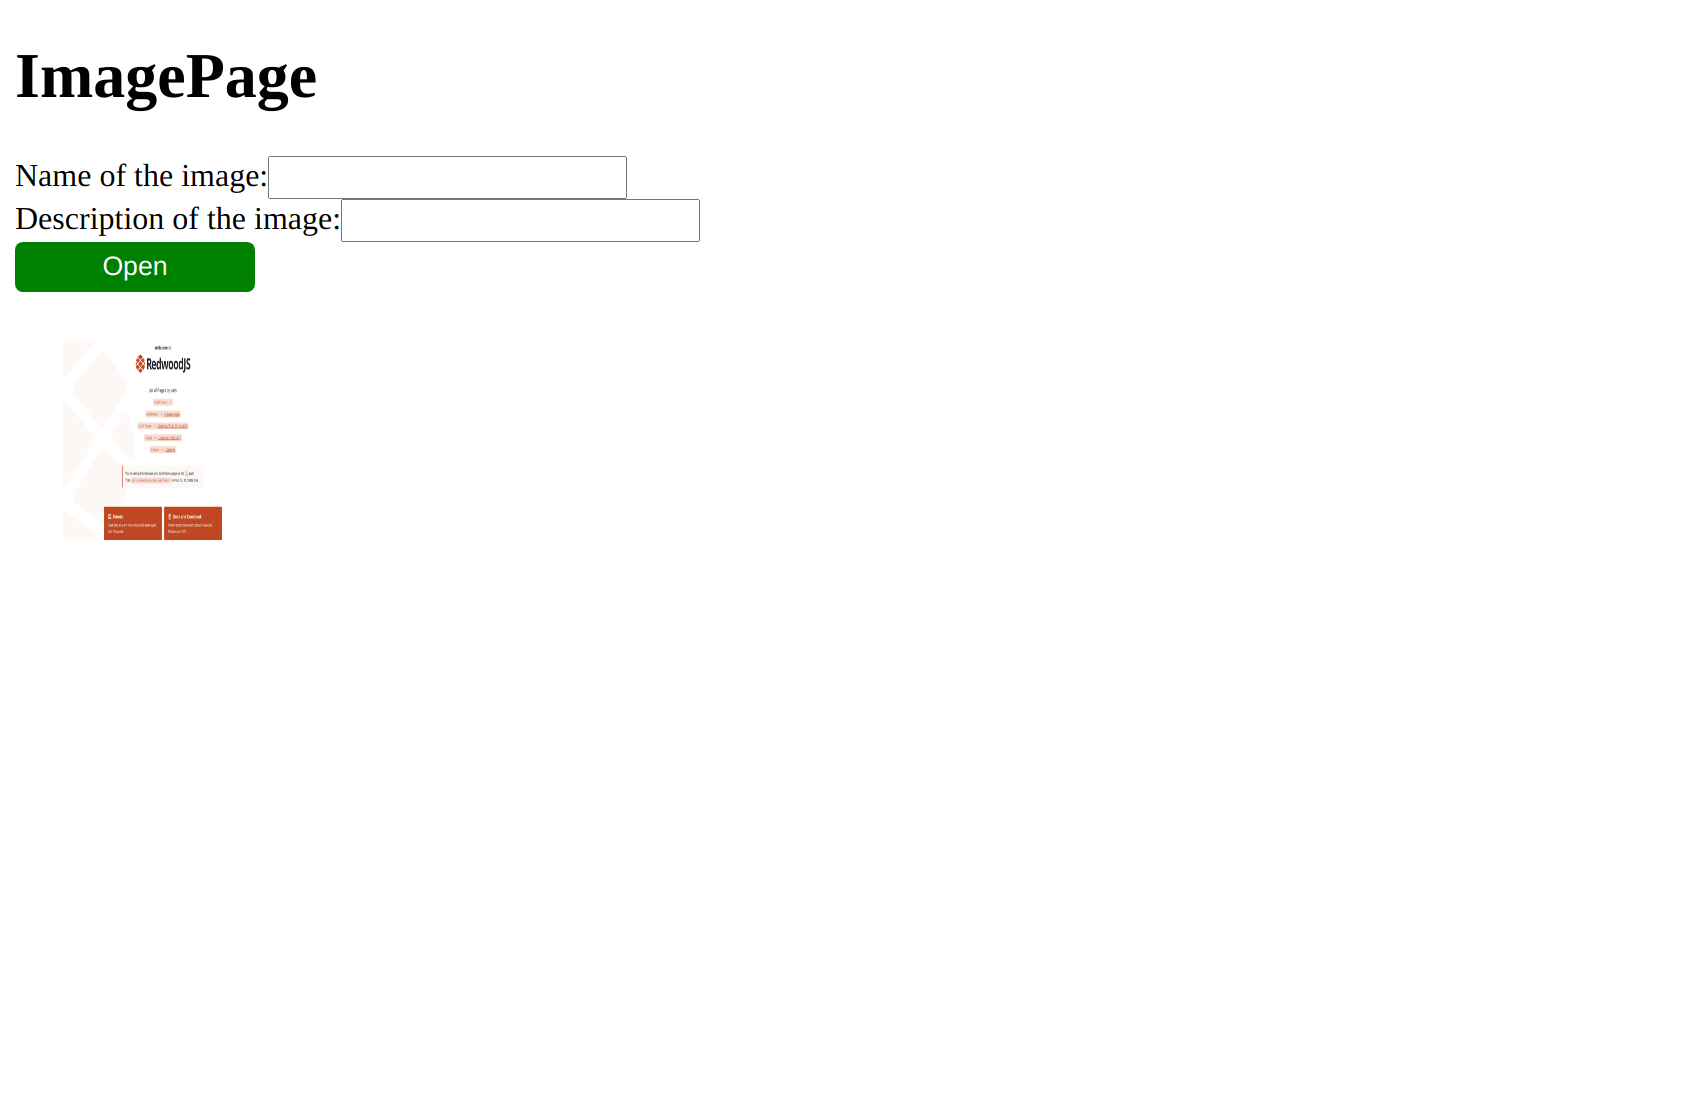
This will bring all of the images you’ve uploaded with the alt text already in place. If you run your app with yarn redwood dev, you should see something similar to this but with your own images.

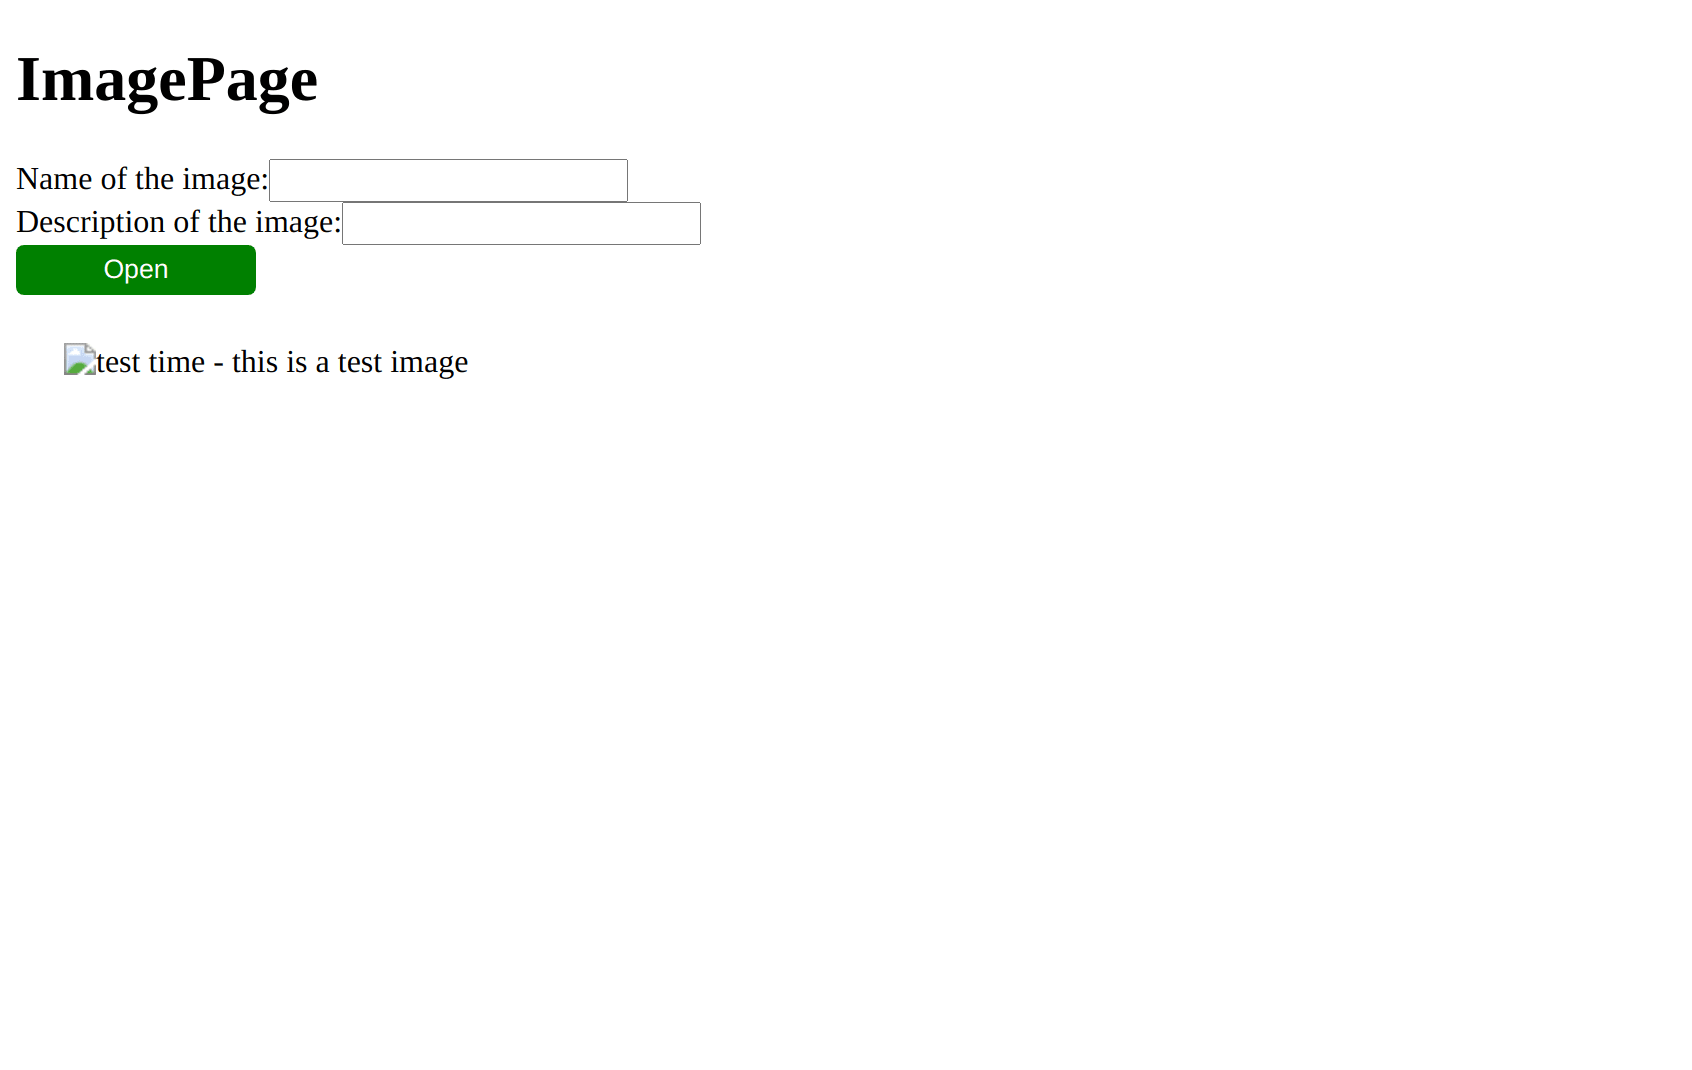
If you want to see what the alt text looks like, we can force a broken link in the src prop. Just change it a little like this: src={q${image.url}}
When you refresh the page, you should see something similar to this.

We’re finally finished! Now you can upload images and know that you always have alt text available so you don’t have to think of a description on the fly.
You can check out the full project in the alt-text-generator folder of this repo. Or you can check out the front-end in this Code Sandbox.
This is one of the ways to generate alt text for images in a way that might give you more accurate descriptions of an image than a machine learning model. Although you can use those too and see what kinds of funny results you get.
