Many apps you’ll encounter have images that you drag and drop in different locations for a number of reasons. It may help users reorganize their photo libraries or it can simplify a process. That’s why we’re going to build a front-end app to handle this type of drag and drop functionality.
We’re going to build a Vue app that lets us change the order of images using drag and drop and the images will come from your own Cloudinary account. By the time you finish, you’ll have a Vue app that calls the Cloudinary API for images and lets you move them around.
Make sure you have Vue installed globally first. You can check that you have it installed with the following command:
$ vue --version

@vue/cli 5.0.8
If you don’t have Vue installed, check out the instructions here. After this check, we can generate a new Vue project with this command:
$ vue create drag-and-drop

Vue CLI v5.0.8
? Please pick a preset: Default ([Vue 3] babel, eslint)
Code language: PHP (php)
Select the Vue 3 version because this is the most up-to-date version. Once the project has been set up, go to the drag-and-drop directory and briefly look through the files to get a sense of what we’re starting with. Go to src > components > HelloWorld.vue. This is the file we’re going to modify to implement the drag and drop functionality with the images we fetch from Cloudinary.
If you don’t already have a Cloudinary account, go set one up for free here. Upload a few images that you want to play with in this app. Then take note of your cloud name, API key, and API secret in the Dashboard. You’ll need these to fetch the images we’ll drag around. Make a .env file in the root of your project similar to this to hold those values:
# .env
CLOUDINARY_API_KEY=0428567402670
CLOUDINARY_API_SECRET=hg92hgn9u2ngi24i
CLOUDINARY_CLOUD_NAME=ojwgfro
Code language: PHP (php)
One last thing we need to do is install the packages we’ll be working with. Run the following command to do that:
npm i express cors axios vuedraggable
The reason we need some of these packages is that we’re going to make a tiny proxy app that makes the request to the Cloudinary API. You can’t call this API directly from the front-end because it would expose your API secret, allowing anyone to make requests to your Cloudinary account. So we’re going to start by making this proxy.
In the root of your project, add a new file called proxy.js and add the following code:
// proxy.js
const express = require('express');
const cors = require('cors');
const axios = require('axios');

const app = express();
const port = 3004;

app.use(cors());

app.get('/images', async (req, res) => {
    const results = await axios.get(
    `https://api.cloudinary.com/v1_1/${process.env.CLOUDINARY_CLOUD_NAME}/resources/image`,
      {
        headers: {
        Authorization: `Basic ${Buffer.from(
          process.env.CLOUDINARY_API_KEY +
          ":" +
          process.env.CLOUDINARY_API_SECRET
        ).toString("base64")}`,
        },
      }
    ).then((response) => {
        const { resources } = response.data;

        const allImgs = resources.map((resource) => ({
            url: resource.secure_url,
            title: resource.public_id,
        }));

        res.json({images: allImgs});
    });
});

app.listen(port, () => {
    console.log(`Proxy listening on port ${port}`);
});
Code language: JavaScript (javascript)
We start by importing a few packages and setting up the Express app. Then we create a GET endpoint that makes the Cloudinary API request and fetches the data we need. The Cloudinary API uses those credentials we got from the dashboard earlier. Then we handle the response and get the values we need from it to send to our Vue front-end.
To wrap up this proxy, we listen to the app on the defined port and print a message to the console so we know it’s working. That’s all we need to get our Cloudinary images. So let’s turn our attention to the front-end.
A new Vue app comes with a good amount of boilerplate and we’re going to take advantage of that. The only file we’ll need to edit is src > components > HelloWorld.vue. This will hold the code that fetches images from our proxy, render them, and let us drag them around. So open the HelloWorld.vue file and replace all of the contents with this code:
// HelloWorld.vue
<template>
  <div class="hello">
    <h1>{{ msg }}</h1>
    <draggable
      :list="images"
      item-key="title"
      @start="drag=true"
      @end="drag=false"
    >
      <template #item="{element}">
        <div>
          <img :src="element.url" width="150" height="150" />
        </div>
      </template>
    </draggable>
  </div>
</template>

<script>
import draggable from 'vuedraggable'
export default {
  name: 'HelloWorld',
  props: {
    msg: String
  },
  components: {
      draggable,
  },
  data() {
    return {
      drag: false,
      images: []
    }
  },
  methods: {
    async getImages() {
      await fetch("http://localhost:3004/images").then(async (data) => {
        const imageData = (await data.json()).images;
        this.images = imageData;
      });
    }
  },
  mounted() {
    this.getImages()
  }
}
</script>

<!-- Add "scoped" attribute to limit CSS to this component only -->
<style scoped>
h3 {
  margin: 40px 0 0;
}
ul {
  list-style-type: none;
  padding: 0;
}
li {
  display: inline-block;
  margin: 0 10px;
}
a {
  color: #42b983;
}
</style>
Code language: HTML, XML (xml)
We’ll start by walking through what’s going on in the <script> first and come back to the <template> in a bit. Everything in the <script> handles the logic, data, and functions that get called. We start by importing the draggable component from a package we installed earlier. Then we define the props for the HelloWorld component, which is some leftover from the boilerplate. This allows us to pass a msg to the component when it’s called in App.vue.
Next, we add draggable to components so that it will be accessible when we’re ready to render our images in the <template>. Then we set up the data the app will use. These are our state variables. drag is how we’ll keep track of when a specific element is being moved around and images is the array that will store the images we fetch from the Cloudinary API.
The methods contains all of the functions that we want to use in this component. We only have getImages here and it’s an async function that calls the proxy app we created. It returns the image data and updates the images state we declared. Next, there is the mounted lifecycle method. This method executes on the initial page load of a Vue app. We’re getting the images from the proxy each time this page is initially rendered.
That covers everything happening in the <script>. Now we can discuss the actual drag and drop implementation displayed to users.
Let’s look at the <template> at the top of the file to cover what gets rendered to the user. There are only 2 main elements: the <div> that displays the msg prop passed to the component and <draggable> which has a few props we need to set. First, we set the :list prop to our images state to loop through all of the images and make them draggable. We’re using :list instead of :model so that the order of images updates when they get moved.
Then we define the key as the image title for the elements we’re about to generate. Finally, we toggle the drag/drop state based on our drag state variable. Inside of <draggable>, there’s another <template> with the #item defined as element. This element is the current object from the images array. That’s how we’re able to display all of the images to the user.
Now run your app with and proxy with the following commands:
npm run serve # starts Vue app
node proxy.js # starts Express proxy
Code language: PHP (php)
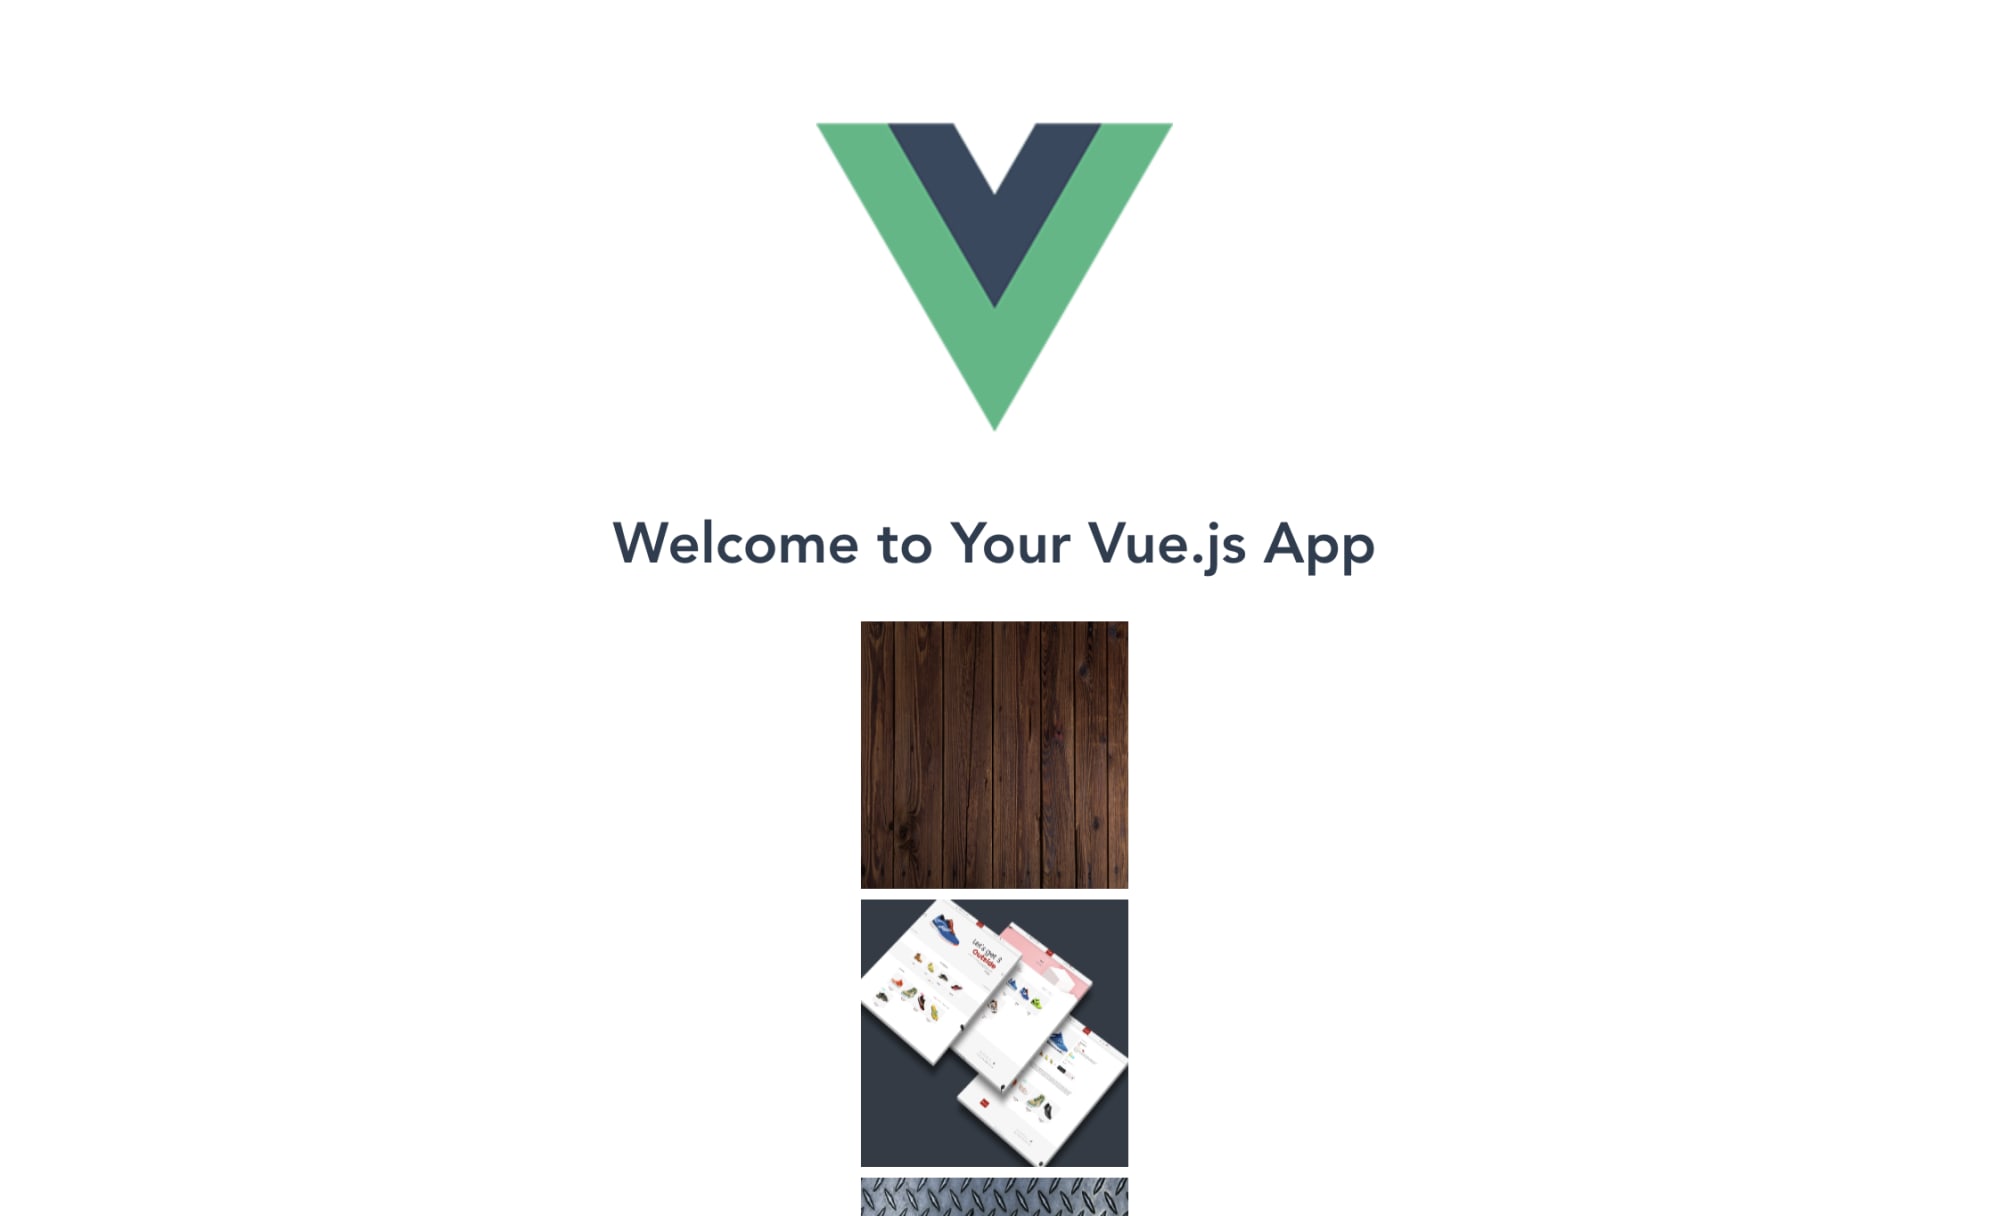
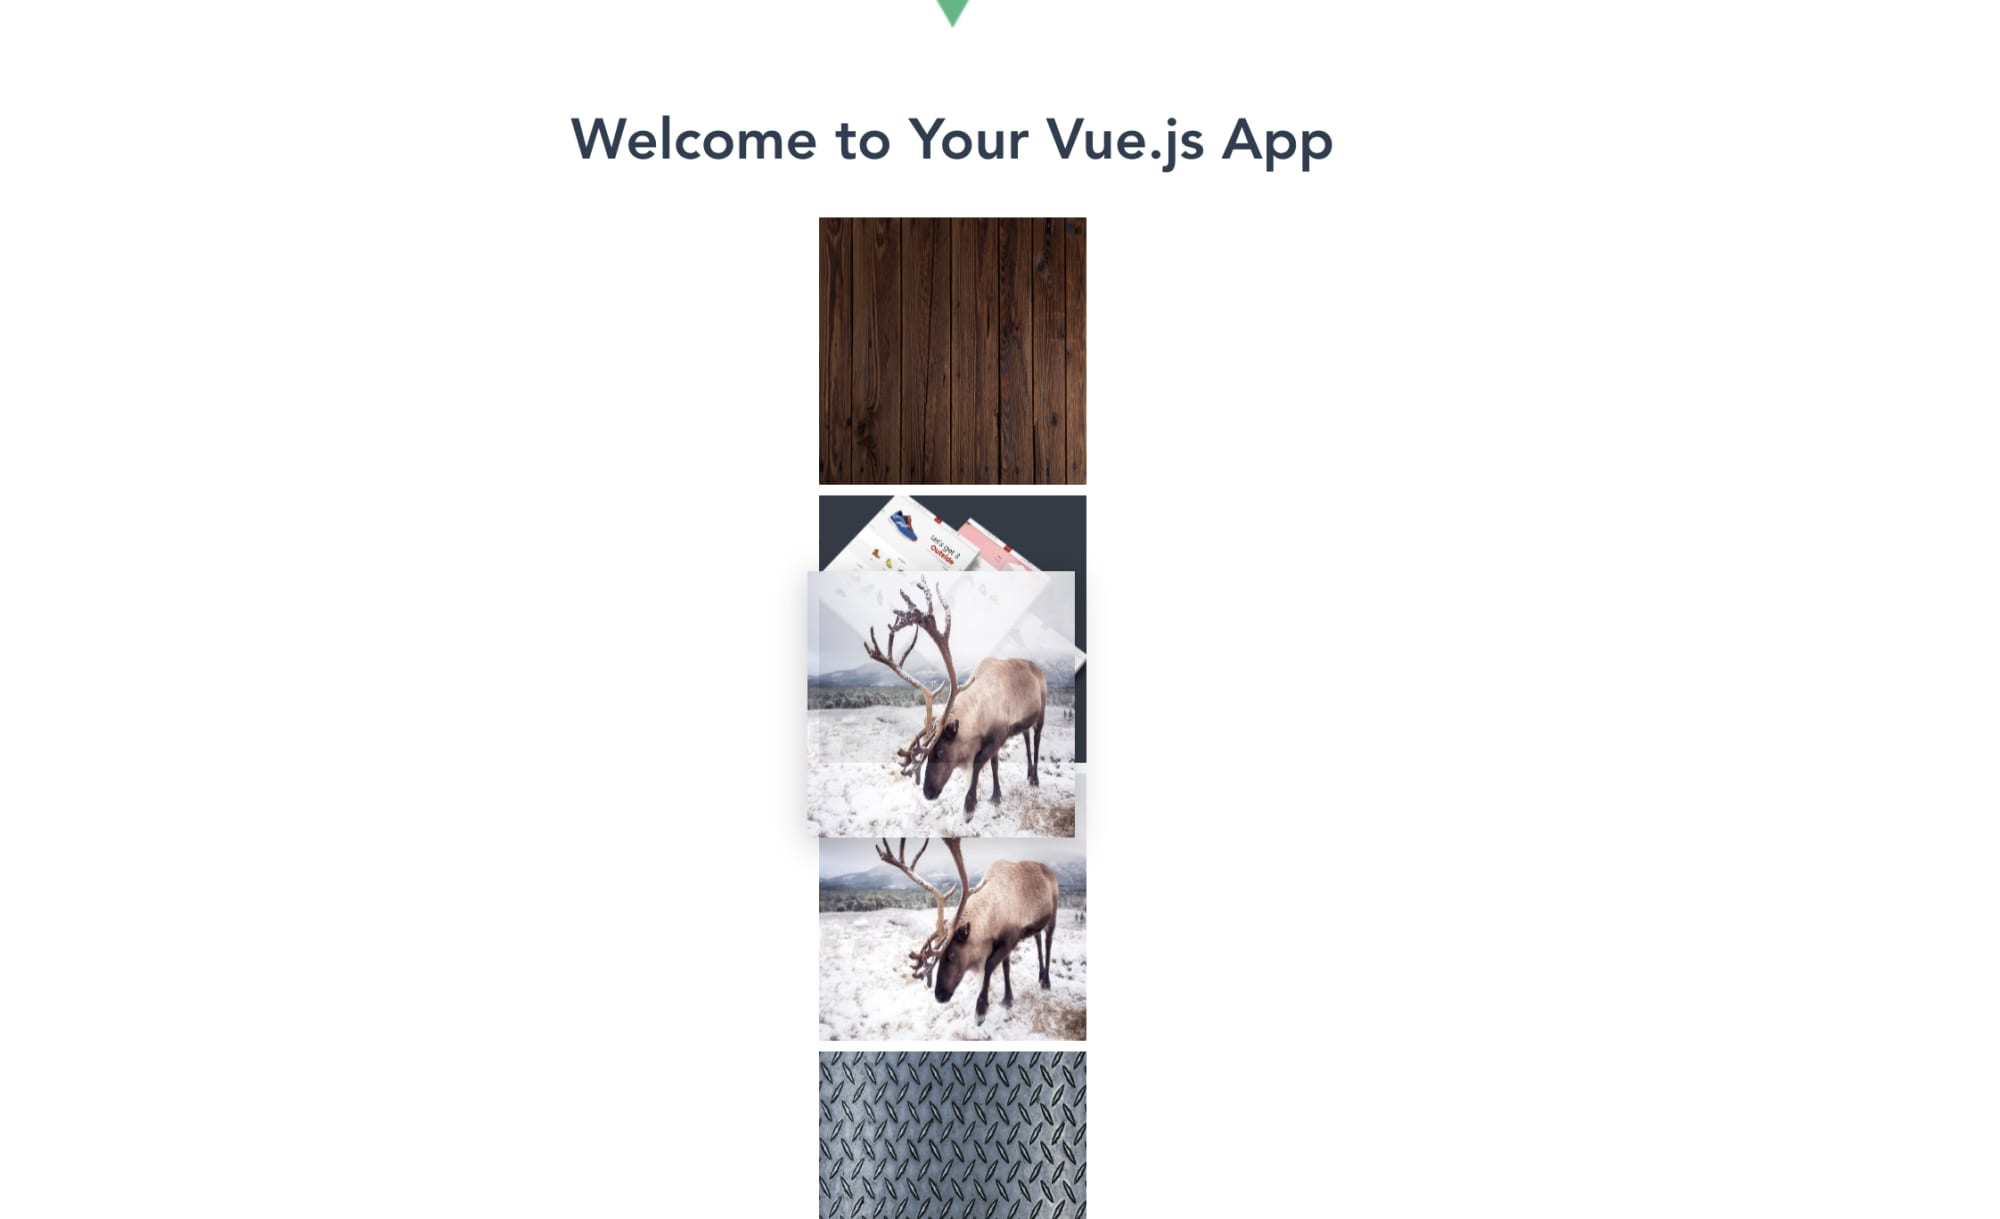
You should be able to see all of the images load and change their order.


This gives you some simple drag and drop functionality that you can expand on to fit any Vue app you’re working with.
You can take a look at the complete code in the camera-filter folder of this repo. Or you can check it out in this Code Sandbox.
It’s always good to learn about different frameworks and how they work compared to ones you’re more familiar with. Implementing drag and drop functionality is a common request for all kinds of applications. Learning how to do these kinds of common tasks in different frameworks or using different packages or approaches will help you grow into a more senior developer quickly.
