
Images of non-interactive maps can be embedded in web pages using static map APIs. Several mapping services have the static map feature, such as Google Maps and OpenStreetMap. The API service creates the map based on URL parameters sent through a standard http request and returns a map as an image displayed on a webpage.
OpenStreetMap is an open-source map of the world that provides geographic information and data.
This tutorial demonstrates how to utilize Geoapify and OpenStreetMap to implement static maps image in NuxtJS.
We completed the project in a CodeSandBox. Fork and run it to quickly get started.
Check out the complete source code here:
https://github.com/shosenwales/Nuxt-map-image
To follow along with this tutorial, you’ll need a basic understanding of JavaScript and NuxtJS
Let’s start by creating a new Nuxt project by running the following command:
npx create-nuxt-app <project-name>
Code language: HTML, XML (xml)
After successfully creating a project, we need to navigate into the project directory and start our development server by running the following command:
cd <project-name>
npm run dev
Code language: HTML, XML (xml)
Nuxt.js will start a development environment, which can be accessed at http://localhost:3000.
Now let’s head over to the Geoapify website to create a new account.
Click on the LOGIN / SIGN UP button to create an account.
Next, we need to create a project and grab our API key, which allows us to make calls to Geoapify APIs. Click on the Create a project button.
Next, we give our project a name.
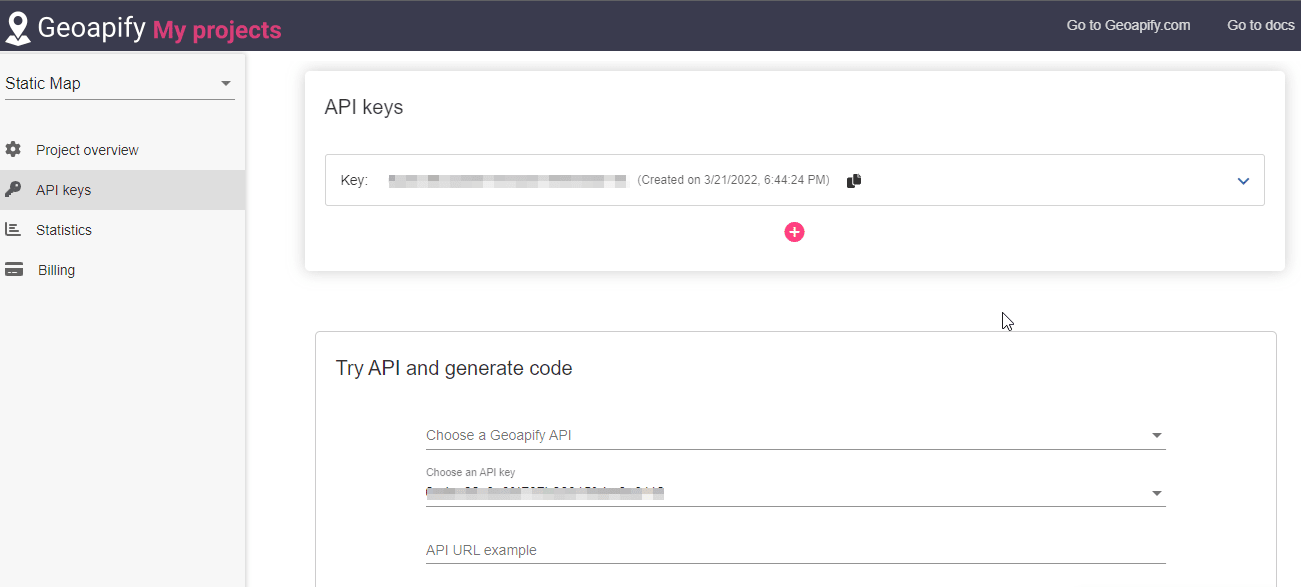
Finally, we get redirected to our dashboard, which contains our API Key.
It is important to note that we should keep our API Key a secret; we shouldn’t share it openly in our code.
With Geoapify entirely set up, we can now grab a map image of specified coordinates.
We’ll create a new file called MapImage.vue in the components directory and paste the following code snippet.
<template>
<div>
<h1>Map Image</h1>
<img
src="https://maps.geoapify.com/v1/staticmap?style=osm-bright-grey&width=600&height=400¢er=lonlat:3.394179,6.455057&zoom=6.8713&marker=lonlat:3.394179,6.455057;type:material;color:%231f63e6;size:x-large;icon:cloud;icontype:awesome;whitecircle:no&apiKey=d548c5ed24604be6a9dd0d989631f783"
/>
</div>
</template>
<script>
export default {
name: "MapImage",
data() {
return {}
},
};
</script>
Let’s take a closer look at the URL.
-
width=600&height=400specifies the maps width and height. -
zoom=14.8713specifies the zoom level of the map. -
marker=specifies where to place the marker on the map. -
type:materialspecifies the marker type. -
color:%231f63e6specifies the color of the marker. -
iconspecifies the type of icon displayed on the marker
For subsequent locations and use cases, we can modify these variables to display a different map.
We’ll import the MapImage component in our pages/index.vue by pasting the following code snippet.
    <template>
      <MapImage />
    </template>

    <script>
    export default {
      name: "IndexPage",
    };
    </script>
Code language: HTML, XML (xml)
Let’s open our browser, and we should see something similar to the image below.
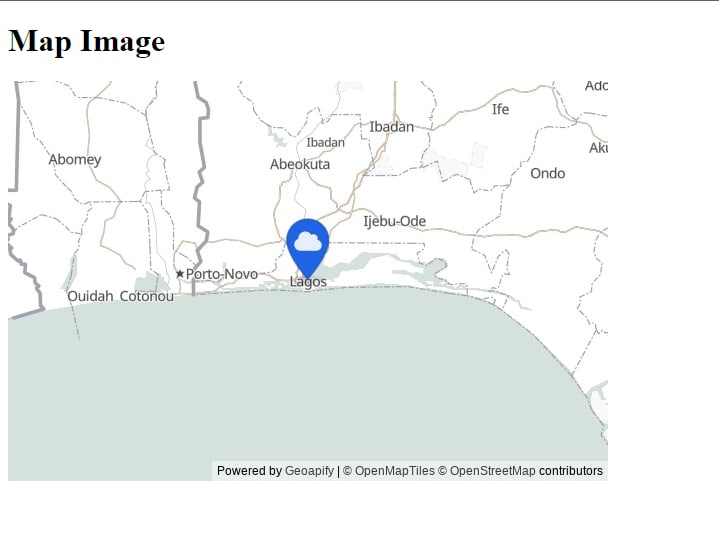
We get a map image of the coordinate we specified.
This article explains how to implement static maps image embedding with OpenStreetMap and Geoapify in Nuxt.js.