There are plenty of times we see something we don’t recognize out in the world. So, of course, we take a picture of it. Then we might show it to several people before Googling whatever we think it is in hopes of figuring out what we’re looking at.
In this tutorial, we’re going to mix a bit of machine learning with front-end and back-end development using a pre-trained model for image classification. A user will be able to upload an image on the front-end and get an image classification prediction back.
Let’s start by setting up a Django back-end. The reason I chose this over a JavaScript back-end is that Python has some great machine learning libraries. We’re not going to dive deep into training models because that could be a post of its own, but you will see how a pre-trained model can be used quickly.
First, create a folder called image-classifier. This will hold the client-side and server-side code and will be the root directory for the project.
We’re going to start by setting up the Django REST API we’ll call to classify any uploaded images. To do that, we’ll need to create a virtual environment to install and run all of the Python libraries we’ll work with. So open your terminal and navigate to the image-classifier directory and run the following commands:
$ python -m venv .venv
$ source .venv/bin/activate
Now that we have an active virtual environment, we can move on to creating a requirements.txt file in the root directory. This is where we’ll put all of the project dependencies before we install them. Open this new file and add the following dependency names:
django
djangorestframework
django-cors-headers
keras
numpy
tensorflow
Then we can install all of these dependencies with the following command:
$ pip install -r requirements.txt
With all of the dependencies installed, let’s run some commands to get this API ready to go.
Since all of the server-side code will be stored in its own folder, we can start by running a command to create the Django app in a new sub-folder called server:
$ django-admin startproject server
This command creates a new Django project. Next, we can create an app inside of this project called classifier. Navigate to the new server directory in a terminal and run the following command:
$ python manage.py startapp classifier
This gives us a new sub-directory inside the server folder with a lot of new files to handle the views and models for the image classifier functionality we’ll be creating. Since this is a new app in our Django project, we need to register it in the settings.py file. Go to the inner server folder and open this settings.py file and add two apps to the end of the list of INSTALLED_APPS:
...
INSTALLED_APPS = [
    'django.contrib.admin',
    'django.contrib.auth',
    'django.contrib.contenttypes',
    'django.contrib.sessions',
    'django.contrib.messages',
    'django.contrib.staticfiles',
    'rest_framework',
    'corsheaders',
    'classifier'
]
...
Code language: JavaScript (javascript)
This lets Django know we’re using the Django Rest Framework (DRF) and that we have a custom app to use as well. We also need to update a few other things in this settings.py file so we don’t run into CORS errors when we connect the front-end. So find the MIDDLEWARE array and add the last line here:
...
MIDDLEWARE = [
    'django.middleware.security.SecurityMiddleware',
    'django.contrib.sessions.middleware.SessionMiddleware',
    'django.middleware.common.CommonMiddleware',
    'django.middleware.csrf.CsrfViewMiddleware',
    'django.contrib.auth.middleware.AuthenticationMiddleware',
    'django.contrib.messages.middleware.MessageMiddleware',
    'django.middleware.clickjacking.XFrameOptionsMiddleware',
    'corsheaders.middleware.CorsMiddleware',
]
...
Code language: JavaScript (javascript)
Then at the very bottom of the settings.py file, add this new array to allow the front-end access to the API we’ll build:
...
CORS_ALLOWED_ORIGINS = [
    'http://localhost:3000',
]
Code language: JavaScript (javascript)
Now that we have all of the settings in place, we can apply a migration to initialize a SQLite database and create the superuser for the project. You can find the details for the database in the settings.py file we just modified in the DATABASES object.
To do the migrate and create the superuser, go to the server directory in the image-classifier directory in a terminal and run the following commands:
$ python manage.py migrate
$ python manage.py createsuperuser
The migrate command will generate some SQLite files in your server directory. The superuser command will prompt you for a username, email address, and password. You can skip the email address and bypass the password validation if you’re developing locally, but you should definitely have those set if you plan on deploying to a different environment later.
This is a good point to stop and make sure that the Django project will run. So in your terminal, navigate to image-classifier/server and run the following command:
$ python manage.py runserver 8001
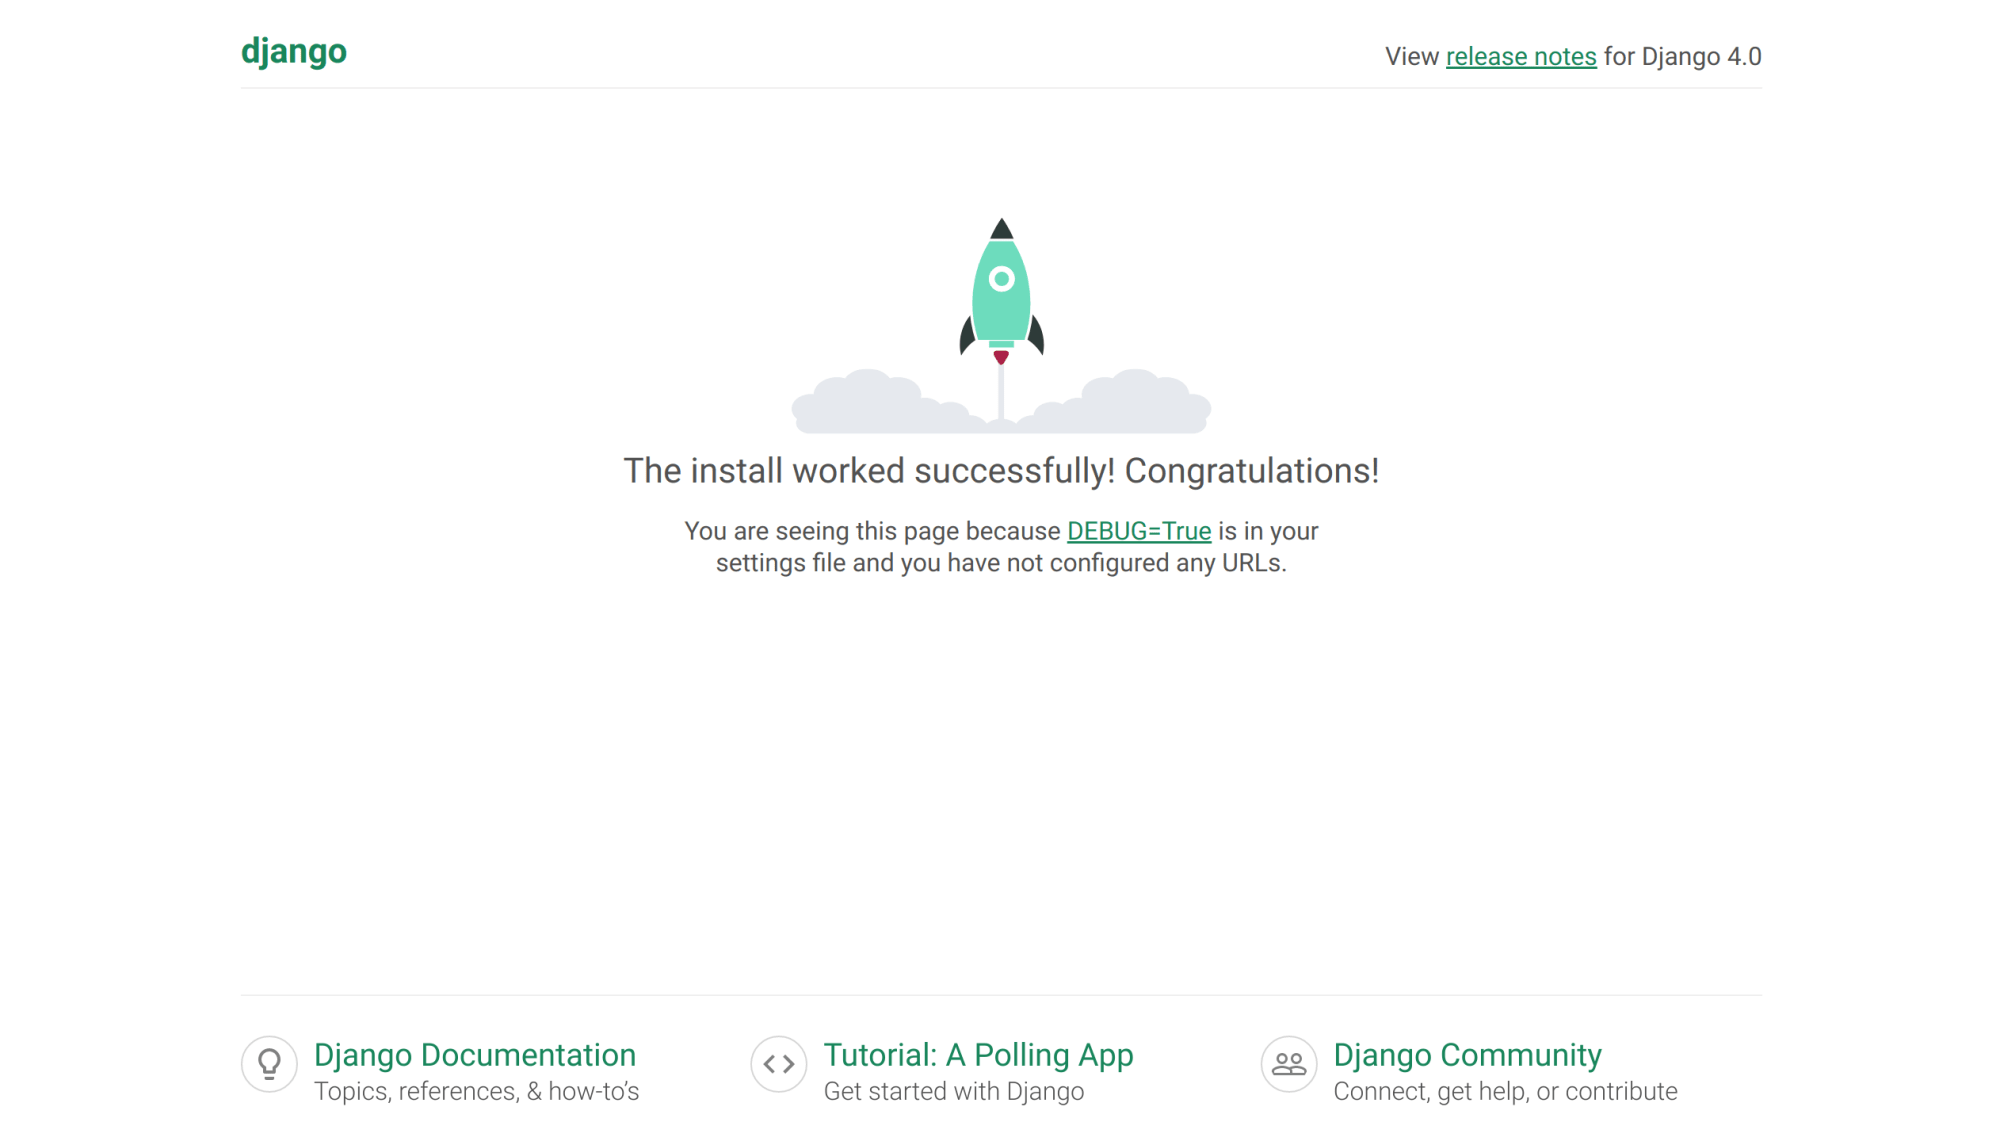
This will start up the project on port 8001 and you should see this default success page.

Now that we have confirmation that the project works, let’s start building the API.
Let’s start by making a model for the classifier to describe the data we’re expecting. Open the classifier/models.py file and add the following code to define the model for our classifier:
from django.db import models

class Classifier(models.Model):
    image_url = models.CharField(max_length=1000)
    classification = models.CharField(max_length=50)
This model lets us include an image URL which we’ll get as soon as the user uploads an image to Cloudinary through the front-end widget and it will have the predicted classification of the image.
One of the best things about Django is the admin panel because it lets us see all of the things we’ve defined in the project. To ensure that we can access this model from the admin panel, we need to register this model with Django in the classifier/admin.py file. So open that file and add the following code:
from django.contrib import admin
from .models import Classifier

admin.site.register(Classifier)
Code language: JavaScript (javascript)
Now that this new model has been registered, we need to make a migration for this change to be reflected in the database. So we’ll run a couple of commands to do this:
$ python3 manage.py makemigrations
$ python3 manage.py migrate
This will create a new migration file and then actually perform the migration. That means the table schema has been updated to include a Classifier table along with two columns we defined in the model.
With a newly defined and migrated model, we can start working with the best part of DRF, serializers.
Serializers are responsible for converting Python models to JSON and taking JSON and converting it to Python models. This might sound trivial, but that can be pretty challenging with DRF when you start handling more complex requests and responses.
We’ll need to write a custom serializer for the classifier model. Inside the classifier folder, add a new file named serializers.py and write the following code in it:
from rest_framework import serializers
from .models import Classifier

class ClassifierSerializer(serializers.ModelSerializer):
    image_url = serializers.CharField(max_length=1000)
    classification = serializers.CharField(max_length=50)

    class Meta:
        model = Classifier
        fields = ('__all__')
This takes our model and serializes it in a way that can be consumed in the API. Now that we have the data concerns wrapped up, let’s turn our attention to the API.
Let’s open the classifier/views.py file and create a class with a POST method to handle user image uploads:
from rest_framework.views import APIView
from rest_framework.response import Response
from rest_framework import status
from .serializers import ClassifierSerializer

class ClassifierViews(APIView):
    def post(self, request):
        serializer = ClassifierSerializer(data=request.data)

        if serializer.is_valid():

            # Machine learning model goes here to get the real classification label

            serializer.classification = 'puddle'
            serializer.save()

            return Response({'status': 'success', 'data': serializer.data}, status=status.HTTP_200_OK)
        else:
            return Response({'status': 'error', 'data': serializer.errors}, status.HTTP_BAD_REQUEST)
This is the base of what we’ll add our machine learning model to. Let’s walk through this code first. In the post method, we create a serializer object from the request.data that’s passed from the front-end. Since the user is only uploading the image, we’ll have to use our machine learning model to get the classification value to make our serializer valid. For now, we have the puddle placeholder for this.
Next, we check if the serializer is valid and if it is, we go ahead and save this classified image and its label to the database. Once the record is saved, we return the data in a response to the front-end along with the correct status code and message. If there’s something wrong with the serializer, we return an error to the front-end.
The next step is adding an endpoint to use this post method. To do this, we need to add a new line to the urlpatterns array in the server/server/urls.py file. So open that file and add the last line to that urlpatterns array:
from django.contrib import admin
from django.urls import path, include

urlpatterns = [
    path('admin/', admin.site.urls),
    path('api/', include('classifier.urls'))
]
Code language: JavaScript (javascript)
With this endpoint in place, we just have a few more things to add to the classifier app. In the classifier directory, make a new file called urls.py and add this code:
from django.urls import path
from .views import ClassifierViews

urlpatterns = [
    path('classifier/', ClassifierViews.as_view())
]
Code language: JavaScript (javascript)
The path method takes a couple of arguments to define the sub-path where this view should be accessible and it takes the class name we make in the views.py file to process requests users send.
Alright! Now we can run the app with the following command and test out the API:
$ python manage.py runserver 8001
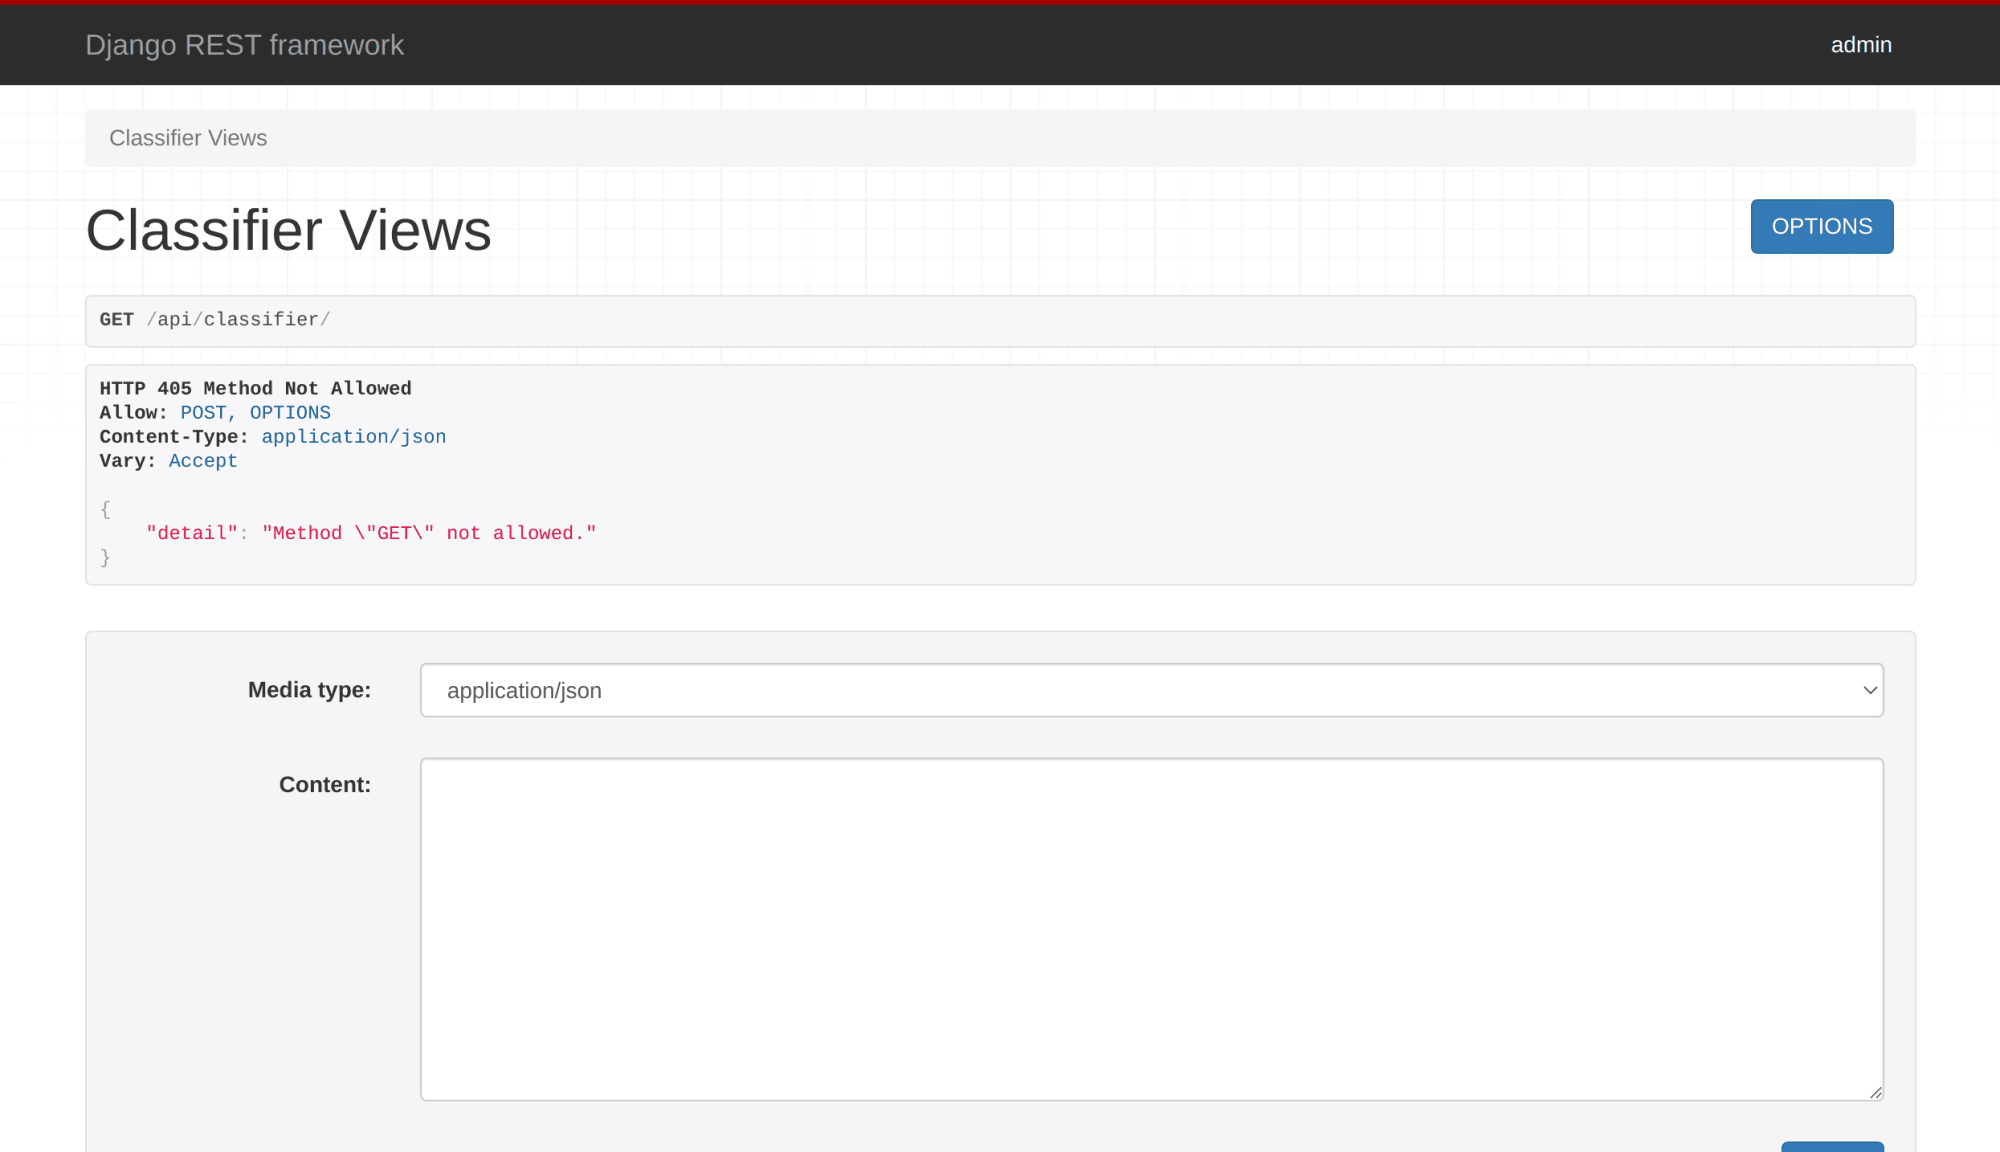
Then navigate to the api/classifier route in the browser and you should see a page like this:

Don’t worry about it saying the GET method isn’t allowed. That just means we don’t have an implementation for that at the moment. Try adding a classifier record by writing the following JSON in the Content field just to test out the API:
{
    "image_url": "https://test.com/cat.jpg",
    "classification": "bowl"
}
Code language: JSON / JSON with Comments (json)
When you submit this post request, you should see a success message on the page like this.

We have this endpoint working so now we just have to add the machine learning model to classify the images we upload.
Open up the views.py file in the classifier folder. We’re going to replace that comment about the machine learning model now. First, we need to import a few more libraries. So add the following lines to your import statement list:
...
from keras.applications.vgg16 import VGG16, preprocess_input,decode_predictions
from keras.preprocessing import image
import numpy as np
import wget
import os
...
Code language: JavaScript (javascript)
Now that we have all of the libraries we need, it’s time to finally implement the classifier model. Using a pre-trained model is the easiest way to make the image classifier so we don’t have to do machine learning engineering for this. We’re going to do a big update to the code inside the if-statement in our file. So update your code with the following:
if serializer.is_valid():
    model = VGG16(weights='imagenet')

    # Need to download the image file for the classifier to work
    image_filename = wget.download(serializer.validated_data['image_url'])

    #image loaded in PIL (Python Imaging Library)
    img = image.load_img(image_filename,color_mode='rgb', target_size=(224, 224))

    # Converts a PIL Image to 3D Numy Array
    x = image.img_to_array(img)

    # Adding the fouth dimension, for number of images
    x = np.expand_dims(x, axis=0)

    x = preprocess_input(x)

    features = model.predict(x)

    predictions = decode_predictions(features)[0]
    predictions.sort(key = lambda x: x[2])

    predicted_classification = predictions[-1][1]

    serializer.validated_data['classification'] = predicted_classification

    serializer.save()

    # Delete the image file so we don't crowd the project directory
    os.remove(image_filename)

    return Response({'status': 'success', 'data': serializer.data}, status=status.HTTP_200_OK)
Code language: PHP (php)
Let’s walk through this code. First, we make our model by using the VGG16 pre-trained model from the Keras library. Next, we need to download the image from the URL that users submit. This is so the model can access the raw binary data of the image. Then we do some data transformations to the image to get it into the correct format for the image to process.
After that, we get the features from the image that the model will use to make its predictions. Then we get the top 5 potential classification labels for the image. The raw data will look something like this:
[[('n02123597', 'Siamese_cat', 0.4564548), ('n02124075', 'Egyptian_cat', 0.29191914), ('n02123045', 'tabby', 0.045494787), ('n02123159', 'tiger_cat', 0.018867875), ('n02127052', 'lynx', 0.01380215)]]
Code language: JSON / JSON with Comments (json)
That’s why we get the array with the tuples and sort them so that we can parse out the most likely classification for the uploaded image. Next, we update the serializer data with that label and save the image and classification to the database. Lastly, we delete the downloaded image from the project and return the image and label to the front-end in the response.
The hardest part is done now! Getting the back-end set up and making sure the image classifier works was the most tedious part. Now we can move to the front-end and create a quick image uploader in React using the Cloudinary widget.
Go to the root image-classifier directory and run the following command to make the React project:
$ npx create-react-app client
This will create a new sub-directory called client that will have all of the files we need to build this front-end. There are a few packages we need to install to use the Cloudinary upload widget. Navigate to the client folder in your terminal and run the following command:
$ yarn add react-cloudinary-upload-widget axios
Now we can go to the App.js file and delete everything to start fresh. First, we’ll add these imports and the component we’ll export:
import { WidgetLoader, Widget } from 'react-cloudinary-upload-widget';
import { useState } from 'react';
import axios from 'axios';

function App() {

}

export default App
Code language: JavaScript (javascript)
Inside of the App component, we’ll need a few states and a helper function. So go ahead and add these inside of the component:
function App() {
  const [classification, setClassification] = useState('')
  const [imageUrl, setImageUrl] = useState()

  function getImageLabel(results) {
    setImageUrl(results.info.url)

    const data = {
      image_url: results.info.url,
      classification: 'placeholder',
    }

    axios.post('http://127.0.0.1:8001/api/classifier/', data)
    .then(response => {
      setClassification(response.data.data.classification)
    })
  }
}
Code language: JavaScript (javascript)
First, we set a couple of states so that we can display these values to the user as they upload images and we return predictions. Next, we make the getImageLabel function which will take the results from the Cloudinary upload to get the image URL, put the required data in the right format, and then it makes the POST request to the back-end and returns the classification label.
There are only a couple of things left for us to do now. Let’s add the uploader widget to the component.
You’ll need a Cloudinary account to use this widget and you can sign up for one for free here. Make sure you note what your cloudName and uploadPreset values are. You’ll need them to upload the images and get the URL to send to the back-end. Below the getImageLabel function, let’s add a return statement with the following code:
return (
    <div style={{ margin: '24px' }}>
      <WidgetLoader />
      <Widget
        sources={['local', 'camera']}
        cloudName={'your_cloud_name'}
        uploadPreset={'your_upload_preset'}
        buttonText={'Upload Image'}
        style={{
          color: 'white',
          border: 'none',
          width: '120px',
          backgroundColor: 'green',
          borderRadius: '4px',
          height: '25px',
        }}
        folder={'images_to_classify'}
        onSuccess={getImageLabel}
      />
    </div>
)
Code language: PHP (php)
Navigate to the client directory in your terminal and start the app up with yarn start. You should just see a button like the one below on your page. Clicking this will bring up the whole widget where you can choose the image, whether or not to crop it, and a number of other options.

The last thing we need to do is display the image and its label once the classification is returned from the back-end.
In the return statement, just below the Widget element, add this conditional render:
{
    classification !== '' &&
    <>
        <h2>{classification}</h2>
        <img src={imageUrl} height={250} width={250} alt='uploaded by user' />
    </>
}
Code language: JavaScript (javascript)
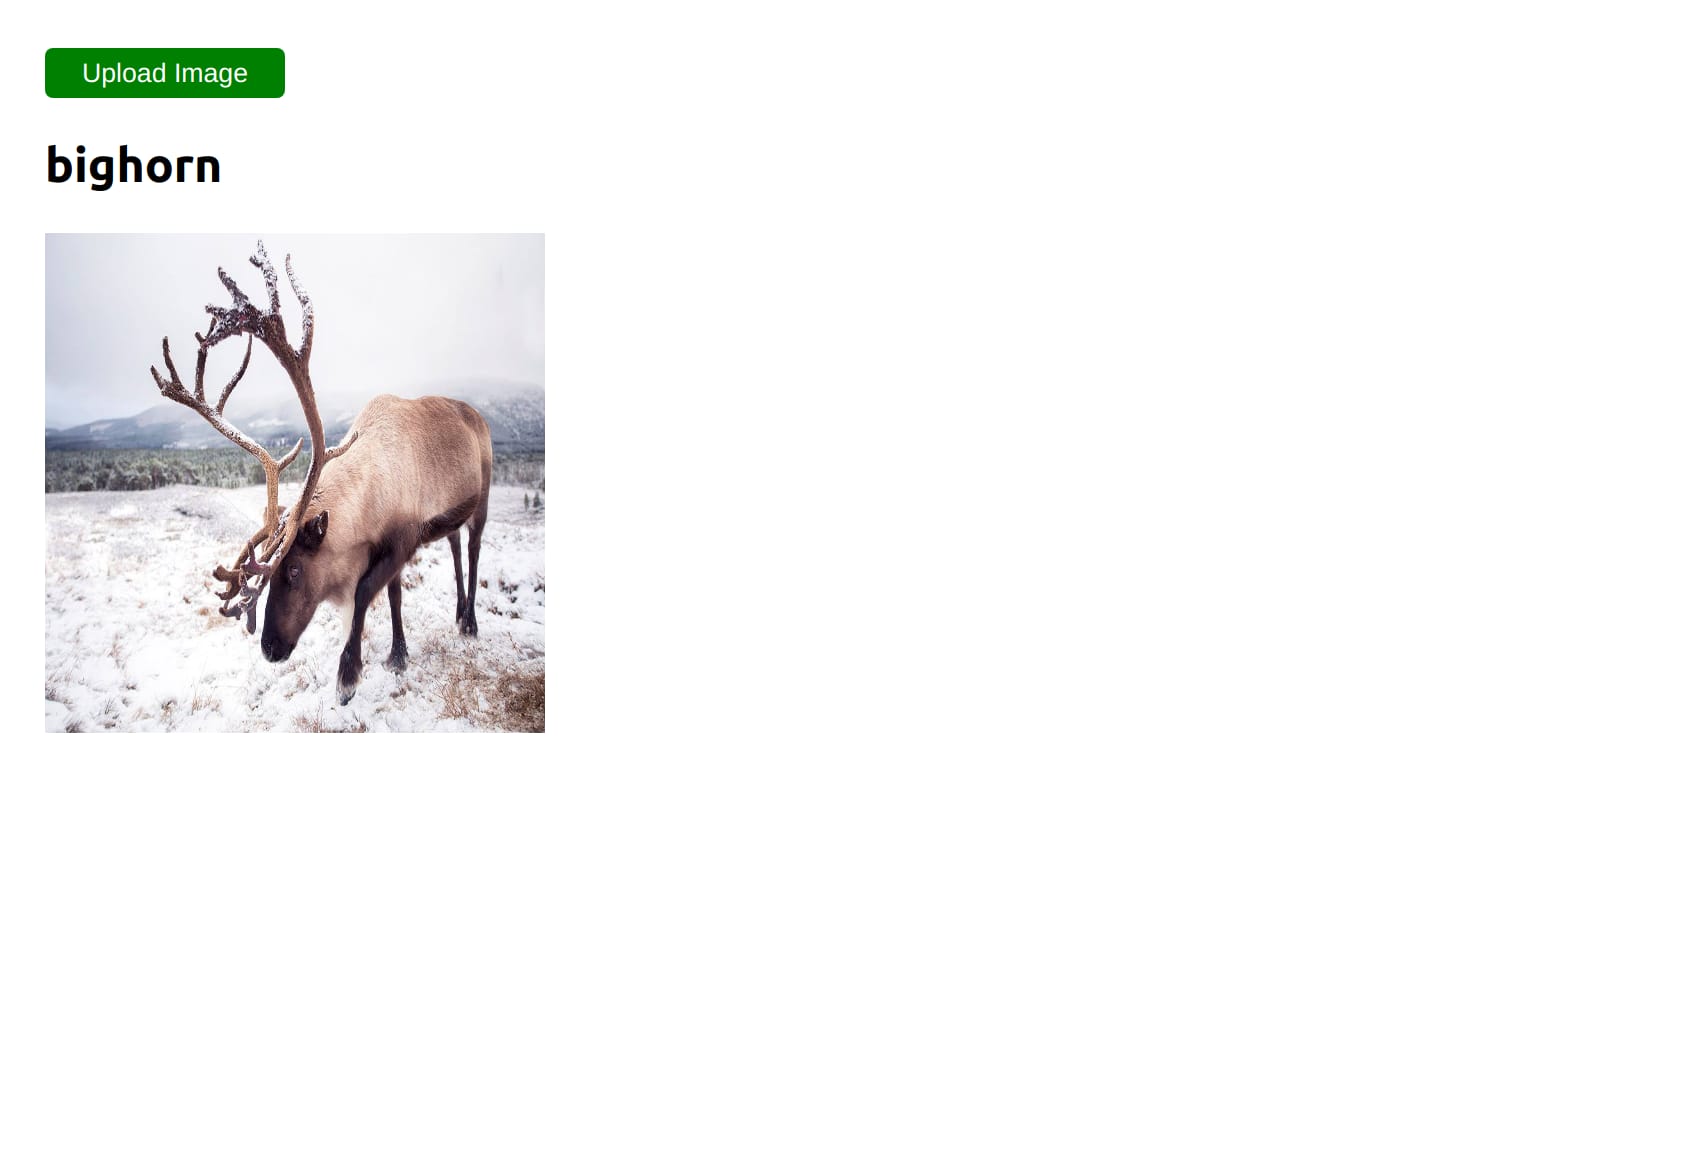
We’ll only display the image and classification label when there is a classification set in the state. Go ahead and upload an image and you should see the image and returned classification like below!

You can find the complete code in this repo. You can also check out the app in this Code Sandbox.
<CodeSandBox title=“vigilant-paper-wuhood” id=“vigilant-paper-wuhood” />
Machine learning gets mixed in with web development like this pretty often. Usually, there’s a team of ML engineers working hard to create an accurate and fast model and we get the fun part of adding it to our existing code. Hopefully, this helped shed some light on why teams choose back-end languages other than JavaScript. Sometimes they just have the functionality you need.
