Markdown is widely preferred as a means to create content. It provides a flexible system to make rich content while maintaining the simplicity of entering plain text.
An additional benefit of writing in Markdown is the ability to specify Markdown document properties, and data, in the Markdown frontmatter.
Frontmatter is a set of key-value pairs in a block, stated at the top of a Markdown document to contain the document’s metadata.
Blog posts often contain a banner or cover image, specified in some way in the blog content. In Gatsby.js powered blogs, this image can be queried with Graphql from any image source.
Having this image specified in the Markdown frontmatter would provide a better experience. A better solution, however, is to have this image optimized and transformed to a gatsby-image compatible image object with fluid and fixed types.
In this article, we will discuss how to utilize the gatsby-transformer-cloudinary plugin to source images on Cloudinary with an ID specified in the Markdown frontmatter of a Gatsby.js blog post. This image will be transformed into a gatsby-image compatible image object with fluid and fixed properties, right in the Markdown frontmatter.
We completed this project in a Codesandbox. You can fork it to see the project live. Once you fork it, you are required to specify your Cloudinary account credentials. These include your Cloud name, API key, and API secret as environment variables in a .env file (which you’ll create) in the root directory of the project. See .env.example in the root directory of the project for the required environment variables.
You can create an account on Cloudinary to obtain the credentials.
Cloudinary account information is required to upload local images on Cloudinary. But, if you don’t need to upload images to Cloudinary, you don’t need to specify the Cloudinary credentials nor specify an upload folder in the plugin configuration.
For this jam, we are implementing a feature in an existing Gatsby.js blog. You can use your blog or create a new blog using the Gatsby blog starter. We created a bare-bones Gatsby.js blog in a Codesandbox. You can fork it to get started. The starter contains:
- Installed dependencies which include Chakra-ui for styling, and gatsby-transformer-remark to create file nodes for Markdown files.
- Gatsby.js plugins configuration in gatsby-config.js .
- Gatsby-node code to automatically generate pages for Markdown files.
- Minimalistic layout setup in src/components/layout.js.
- Templates for blog post pages in src/templates/blog-template.js.
- Example blog posts in Markdown located in src/blog-posts.
Here’s the starter Codesandbox below
You need to specify your Cloudinary account information as environment variables in a .env file to use this blog starter. See .env.example for a sample setup.
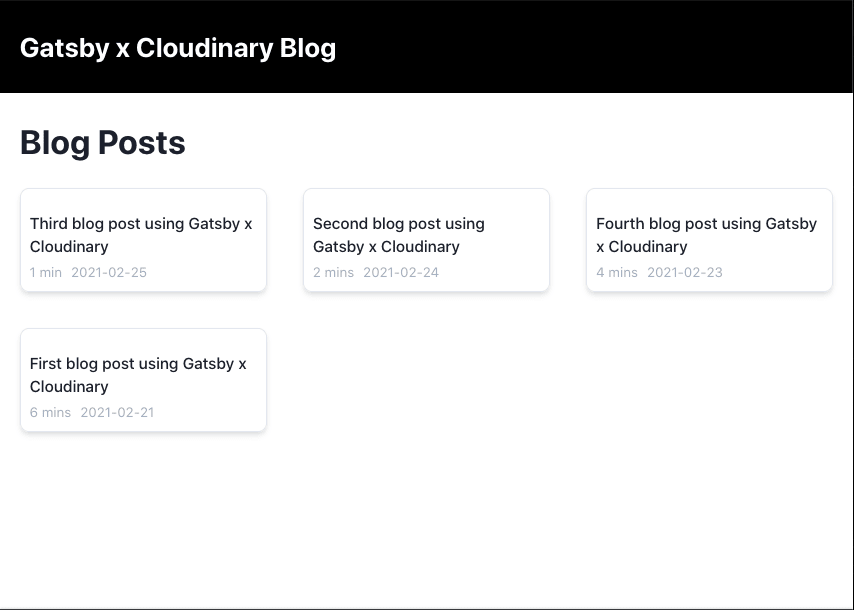
The current bare blog starter looks like this:

Gatsby-transformer cloudinary is a transformer plugin for Gatsby.js that creates Cloudinary asset nodes for images in a Gatsby project. Local image files are uploaded to Cloudinary, and an optimized image data, and an image object fragment compatible with gatsby-image, is created by the plugin, using the returned image URLs. This way, remote images delivered via a content delivery network are used in the Gatsby.js website. Cloudinary transformations can also be applied directly in the GraphQL query for the image data.
Another feature of the plugin is to create asset nodes for images already on Cloudinary. The plugin converts an object or data node with a key of CloudinaryAssetData set to true, (and other required keys), into a CloudinaryAsset node in GraphQL. This is true for both JSON data structures, and frontmatter in Markdown.
We’ll use remote images on Cloudinary, specified in each blog post’s frontmatter. The frontmatter data must contain:
- cloudinaryAssetData: We set to true.
- originalWidth: This is the original width of the remote image.
- originalHeight: This is the original height of the remote image.
- publicId: This is the public ID of the image on Cloudinary.
- cloudName: This is the cloud name of the Cloudinary account the image resides.
The originalWidth and originalHeight values are required to compute the aspect ratio of the image. This is necessary to display the image in the right dimensions.
We’ll install the plugin using yarn with
yarn add gatsby-transformer-cloudinary
Once its installation is complete, we add the plugin configuration to gatsby-config.js.
    require("dotenv").config()

    module.exports = {
      siteMetadata: {},
      plugins: [
        {"other plugins go in here"},
        {
          resolve: `gatsby-transformer-cloudinary`,
          options: {
            cloudName: process.env.CLOUDINARY_CLOUD_NAME,
            apiKey: process.env.CLOUDINARY_API_KEY,
            apiSecret: process.env.CLOUDINARY_API_SECRET,
            useCloudinaryBreakpoints: false
          }
        }
      ]
    }
Code language: JavaScript (javascript)
We’ll restart the development server to load the plugins, source, and transform file nodes.
Our goal is to specify a blog cover image in the frontmatter of a blog post, and we query an image object fragment which we, in turn, use in gatsby-image.
We update each blog post’s frontmatter to include a coverImage object key with key-value pairs, describing the required image. The frontmatter of a blog post looks like this.
    // first.md
    ---
    title: "First blog post using Gatsby x Cloudinary"
    path: "/first-post-2302202"
    publishBy: "2021-02-21"
    coverImage:
        cloudinaryAssetData: true
        originalWidth: 1000
        originalHeight: 800
        publicId: "remote-images/7"
        cloudName: "chuloo"
    ---
    # Introduction
    Lorem ipsum dolor sit amet, epicuri \[sensibus\](https://google.com) oportere est ut. No ubique oporteat est, laudem quaerendum quo ut. Feugiat adversarium est ne, ei pri illud definitiones. Mea ea apeirian sensibus signiferumque? Mei an graeci civibus, usu ad eirmod labitur.
Code language: PHP (php)
We specified an image on Cloudinary with a publicID of remote-images/7. We replicate the same update for every blog post, each with its image.
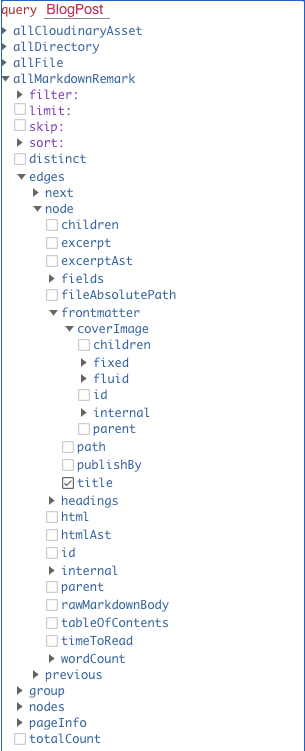
We restart the development server to rebuild the GraphQL data nodes. Looking in the Graphiql interface, we can see that the frontmatter data for allMarkdownRemark node in the explorer is updated. The data initially in coverImage is **replaced **with a cloudinaryAsset node having fluid and fixed properties.

With this setup, we can query data in coverImage along with data for the blog post content in each blog post.
Home page We proceed to update the home page’s query and UI in src/pages/index.js to include the blog image.
We update the GraphQL query to
    import React from "react"
    import { graphql, Link } from "gatsby"
    import Layout from "../components/layout"
    import SEO from "../components/seo"
    import Image from "gatsby-image"
    import { Box, Text, SimpleGrid, HStack } from "@chakra-ui/react"

    export const query = graphql`
      query {
        allMarkdownRemark(sort: { order: DESC, fields: frontmatter___publishBy }) {
          edges {
            node {
              fields {
                slug
              }
              frontmatter {
                title
                publishBy
                coverImage {
                  fluid(transformations: "f_auto,q_auto") {
                    ...CloudinaryAssetFluid
                  }
                }
              }
              timeToRead
            }
          }
        }
      }
    `
Code language: JavaScript (javascript)
This query includes transformations for quality and format optimizations, and you can find other transformations on Cloudinary. The …CloudinaryAssetFluid fragment returns the fluid image required by gatsby-image.
Next, we update the page component to
    const IndexPage = ({ data }) => {
      const blogPosts = data.allMarkdownRemark.edges
      const imageWithIndex = index => {
        return blogPosts[index].node.frontmatter.coverImage.fluid
      }
      return (
        <Layout>
          <SEO title="Home" />
          <Text my={5} fontSize={"3xl"} fontWeight={"bold"}>
            Blog Posts
          </Text>
          <SimpleGrid columns={3} spacing={8}>
            {blogPosts &&
              blogPosts.map(({ node }, index) => (
                <Box
                  as={Link}
                  shadow="md"
                  borderWidth="1px"
                  rounded={"lg"}
                  p={2}
                  key={index}
                  to={node.fields.slug}
                >
                  {imageWithIndex(index) ? (
                    <Image fluid={imageWithIndex(index)} />
                  ) : (
                    "loading..."
                  )}
                  <Text fontSize={"sm"} mt={3} fontWeight={"500"}>
                    {node.frontmatter.title}
                  </Text>
                  <HStack spcacing={5} mt={1}>
                    <Text color={"gray.400"} fontSize={"xs"}>
                      {node.timeToRead} {node.timeToRead > 1 ? "mins" : "min"}
                    </Text>
                    <Text color={"gray.400"} fontSize={"xs"}>
                      {node.frontmatter.publishBy}
                    </Text>
                  </HStack>
                </Box>
              ))}
          </SimpleGrid>
        </Layout>
      )
    }
    export default IndexPage
Code language: JavaScript (javascript)
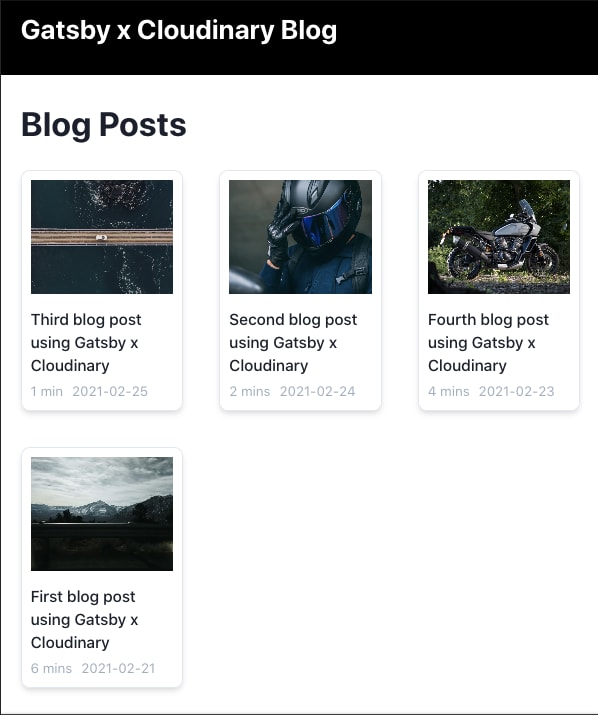
The updated page looks like this:

Blog post page
We’ll update the blog post template in src/templates/blog-template.js. First, we update the GraphQL query to include the query for the cover image.
    import React from "react"
    import { graphql } from "gatsby"
    import Image from "gatsby-image"
    import Layout from "../components/layout"
    import SEO from "../components/seo"
    import { Box, Center, HStack, Text } from "@chakra-ui/react"
    import "./blog-template.css"
    export const query = graphql`
      query($slug: String!) {
        markdownRemark(fields: { slug: { eq: $slug } }) {
          html
          frontmatter {
            publishBy
            title
            coverImage {
              fluid(transformations: "f_auto,q_auto") {
                ...CloudinaryAssetFluid
              }
            }
          }
          timeToRead
          wordCount {
            words
          }
        }
      }
    `
Code language: JavaScript (javascript)
The query is similar to that made on the home page. Next, we update the blog post component with
    const BlogPost = ({ data }) => {
      const post = data.markdownRemark
      return (
        <Layout>
          <SEO title="Home" />
          <Text my={5} fontSize={"3xl"} fontWeight={"bold"}>
            {post.frontmatter.title}
          </Text>
          <Box mb={10}>
            <Box mx={"auto"} shadow="md">
              <Image fluid={post.frontmatter.coverImage.fluid} />
            </Box>
            <Center>
              <HStack spacing={5} mt={3}>
                <Text color={"gray.400"} fontSize={"xs"}>
                  {post.timeToRead} {post.timeToRead > 1 ? "mins read" : "min read"}
                </Text>
                <Text color={"gray.400"} fontSize={"xs"}>
                  {post.frontmatter.publishBy}
                </Text>
              </HStack>
            </Center>
          </Box>
          <Box
            dangerouslySetInnerHTML={{ __html: post.html }}
            className={"blog-content"}
          />
        </Layout>
      )
    }
    export default BlogPost
Code language: JavaScript (javascript)
The component renders a fluid image with Chakra-ui components. The fluid image takes the Box component’s full width (a Chakra-ui extension of the HTML div).
The HTML content is also rendered using the dangerouslySetInnerHTML prop.
In this jam, we discussed using the gatsby-transformer-cloudinary plugin to create image nodes specified in a blog post frontmatter from existing images on Cloudinary. This image node, queried using GraphQL, is then utilized in a blog post page. Take this for a spin, add multiple transformations to the image, and try the fixed image property of gatsby-image.
You may find the links below useful.
