
For web developers, Netlify is one of the premier options for both hosting as well as a suite of other features to enable you to serve up performant websites quickly and simply. Combining this with Cloudinary then becomes an obvious choice. Cloudinary’s image (and video) optimizations can help those websites even more by allowing for tedious image improvements to be handled for you. Let’s take a look at how this can be done, first at a high level and then I’ll demonstrate with a real example of it in action.
At a high level, there’s three ways you can consider using Cloudinary on your Netlify site, and it’s absolutely possible that your site may make use of one or more of these techniques.
The first option would be a manual or SDK approach. In this example, you would look at your images on your site and decide which should be optimized and how. This optimization can be done by hand (changing the URL to one hosted by Cloudinary with optimization options) or done via the SDKs (which also ultimately output a URL that would be used in your HTML). This approach also allows for a more “gradual” move to employing Cloudinary. So for example, maybe you just use it to optimize header images, and then later more improvements are added. This gives the best and more precise control over how Cloudinary helps improve your site, but also takes the most time.
The second option would be via the Netlify Cloudinary integration. This option runs at build time, when your site is generated, and handles the optimizations for your automatically. While there’s still options here for configuration and such, this will be the easiest solution for folks who want everything handled for them.
Lastly, another option is to enable optimization at the CMS or ecommerce layer. You can find ready to use solutions for this on various platforms, including WordPress, Contentful, Magento, Salesforce and more. For developers making use of these solutions and integrating them with their Netlify site, this provides yet another “automatic” solution for quick performance improvements.
Now let’s take a look at this in action.
For my demo, I’m going to go with a “real” site (real looking at least) that’s a basic blog. This blog will have a home page and some posts. The content will be boilerplate, but will include images throughout. These images will include things like post headers, images in the posts themselves, and so forth.
I’ll be using the excellent Eleventy as my static site builder. This is absolutely not required but I also absolutely love Eleventy.
As mentioned above, our demo site will make use of Eleventy and be a basic blog. It has a home page which lists the most recent posts:

In this case, the image you see here is simply added in the source Markdown and references a local file:
<!-- hero image -->
<img src="images/cat.jpg">

<h2>Blog Demo</h2>

<p>
This is my blog. It will be informative. It will amuse you. It will blah blah etc and so forth. I'm just filling up
some space here and I'd rather not use lorem ipsum. So how are you? How are you doing? In general, this is a stressful
time for us all, but luckily we have cats. Cats make everything better.
</p>
Each blog post can have a header, and possibly images inside. Here’s one example:
In this example, the header image is specified via the post’s front matter:
---
layout: post
title: Gamma Post
tags: posts
date: 2020-10-10 12:00:00
header: /images/path.jpg
---
Code language: JavaScript (javascript)
And then included in the Post template by Eleventy:
{% if header %}
	<p>
	<img src="{{ header }}" class="post-header">
	</p>
{% endif %}
The other image in the blog is included just with a regular image tag in Markdown. All in all, our sample site is five pages — the home page with four blog posts. You can find the original source for this code here: https://github.com/cfjedimaster/netlify-cloudinary-integration If you clone the repository, be sure to run npm i first and then npm run serve to fire up the local Eleventy server and see the site.
Now let’s see how the Cloudinary Integration can help. For the purpose of this article, I’ll assume you already know how to create a site with Netlify and (optionally, but usually) tie it to a GitHub repo.
Once you have your site setup properly, you’ll first want to select “Integrations” in the left hand menu. This will bring up a large list of supported Netlify integrations, including the Cloudinary one:

Clicking Enable first brings you to a prompt:

Once you confirm you want to install the integration, you are prompted for your Cloudinary Cloud name:

Click that final button and you’re good to go. You’ll end up back on the Integrations page now with Cloudinary showing as enabled:

In order to see the plugin in action, head over to your Deploys page and trigger a new one. Browse to your site and … be surprised when nothing looks different. However, if you go into your code, you’ll see changes.
For example, previously the HTML for the home page image was just this:
<img src="/images/cat.jpg">
Code language: HTML, XML (xml)
Now it’s been transformed:
<img src="https://res.cloudinary.com/raymondcamden/image/fetch/f_auto,q_auto/https://netlify-cloudinary-test.netlify.app/images/cat.jpg" loading="lazy">
Code language: HTML, XML (xml)
Not only is it being served through Cloudinary’s CDN, it’s been set to auto-optimize as well as lazy load. In this case, it’s also serving a different version based on browser support. In Chrome, the image is returned in AVIF format. As just one example, the home page image weighed in at a whopping 292Kb. Run through Cloudinary’s CDN, with no change to your source code at all, is now at 19Kb.
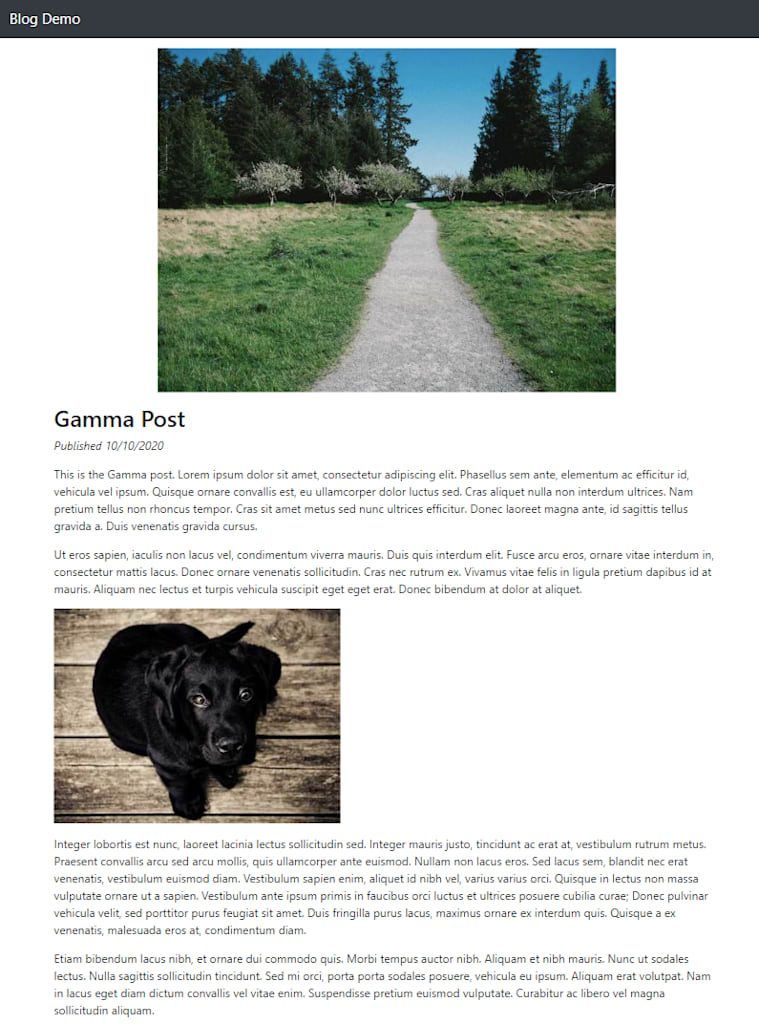
If you head over to one of the posts, for example, Gamma, you’ll see both images coming in at a reduced size as well.
Obviously savings will depend on the nature of the original image, how much it was already organized, and so forth, but considering the effort involved (30 seconds or so), the results are pretty impressive.
As of October 17, 2023, Netlify’s built-in optimization feature will be going away. With the use of the Cloudinary Netlify integration, developers can get the image optimization features automatically, quickly, and easily. In this article we demonstrated the out of the box use of the integration, but developers can add further configurations, even setting a maximum size for images and using Cloudinary’s resize transformation without writing any code at all. To get started, sign up today!