
With serverless functions, we can write backend or server-side code without the burden of managing servers. One of the core features of Next.js is the API routes which provide an easy solution to create an API endpoint by allowing us to write server-side logic within our Next.js application, which can then be deployed as Serverless Functions to Vercel.
In this article, we’ll look at the process of uploading images from a Next.js application to Cloudinary using Vercel’s Serverless Functions.
Create a Next.js app using the following command:
npx create-next-app vercel-severless-upload
Next, add the project dependencies using the following command:
npm install cloudinary axios multer streamifier dotenv
The Node Cloudinary SDK will provide easy-to-use methods to interact with the Cloudinary APIs. axios will serve as our HTTP client. Multer is a Node.js middleware used to handle multipart/form-data, the dotenv module will allow us to parse environment variables defined in a .env file, and streamifier is used to convert a Buffer/String into a readable stream.
There’s an alternative way to handle image uploads by creating a Serverless Function to return a presigned URL, which wasn’t covered in the initial setup. This method enhances security by generating a temporary URL for image uploads. Here’s a simplified outline of the process:
- Create a Serverless Function to return a presigned URL.
- Call this Serverless Function from the front-end to obtain the presigned POST URL.
- Allow the user to select an image for upload on the front-end.
- Forward the file to the obtained POST URL for upload.
This presigned URL mechanism is beneficial, especially when considering Vercel’s serverless function limit of 4.5MB, as it advises against uploading large images directly to your file system.
We’ll use Tailwind CSS to give our application a decent look. Run the following command in your terminal:
npm install -D tailwindcss postcss autoprefixer
npx tailwindcss init -p
Now, add the following to your tailwind.config.js file:
module.exports = {
  content: [
    "./pages/**/*.{js,ts,jsx,tsx}",
    "./components/**/*.{js,ts,jsx,tsx}",
  ],
  theme: {
    extend: {},
  },
  plugins: [],
};
Code language: JavaScript (javascript)
Add the following to your styles/global.css file:
@tailwind base;
@tailwind components;
@tailwind utilities;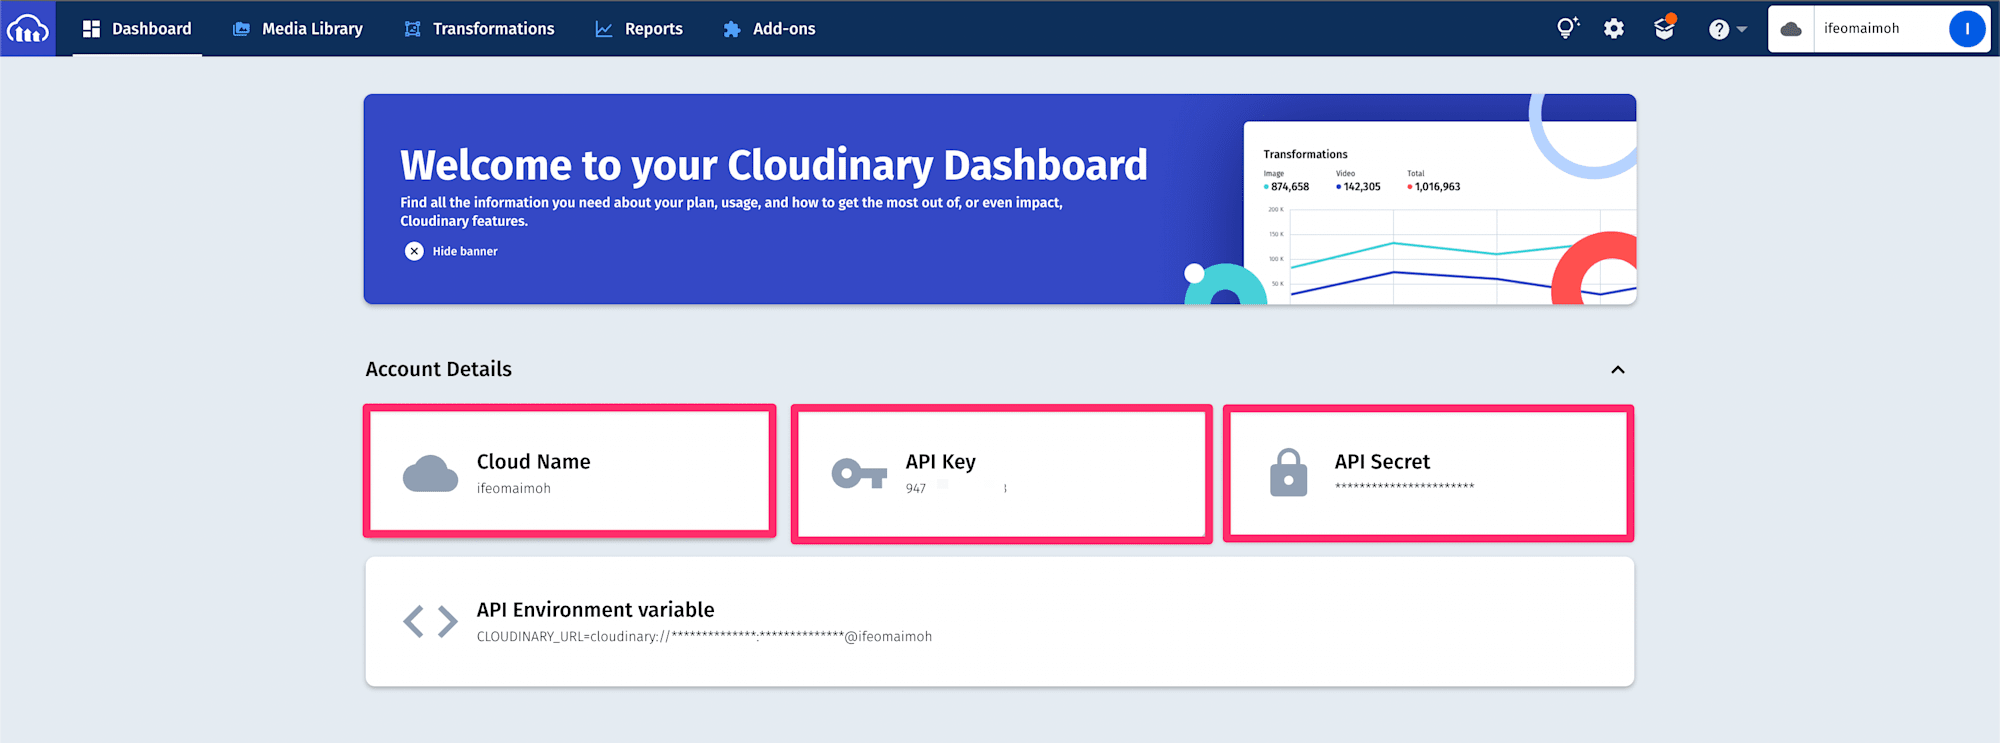
Code language: CSS (css)First, sign up for a free Cloudinary account if you don’t have one already. Displayed on your account’s Management Console (aka Dashboard) are your Cloudinary credentials: your cloud name, API key, etc.
Next, let’s create environment variables to hold the details of our Cloudinary account. Create a new file called .env at the root of your project and add the following to it:
    CLOUD_NAME = YOUR CLOUD NAME HERE
    API_KEY = YOUR API API KEY
    API_SECRET = YOUR API API SECRET
This will be used as a default when the project is set up on another system. To update your local environment, create a copy of the .env file using the following command:
cp .env .env.local
Code language: CSS (css)
By default, this local file resides in the .gitignore folder, mitigating the security risk of inadvertently exposing secret credentials to the public. You can update the .env.local file with your Cloudinary credentials.
Let’s create a Serverless Function that will be used to upload images to Cloudinary. Create a file called upload.js in your pages/api directory. Next.js treats files created inside the pages/api folder as API routes, and with these API routes, we can write some server-side logic to handle HTTP requests. In our case, we’ll need just one route. Add the following to your upload.js file:
import multer from "multer";
import { v2 as cloudinary } from "cloudinary";
import dotenv from "dotenv";
import streamifier from "streamifier";
dotenv.config();
const storage = multer.memoryStorage();
const upload = multer({ storage });
const uploadMiddleware = upload.single("file");
cloudinary.config({
  cloud_name: process.env.CLOUD_NAME,
  api_key: process.env.API_KEY,
  api_secret: process.env.API_SECRET,
  secure: true,
});
function runMiddleware(req, res, fn) {
  return new Promise((resolve, reject) => {
    fn(req, res, (result) => {
      if (result instanceof Error) {
        return reject(result);
      }
      return resolve(result);
    });
  });
}
export default async function handler(req, res) {
  await runMiddleware(req, res, uploadMiddleware);
  console.log(req.file.buffer);
  const stream = await cloudinary.uploader.upload_stream(
    {
      folder: "demo",
    },
    (error, result) => {
      if (error) return console.error(error);
      res.status(200).json(result);
    }
  );
  streamifier.createReadStream(req.file.buffer).pipe(stream);
}
export const config = {
  api: {
    bodyParser: false,
  },
};
Code language: JavaScript (javascript)
In the code above, we’ll first bring the necessary imports. We’ll set up the Multer middleware, which provides us with two storage options: disk and memory storage. To keep things simple, we’ll create an instance of Multer and initialize it with the storage option because we want our parsed files to be stored temporarily on the RAM; its return values are stored in a variable called upload. Our application supports selecting one file, so we’ll use Multer’s upload.single method and pass a string that will later be used to check for and parse files in the request body.
Next, we’ll configure it with an object consisting of our Cloudinary credentials. We’ll then define a utility function — runMiddleware, and as its name suggests, it will allow us to run our middleware. The function will wait for the Multer middleware to execute before continuing or throw an error if an error occurs.
Finally, we’ll define and export a request handler function that will be triggered by an HTTP request made to /api/upload. This function starts by parsing the file contained in the request body using the Multer middleware. Once the file is parsed successfully, the Multer middleware will attach a file property to the request body, i.e., req.file, which contains information about the file.
Next, we’ll pipe from a readable stream by converting the buffer in the parsed file to a readable stream using the streamifier library.
We’ll pipe to the Cloudinary uploader using the upload_stream() method, which accepts two arguments. The first is an object where you can define your upload parameters (we define our destination folder — demo), and the second is a callback function that gets called when the piping is complete. The callback accepts two parameters — an error and the result. If an error occurs, it will be logged to the terminal, and if successful, we’ll send the upload response we get from Cloudinary back to the client side.
By default, API Route handler functions will provide us with middleware — bodyParser under the hood that automatically parses the contents of the request body, cookies, and queries. We’ll overwrite this behavior by exporting a config object to disable the built-in parsing mechanism since Multer does that for us.
To further enhance the uploading process with Vercel, you can try the following steps:
- Create a Serverless Function to return a presigned URL: Instead of directly uploading to Cloudinary, you can use a presigned URL mechanism. This ensures that the upload URL is temporary and has a short lifespan, enhancing security.
- Vercel’s Image Optimization: Remember, Vercel manages the infrastructure for uploading, optimizing, and delivering images. They optimize images based on factors like pixel density, format, size, and quality. These optimized images are cached on the Vercel Edge Network, ensuring faster delivery to end-users.
- Serverless Function Limit: Be aware of Vercel’s serverless function limit of 4.5MB. It’s advisable to avoid uploading large images directly. If you’re integrating with other cloud providers, leverage their mechanisms, like the pre-signed URLs in AWS S3, to handle larger files.
- Vercel’s Edge Network: This is both a Content Delivery Network (CDN) and a globally distributed platform for running compute at the edge. It ensures that your images are delivered quickly to users worldwide. This network stores content and runs compute in regions close to your customers or your data, which not only ensures quicker delivery of optimized images but also enhances the overall user experience by reducing latency.
We’ll now compose a simple user interface to communicate with the serverless function. Add the following to your
index.jsfile:import { useState } from "react"; const UploadState = { IDLE: 1, UPLOADING: 2, UPLOADED: 3, }; Object.freeze(UploadState); export default function Home() { const [uploadState, setUploadState] = useState(UploadState.IDLE); const [imgUrl, setImgUrl] = useState(""); async function handleFormData(e) { setUploadState(UploadState.UPLOADING); const file = e.target.files[0]; const formData = new FormData(); formData.append("file", file); const res = await fetch("/api/upload", { method: "POST", body: formData, }); const data = await res.json(); setImgUrl(data.secure_url); setUploadState(UploadState.UPLOADED); } return ( <div className="flex justify-center h-screen items-center"> {uploadState !== UploadState.UPLOADED ? ( <div className="w-32"> <label htmlFor="image" className="block bg-white py-2 px-3 border border-gray-300 rounded-md shadow-sm text-sm leading-4 font-medium text-gray-700 hover:bg-gray-50 focus:outline-none focus:ring-2 focus:ring-offset-2 focus:ring-indigo-500 text-center" > {uploadState === UploadState.UPLOADING ? ( <span>Uploading...</span> ) : ( <span>Upload</span> )} <input type="file" name="file" id="image" className="hidden" onChange={handleFormData} /> </label> </div> ) : ( <div className="w-96 text-green-500 "> <span className="block py-2 px-3 text-green-500 text-center"> Uploaded! </span> <img className="w-full" src={imgUrl} alt="Uploaded image" /> </div> )} </div> ); }Code language: JavaScript (javascript)This component allows users to select an image from their computer and gives them a button to upload the image, and it displays the image after a successful upload.
We’ll create a function called
handleFormData, which embeds the file selected by the user into the request payload using the FormData API. Note that the string passed to theformData.append()method must be the same as the string we specified in our Multer instance in the API file.The payload is then used to initiate an HTTP request to the serverless function we created. It then sets the state of
imgURLas well asuploadState.In the JSX returned, we’ll render an upload button. If an image is uploaded successfully, we’ll render the image instead.
Now you can start your application on http://localhost:3000/ with the following command:
npm run devOnce the app is up and running, you should be able to select a file and upload it. Here’s what mine looks like after a successful upload.

Find the complete project here on GitHub.
This article walks you through the process of uploading images to Cloudinary using Next.js and Vercel’s Serverless Functions. With Next.js API routes, we can write server-side logic within our Next.js applications, which can then be deployed as Serverless Functions to Vercel. See here for more on how to deploy a Next.js API route as a serverless function to Vercel.
##Resources