According to the World Health Organization (WHO), at least 2.2 billion people worldwide have a vision impairment and 43.3 million people were estimated to be blind in 2020. That is a lot of people who might not be able to use your app or website if you don’t make it accessible to them.
To make your website more accessible for people who use screen readers or speech input software, and even those with images turned off because of slow internet connections, is to add alt text to your images. Alt text is a short description of the image that should convey the same information as the image itself. That way, people who can’t see the image can still understand its context.
Cloudinary helps automate the tedious task of adding alt text to your images. You set it up once, and your screen reader users will be able to enjoy everything your website has to offer.
The solution leverages the Cloudinary AI Content Analysis add-on in Cloudinary MediaFlows. And the best part is that you don’t need to be a developer to set this up. So let’s get started!
First, of course, you need a Cloudinary account. If you don’t have one yet, you can sign up for free. After you log in, you can set up the automated alt text generation in a few simple steps:
In the Cloudinary Console, click the Add-on Marketplace icon (shaped like a puzzle piece) near the bottom of the left sidebar:

Then, click the AI Content Analysis add-on card:
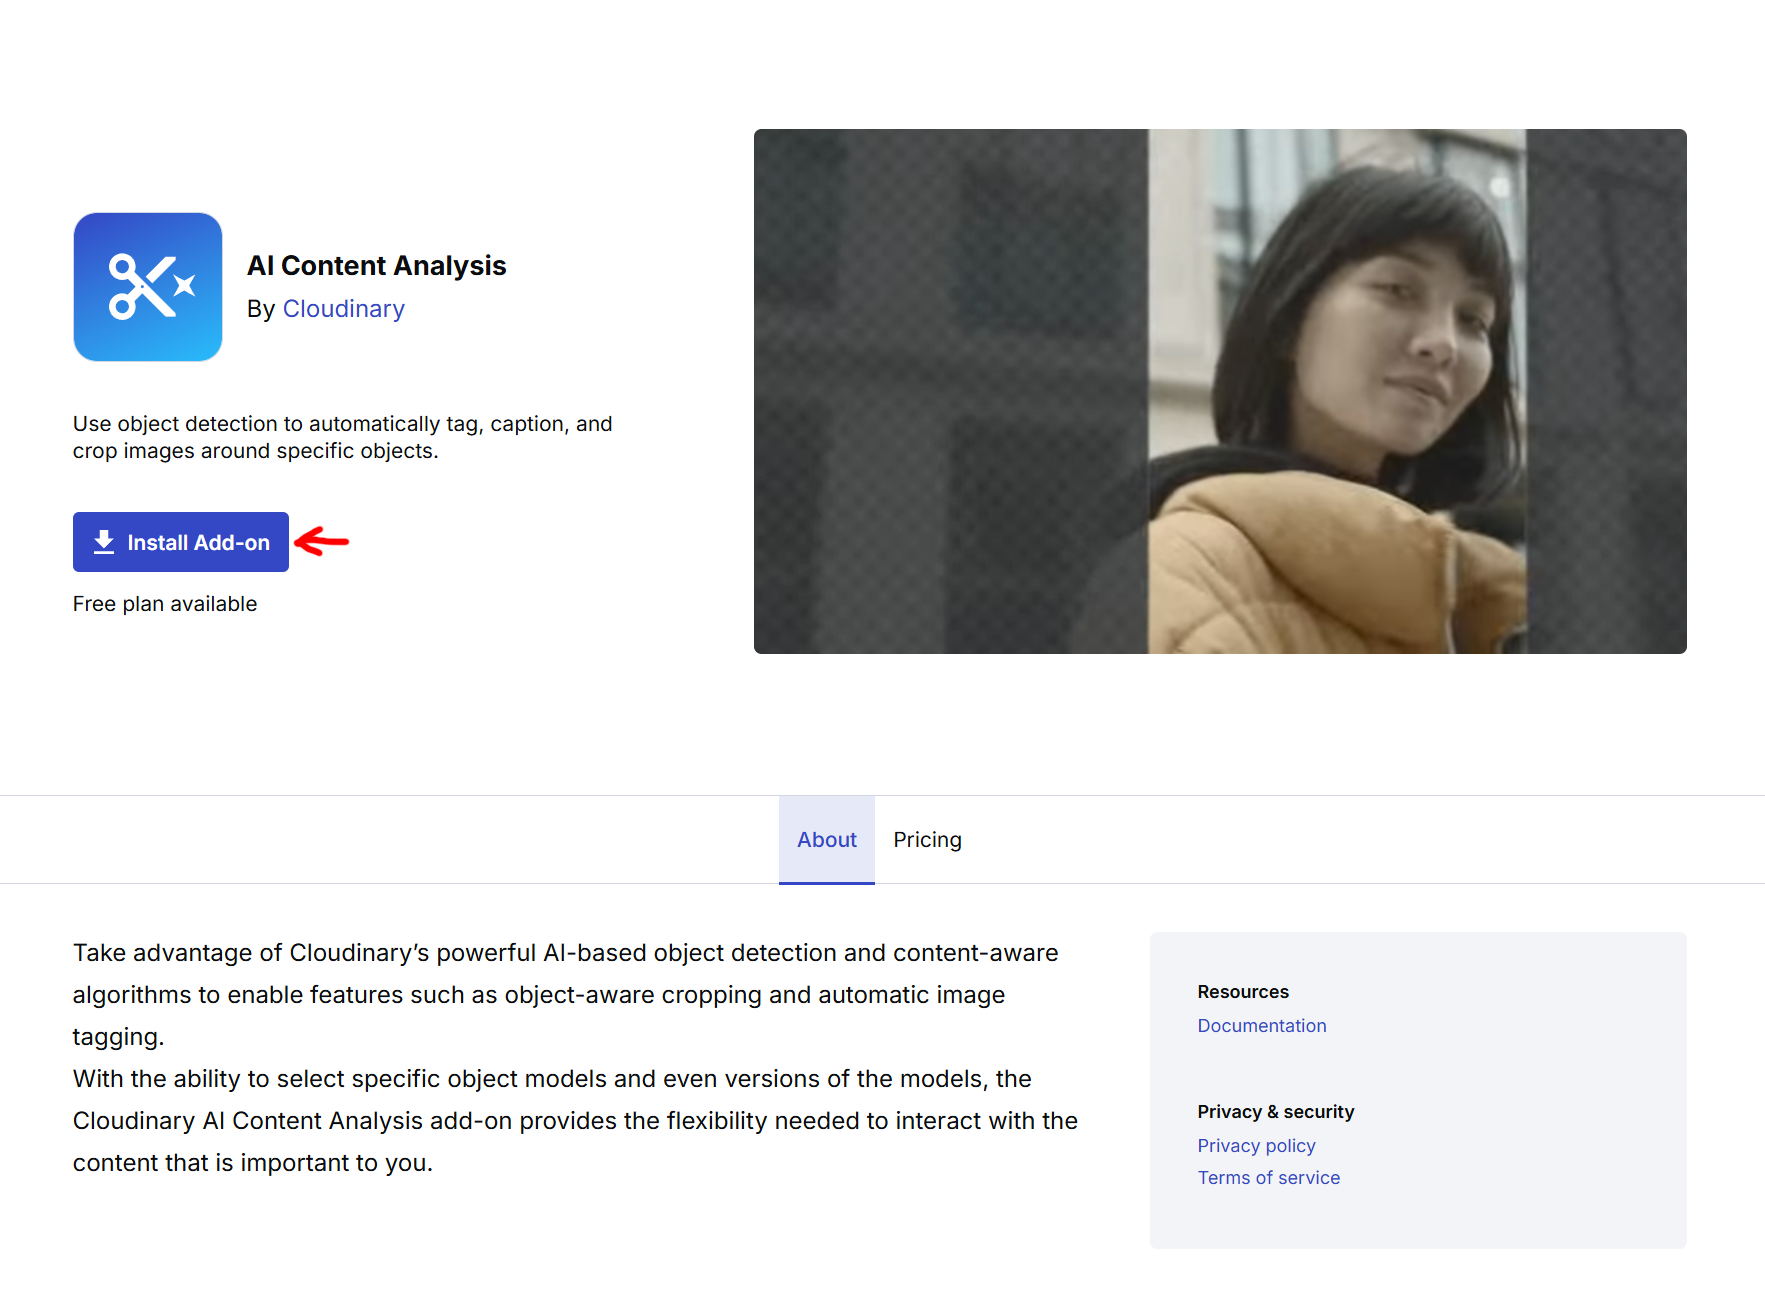
That should take you to the add-on’s page. There, you can click the Install Add-on button, which will activate the free plan of the add-on for your account, allowing you to generate alt text for up to 500 images per month:
The on_success parameter allows you to update an asset using custom JavaScript that is executed after the upload to Cloudinary is completed. This can be useful for adding tags, contextual metadata and structured metadata, depending on the results of using the detection and categorization add-ons, which are only available after the file has already been successfully uploaded.
The on_success parameter accepts a string containing the JavaScript code to be executed. There are two variables that can be used within the context of the JavaScript code snippet as follows:
- event or e. An object that encapsulates all the incoming data as follows:
- upload_info. An object with all the resource info as it would be received in an upload response. For example, e.upload_info?.width returns the width of the uploaded resource.
-
status. Either
successorfailure. - current_asset. An object that references the asset and currently holds a single method: = update – the method to update that receives a hash of the data to update (data is replaced as a result of the update, not added to). The currently supported data fields include tags, context, and metadata.
For example, to upload an asset and update its contextual metadata (context) with the caption returned from the Cloudinary AI Content Analysis add-on, and add the tag autocaption.
cloudinary.v2.uploader
.upload("user_photo.jpg",
  { detection: "captioning",
    on_success: "current_asset.update({tags: ['autocaption'], context: {caption: e.upload_info?.info?.detection?.captioning?.data?.caption}})" })
.then(result=>console.log(result));
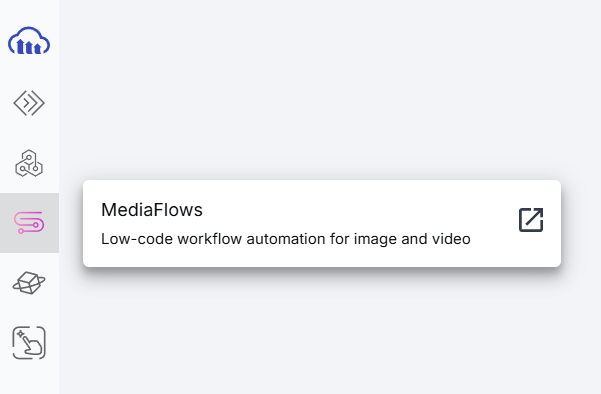
Code language: JavaScript (javascript)After you’ve activated the AI Content Analysis add-on, you can create a MediaFlow that will automatically generate alt text for your images. In the Cloudinary Console, click the MediaFlows icon in the top section of the left sidebar:
Then, in the MediaFlows dashboard, click the All Templates button:
That should open a modal window listing all the available predefined MediaFlow templates. Choose the Media Management category from the left menu or scroll down until you find the “Auto-generate alt text” template:
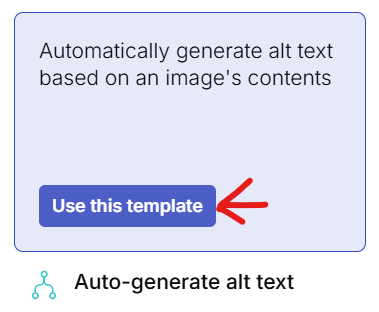
Hover over the Auto-generate alt text card and click the Use this template button that should appear:
After that, you’ll be taken to the MediaFlow editor, where the workflow is already set up for you. You can see that the first step is to the “Cloudinary Upload” node, which should capture any uploaded media, then a conditional node that checks if the media is an image, then a node that logs the uploaded media, and then a node that generates the caption, and finally a node that updates the alt text with the generated caption and a node that logs the new caption.
You can see the Run button in the editor’s top right. Click it to test your MediaFlow:
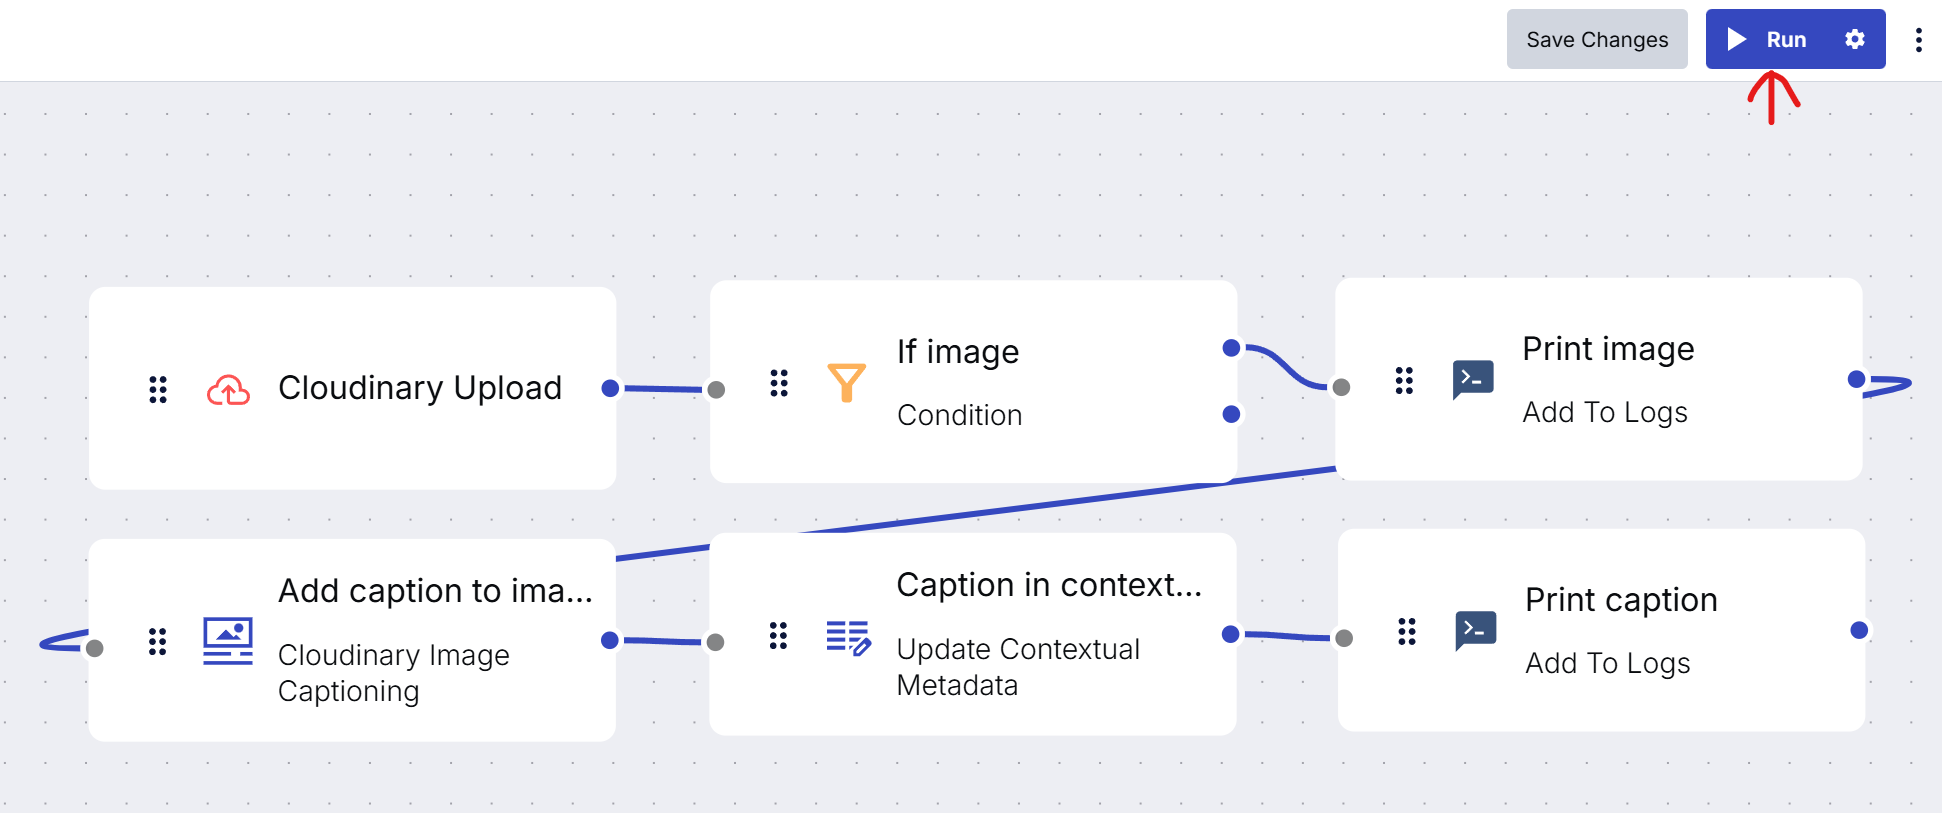
The test will upload a sample image, generate the alt text, and update the image with the generated alt text. Once the test is complete, you’ll see the result in a newly opened side panel on the right:
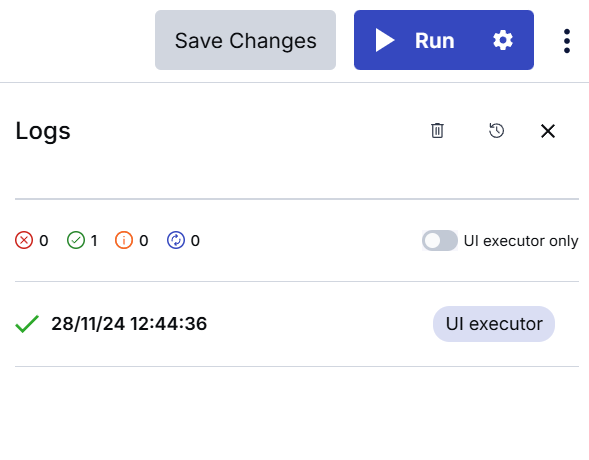
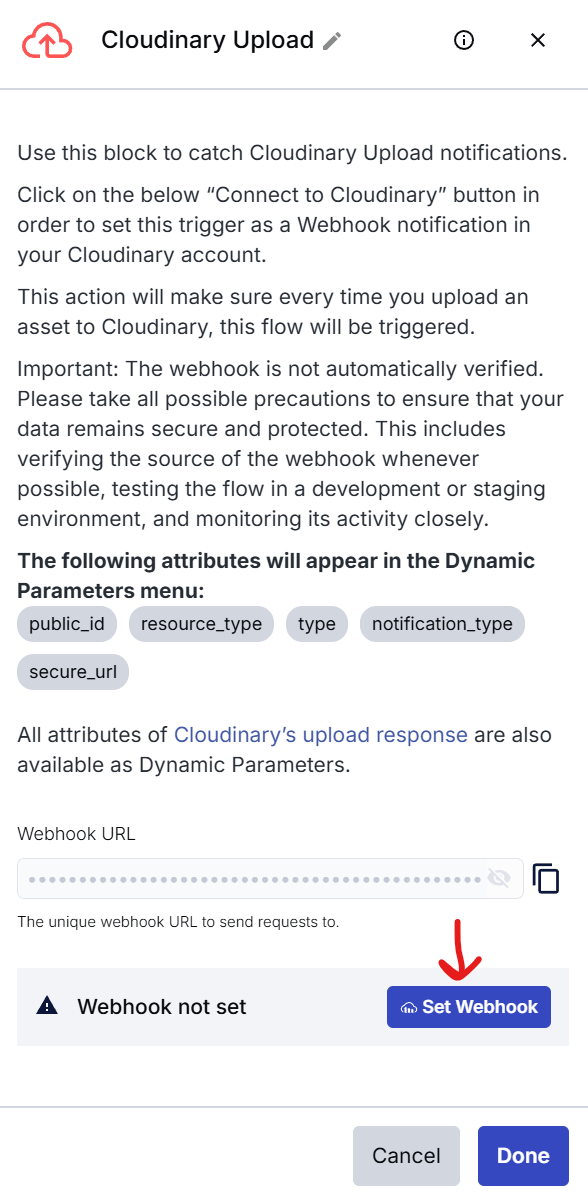
After you’ve tested the MediaFlow, you’ll need to set up a webhook that will trigger the MediaFlow whenever a new image is uploaded to your Cloudinary account. To do that, click the Cloudinary Upload node in the MediaFlow editor, which should open the node’s settings on the right side of the editor. There, you can click the Set webhook button at the bottom:
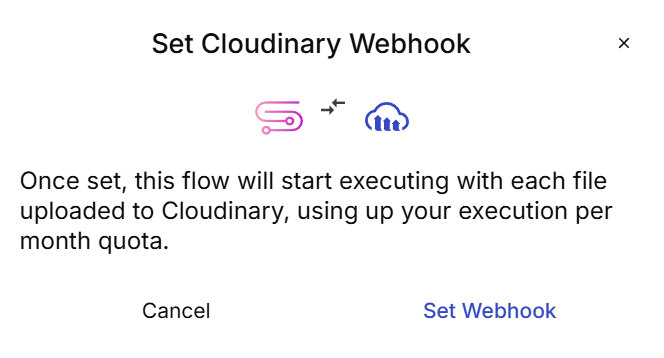
A confirmation popup will appear. Click the Set webhook button to confirm:
You should see a confirmation message at the bottom of the node details:

Once you’ve set the webhook, you can close the node settings and save your MediaFlow just to be sure, and you’re almost done!
To test the setup, you can upload a new image to your Cloudinary account. Go to your Media Library and drag and drop an image file into the browser window. After the upload is complete, click the image to open the details panel on the right. There, after switching to the Metadata tab, you should see the alt text generated by the MediaFlow:
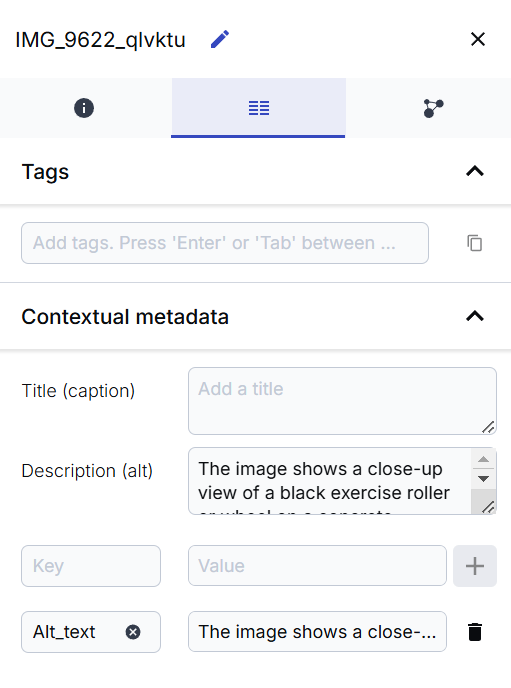
Note: The alt text might not be generated immediately after the upload, as the MediaFlow might take a second or two to process the image. If you don’t see the alt text immediately, wait a few seconds and reopen the image details.
And that’s it! You’ve successfully set up automated alt text generation for your images in Cloudinary. Now, every time you upload a new image, the alt text will be generated automatically and added to the image’s metadata.
Now that you’ve the alt text generated for your images, you’ll need to use it on your website. That means you must retrieve it from the image metadata using the Cloudinary Admin API.
Here’s an example of how you can implement fetching and displaying the alt text in a Next.js app. First, you’ll need to install the cloudinary package:
npm install cloudinary
Then, we’ll create a server component that will fetch the alt text for a given image using the Cloudinary Admin API.
// components/CloudinaryAltImage.tsx

import { v2 as cloudinary } from "cloudinary";
import { ImageProps } from "next/image";
import CloudinaryAltImageInternal from "./CloudinaryAltImageInternal";

export default async function CloudinaryAltImage(
  props: Omit<ImageProps, "src" | "quality" | "alt"> & {
    src: string;
    alt?: string; // Optional alt text - if provided, it will be used instead of fetching it from Cloudinary
  }
) {
  //Configure the Cloudinary SDK with your credentials
  cloudinary.config({
 cloud_name: process.env.NEXT_PUBLIC_CLOUDINARY_CLOUD_NAME,
 api_key: process.env.NEXT_PUBLIC_CLOUDINARY_API_KEY,
 api_secret: process.env.NEXT_PUBLIC_CLOUDINARY_API_SECRET,
  });

  let alt = props.alt;

  if (!props.alt) {
    // If alt text is not provided, fetch it from Cloudinary
    const { context } = await cloudinary.api.resource(props.src);
    alt = context?.custom?.alt;
  }

  return (
    <CloudinaryAltImageInternal
      src={props.src}
      width={props.width}
      height={props.height}
      alt={alt || ""}
 />
 );
}
Code language: JavaScript (javascript)
Then, we’ll create the CloudinaryAltImageInternal component to render the image with the alt text. We’ll need a separate component for this because the CldImage component from next-cloudinary is a client-side component and we’ll need to fetch the alt text on the server-side.
// components/CloudinaryAltImageInternal.tsx

"use client";

import { CldImage } from "next-cloudinary";
import { ImageProps } from "next/image";

export default function CloudinaryAltImageInternal(
  props: Omit<ImageProps, "src" | "quality"> & {
    src: string;
  }
) {
  return (
    <CldImage
      src={props.src}
      width={props.width}
      height={props.height}
      alt={props.alt}
    />
  );
}
Code language: JavaScript (javascript)
And finally, we can use the CloudinaryAltImage component in our Next.js pages:
import CloudinaryAltImage from "./CloudinaryAltImage";

export default function Page() {
  return (
    <div>
      <CloudinaryAltImage
        width="600"
        height="600"
        src="<public_id_of_my_image>"
 />
    </div>
 );
}
Code language: JavaScript (javascript)
Now, when you run your Next.js app and navigate to the page where the CloudinaryAltImage component is used, the alt text will be fetched from Cloudinary and displayed with the image.
Unfortunately, the admin API is only available for server-side use, so if you’re rendering your website on the client-side, you’ll either have to use a serverless function to retrieve the alt text or leverage the Client-side asset lists, which will require you to tag your images.
Another thing to remember is that there are rules to follow when adding alt text to images. For example, if the image is purely decorative and doesn’t convey any information, you should use an empty alt attribute (alt=""). Please refer to the alt decision tree for more information, and know that you may need to manually adjust the generated alt text in some cases.
You’ve set up automated alt text generation for your images in Cloudinary. This will make your website more accessible to people with vision impairments and help you comply with accessibility standards.
Remember, however, that automated alt text generation isn’t a silver bullet, and you should consider the complexities of implementing accessibility on your website.
