
Security is a critical functionality on websites and applications. The need to gate content to specific users is important, especially when creating an application that requires some form of authenticated user base and that user base’s ability to access certain data, not meant for general public use.
This is a two-part blog post that explores how you can use Cloudinary to optimize and deliver your images, Supabase to store and gate them with security on the backend, as well as Next.js 13 to provide the Authentication user flow on the frontend.
To benefit from this article, you should be familiar with the basics of Node.js and Next.js 13.
To use Next.js 13, you must be on Node.js version 16.4 or higher.
Follow the steps in this guide to set up your account and upload your images into Cloudinary if you don’t already have one.
Supabase makes it simple to build your backend, providing you with a PostgreSQL database in a few clicks. Let’s configure our new project in our Supabase dashboard:
Sign up to Supabase and create a new project. Wait for your database to start. Once it has started up, follow these steps:
- Click New project.
- Choose your organization.
- Pick a name and database password.
- Click Create new project.
After creating your project, navigate to Project Settings in the left-hand menu and select API. Copy and save these two values:
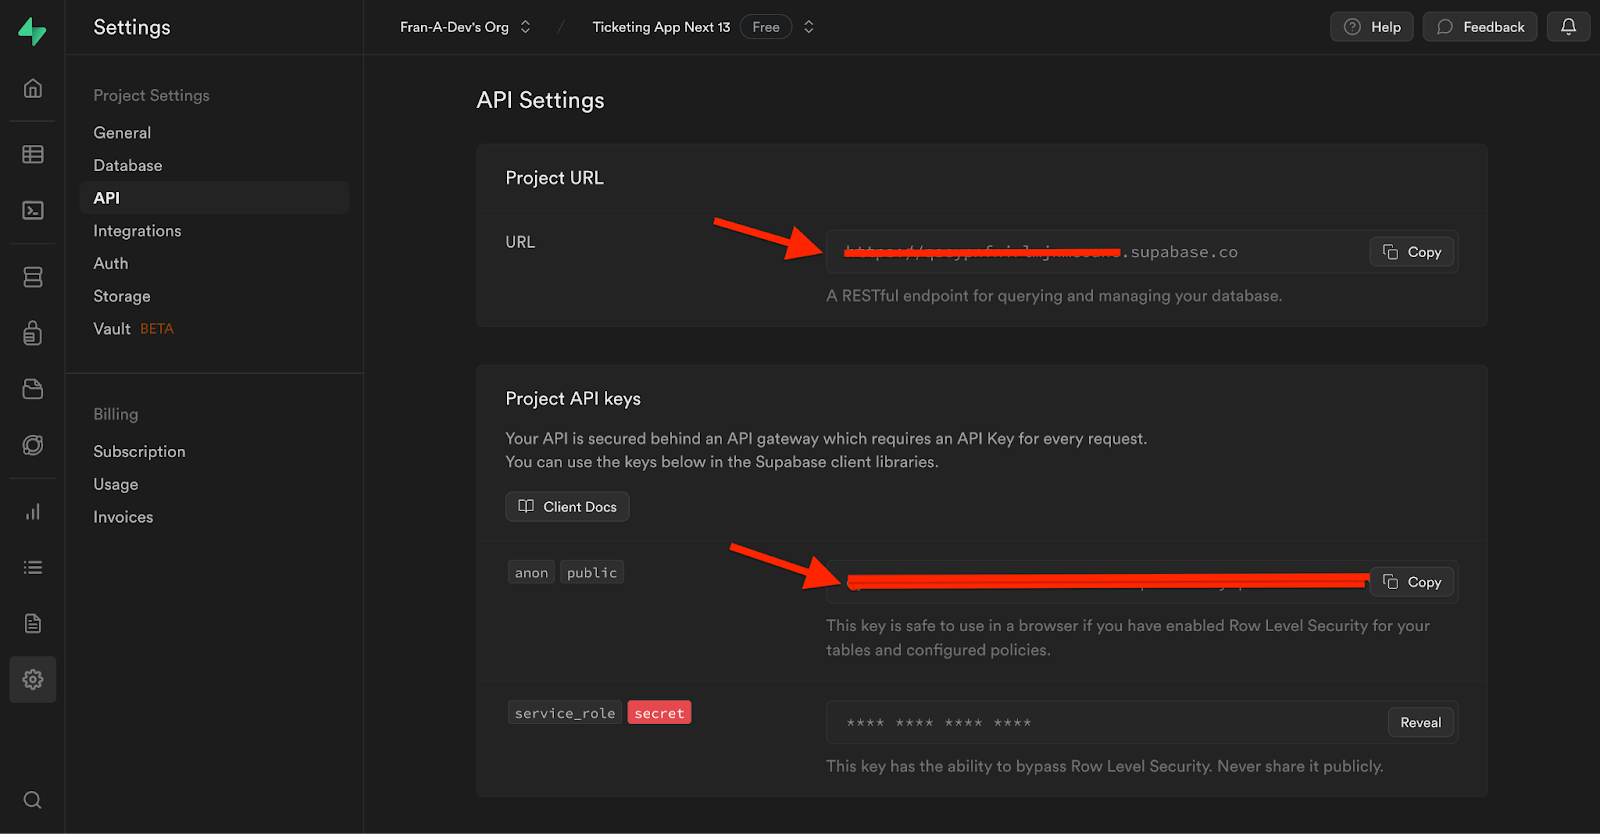
These are the two values we’ll use for our environment variables to process them in our Next.js 13 frontend.
For this project example, we’ll create an application that allows us to create, delete, and read data from Supabase with a Next.js 13 frontend. This data will include images from Cloudinary and only authenticated users will be allowed to access the site and its data. What we want is a blog that has images and content with priority levels on each blog. Let’s add our data to Supabase:
- Create a new table and name it “Tickets”.
- Check the box that says RLS.
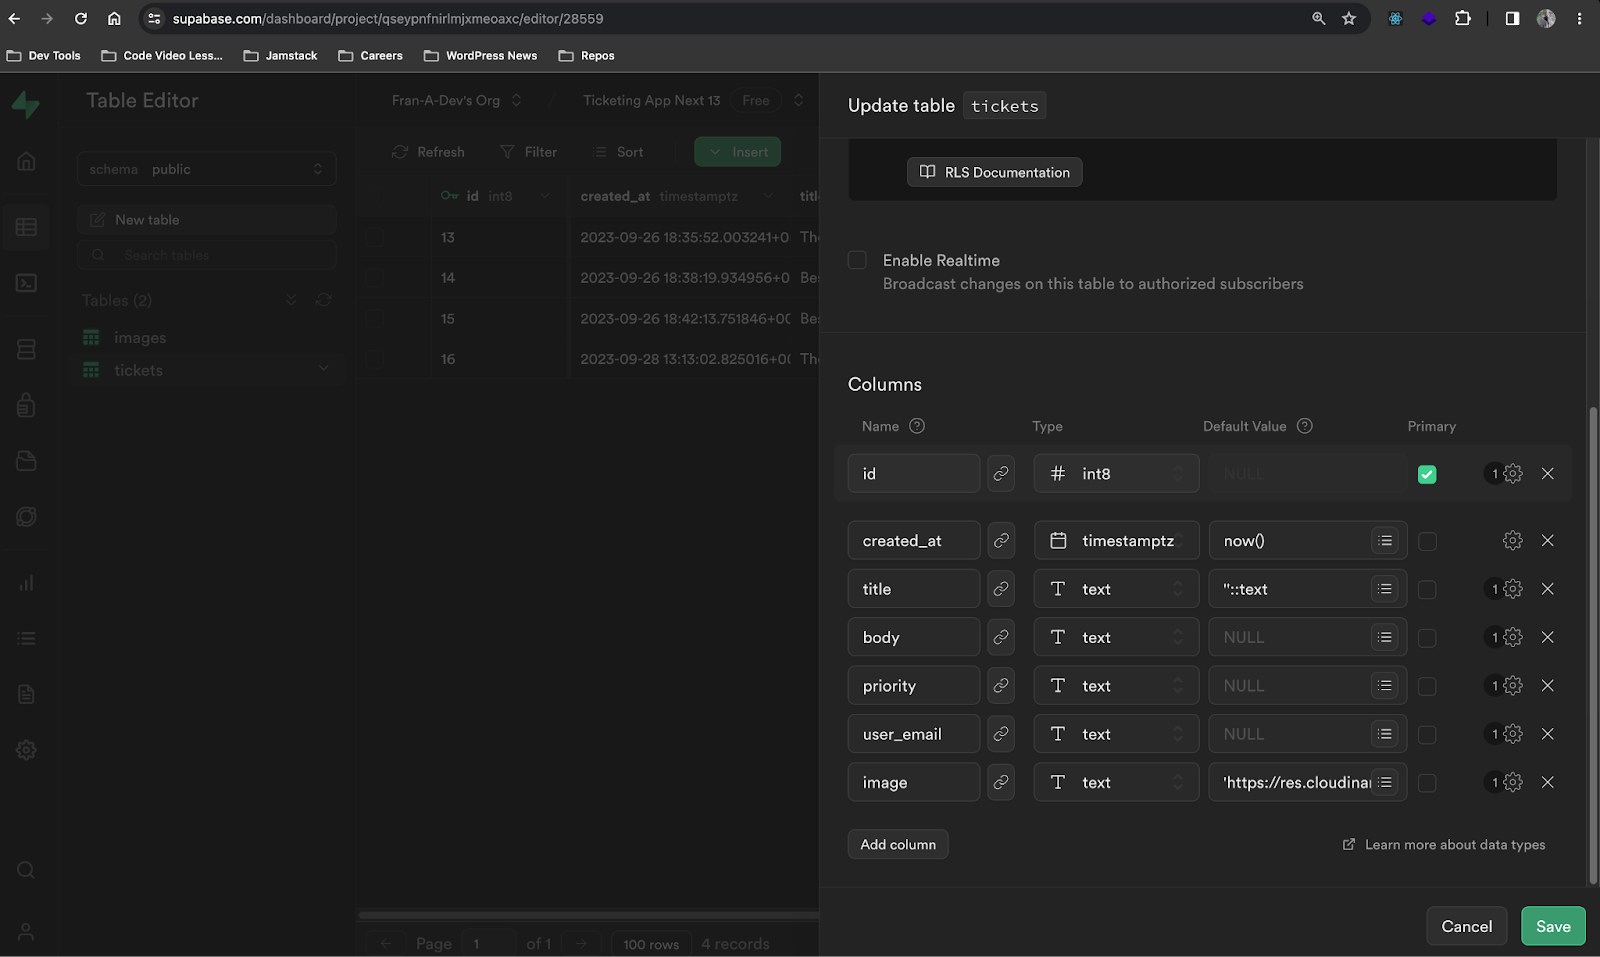
- Leave the default columns and add the next custom columns like so:
- title
- body
- priority
- user_email
- image
Once you create those columns, set them to regular texts as these will all be strings. This is what it should look like:
Now that we have our database set up, let’s create our auth and security.
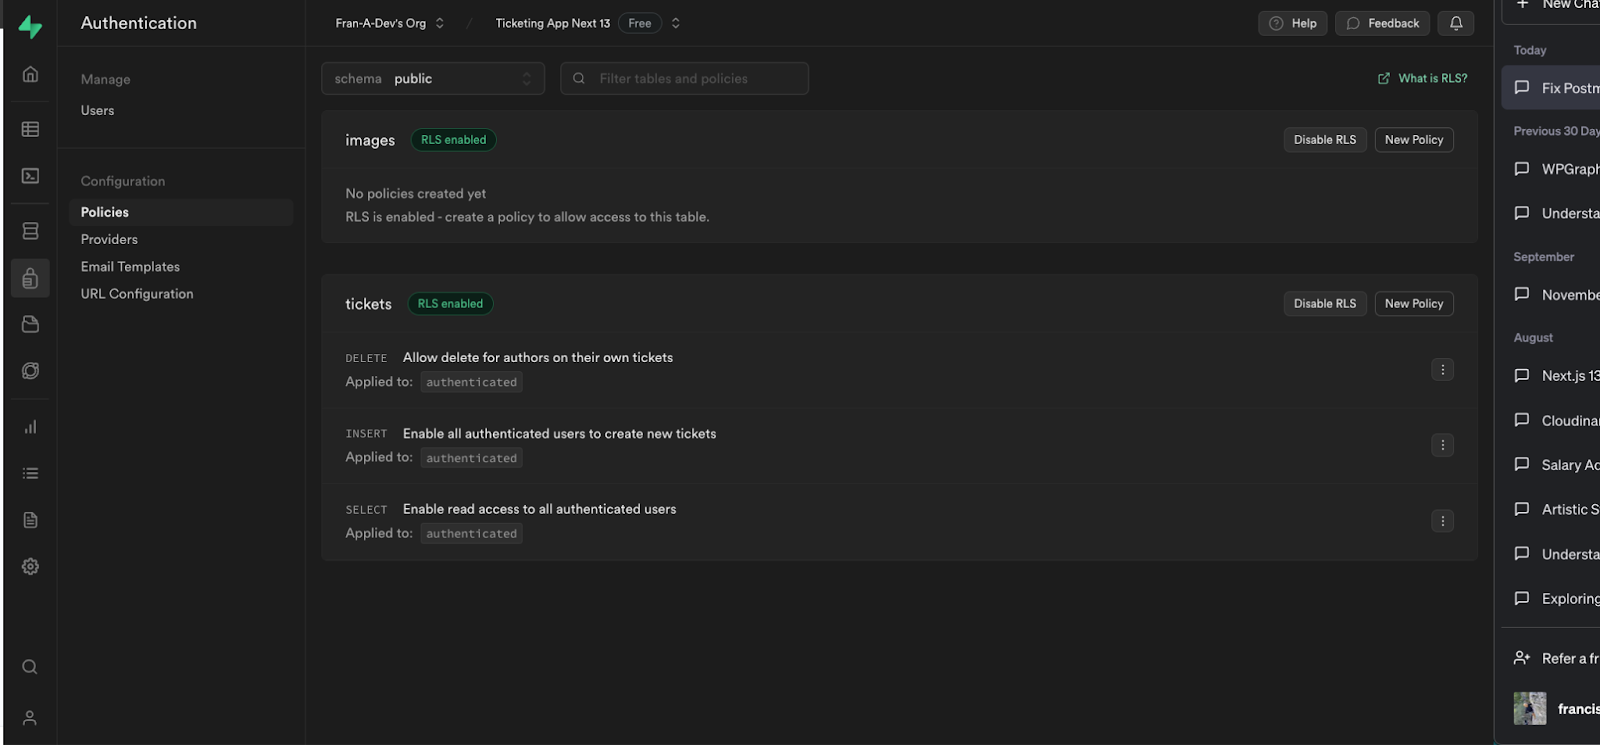
Once you click Save, go to Authentication and Policies. We need to create new policies for our Row Level Security to allow users to create, delete and read image tickets. Click New Policy, which will ask if you want a customized policy. Click that and it will take you to this page:
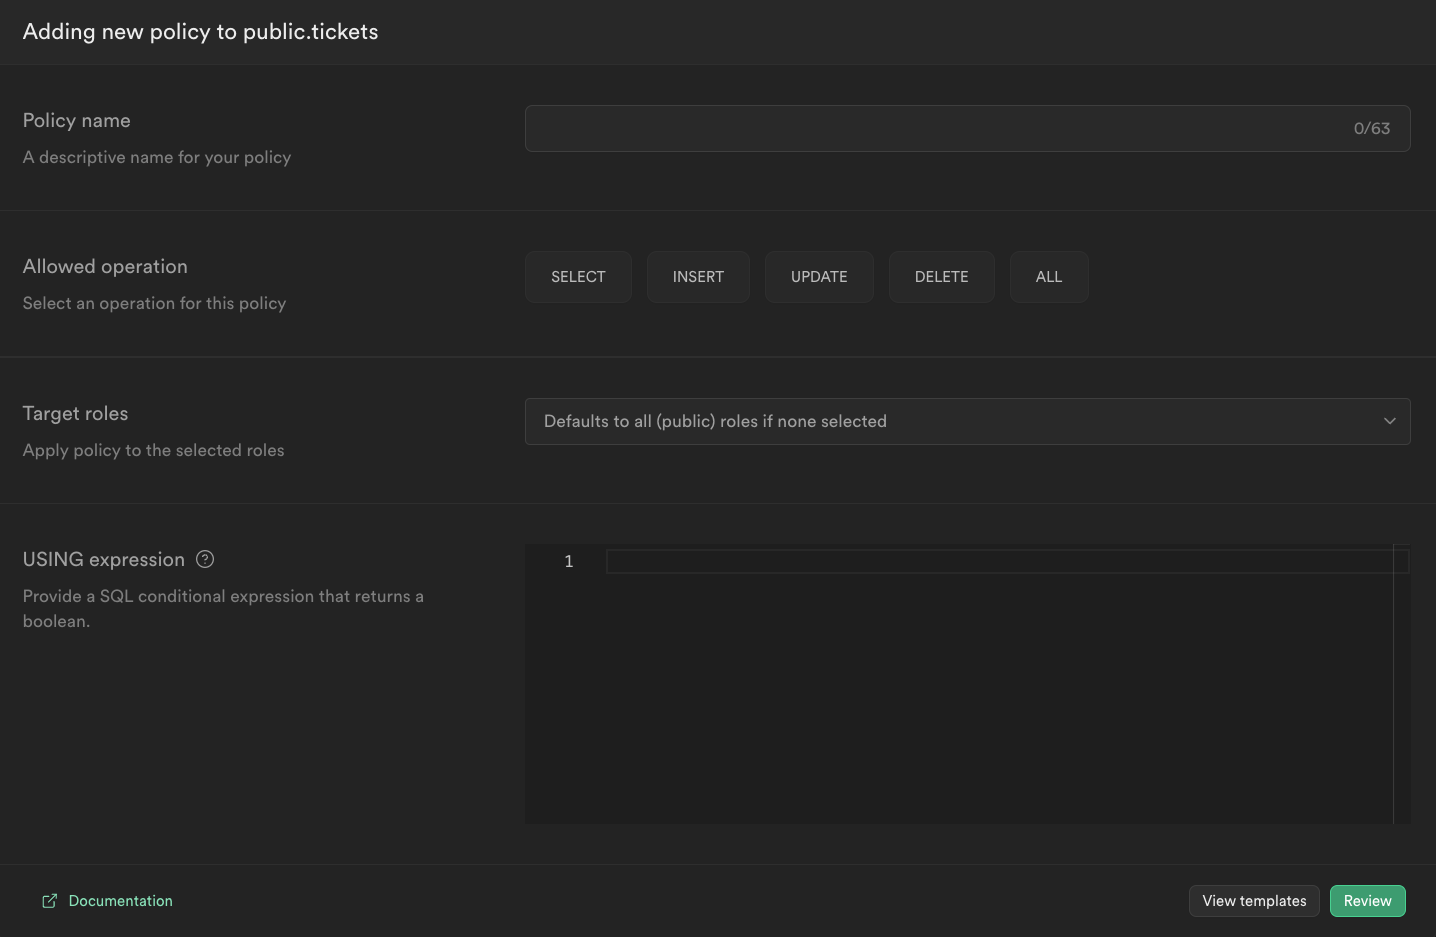
Next step is to create these policies, their target roles, and their USING expression:
Policy names:
- Enable read access to all authenticated users.
- Enable all authenticated users to create new tickets.
- Allow delete for authors on their own tickets.
Target roles:
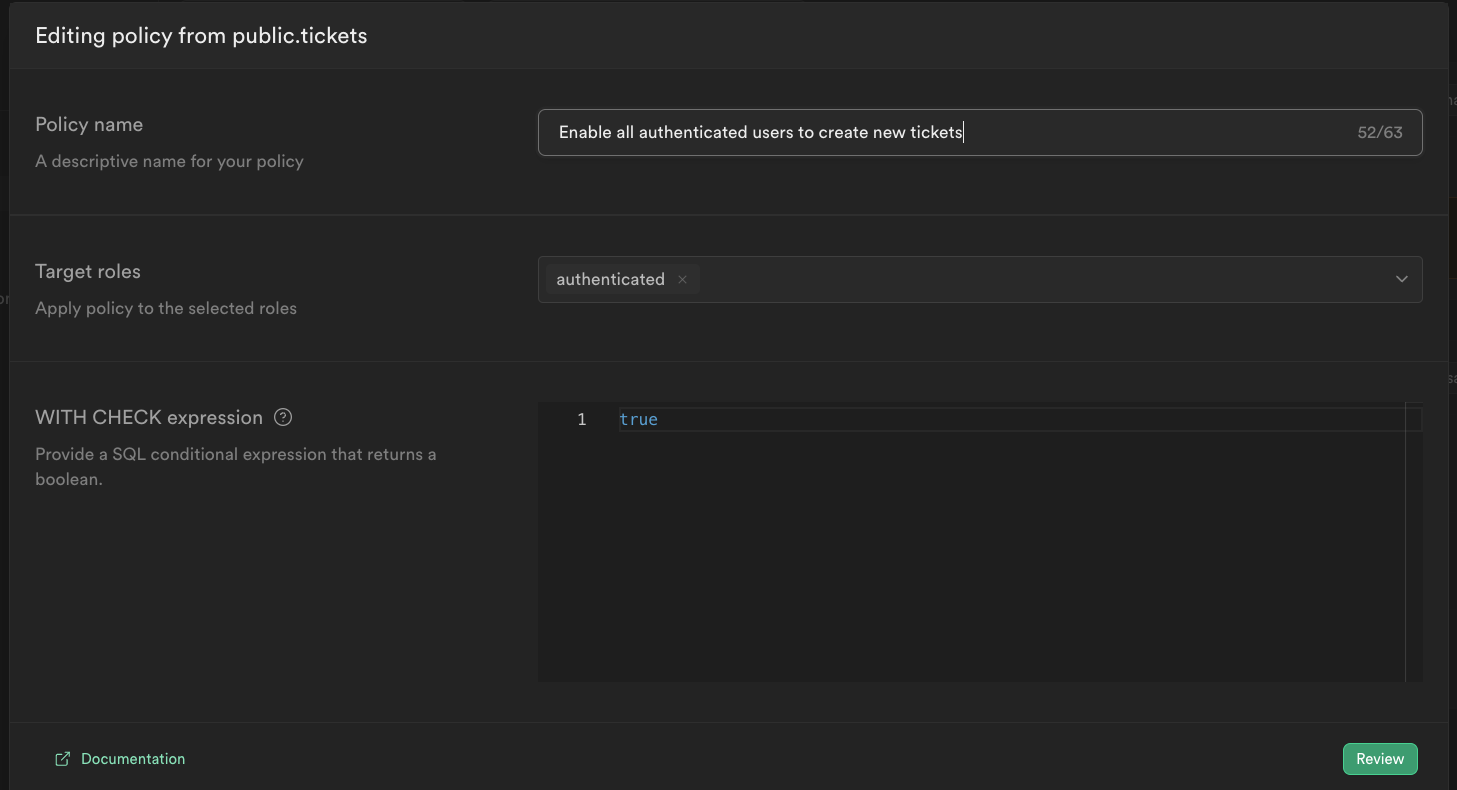
All roles should be selected as “authenticated”.
USING expression:
The USING expression for the policies that are “Enable read access to all authenticated users” and “Enable all authenticated users to create new tickets” should be set to “true”. You must type the word “true”. It should look like this:
For the “Allow delete for authors on their own tickets” policy, we need to have the USING expression typed out like this:
((auth.jwt() ->> 'email'::text) = user_email)Code language: PHP (php)We need this expression because it’s a SQL conditional that allows the auth object to have authentication upon every request with access to the JSON Web Token, and we’re checking the email prop, which is text, and if it does equal the user email logged in, then they’re allowed to delete tickets.
We now have our policies all set, and once you review them and click Save, your policies should look like this:
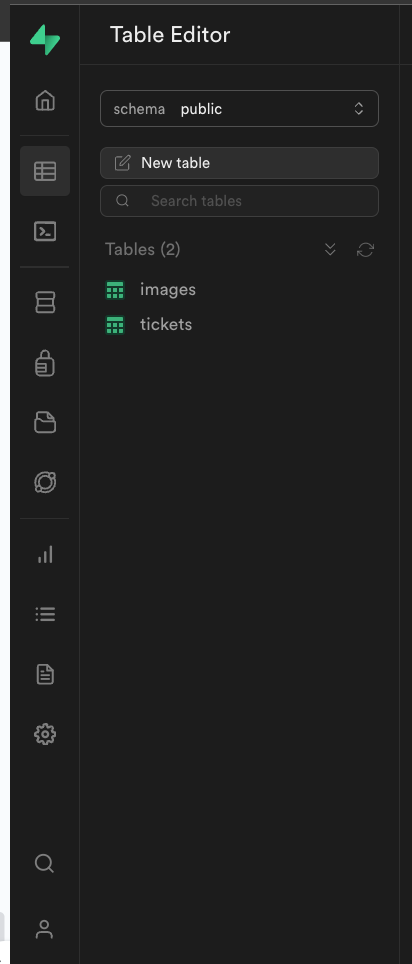
We have our data tables ready for content input with security installed and authentication policies configured. Let’s add some data to the tables we created. Go to the table editor and you should see your tickets table in the column:
When you click tickets, you’ll see a green button that says Insert at the top of the page. Click it and select Insert row:
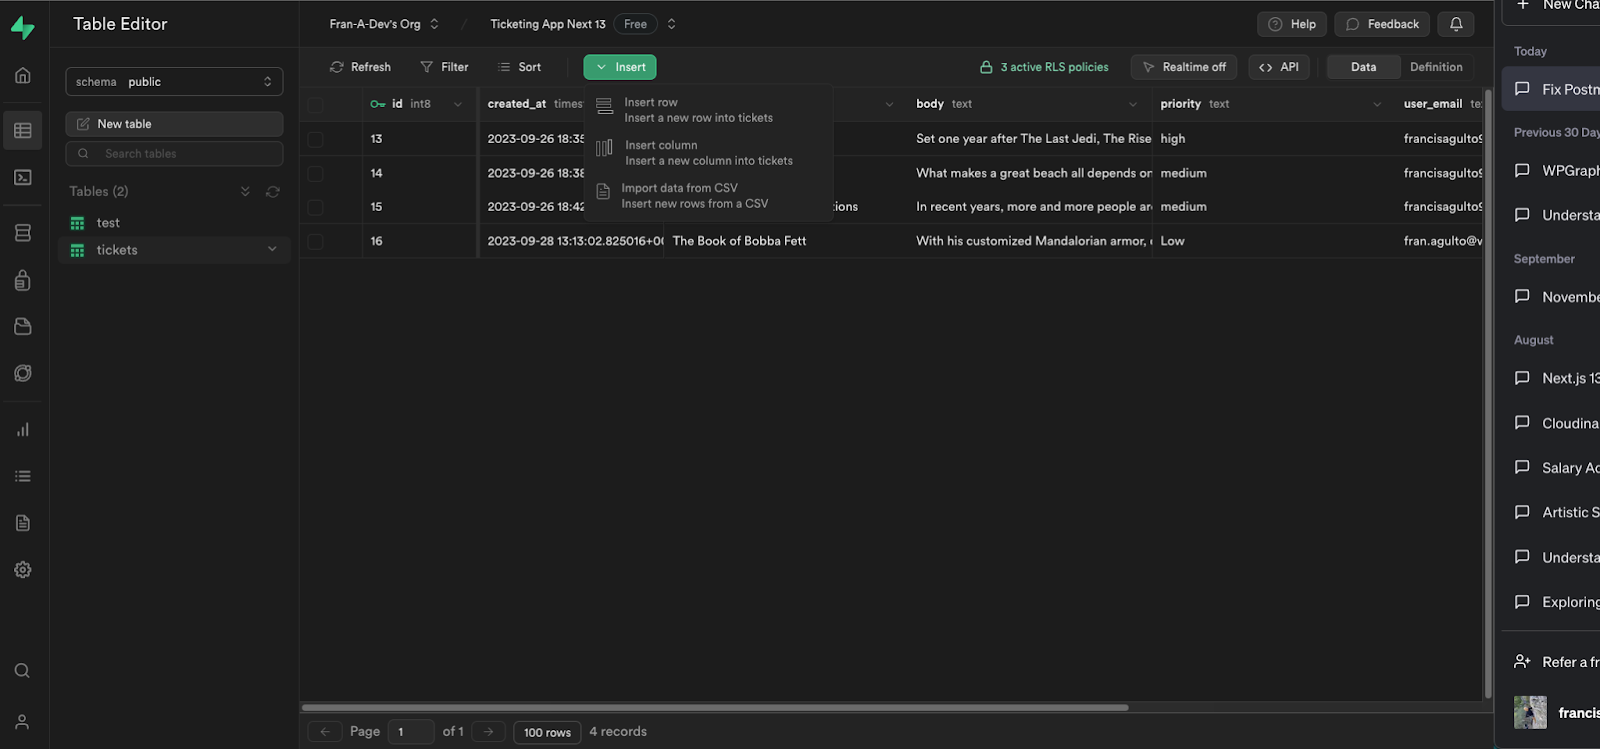
Once you’re on the Add new row page, it will give you input boxes to start typing text into them. Add any data you want and for the image input box, make sure you add a source URL from your Cloudinary account on whatever image you want to add there.
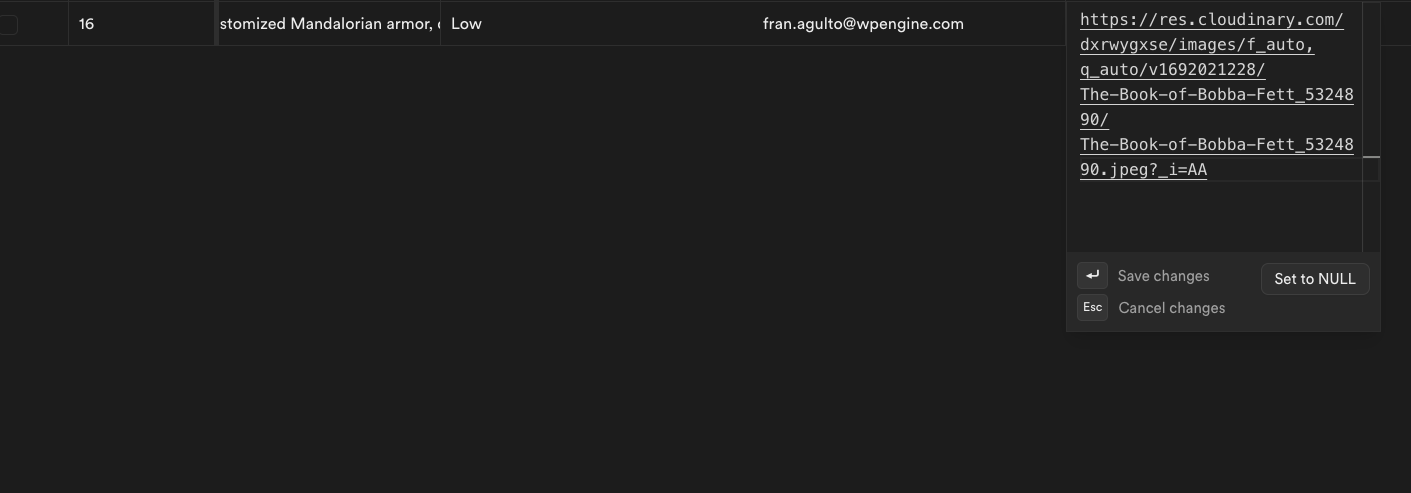
We’ll grab the Cloudinary image via the source URL in our Next.js frontend.
We set up our security and database with Supabase and input the data we need. In part 2, we’ll spin up our Next.js 13 frontend and render our data on the browser.