
Optimizing media for the web is a must-do to save visitor bandwidth and accelerate page loads as much as feasible. Incorporating the optimization process into an existing development workflow could be cumbersome, however.
Cloudinary’s Netlify Build Plugin ensures that all the images slated for delivery on your site are automatically optimized and converted to modern formats before being served from Cloudinary’s performant content delivery network (CDN). That’s an efficient and effective process with no requirements for access or changes to the code.
This article answers the following questions:
- What is a Netlify build plugin?
- How does the process work?
- How do I get started?
- Where can I learn more about Cloudinary’s Netlify Build Plugin and the Cloudinary platform?
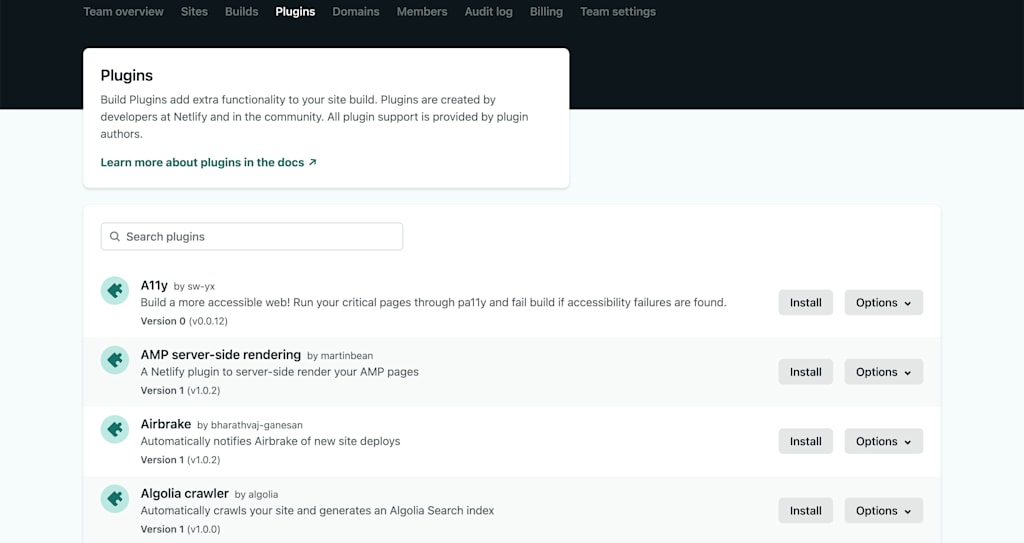
Netlify is a feature-rich development platform on which you can easily build and deploy web apps. In addition, you can run custom features by hooking them or plugging them in at the start or in the middle of the build process, or after it completes. The screenshot below shows some examples in the Plugins directory on Netlify.
That’s where you can take advantage of plugins to comprehensively optimize images with Cloudinary’s Netlify Build Plugin.
In brief, the process proceeds like this: while on Netlify, the plugin replaces the images with Cloudinary equivalents and has Cloudinary automatically optimize them by compressing the files—with no quality loss at all—and then deliver them in modern formats. Invariably, websites load faster with smaller files.
Two stages are involved: image replacement and their redirects, as illustrated here:

To ensure an optimally fast page load, the Cloudinary plugin replaces all on-page images in the static output generated by Netlify before delivery. Afterwards, either of these scenarios applies, depending on your choice of delivery type:
- The fetch delivery type, which is the default, identifies images with remote, Netlify-generated URLs for delivery.
- The upload delivery type calls for image uploads to your Cloudinary account, from which Cloudinary serves images to your site.
However, since modern web apps load pages and route client-side ones with JavaScript, reverting to the original images renders optimization through Cloudinary impossible. As a solution, the Cloudinary plugin automatically redirects all the images delivered from the images directory—whether the default one or one that you specify—to a performant Cloudinary URL.
The preliminary steps are simple and straightforward, as follows:
- If you don’t have one already, sign up for a free Cloudinary account.
- Install the plugin in Netlify: Click Plugins at the top, type Cloudinary in the text field for search and, when the plugin is displayed, click Install.

- Add your Cloudinary account’s cloud name as an environment variable for your site.
Name: CLOUDINARY_CLOUD_NAME
Value: <Your Cloud Name>
Subsequently, once you’ve deployed your site, the Cloudinary plugin automatically kicks into action with the optimization and format-conversion steps.
You can manually install the plugin for your project as a local package with a file-based configuration. For details, see this GitHub page.
Cloudinary’s Netlify Build Plugin yields a host of benefits out of the box. For a complete description of its tasks, configurations, and such, visit its page on GitHub.
How about also checking out the ways in which Cloudinary optimizes images and the remarkable features of Cloudinary’s SDKs? They’ll open up for you a new horizon vis-a-vis media management.

