
For added cohesion and professionalism in videos, adding transitions goes a long way. In this tutorial, we’ll first look at how Cloudinary allows us to concatenate two videos together with a custom transition between them. Then, we’ll learn how to display it all together in a React component.
To start, we’ll upload the videos to Cloudinary. The fastest way to do this is using the Cloudinary console.
For this tutorial, we’ll use three videos:
- The first video we want to show
- The second video that should play after the first one
- A video to use as a transition, often referred to as a “luma matte”
For our first video, we’ll use this one:
https://res.cloudinary.com/jlengstorf/video/upload/mediajams/disappointed-coffee.mp4
For the second video, we’ll use this:
https://res.cloudinary.com/jlengstorf/video/upload/mediajams/deploy-to-netlify.mp4
And finally, let’s use this as our luma matte:
https://res.cloudinary.com/jlengstorf/video/upload/mediajams/transition.mp4
Now that we have the pieces, we can assemble them into a single, seamless video!
Before we add the logo, let’s create a React component that displays our Cloudinary video.
function Video({ cloudName, videoOneId, videoTwoId, transitionId }) {
  // set up a Cloudinary URL to use your cloud name and display video
  let videoSource = `https://res.cloudinary.com/${cloudName}/video/upload`;

  // automatically adjust the quality, and set the video to 600px wide
  videoSource += "/q_auto,w_600";

  // set the public ID to display the video as an MP4
  videoSource += `/${videoOneId}.mp4`;

  // add the full URL to a standard HTML5 video element
  return (
    <video controls>
      <source src={videoSource} type="video/mp4" />
    </video>
  );
}
Code language: JavaScript (javascript)
The component, which we’ve named Video, accepts three values as props: cloudName, videoOneId, videoTwoId, and transitionId.
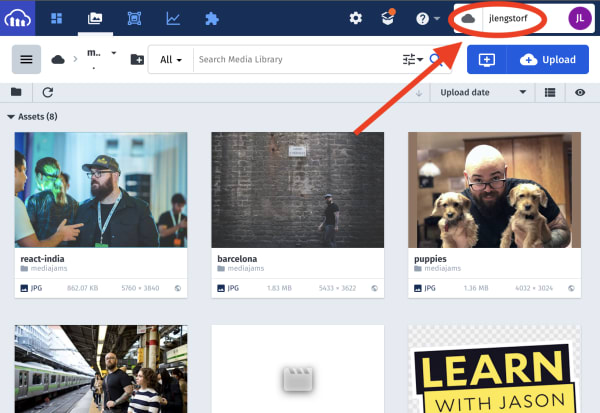
The cloudName should contain our Cloudinary cloud name, which is displayed at the top-right of the console.
videoOneId will contain the public ID of the first video asset, which is the name of the file on Cloudinary, including any folders. Using our example video from above, the public ID is mediajams/disappointed-coffee.
videoTwoId contains the public ID of the second video, which is mediajams/deploy-to-netlify.
Finally, the transitionId will contain the public ID of the luma matte: mediajams/transition.
To set up our video, we build a Cloudinary URL that contains:
- The public Cloudinary URL,
https://res.cloudinary.com/ - Our cloud name
- The asset type,
/video/upload/ - Transformations to adjust the quality automatically and resize to 600px wide:
q_auto,w_600 - The public ID of our video
- A file type of MP4 using a file extension
Once we have the URL, we can add that as the src value in a video element, and return that from our component.
Combining the videos with a transition requires two discrete steps to be added:
- The second video needs to be added as a video overlay, which requires replacing any slashes in the public ID with the colon (
:) to avoid URL issues. Using the fill crop transformation, we set the video to be the same size as the first video. - Next, we add an additional video overlay with the transition video, but we apply the transition effect to let Cloudinary know that it’s a luma matte. We also crop and resize this appropriately. Finally, we apply the layer to let Cloudinary know that it needs to apply the transition to the two videos.
  function Video({ cloudName, videoOneId, videoTwoId, transitionId }) {
    // set up a Cloudinary URL to use your cloud name and display video
    let videoSource = `https://res.cloudinary.com/${cloudName}/video/upload`;

    // automatically adjust the quality and set the video to 600px wide
    videoSource += "/q_auto,w_600";

+   // replace folder slashes with colons so the URL works
+   const videoTwo = videoTwoId.replace("/", ":");
+
+   // splice in the bumper video at the beginning
+   // set it to the same width and make sure it fills the space
+   videoSource += `/l_video:${videoTwo},c_fill,w_600`;
+
+   // replace folder slashes with colons so the URL works
+   const transition = transitionId.replace("/", ":");
+
+   // add in the transition and apply it
+   videoSource += `/l_video:${transition},c_fill,w_600,e_transition/fl_layer_apply`;

    // set the public ID to display the video as an MP4
    videoSource += `/${videoOneId}.mp4`;

    // add the full URL to a standard HTML5 video element
    return (
      <video controls>
        <source src={videoSource} type="video/mp4" />
      </video>
    );
  }
Code language: JavaScript (javascript)
Adding these two pieces to the URL gives us a generated video from Cloudinary that shows the first video, and then transitions to the second video.
With our Video component configured to combine videos with a custom transition, we’re ready to display it on screen!
We can add the React component to our app like this:
function App() {
  return (
    <main>
      <h1>Video Transitions with React & Cloudinary</h1>
      <Video
        cloudName="jlengstorf"
        videoOneId="mediajams/disappointed-coffee"
        videoTwoId="mediajams/deploy-to-netlify"
        transitionId="mediajams/transition"
      />
    </main>
  );
}
Code language: JavaScript (javascript)
Our app will now display a video that shows our first video, and then transitions into the second!