
In product development, documentation is essential. It provides in-depth explanations on interacting with a product. However, creating a comprehensive documentation website from scratch and implementing features like localization, SEO, and media files can be time-consuming and difficult.
Docusaurus is a static site generator that provides various features for creating and maintaining documentation. It is an open-source project built and maintained by Meta. It has native support for React, markdown files (.md, .mdx), and document versioning. It also comes with pre-configuration for Algolia search and localization.
In this article, you will learn how to spin up a Docusaurus project and add an optimized image to your documentation through Cloudinary.
Get the complete demo for this article on CodeSandbox.
The source code is also available on Github.
You do not need a lot of in-depth coding knowledge because Docusaurus is beginner-friendly. However, you should at least have:
- Knowledge of writing markdown content in a
.mdor.mdxfile - Basic understanding of creating and implementing React components
- A Cloudinary account for storing and delivering your optimized images (Create a free one here)
- Installation of Node.js on your computer should come with
npxfor spinning up a new Docusaurus project andnpmfor running the project
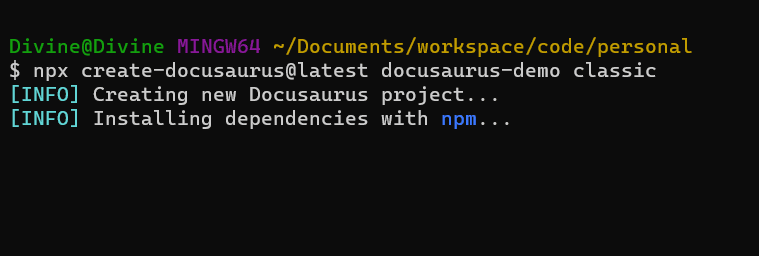
In your terminal, navigate to your preferred directory and run the command below:
npx create-docusaurus@latest <project-name> classic
This command spins up a new Docusaurus project with your preferred <project-name> and a classic theme. For this article, the <project-name> is docusaurus-demo.
Wait for its dependencies to install. Please note that there is no progress bar indicator, so this stage’s process might look static, but it is installing:
After successfully installing the dependencies, you will see these messages below in your terminal:
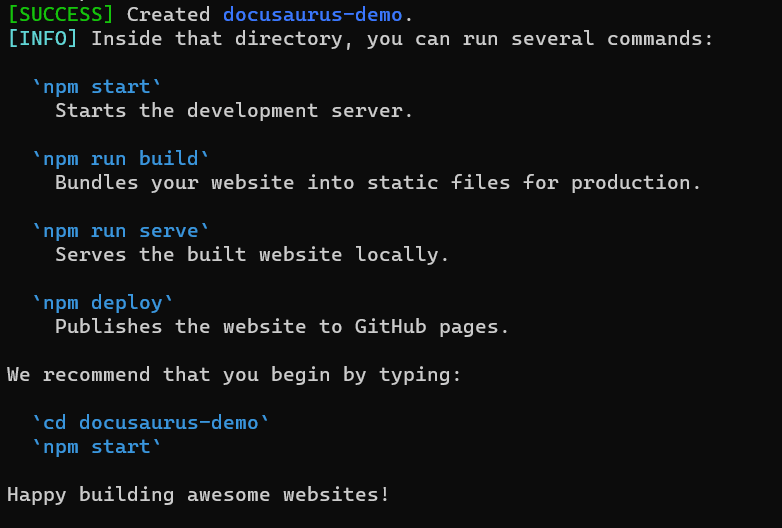
Open the project folder in your preferred code editor to view its code, and run npm start in your project’s terminal to view it on localhost:3000.
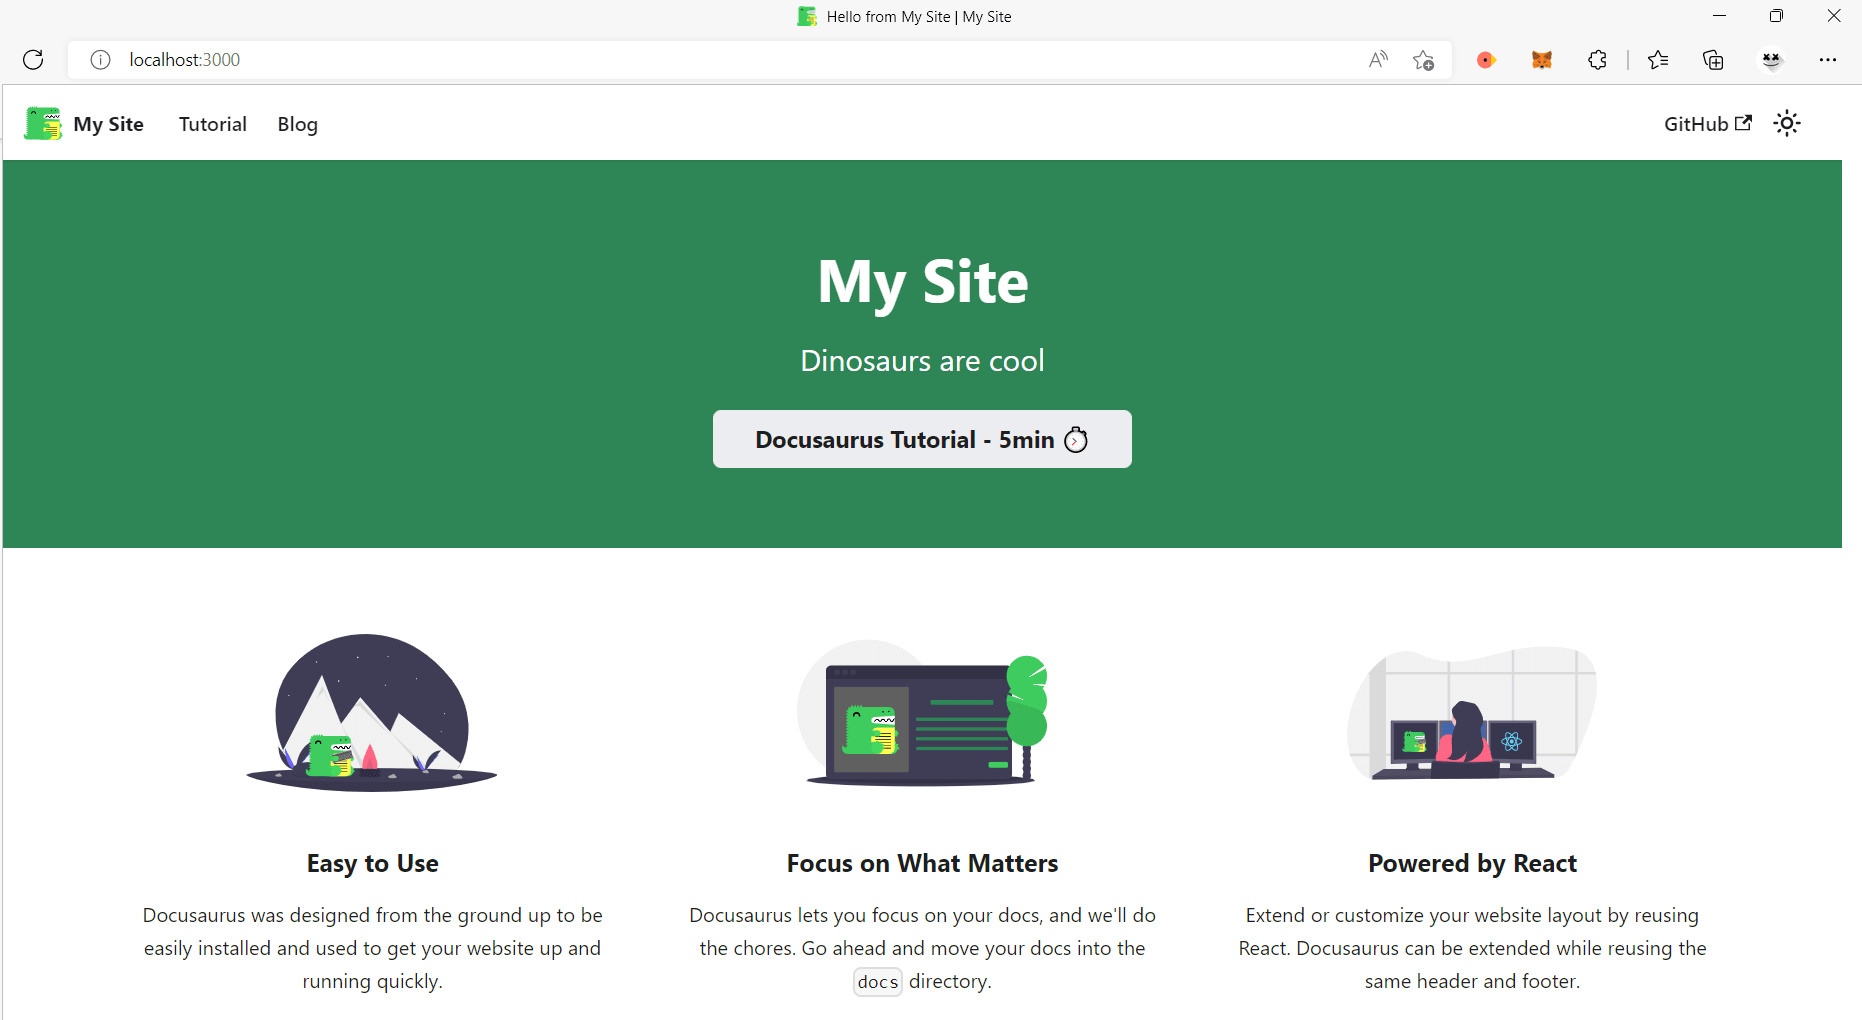
On the header of your Docusaurus website, you will see the site name My Site, the documentation page Tutorial, and the blog page Blog. Click on Tutorial to view the documentation page.
In your browser, open the Media Library tab in your Cloudinary dashboard and create a new folder:
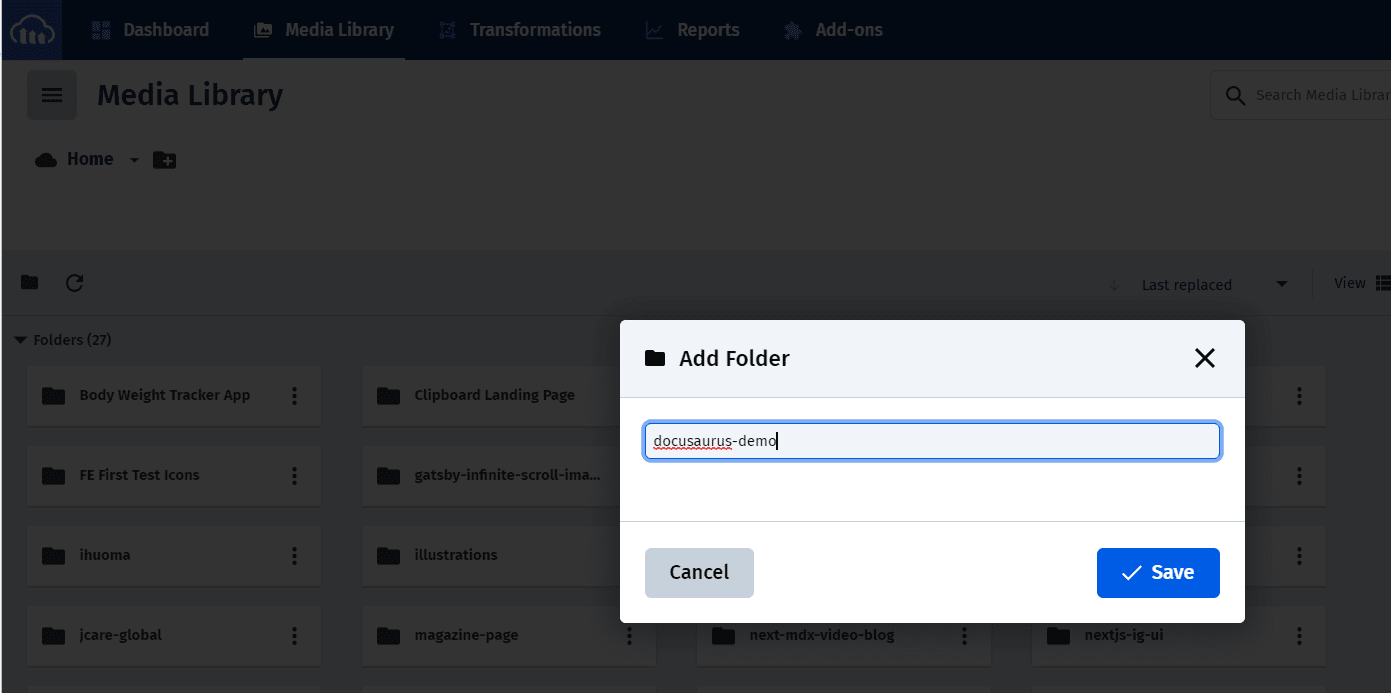
Navigate into your new folder and upload your preferred images into it:
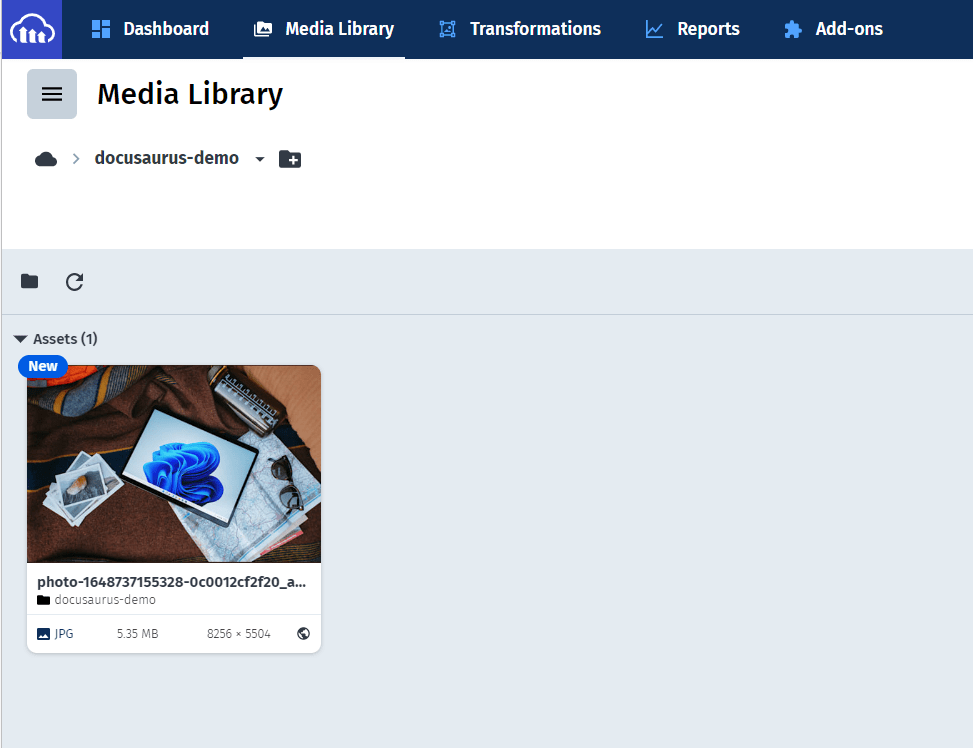
Take note of the public id of each image you upload:
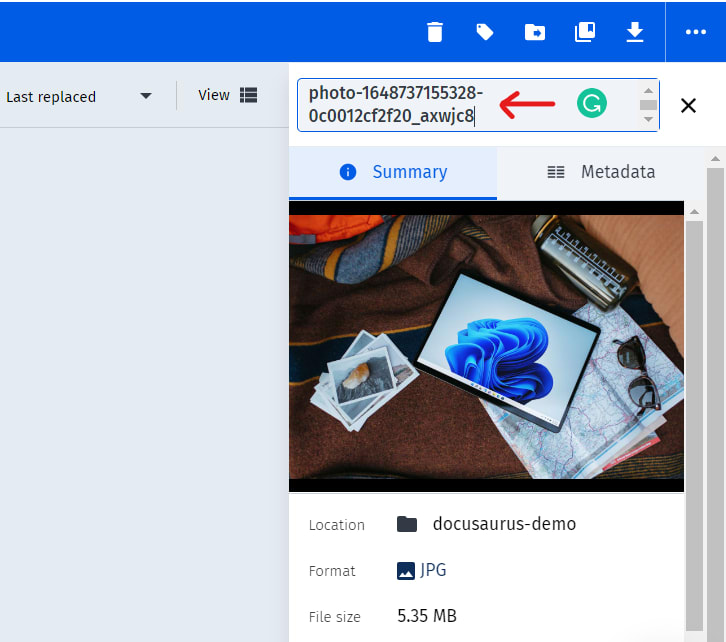
For example, the public id of the sample image above is docusaurus-demo/photo-1648737155328-0c0012cf2f20_axwjc8 because you got the image from the docusaurus-demo folder you created in your Media Library.
In your terminal, run the command below to install some Cloudinary packages for image optimization and transformation:
npm i @cloudinary/url-gen @cloudinary/react
In your code editor, navigate to the src/components/ folder, create an OptimizedImage/index.js file and fill it with the code below:
import React from 'react';
import { AdvancedImage } from '@cloudinary/react';
import { Cloudinary } from '@cloudinary/url-gen';
import { scale } from '@cloudinary/url-gen/actions/resize';

export default function OptimizedImage({ publicId }) {
  const cld = new Cloudinary({
    cloud: {
      cloudName: '<CLOUDINARY_CLOUD_NAME>',
    },
  });

  const myImage = cld.image(`${publicId}`);

  myImage.quality('auto').format('auto').resize(scale().width(480));

  return (
    <div>
      <AdvancedImage cldImg={myImage} />
    </div>
  );
}
In the code above, you did the following:
- Imported
AdvancedImagecomponent from@cloudinary/reactandCloudinaryfrom@cloudinary/url-gen - Created an
OptimizedImagecomponent that takespublicIdas its prop - Initialized a new
Cloudinaryvariable with your cloud name as its parameter - Created a
myImagevariable which gets an image from Cloudinary through its public id - Optimized
myImagewith transformation settings from Cloudinary - Added
myImageto the<AdvancedImage />component
In your docs/ folder, update intro.md with the code below:
---
sidebar_position: 1
---
import OptimizedImage from '../src/components/OptimizedImage';

# Tutorial Intro
Let's discover **Docusaurus in less than 5 minutes**.

## Optimized Image
<OptimizedImage publicId="docusaurus-demo/photo-1648737155328-0c0012cf2f20_axwjc8" />
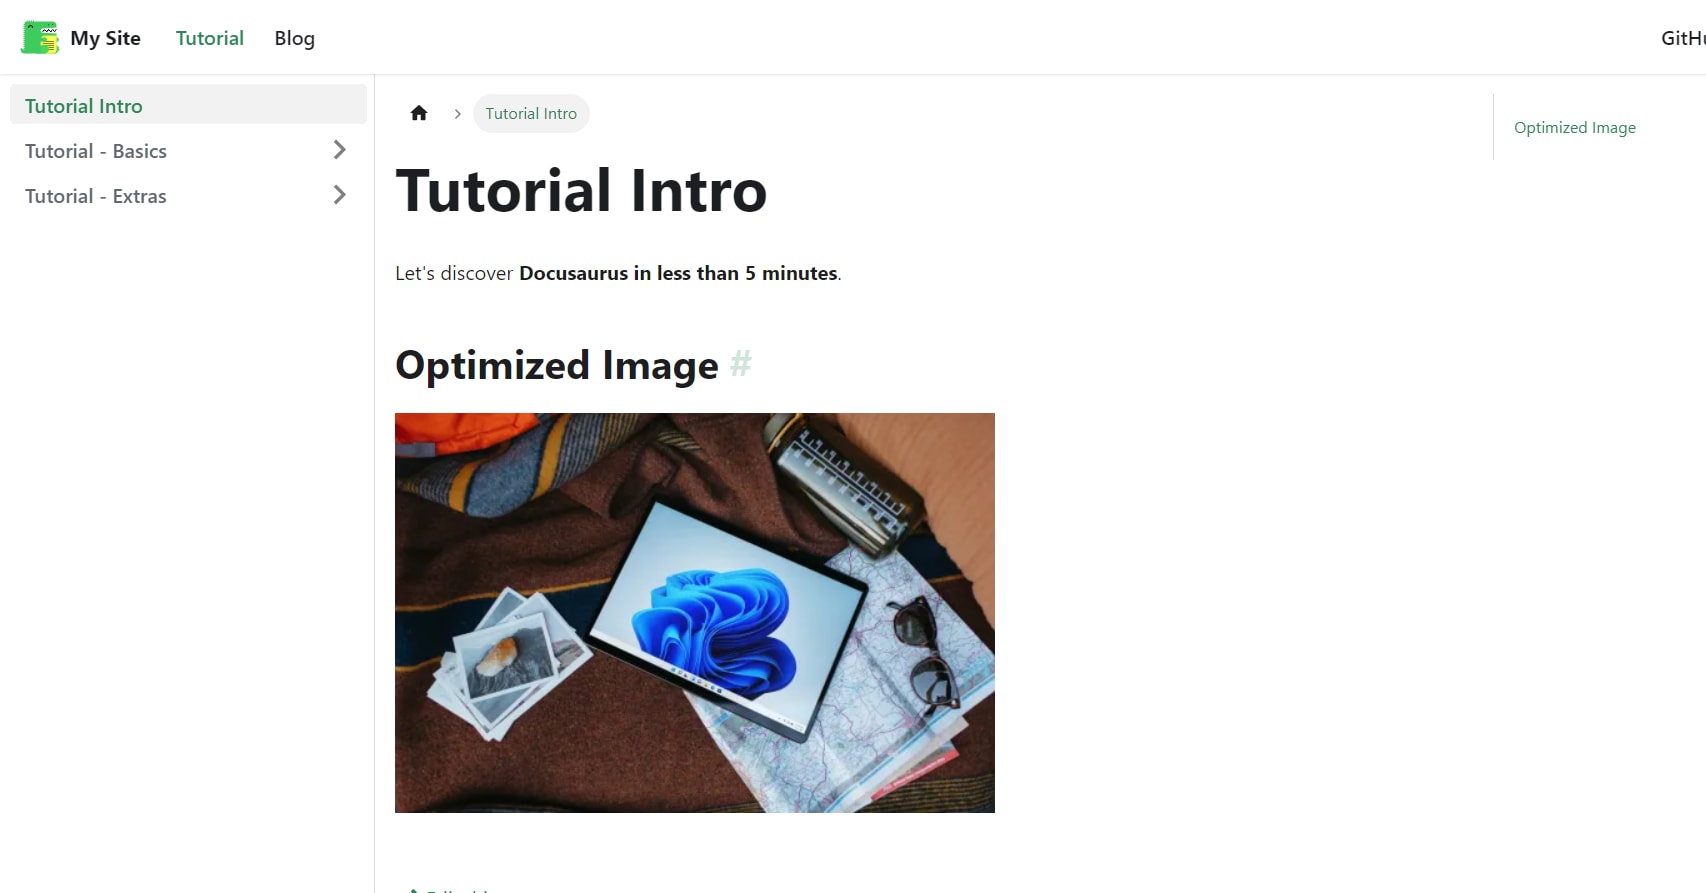
Here, you imported the OptimizedImage component and added your Cloudinary image’s public id.
On your browser, this will be the result:
In this article, you learned how to spin up a documentation website using Docusaurus quickly and add an optimized image to it using Cloudinary. If you want to explore how to use Docusaurus or Cloudinary, check out the helpful resources below.