
A contact form directory is simply a list of contacts with details such as name, phone number, email, and in our case user avatars. In this post we will be building a contact form directory using React, Cloudinary tags and Chakra UI. Cloudinary is a platform on which we can upload, store, manage, transform, and deliver images and videos for web and mobile applications. Chakra UI is a simple, modular and accessible component library that gives you the building blocks you need to build your React applications.
To follow along with this tutorial, you’ll need the following:
- Knowledge of JavaScript and React
- Nodejs >=v14 installed
- A code editor (VS Code preferably)
- A Cloudinary account. Signup is free!
The complete code and demo to this tutorial is on Codesandbox.
Let’s go ahead and create the user avatars on Cloudinary. Follow these steps:
-
Login to cloudinary
-
Click on Media Library
-
Navigate to the samples folder
-
Open the animals folder or chose any folder/images of your choice. You should be presented with this screen:
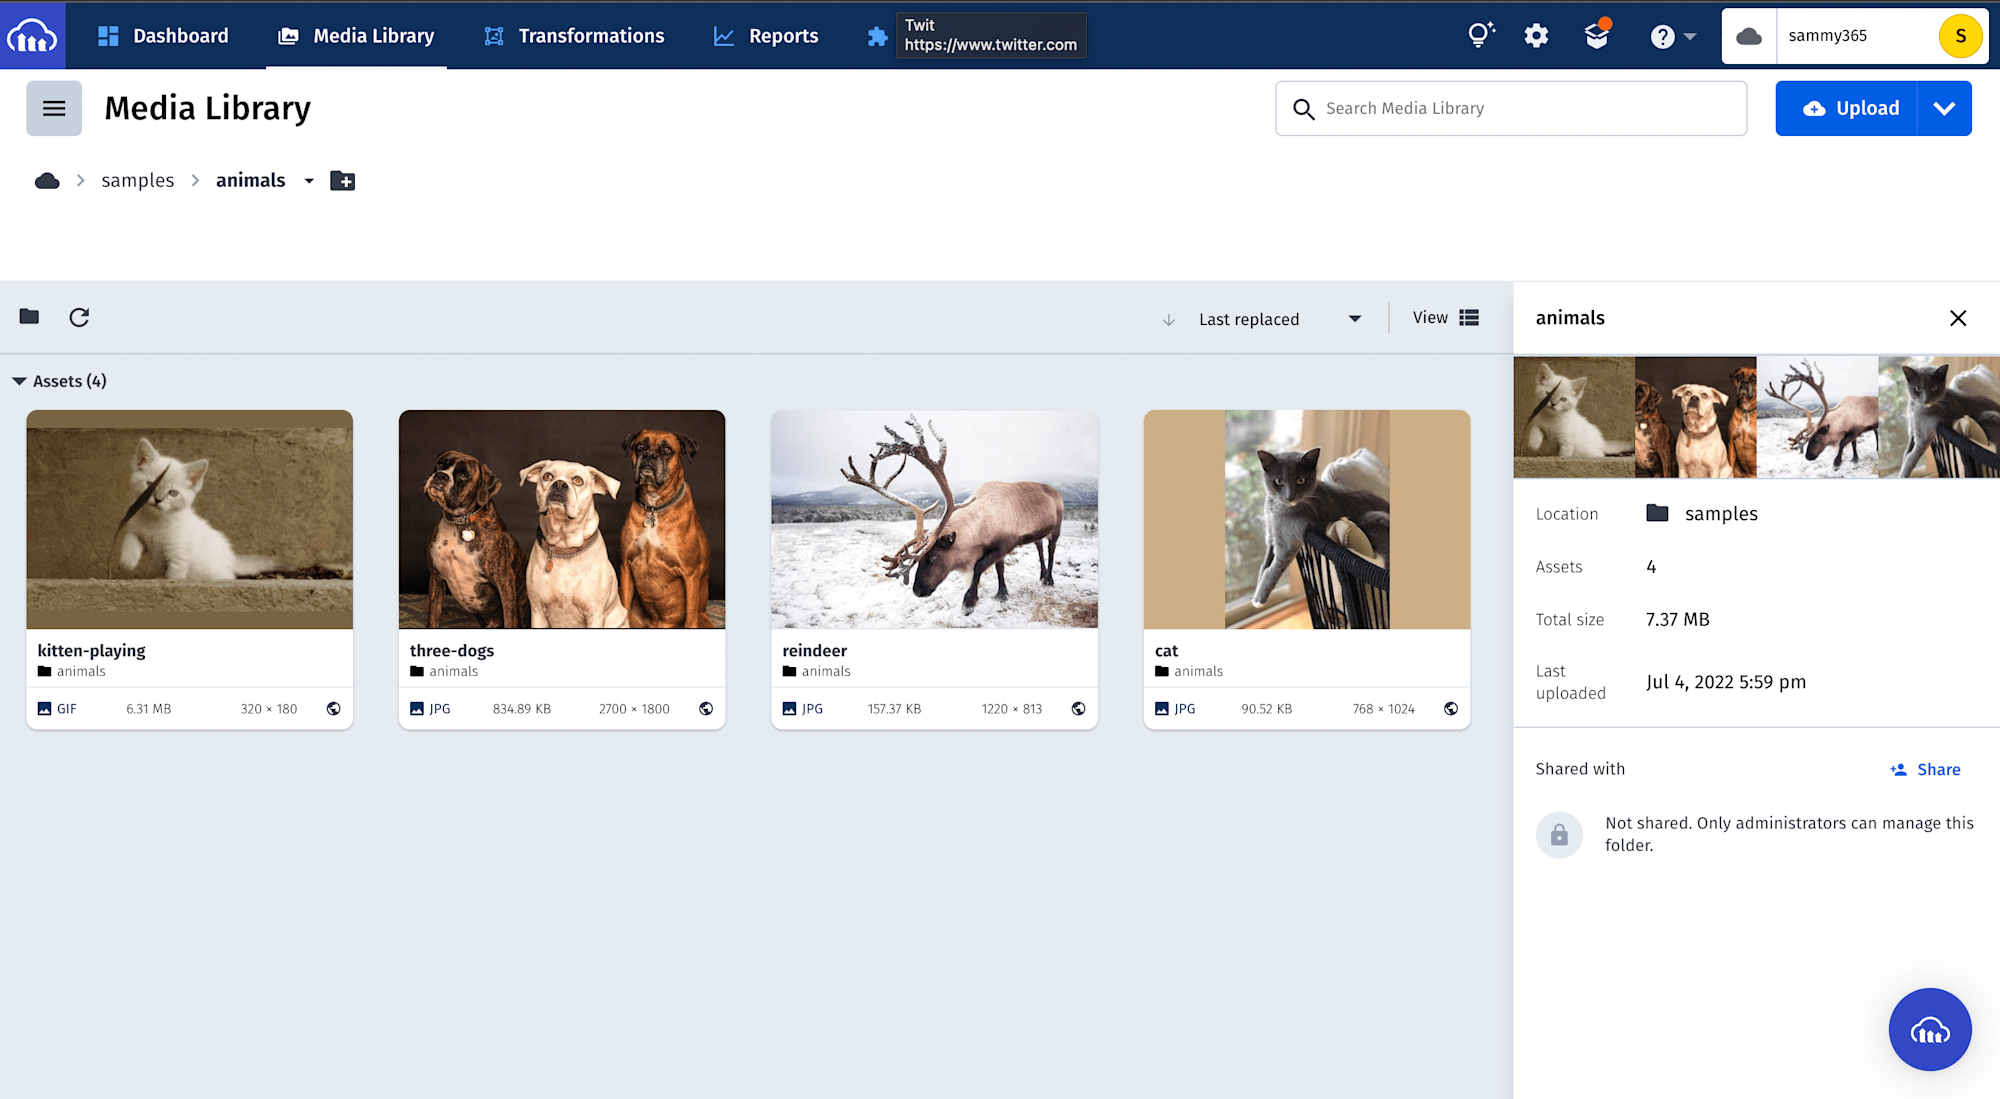
-
Hover over the first image, click the check box, and click on the Metadata on the far right sidebar
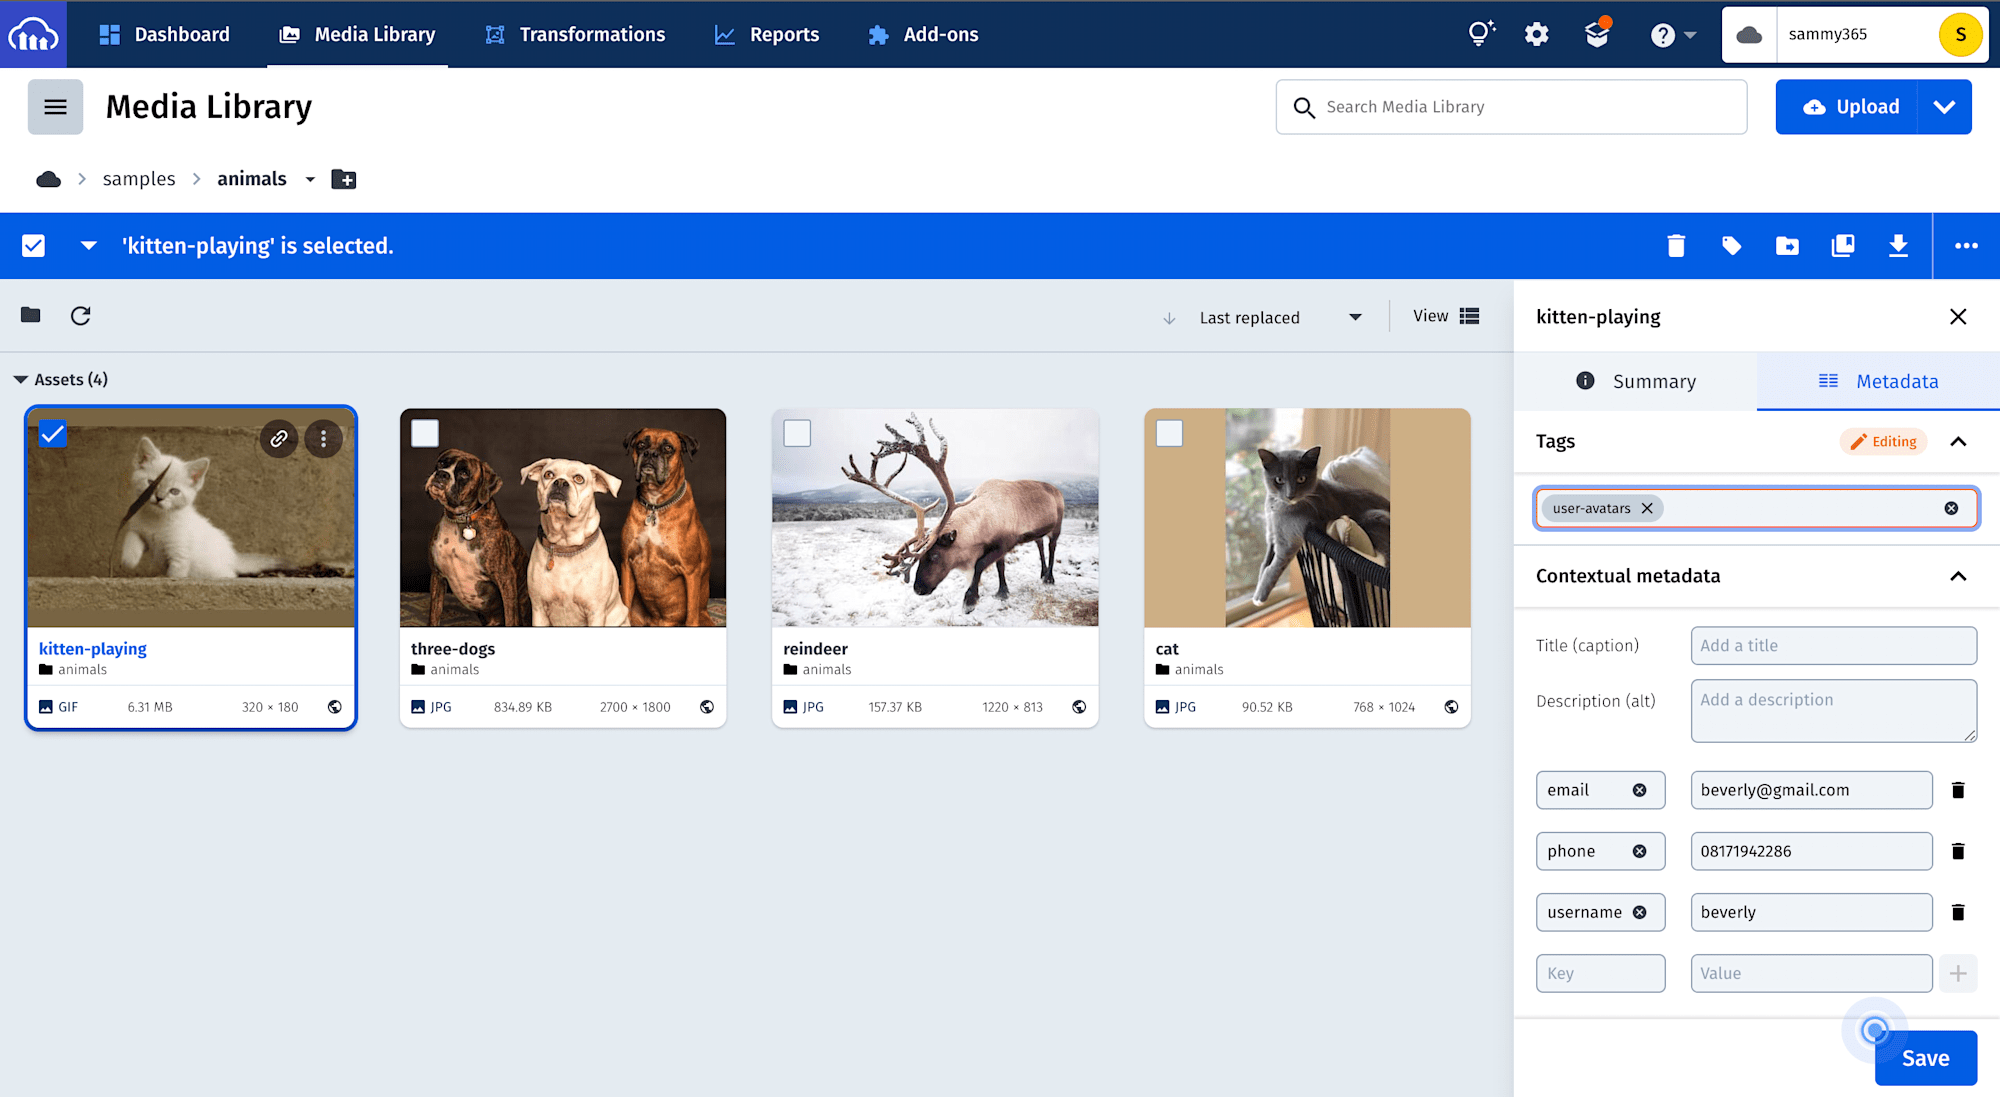
-
Like in the image above, add email, phone, and username as keys and give them values of your choice.
-
Save and repeat the steps with other images.
-
Now select all the images and click on the tag icon. Name your tags
user-avatarsand click on Update.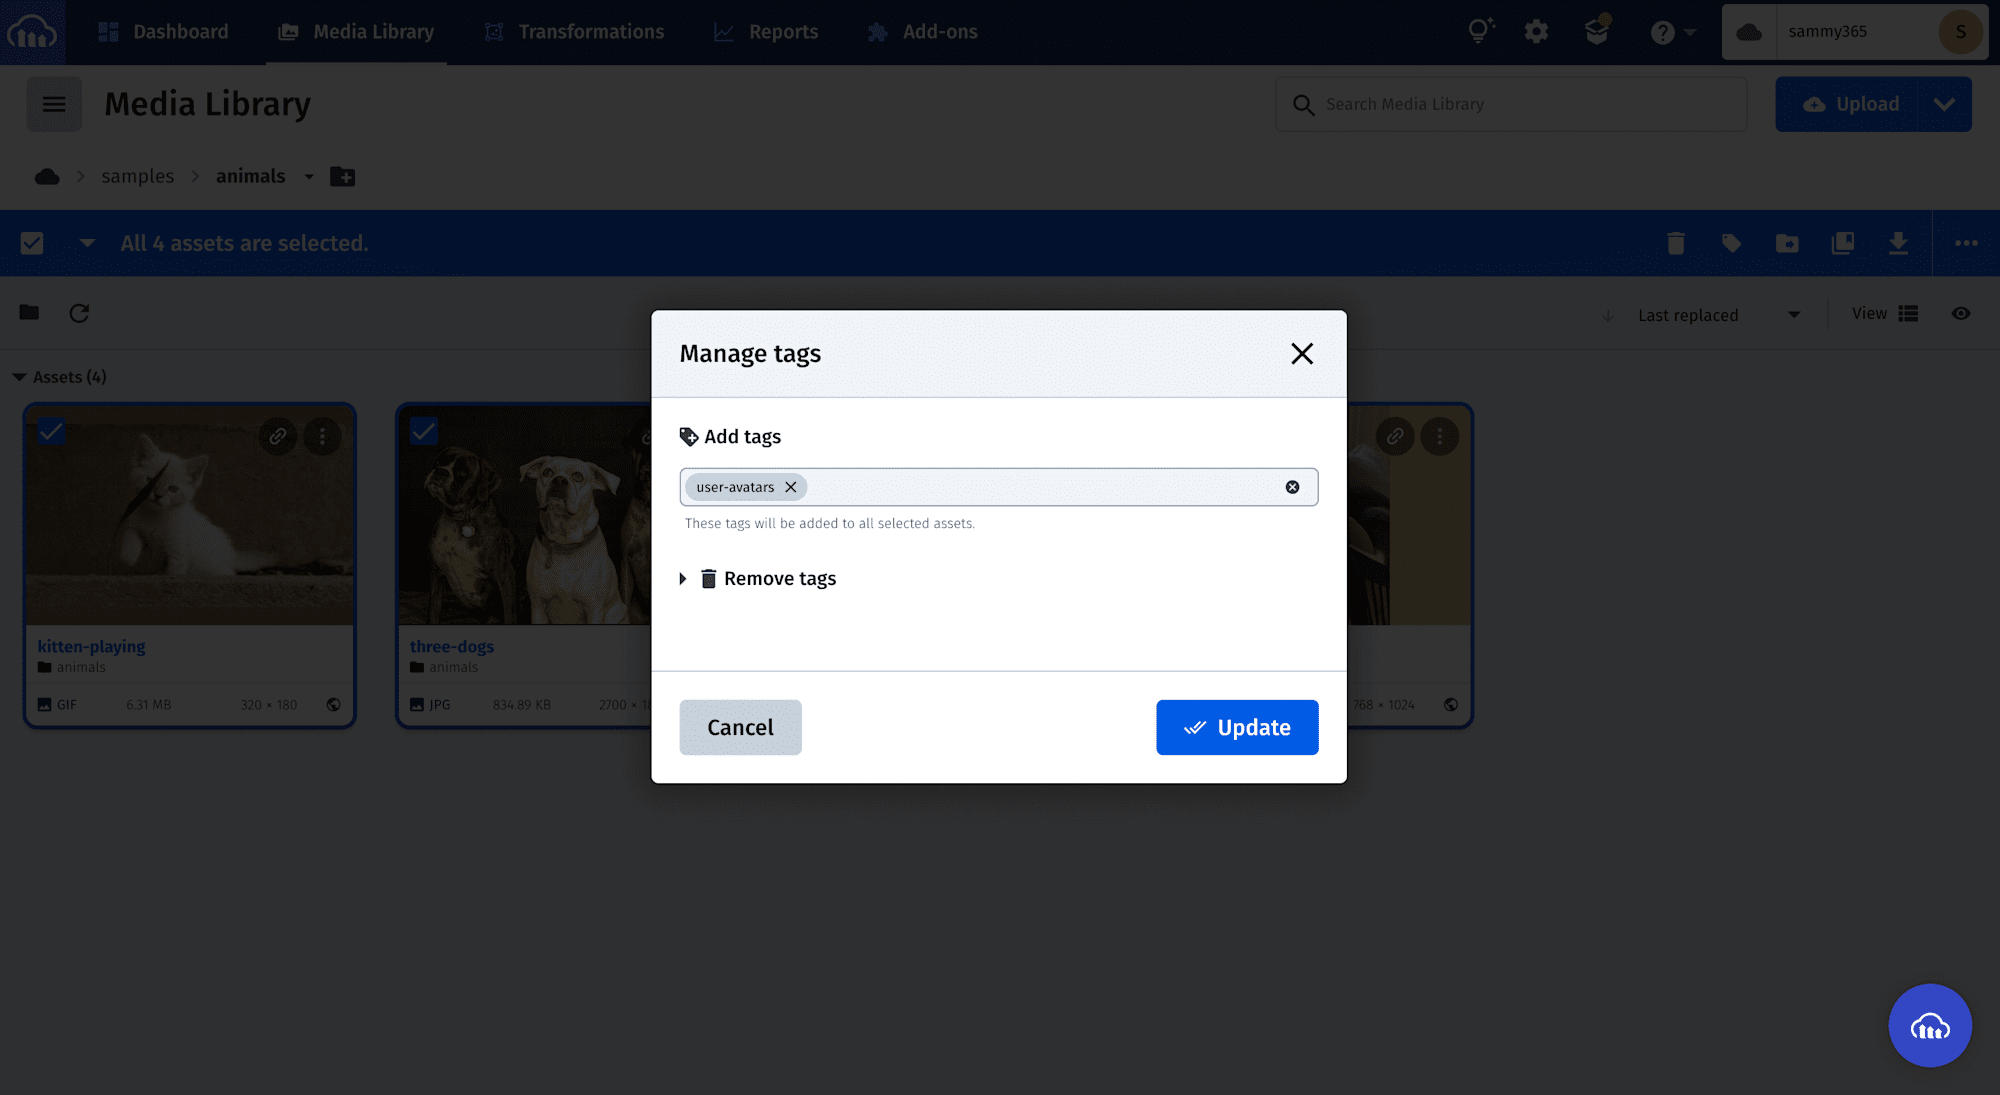
Now we have created our tag, let’s extract the JSON object.
Cloudinary automagically creates a REST API endpoint from our tags. Let’s extract the user-avatar tag.
https://res.cloudinary.com/<your-cloud-name>/image/``*list/user-avatars.json*. Replace your-cloud-name with your cloudinary cloud name and paste the url on your browser. You should see something like this:
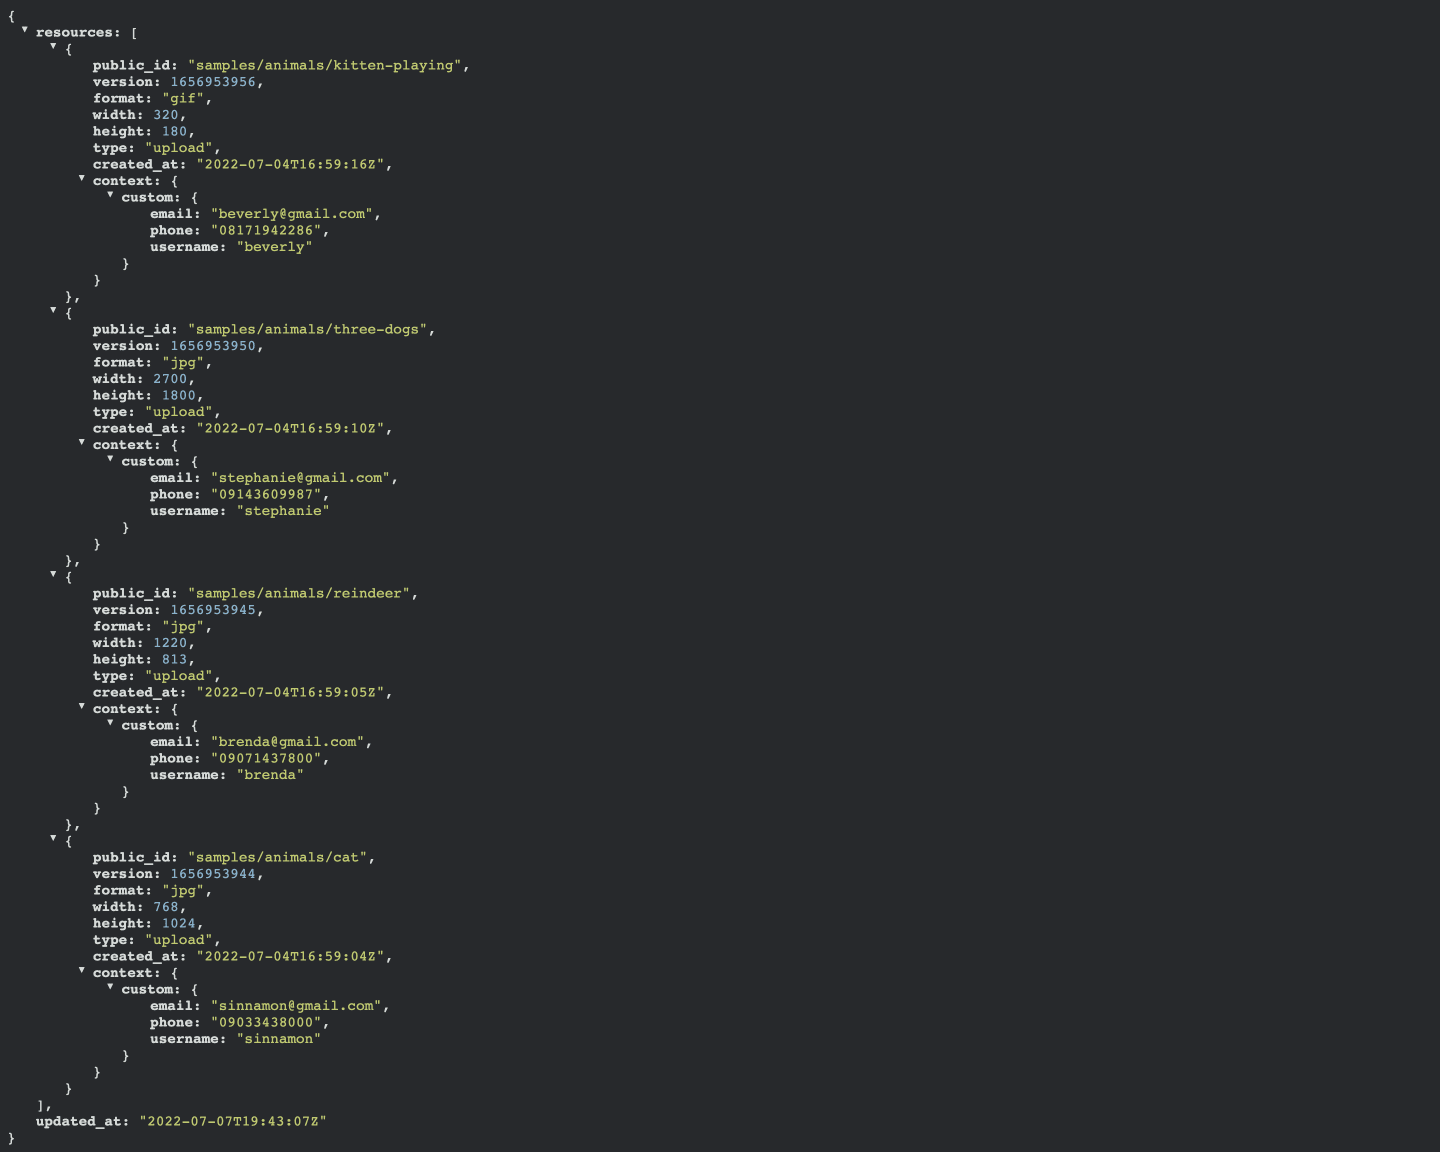
If you’ve gotten to this point, you’re Awesome! Now we have our REST API object, let’s implement our UI with React and Chakra UI.
Let’s go ahead and setup the React project. Run this command on your terminal:
#bash
npx create-react-app contact-directory
Code language: CSS (css)
When it’s done installing, change directory to the project directory and run the React app with npm run start.
Go ahead and delete all the files in the src directory except App.js and index.js.
Let’s now install Chakra UI. Run this command on your terminal:
npm i @chakra-ui/react @emotion/react @emotion/styled framer-motion
Code language: CSS (css)
When it’s done installing, update the index.js to look like this:
#src/index.js

import React from 'react';
import ReactDOM from 'react-dom/client';
import App from './App';
import { ChakraProvider } from '@chakra-ui/react'


const root = ReactDOM.createRoot(document.getElementById('root'));
  root.render(
    <ChakraProvider>
      <React.StrictMode>
        <App />
      </React.StrictMode>
    </ChakraProvider>
  );
Code language: PHP (php)
Here, we’ve added ChakraProvider over App so we can use Chakra UI anywhere in our project.
Go ahead and clear the content of App.js and add these lines of code to flesh out our UI.
#src/App.js
import {
Box,
Text,
Avatar,
Table,
Thead,
Tbody,
Tr,
Th,
Td,
TableCaption,
TableContainer,
} from '@chakra-ui/react'
function App() {
return (
<Box>
<TableContainer>
<Table variant='simple'>
<TableCaption>Animal Farm contact list</TableCaption>
<Thead>
<Tr>
<Th>Avatar</Th>
<Th>Name</Th>
<Th>Email</Th>
<Th>Phone number</Th>
</Tr>
</Thead>
<Tbody>
<Tr>
<Td>
<Avatar
alt="user-avatar"
/>
</Td>
<Td>
<Text> Chris </Text>
</Td>
<Td>
<Text>chris@gmail.com</Text>
</Td>
<Td>
<Text>09087654321</Text>
</Td>
</Tr>
</Tbody>
</Table>
</TableContainer>
</Box>
);
}
export default App
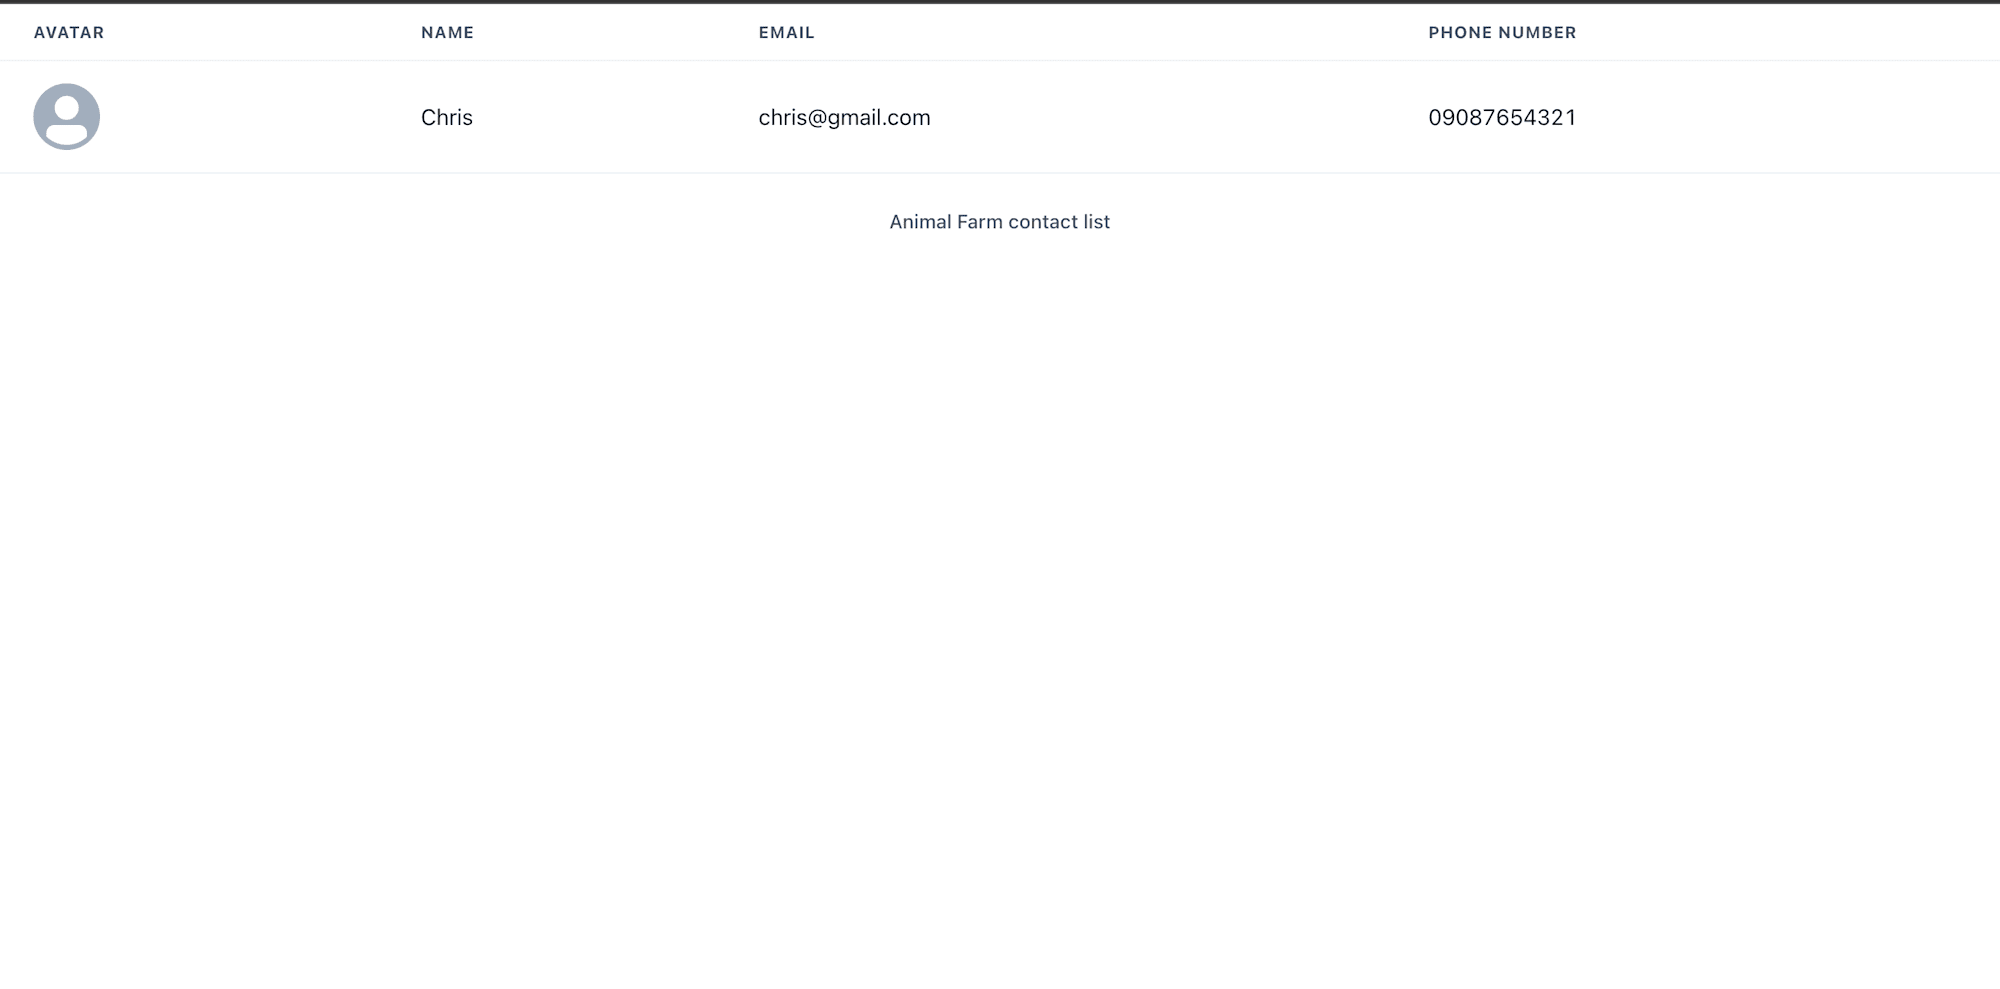
Code language: HTML, XML (xml)Navigate to your browser and you should be presented with this screen:
Awesome! Let’s now integrate the cloudinary API. Add the following lines of code
function App() {
  const [userInfo, setUserInfo] = useState(null);
  const baseURL = "https://res.cloudinary.com/sammy365/image";

  const getUserAvatar = async () => {
    const res = await fetch(
      `${baseURL}/list/user-avatars.json`
    );
    const data = await res.json();
    setUserInfo(data);
  };

  useEffect(() => {
    getUserAvatar();
  });
  return()
}
Code language: JavaScript (javascript)
Here, we create a userInfo variable that will hold our user info data. We also fetch the JSON data from the cloudinary url we constructed earlier.
Let’s now use our data in the templates. Update your code to look like this:
#App.js
...

<Thead>
  <Tr>
    <Th>Avatar</Th>
    <Th>Name</Th>
    <Th>Email</Th>
    <Th>Phone number</Th>
  </Tr>
</Thead>

<Tbody>
    {userInfo &&
    userInfo.resources.map((info) => {
    const { format, public_id, version, type, } = info;

    return (
      <Tr key={version}>
        <Td>
          <Avatar
            src={`${baseURL}/${type}/v${version}/${public_id}.${format}`}
            alt="user-avatar"
          />
        </Td>
        <Td>
          <Text>{info.context.custom.username}</Text>
        </Td>
        <Td>
          <Text>{info.context.custom.email}</Text>
        </Td>
        <Td>
          <Text>{info.context.custom.phone}</Text>
        </Td>
      </Tr>
    )
    })}
</Tbody>
Code language: HTML, XML (xml)
Save and head to your browser. You should see something like this:
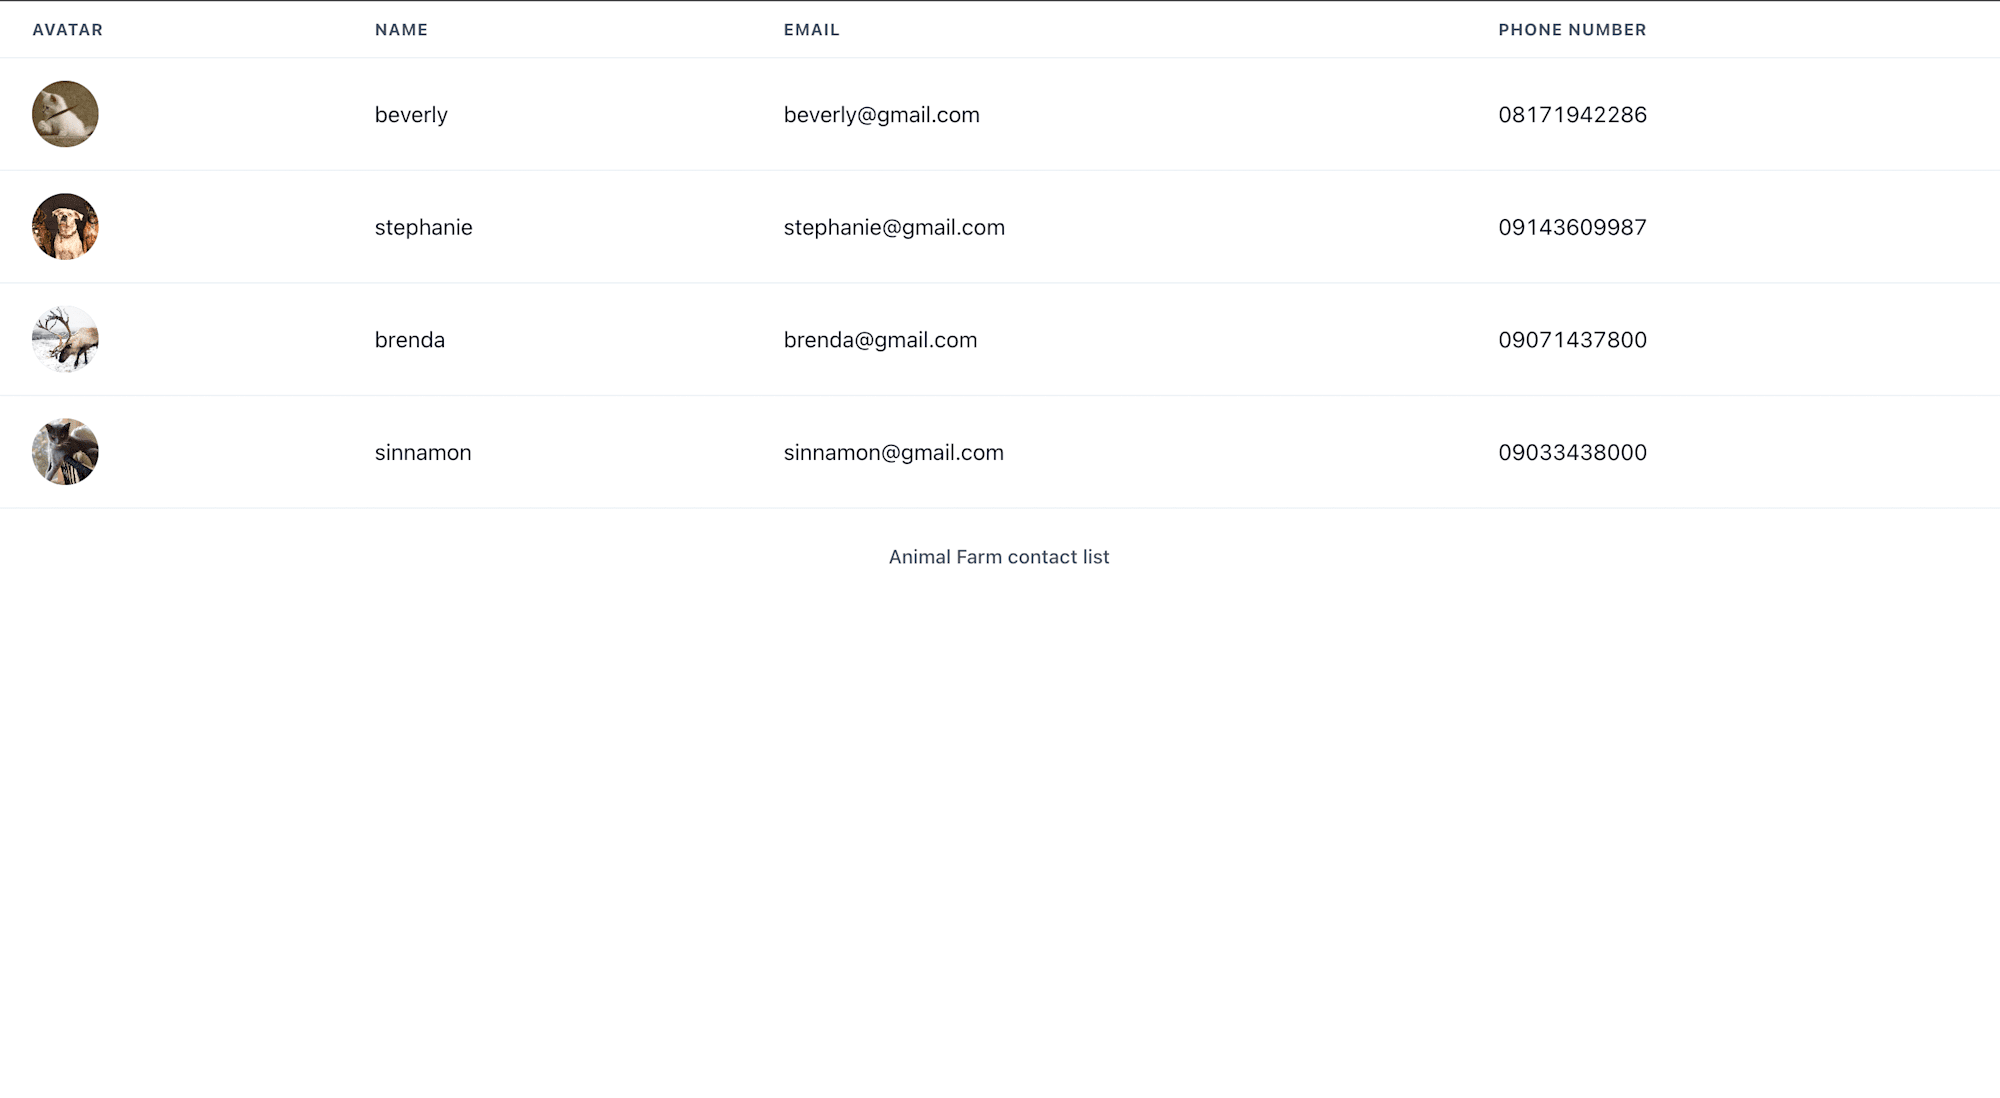
If you’ve followed to this point, you’re Awesome! That’s our contact form directory.
You can go ahead and add more images and Metadata to the user-avatars tag and your app will receive the updates. In this post, we learned how to create a contact form directory with React, Cloudinary tags and Chakra UI.
Happy Coding!