Barcodes are useful for encoding and designating data. Among other applications, barcodes are used to track inventories and assets across various supply chains and organizations. Barcodes are also valuable for encrypting information.
This article will teach readers about barcodes and their formats and create and generate your barcodes in the Next.js application.
The project was completed in a codesandbox. Fork and run it to quickly get started.
Here is a GitHub link to the project.
Barcodes are printed symbols of lines and spaces which can be electronically scanned via laser or image-based technology. They are mostly affixed to ID cards and shopping items, they make it easier and faster to track products and ring them up in stores and shops. Barcodes enable ease, speed, accuracy, and reduced training.
Many types of barcodes are used for encoding information and are divided mainly into Linear and Matrix barcodes.
Linear barcodes are known as 1-dimensional barcodes, and they are what you see on products everywhere. They have horizontal and vertical lines with spaces, and they might also contain numbers or letters. There are many kinds of 1D barcodes used for encoding information, and they are:
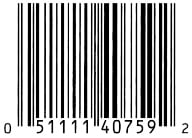
- Universal Product Code: Known as UPC barcodes, used mainly for labeling and scanning goods at points of sale, easier to identify specific products in stores and during inventories, UPC barcodes have 12 digits, and short versions have seven digits.
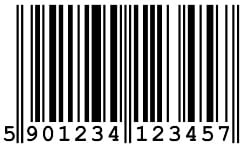
- European Article Number: Known as EAN barcodes, used primarily in POS systems, also used in commercialized products in stores, UPC and EAN barcodes differ because UPC has 12 digits, EAN has 13 numbers, EAN codes have a few variants, including EAN8, EAN8 P2, EAN13, EAN13 P2, etc.
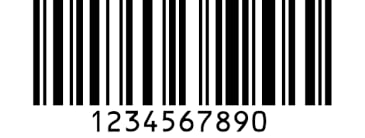
- CODE 128: Official barcode for computers can represent all the characters of the 128 American Standard Code for Information Interchange (ASCII) characters, ASCII assigns numeric values to characters like numbers, letters, punctuation marks, and other computer symbols, can have any number, can be used to encode links, documents, and various additional information.
There are many more types of 1 dimensional or linear barcodes. You can visit this link to find out more about linear barcodes.
Matrix barcodes are also known as two-dimensional barcodes. They consist of black and white dots or contrasting dark, and light cells arranged in a square or rectangular pattern called a matrix or grid. They have become more widely used than barcodes because they can be used to encode more information per unit area, and they also hold information both horizontally and vertically. Matrix codes are used when a network connection isn’t readily available or when a large amount of data is needed. Some types of matrix barcodes include:
-
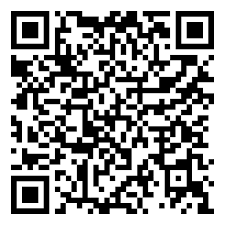
Quick Response code: Known as QR codes, scannable images that can be read using a smartphone camera, very black square and dot represent specific pieces of information
-
Aztec: Two-dimensional matrices designed to have more accuracy than other two-dimensional matrixes, use less space than other matrix barcodes.
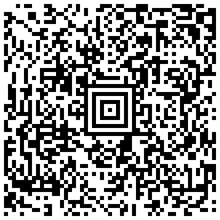
There are many more types of 2 dimensional or matrix barcodes. Visit this link to find out more about matrix barcodes.
Next, start by creating a new Next.js app with the command below:
using npx:
npx create-next-app@latest
I will be working with yarn from here on. Also, for this tutorial, you will be using the npm package [react-barcode](https://www.npmjs.com/package/react-barcode).
You will need to install the package using the command below:
yarn add react-barcode
Navigate to the pages/index.js file, clear out the code and paste in the code below:
import Barcode from 'react-barcode';
export default function Home() {
  return (
    <div>
      <Barcode value='code'/>
    </div>
  );
}
In the code above, you imported the barcode and then rendered it to the screen with a static value.
Startup the development server with
yarn dev
Next, navigate to localhost:3000 in your browser to view the code. You should have something that looks like the image below:
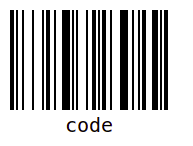
In your pages/index, you see that the barcode is static and can only show the value you passed in. To generate dynamic values for the barcode, you will create an input field so that whatever you type inside gets generated on the barcode.
import Barcode from 'react-barcode';
import { useState } from 'react';
export default function Home() {
  const [bar, setBar] = useState('');
  const handleChange = (e) => {
    setBar(e.target.value);
  };
  return (
    <div className="App">
      <input type="text" onChange={handleChange} />
      <Barcode value={bar} />
    </div>
  );
}
You create an input field for typing the values you want to render on the barcode in the code above. Next, you create:
- The initialized state in which you passed onto the value of the barcode.
- An onChange handler responsible for getting any values you type in the input field and then passing them to the barcode, generating a barcode out of your input value.
The results should be the same as the image below:
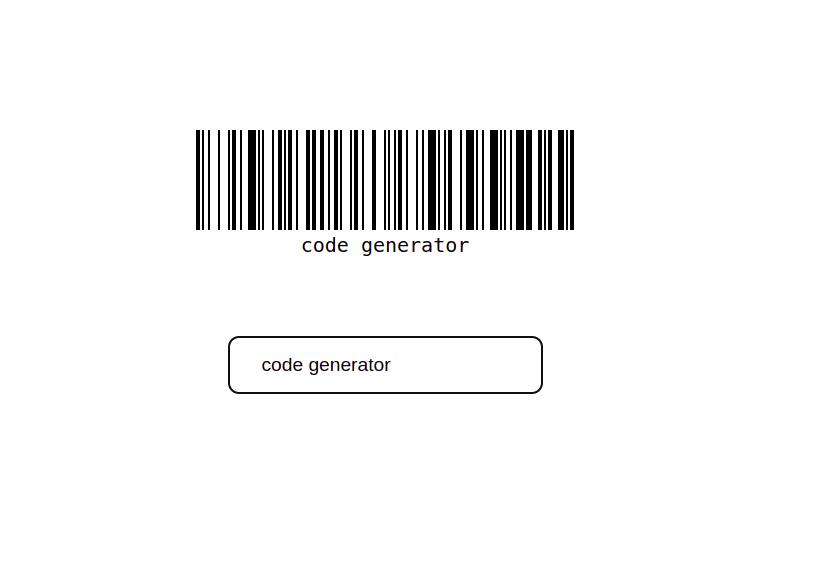
You can also pass values like format, line color, display value, etc., specifying how you want the barcode to be rendered, but if you don’t, it will assume and render the default values.
Please copy the code below and paste it into your App.module.css file for the styling.
.App {
  display: flex;
  justify-content: center;
  align-items: center;
  height: 70vh;
  position: relative;
}
.textbox {
  position: absolute;
  top: 68%;
  margin-top: 3rem;
  padding: 1rem 2rem;
  font-size: 1.2rem;
  border-radius: 10px;
  border: 2px solid black;
}
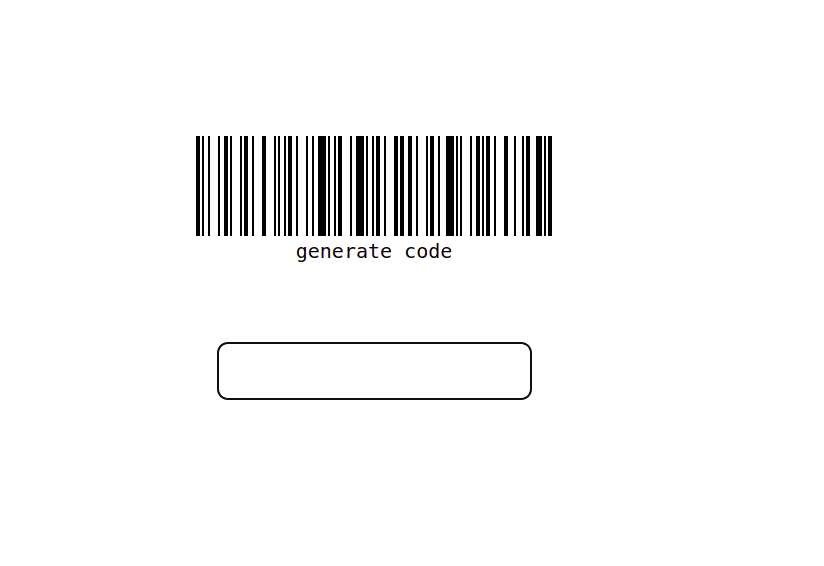
Note: You get an error when you have an empty value in your input. You can check if you have a value in the input bar and then render it.
<Barcode value={bar ? bar : 'generate code' } />
Whenever you have an empty value, the generated code is rendered on the barcode, as you can see in the image below:
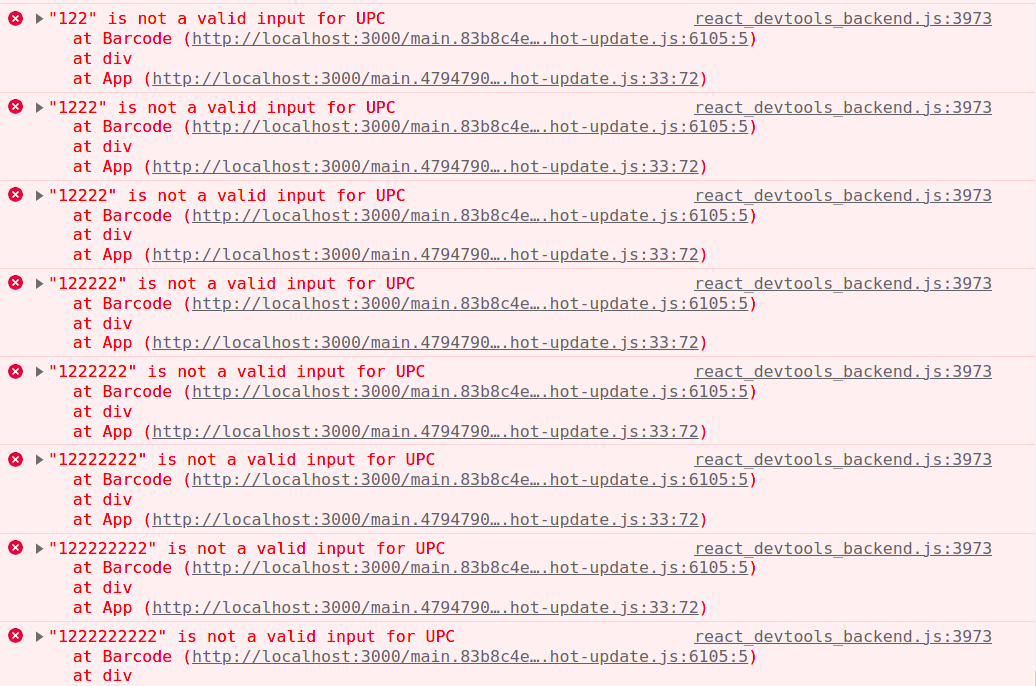
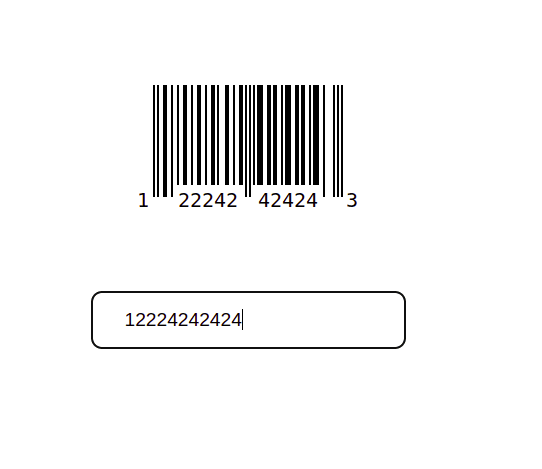
Make sure you render in other formats. The default format on the barcode is CODE 128, but you can define other formats. You will get an error if you try to render a UPC format because UPC formats must have 12 numeric characters. This means that you must define 12 numeric characters if you want the barcode to be generated in UPC format, as you will see below:
<Barcode value={bar ? bar : 'generate code'} format='UPC'/>
CODE 128 bar code will only work if you add 12 characters and are rendered in UPC format, you’d get an error because the default value is not numeric and cannot be rendered in UPC format as shown in the image below.
When you get to 12 characters, you will then see the barcode rendered on the screen:
This article taught us about barcodes, different types, formats, and various uses for barcodes. You also created a barcode generator application. You can extend the application to include certain barcodes and add a timer to the barcode.
You may find these resources helpful.
