Banners are a powerful marketing tool with numerous advantages. Whether it’s preparing an event, attending a trade fair, or considering on-premise marketing, an outstanding banner is a necessity to set yourself apart from the competition.
Physical event banners are one of the most effective kinds of outdoor advertising, so naturally digital event banners make a huge impression and convey the right message.
This article describes how to build a custom meetup banner in Next.js.
Next.js is a prominent React framework utilized for crafting full-stack web applications, encompassing both frontend and backend functionalities. It simplifies the tooling and configuration required for React, handling aspects like bundling and compiling to ensure a seamless development experience. Renowned for its static site generation capability, Next.js facilitates the creation of static web pages that are pre-rendered on build, cached, and delivered via a Content Delivery Network (CDN) for optimum loading speed. Moreover, it supports server-side rendering, another fast rendering method, to deliver a high-performance user experience. Notably, industry giants like TikTok, Hulu, and Nike have leveraged Next.js for their web development needs, attesting to its robust and scalable nature. According to a 2022 Statista report, both React and Next.js continue to rank among the most popular frameworks in the web development sphere.
The completed project is on CodeSandbox. Fork it to get started quickly.
The source code is on GitHub.
Adequate knowledge of JavaScript and React.js is required for following along with this article. A Cloudinary account is also needed — create one here. Knowledge of Next.js is not required but is preferred.
Next.js is a React-based framework with functionalities like pre-rendering, automatic code-splitting for faster page loads, and API routes to build API endpoints with serverless functions for back-end features.
Created by Vercel, Next.js is open source and based on Node.js and Babel — and also integrates with React to create single-page apps.
To create a new project, we’ll run the following command in our terminal:
    npx create-next-app <project-name>

Code language: HTML, XML (xml)
Next, we’ll navigate into the project directory and start the development server with the command below:
    cd <project-name> && npm run dev
Code language: HTML, XML (xml)
Next.js will load the project at http://localhost:3000 in our browser.
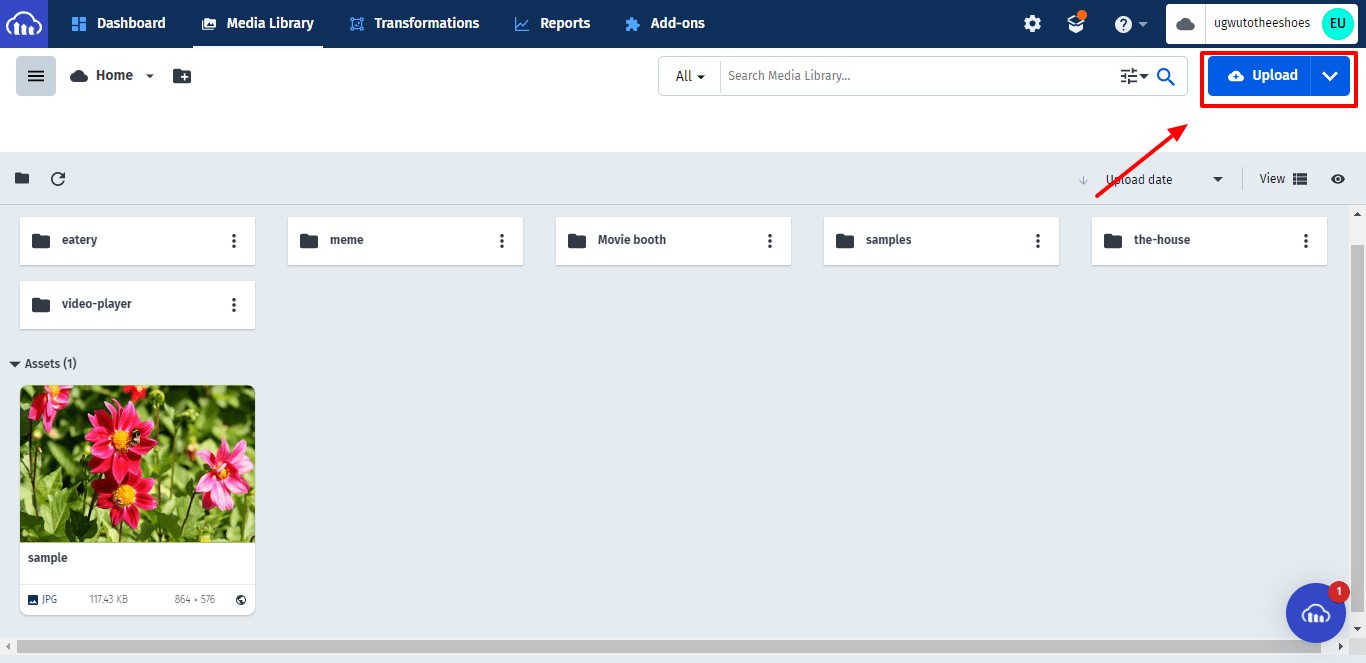
After successfully creating an account, Cloudinary will redirect us to our account’s dashboard page, where we can upload the banner image.

Click on the “Upload” button as shown above and select the image file to be uploaded.
With our project fully set up and configured, we can start building the meetup banner.
First, we’ll create two state variables called formData and display in the ./pages/index.js file. formData stores the value of the input elements anytime it changes, and display provides a conditional rendering option to display the current banner details only if it is updated.
    // ./pages/index.js

    import { useState } from "react";
    import styles from "../styles/Home.module.css";

    export default function Home() {
    const [display, setDisplay] = useState(false);
      const [formData, setFormData] = useState({
        name: "",
        speaker: "",
        date: "",
        time: "",
        detail: "",
      });

      return (
        <div className={styles.container}>
          <main className={styles.main}>
          <h1 className={styles.title}>event meetup banner</h1>
            <div className="run">
              // input elements and button
            </div>
          </main>
        </div>
Code language: JavaScript (javascript)
Next, we’ll create a set of input elements and a button in the ./pages/index.js file. The input elements are to accept the input values — the banner details, while the button is to handle the functionality of the banner. We’ll also bind the input values to the formData state variable to store the banner details.
    // ./pages/index.js

    <div className="details">
      <div className="label">
        <label>event name</label>
        <input
           type="text"
           placeholder="name"
           value={formData.name}
           onChange={handleChange}
        />
      </div>
      <div className="label">
        <label>event speakers</label>
        <input
          type="text"
          placeholder="speaker"
          value={formData.speaker}
           onChange={handleChange}
         />
       </div>
       <div className="label">
        <label>date</label>
        <input
           type="text"
           value={formData.date}
           onChange={handleChange}
         />
      </div>
      <div className="label">
         <label>time</label>
         <input
           type="number"
           value={formData.time}
           onChange={handleChange}
         />
       </div>
       <div className="label">
         <label>Venue</label>
         <textarea
           className="textarea"
           type="text"
           placeholder="type here"
           value={formData.detail}
           onChange={handleChange}
          />
          <button>Generate banner</button>
        </div>
    </div>
Code language: HTML, XML (xml)
Next, we’ll assign an onChange event listener to the input elements to update the values of formData as the input value changes.
      const handleChange = (e) => {
        setFormData({ ...formData, [e.target.name]: e.target.value });
        setDisplay(false);
      };
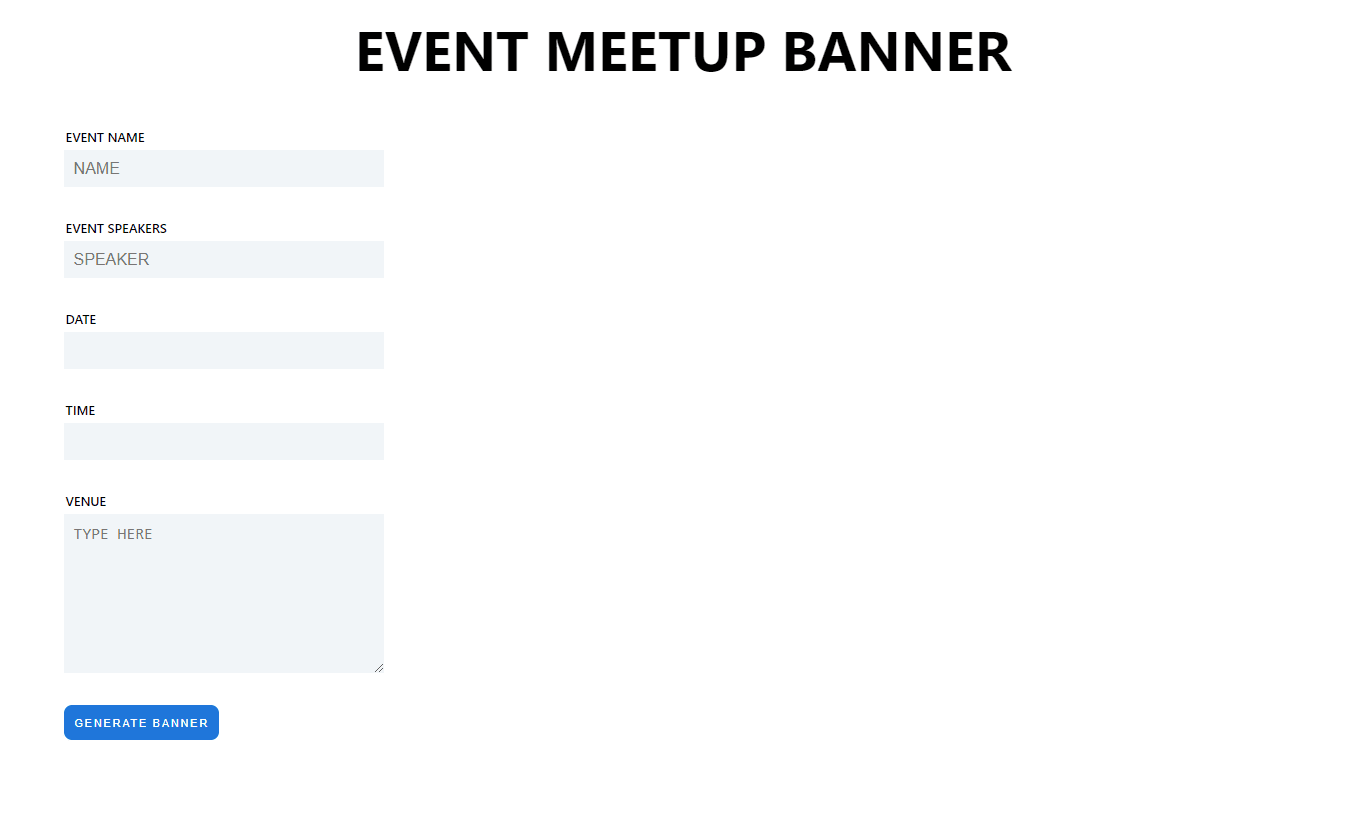
Our meetup banner should look like this in our browser:

We also need to handle the functionality of the banner to display only when we click on the “generate banner” button. To do so, we assign the button to an event that updates the formData with the current input values. The button also updates the display variable to true whenever we want to display the formData values.
     const handleSubmit = (e) => {
        e.preventDefault();
        setFormData({ ...formData });
        setDisplay(true);
      };
Code language: JavaScript (javascript)Here, we’ll integrate our Cloudinary image as the background of our banner. So, we’ll head over to Cloudinary to get the URL of the image. Before getting the URL, we’ll apply some transformations to our image in Cloudinary by clicking on the “edit” button. The transformations are to achieve a specific image height and width.
<img src="https://res.cloudinary.com/ugwutotheeshoes/image/upload/c_scale,h_450,w_750/v1649721585/pawel-czerwinski-dgJT71cXlC4-unsplash_usrnmt.jpg" alt="event image" />
Code language: HTML, XML (xml)
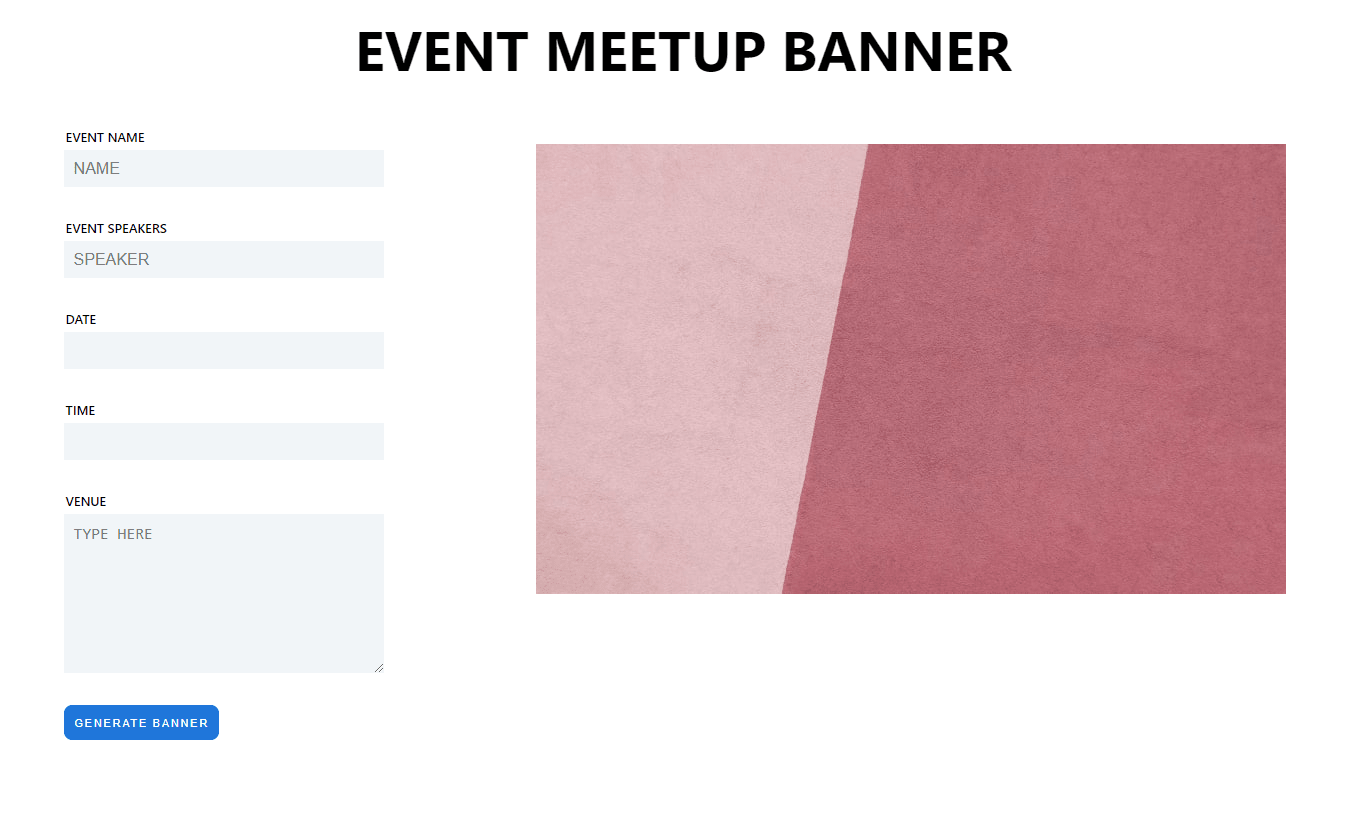
The code snippet above renders an image with a width of 750px and a height of 450px. After applying these changes, our application will look similar to this:

Add the following code to display the formData values if the display variable is true.
    // ./pages/index.js
    <div className="bad">
     <img src="https://res.cloudinary.com/ugwutotheeshoes/image/upload/c_scale,h_450,w_750/v1649721585/pawel-czerwinski-dgJT71cXlC4-unsplash_usrnmt.jpg" alt="event image" />
        <div className="view">
          <h1>{display ? formData.name : ""}</h1>
          <h3>{display ? `speaker: ${formData.speaker}` : ""}</h3>
          <p> {display ? `date: ${formData.date}` : ""}</p>
          <p> {display ? `time: ${formData.time}pm` : ""}</p>
          <p>{display ? `venue: ${formData.detail}` : ""}</p>
        </div>
    </div>

Code language: HTML, XML (xml)
We will also use some CSS styling in the styles/global.css file.
    //styles/global.css
    .bad{
      position: relative;
      display: flex;
      justify-content: center;
      align-items: center;
      text-align: center;
    }
    .view{
      position: absolute;
      top: 45%;
      left: 50%;
      transform: translate(-50%, -50%);
      color: #000;
    }
Code language: PHP (php)
In the code block above, we did the following:
- Positioned the child element relative to its parent element.
- Aligned the banner content in the middle of the banner.
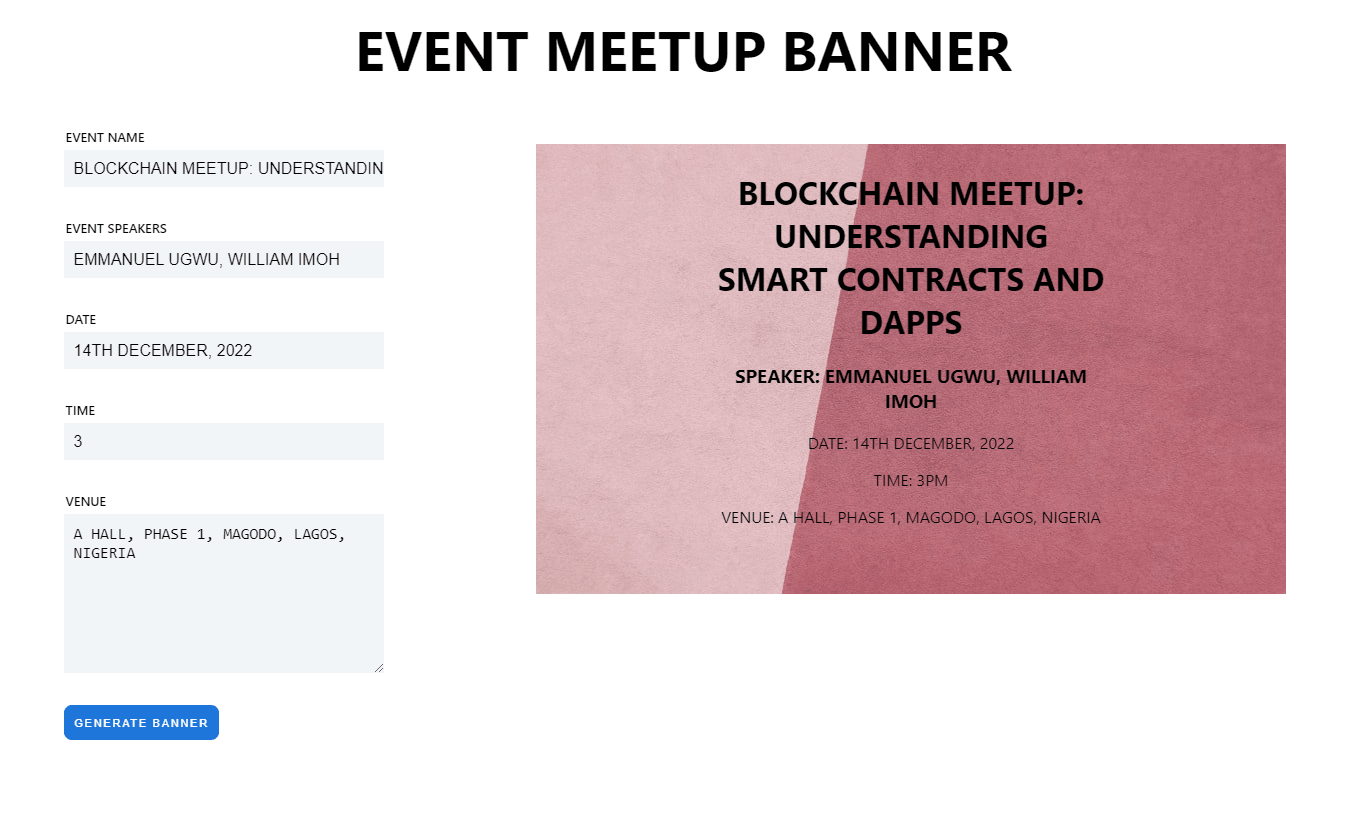
Our application should now look like this:

In this article, we learned how to build a meetup banner with Next.js.
