Image ads are promotional images conveying information about brands or products to attract interest and engagement and improve sales.
This article discusses using Next.js to create a custom video ad application with dynamic image/text ads layered on the video.
To follow along in this tutorial, ensure that you have the following:
- Node.js (version 10.13)
- Basic knowledge of CSS modules and React.js
- Code Editor
Here’s the link to the completed project on CodeSandbox.
You’ll start by creating an application that will include two input fields with a button. The first input will accept an image url hosted on Cloudinary, and the second input will take a text. The text and image go on the ad.
In essence, you’ll create a button called “Create Ad” that would display the custom image and text ad over the video player.
Start by initializing your Next.js app by running the following command:
npx create-next-app custom-ads
Once you run this command, it will create your Next.js files in the custom-ads folder.
Start a development server using this terminal command:
cd custom-ads && npm run dev
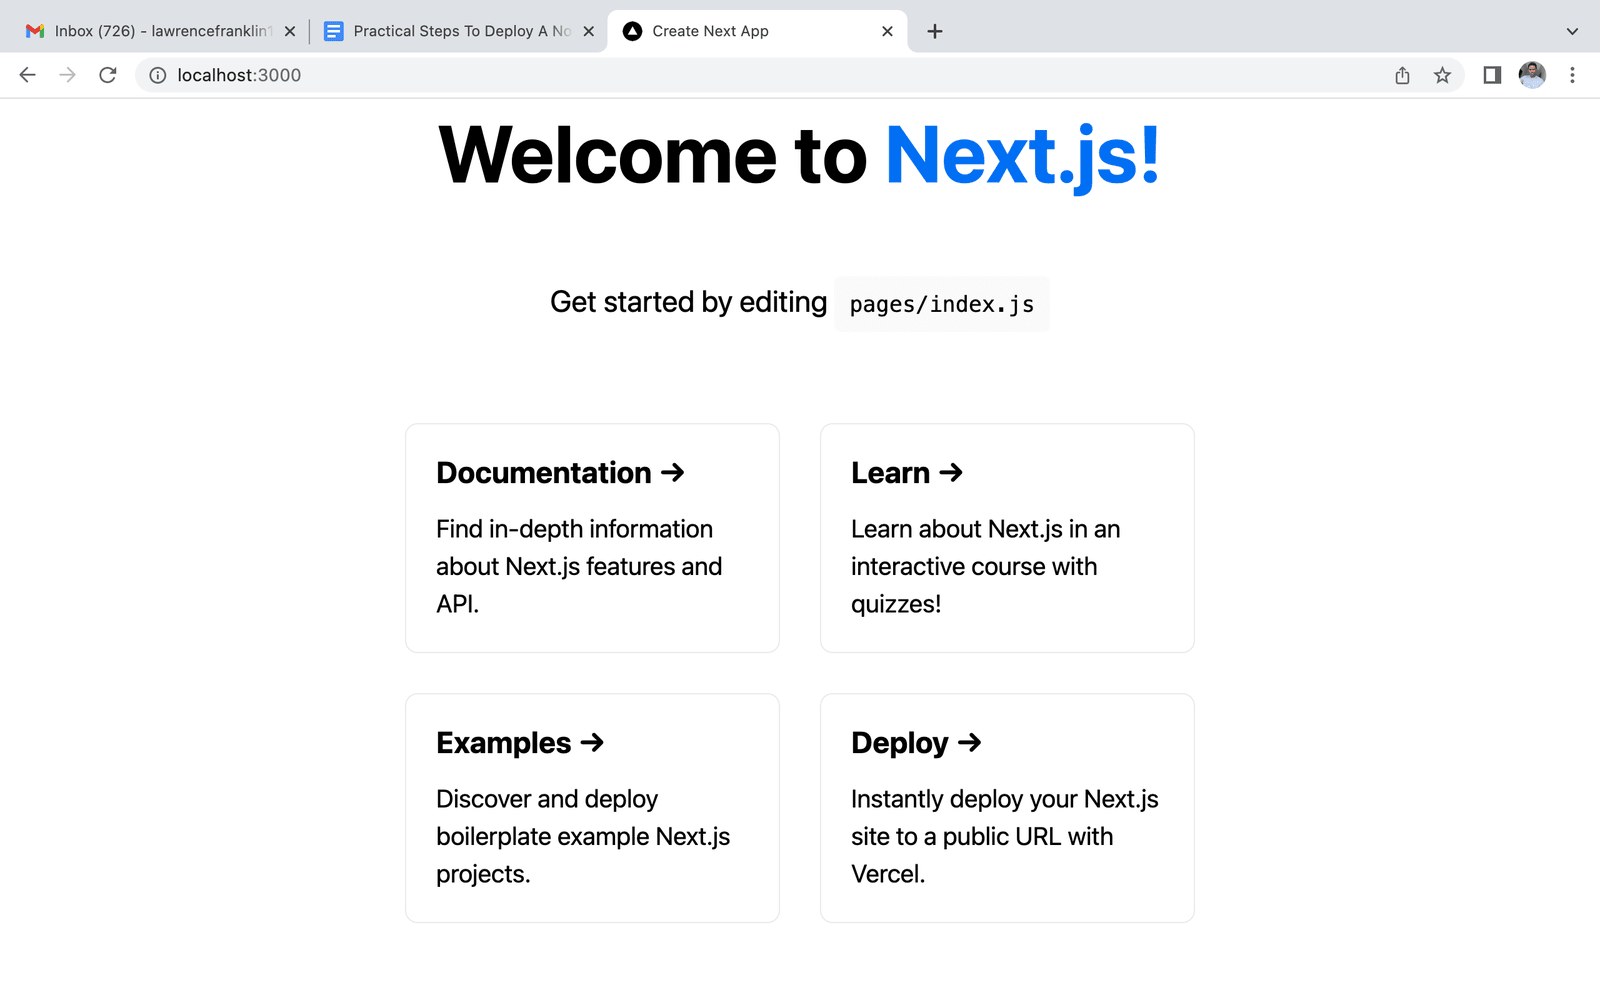
You should see the following displayed to the screen:

![]()
First, you’ll use CSS modules to style the components. Create an Overlay.module.css file in the custom-ads/styles directory.
Next, navigate to the pages folder and do the following:
- Create another file called
Overlay.js - Open the
index.jsfile and replace with the following code:
    import Head from 'next/head'
    import styles from '..styles/Home.module.css'
    import { useState } from 'react'
    import Overlay from './Overlay'

    export default function Home() {
      let [display, setDisplay] = useState(false)
      let [imgUrl. setUrl] = useState('')
      let [adText, setAdText] = useState('')

      // Create Ad
      const handleClick = () => {
         if (imgUrl.startsWith('https://') && adText) setDisplay(true);
      }

      // Hide Ad by clicking on video
      const hideAd = (e) => {
         if (display) setDisplay(false);
      }

      return (
        <div className={styles.container}>
          <Head>
             <title>Create Custom Ad</title>
             <meta name="decsription" content="Create custom ads using Next.js" />
          </Head>
          <main className={styles.main}>
             <h1 className={styles.title}>Create Custom Ads</h1>
             <input onChange={(e) => setImgUrl(e.target.value)} value={imgUrl} className={styles.input} placeholder='Insert Img Url' type="text"></input>
             <input onChange={(e) => setAdText(e.target.value)} value={adText} className={styles.input} placeholder='Insert text' type="text"></input>
             <button onClick={handleClick} className={styles.button}>Create Ad</button>
             <div className={styles.content}>
                <Overlay display={display} imgUrl={imgUrl} adText={adText}/>
                <video onClick={hideAd} className={styles.video} controls>
                  <source src="https://res.cloudinary.com/dalu46/video/upload/v1650733238/Play_New___Nike_kepz27.mp4"/>
    </video>
    </div>
          </main>
          <footer className={styles.footer}>
               <p>
                 <b>Custom Ads 2022</b>
               </p>
          </footer>
        </div>
      )
    }
From the code block above, you did the following:
- Imported required dependencies to style, provision state management, and add header information to the component.
- Created the
Homecomponent that houses the entire application. It contains three (3) state variables which are passed dynamically to theOverlaycomponent termed:display,imgURL,andadText.
These three (3) state variables carry out the decision to display the ad banner or not and what image and text to use in the ad banner.
Also, the Home component contains a main div that consists of the significant elements of your application. They include:
- An input element that accepts an image URL and binds its value to the
imgUrlstate variable. - A second input field that accepts a text and binds its value to the
adTextstate variable. - The Create Ad button displays the
Overlaycomponent (ad banner). It calls thehandleClick()function that checks if the image URL begins with “https://” and ensures that a user adds a link to the image input field. The function also checks that the second input field isn’t empty, and if all checks pass, it sets thedisplaystate variable tot``rue. It causes the ad banner to show up. - The native
videoelement renders the default video content over which the ad banner will display. When clicked, the video player can hide the ad banner (if the ad banner is visible). It does this by calling thehideAd()function.
In the Overlay.js file, you’ll add the following code for your ad banner component:
import styles from '../styles/Overlay.module.css'
function Overlay ({display, imgUrl, adText}) {
  return (
    display &&
    <div className={styles.overlay}>
        <img className={styles.overlayImg} src={imgUrl}></img>
        <p className={styles.overlayText}>{adText}</p>
    </div>
  )
}

export default Overlay;
From the code block above, you did the following:
-
You imported the required dependency.
-
You created the components that accept the three (3) variables as
propspassed in from theHomecomponent. The firstpropis a boolean that determines the display of the ad banner.
The second and third props are the values of the image URL and custom ad text, which would render side by side on the ad banner. This component which exports, is then imported and used by the Home component.
See an illustration of the application below:

In this article you built a custom video ad creator having some text and an image. Try uploading a new image on Cloudinary, possibly with image transformations. Here’s the link to the project hosted on Netlify.
You may find the following resources useful.
- Cloudinary Image transformations
- Uploading images to Cloudinary
