
The popularity of video marketing stems from people’s preference of video over text media. It’s human nature: watching something enjoyable and easy to understand is more accessible than reading something.
Using in-video advertising, anyone can get a competitive advantage over their market competitors.
In this post, we’ll learn how to create in-video ads in Nuxt.js using Cloudinary as our video hosting service.
We completed this project in a CodeSandbox. Fork and run it to quickly get started.
https://github.com/Olanetsoft/in-video-ad-nuxtjs
Nuxt.js is the bedrock of our Vue.js project, providing structure and flexibility while allowing us to scale with confidence.
It is extensible, offering a robust module ecosystem and hooks engine that makes it simple to integrate our REST or GraphQL endpoints, favorite CMS, CSS frameworks, and other third-party applications.
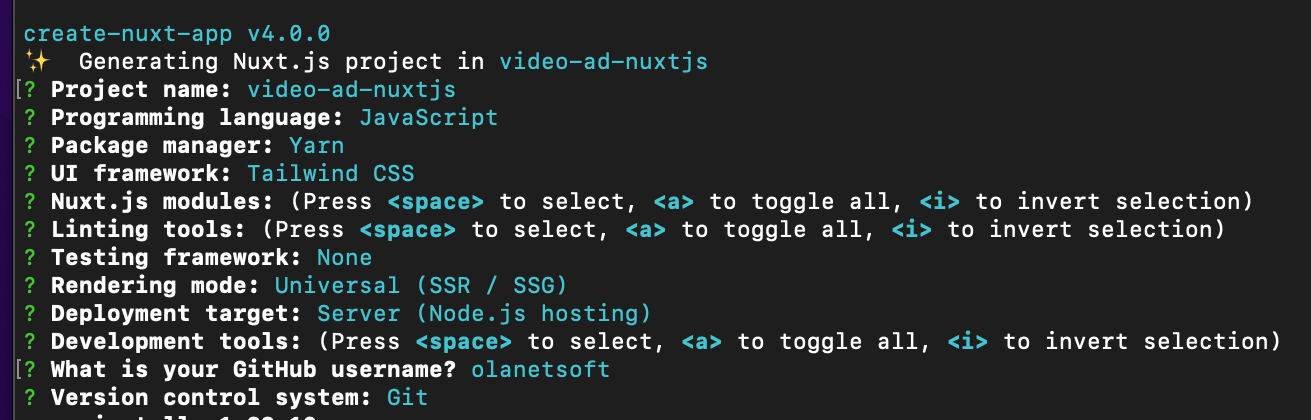
To create a new project, we will use the command below to scaffold a new project:
    npx create-nuxt-app <project-name>
Code language: HTML, XML (xml)
A series of prompts will appear as a result of the command. Here are the defaults we recommend:
The command creates a Nuxt.js project with TailwindCSS called video-ad-nuxtjs.
TailwindCSS is a CSS framework containing a lot of classes to help us customize our website’s style.
Next, we need to navigate into the project directory and start the development server using the command below.
    cd <project name> && yarn dev
Code language: HTML, XML (xml)
Nuxt.js will start a hot-reloading development environment accessible by default at http://localhost:3000
We need to modify the nuxt.config.js file by adding Cloudinary CDNs to the link and script sections, as shown below:
    head: {
        ...
        htmlAttrs: {
         ...
        },
        meta: [
          ...
        ],
        link: [
          { rel: 'icon', type: 'image/x-icon', href: '/favicon.ico' },
          {
            rel: 'stylesheet',
            href: 'https://unpkg.com/cloudinary-video-player@1.5.9/dist/cld-video-player.min.css',
          },
        ],
        script: [
          {
            src: 'https://unpkg.com/cloudinary-core@latest/cloudinary-core-shrinkwrap.min.js',
          },
          {
            src: 'https://unpkg.com/cloudinary-video-player@1.5.9/dist/cld-video-player.min.js',
          },
        ],
      },
Code language: JavaScript (javascript)
Next, we need to include Cloudinary’s cloud name as an environment variable. To do this, we need to create a .env file in the root directory, and in this file, add the snippet below:
    NUXT_ENV_CLOUDINARY_CLOUD_NAME=<YOUR CLOUD NAME HERE>
Code language: HTML, XML (xml)We modify the index.vue file in the pages folder to the following:
https://gist.github.com/Olanetsoft/a91e57eb66e896a64480321bb434ca0b
https://gist.github.com/Olanetsoft/a91e57eb66e896a64480321bb434ca0b
The code snippet above did the following:
- Created data properties for managing the Cloudinary instance, video element, toggling the ad, monitoring the video player, and showing the ad.
- Created a
Cloudinaryinstance, initialized thevideo player,ad video player, assigned a source to the video using the uploaded video’spublicId,and played the video upon page load using themountedlifecycle method. - To close and show the advertisement, created a
closeShowAdsandopenShowAdsmethod. - To monitor the video, used the
createdlifecycle function to show an advertisement after5seconds and closed it after another15seconds.
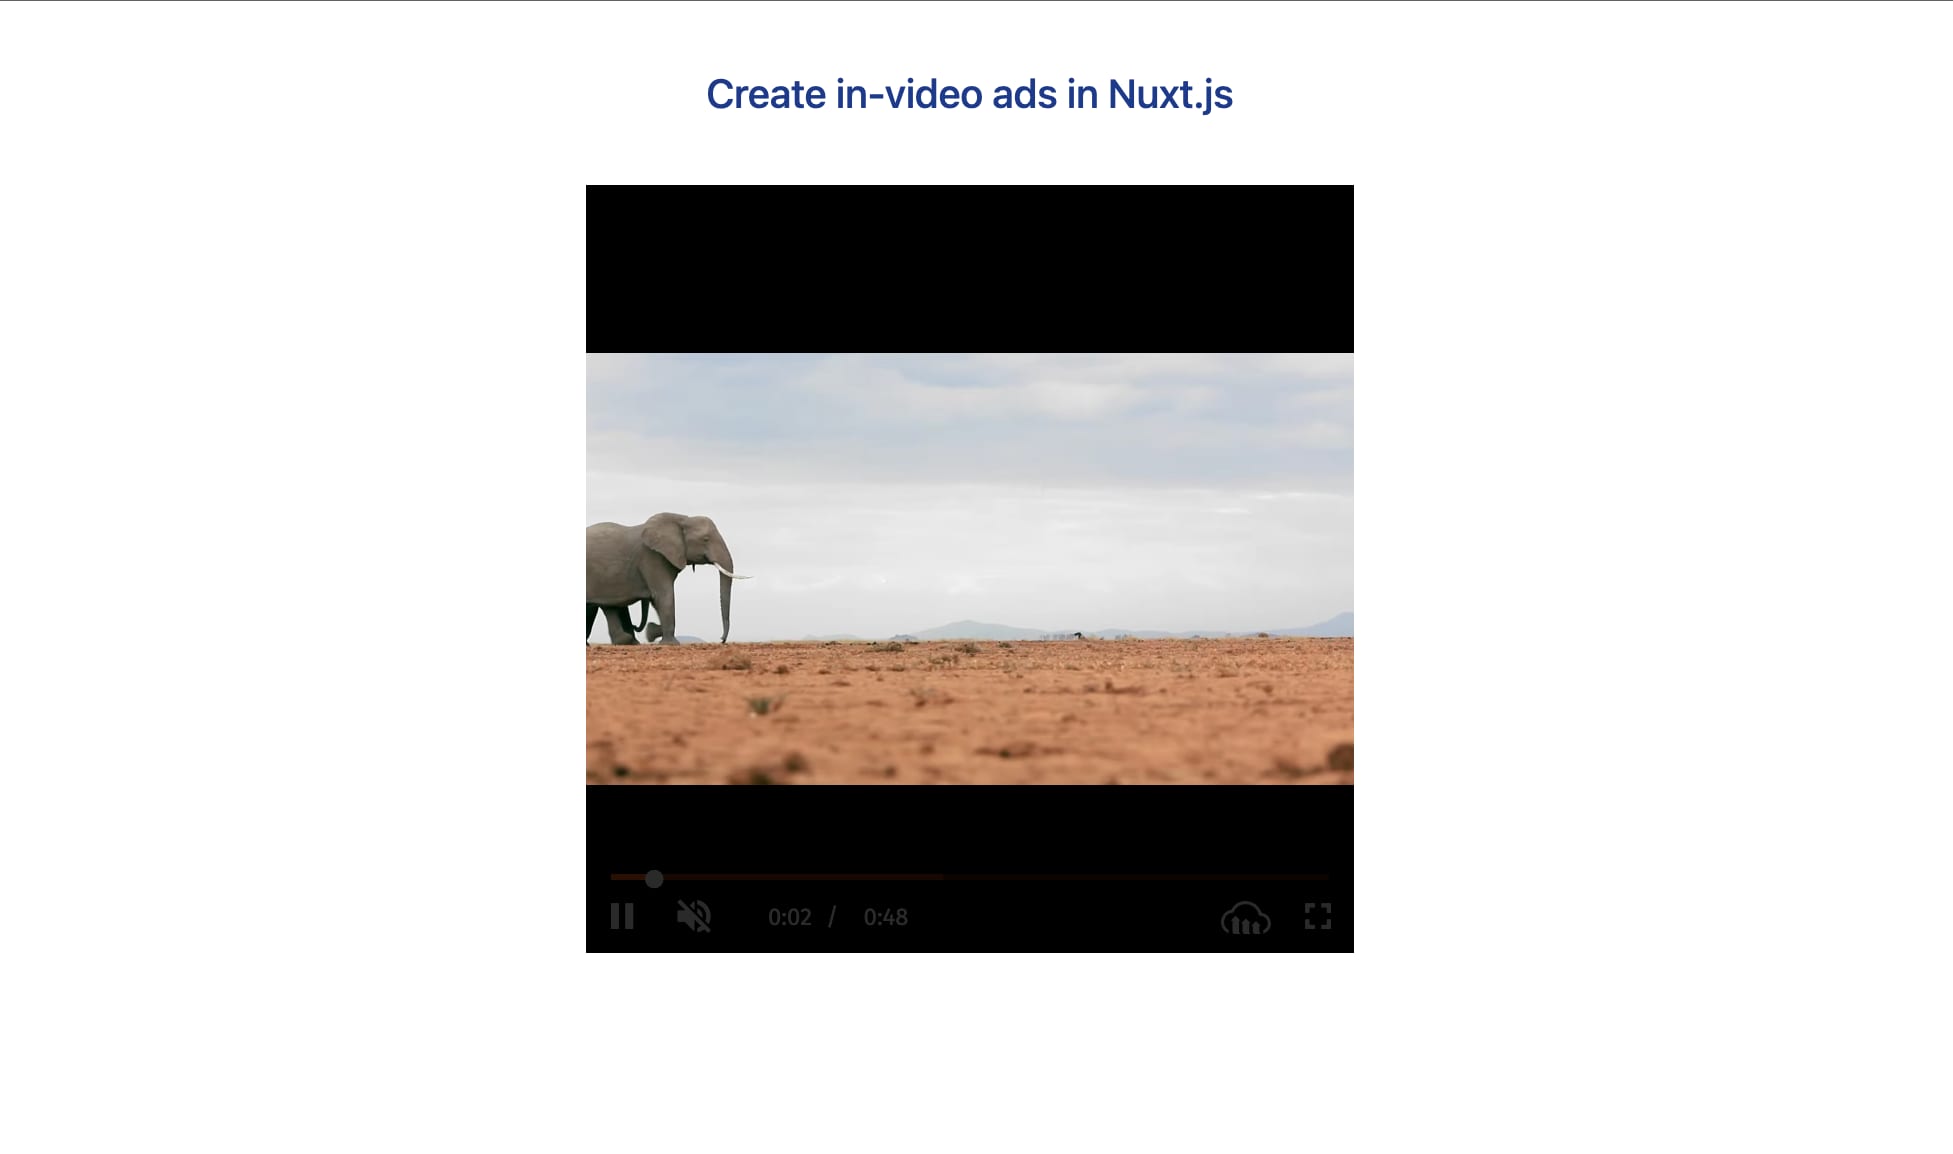
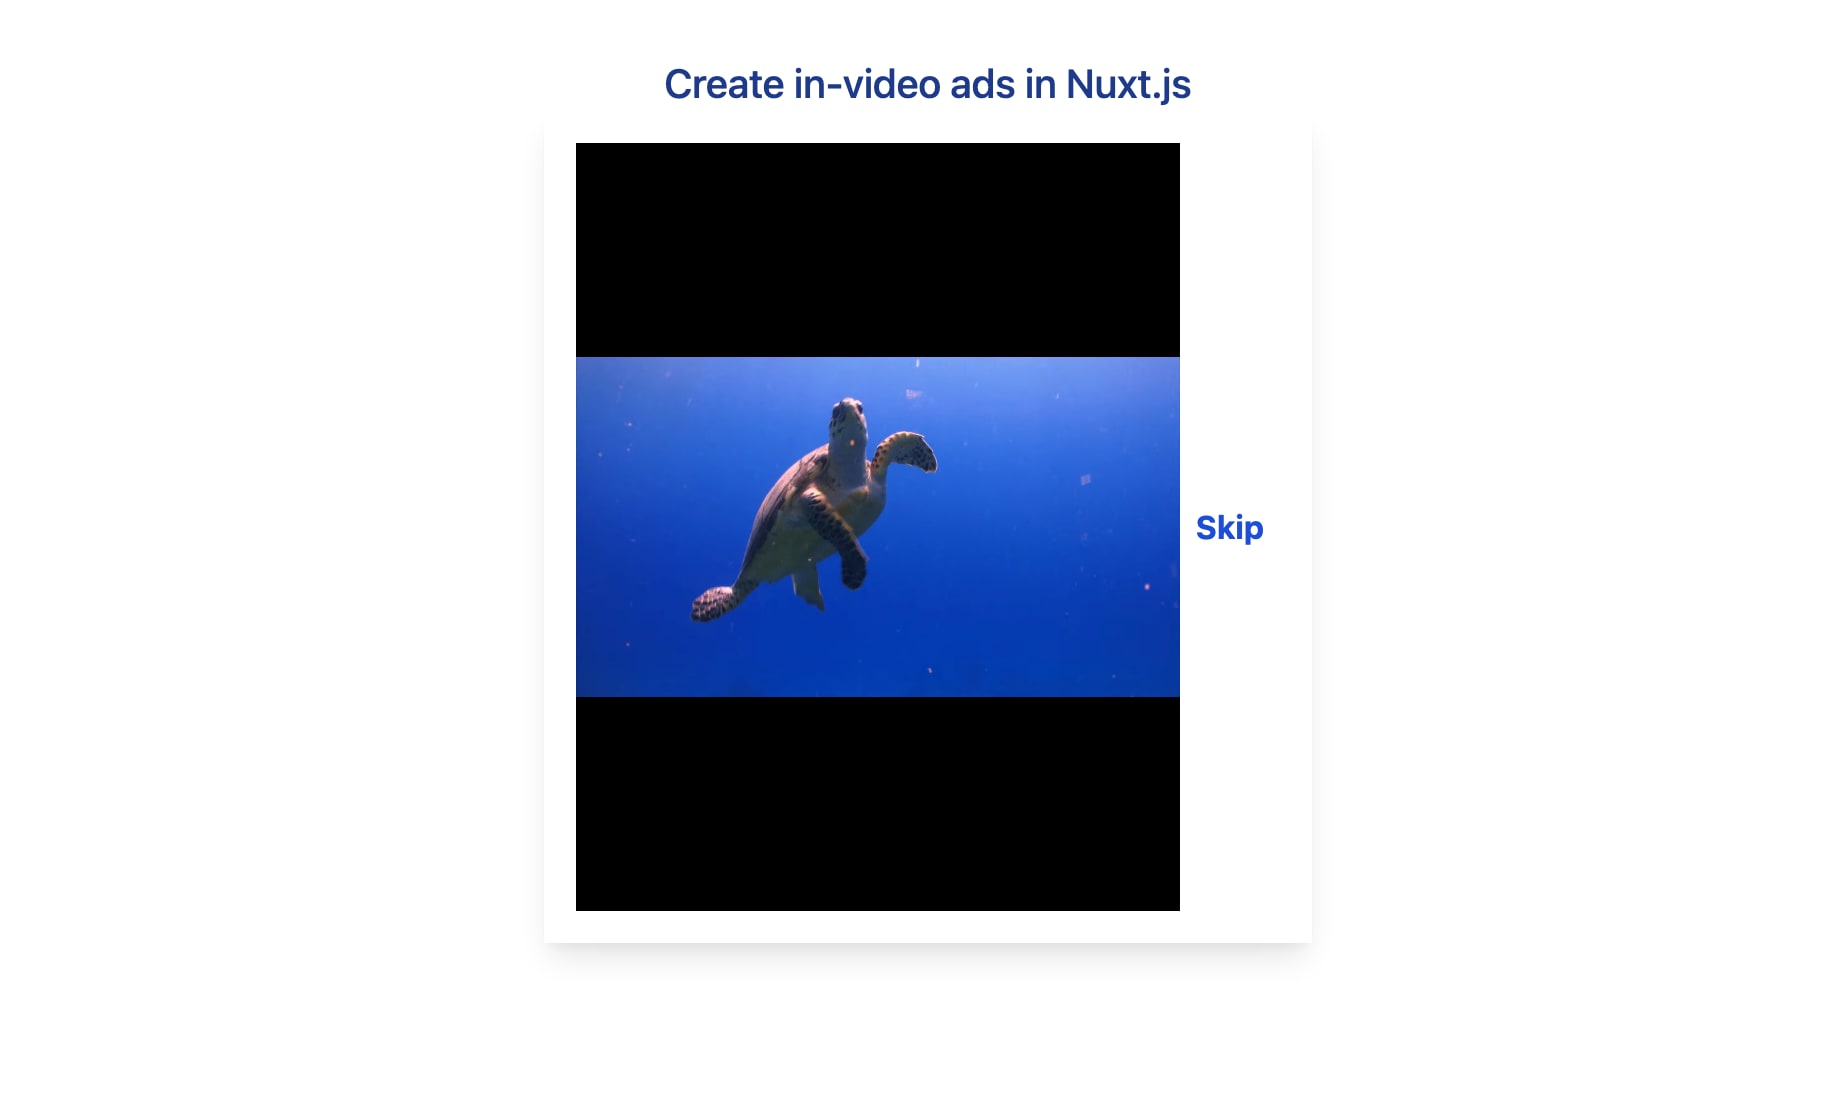
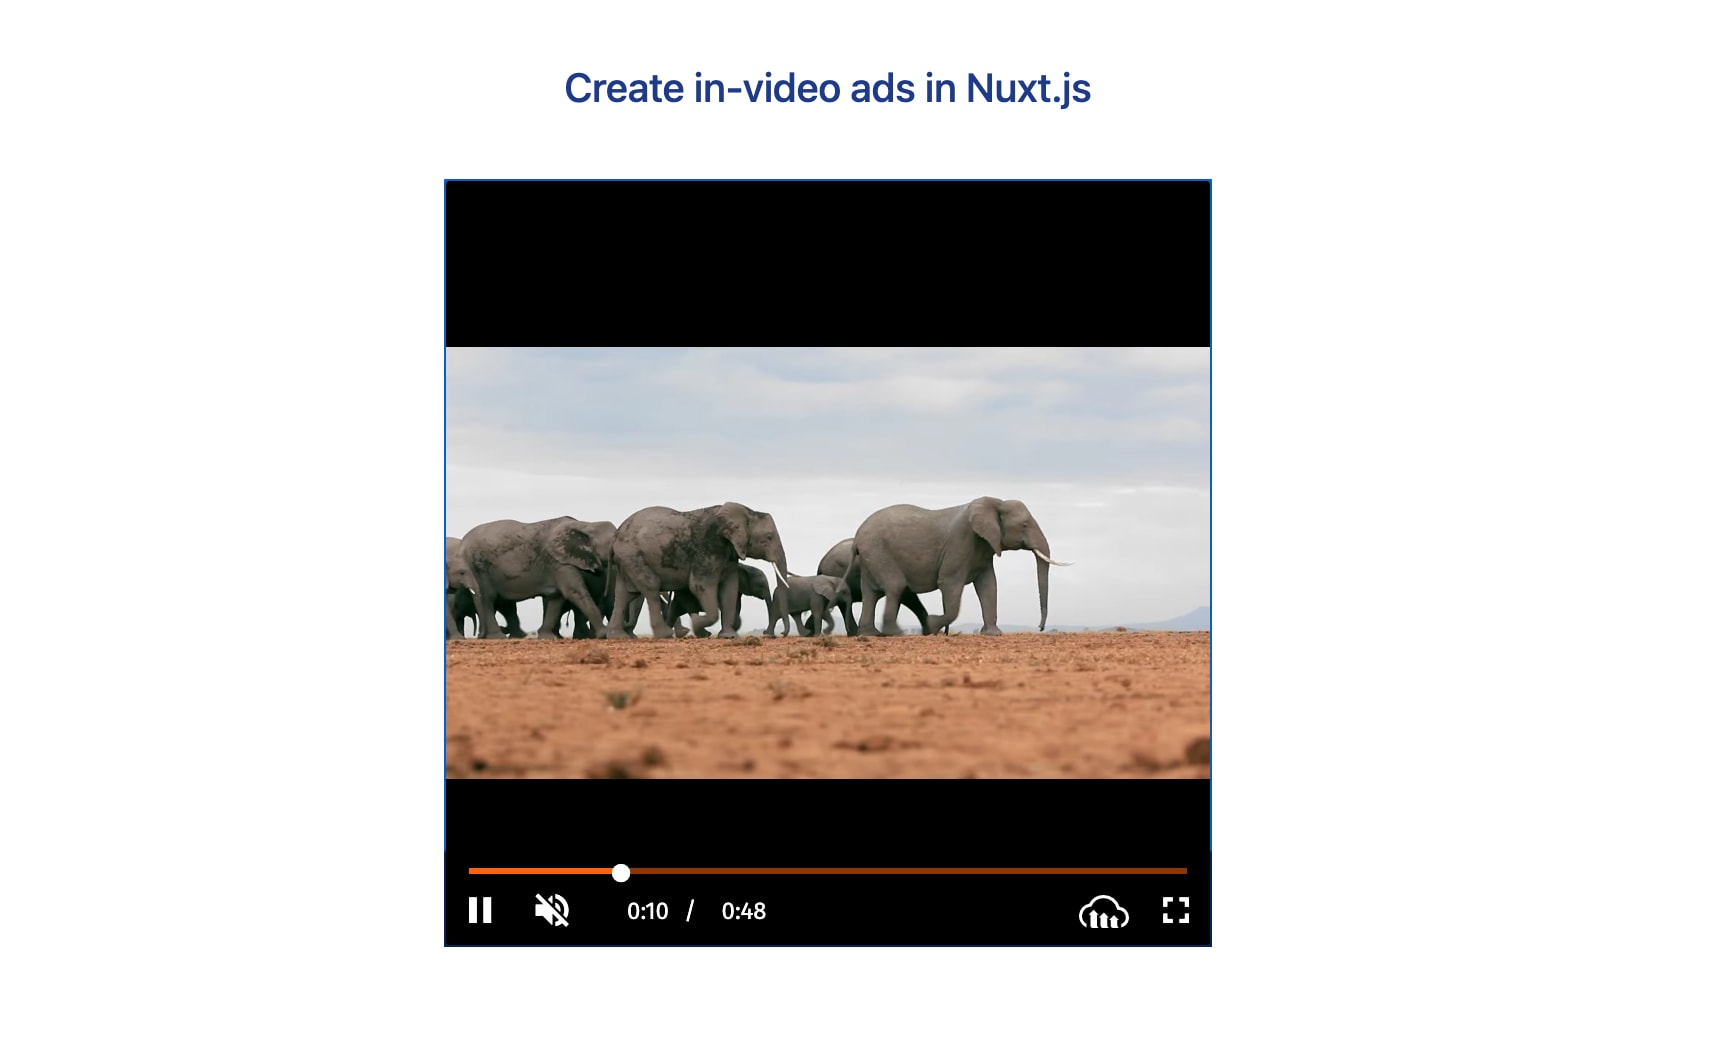
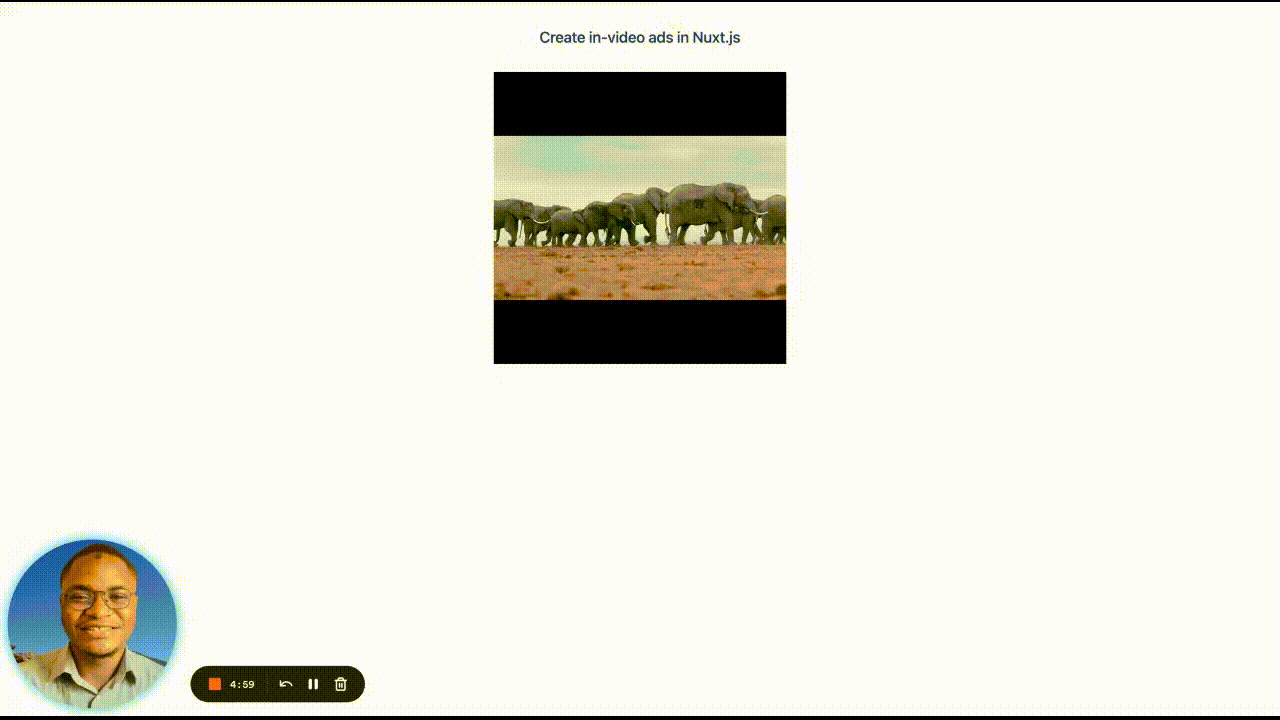
After testing our application, we should get something similar to what we have below.
This post demonstrated how to create in-video ads in Nuxt.js.
You may also find these resources helpful.