Video previews give users a quick snapshot of the video while still browsing the page. A thumbnail is an image preview of the actual video.
This post covers the processes of uploading video files to Cloudinary, displaying their thumbnails on web pages, and creating the preview on hover functionality.
We completed this project in a CodeSandbox. Fork and run it to quickly get started.
The GitHub repository can be found here.
- A Cloudinary account — create a free account here
- Knowledge of React.js and Gatsby.js
- Node.js version 12+
We will be using Gatsby CLI to create our application, and we will install it using the following command:
npm install -g gatsby-cli
After the installation, we will use the command gatsby new to start a new Gatsby application.
On a terminal (or CMD for Windows), use:
gatsby new
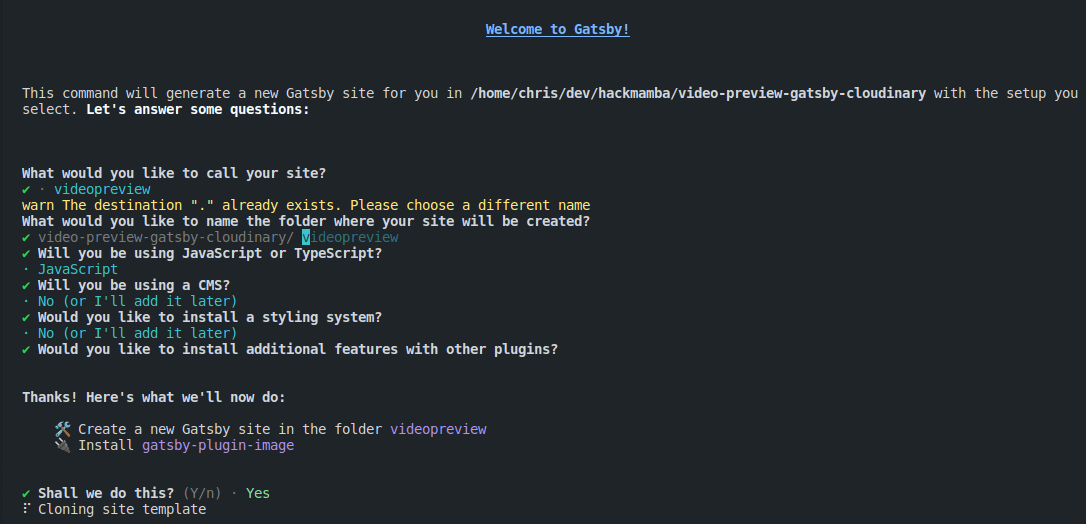
The Gatsby installation process will prompt us to answer some questions:

After choosing the configurations, a new Gatsby site is created.
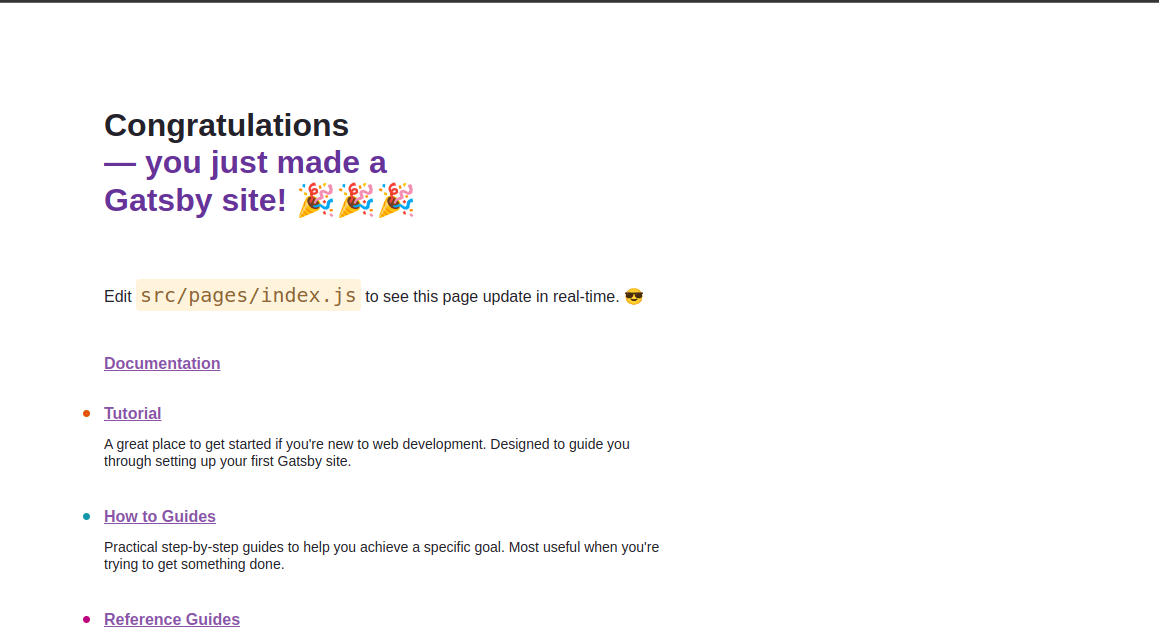
To test the new project, run the development server using:
npm run develop
The server runs on localhost port 8000: http://localhost:8000/

We will be styling our page using Bootstrap. To install it, we run the command:
npm install bootstrap
Inside the src folder, we will edit pages/index.js to contain the following:
    import React from 'react'
    // Import from an installed package - Bootsrap
    import 'bootstrap/dist/css/bootstrap.min.css'

    const IndexPage = () => {
      return (
        <div>index</div>
      )
    }
    export default IndexPage
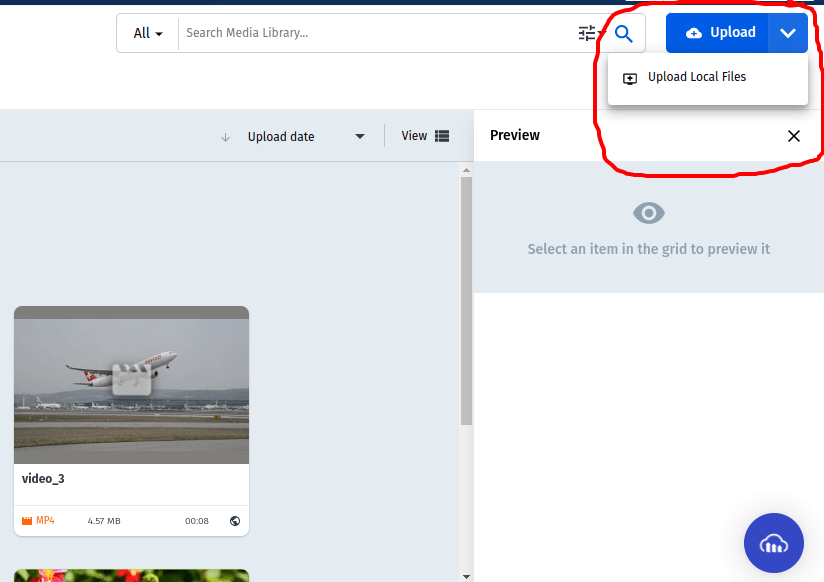
After signing in to your Cloudinary account, navigate to Media Library and upload a few videos.
The easiest way to upload media to Cloudinary is by using the Upload button at the top right of the web page.

Once the video is uploaded, click on the link icon on the top right of the video card to copy its URL.
Inside the page/index.js file, above the return keyword, create an array of the video links uploaded to cloudinary, like so:
  const video_urls = [
    {
      id: 1,
      title: 'Video One',
      video_url:
        'https://res.cloudinary.com/chris101/video/upload/v1645684691/video_1.mp4',
    },
    {
      id: 2,
      title: 'Video Two',
      video_url:
        'https://res.cloudinary.com/chris101/video/upload/v1645684672/video_2.mp4',
    },
    {
      id: 3,
      title: 'Video Three',
      video_url:
        'https://res.cloudinary.com/chris101/video/upload/v1645684663/video_3.mp4',
    },
  ]
We will use native HTML elements to display the videos you uploaded to Cloudinary:
    <div className="card h-100">
      <div className="card-body">
        <h4 className="card-title">video title</h4>
        <video width="320" height="240" controls>
          <source
            src="https://res.cloudinary.com/chris101/video/upload/v1645684663/video_3.mp4"
            type="video/mp4"
          />
        </video>
      </div>
    </div>
Inside the IndexPage, we will loop through the arrays with the video URLs and display them:
    {video_urls.map((video) => (
    <div key="{video.id}" className="col-lg-4 col-sm-6 mb-4">
      <div className="card h-100">
        <div className="card-body">
          <h4 className="card-title">{video.title}</h4>
          <video width="320" height="240" controls>
            <source src="{video.video_url}" type="video/mp4" />
          </video>
        </div>
      </div>
    </div>
    ))}
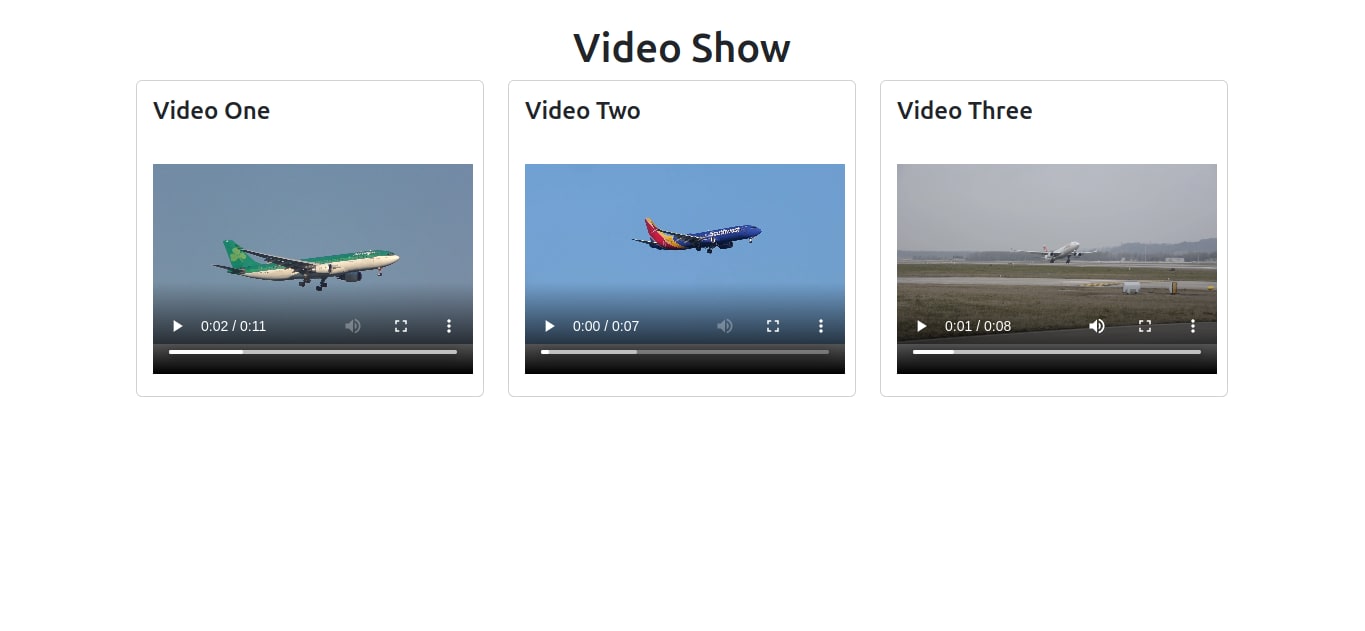
Upon reloading the page, we will have all the videos shown on the page. The video cards show video thumbnails at timestamp 0:00 by default.

To trigger a preview of the video when a user hovers over the thumbnails, we will create two event handlers:
- To start the preview when the mouse pointer is on the thumbnail
- To stop the preview once the mouse pointer moves away from the thumbnail
To achieve this, we will utilize onMouseEnter and onMouseLeave mouse events in React.js.
Inside the IndexPage component, we will create two functions to handle the mouse events: handleMouseEnter() and handleMouseLeave().
      // handle mouse enter
      const handleMouseEnter = (e) => {}
      // handle mouse leave
      const handleMouseLeave = (e) => {}
To trigger the video preview, update the handleMouseEnter() function to:
     const handleMouseEnter = (e) => {
        const vid = e.target
        vid.muted = true
        vid.play()
      }
The handleMouseEnter() function starts by grabing the <video></video> element — e.target. It then mutes the video(vid.muted = true), and begins playing the video(vid.play()).
To stop the preview and return it to its previous state once the pointer leaves the video card, update the handleMouseLeave() function to:
const handleMouseLeave = (e) => {
        const vid = e.target
        vid.muted = false
        vid.currentTime = 0
        vid.pause()
      }
To trigger the two events, we update the <video> element with:
   <video
      width="320"
      height="240"
      controls
      onMouseEnter="{handleMouseEnter}"
      onMouseLeave="{handleMouseLeave}"
    >
      <source src="{video.video_url}" type="video/mp4" />
    </video>
The complete code to the IndexPage() component is:
import React from 'react'
// Import from an installed package - Bootsrap
import 'bootstrap/dist/css/bootstrap.min.css'

const IndexPage = () => {
  // video urls
  const video_urls = [
    {
      id: 1,
      title: 'Video One',
      video_url:
        'https://res.cloudinary.com/chris101/video/upload/v1645684691/video_1.mp4',
    },
    {
      id: 2,
      title: 'Video Two',
      video_url:
        'https://res.cloudinary.com/chris101/video/upload/v1645684672/video_2.mp4',
    },
    {
      id: 3,
      title: 'Video Three',
      video_url:
        'https://res.cloudinary.com/chris101/video/upload/v1645684663/video_3.mp4',
    },
  ]

  // handle mouse enter
  const handleMouseEnter = (e) => {
    const vid = e.target
    vid.muted = true
    vid.play()
  }
  // handle mouse leave
  const handleMouseLeave = (e) => {
    const vid = e.target
    vid.muted = false
    vid.currentTime = 0
    vid.pause()
  }

  return (
    <div className='container'>
      <h1 className='text-center mt-4'>Video Show</h1>

      {/* video player */}
      <div className='container'>
        <div className='row'>
          {/* display videos */}
          {video_urls.map((video) => (
            <div key={video.id} className='col-lg-4 col-sm-6 mb-4'>
              <div className='card h-100'>
                <div className='card-body'>
                  <h4 className='card-title'>{video.title}</h4>
                  <video
                    width='320'
                    height='240'
                    controls
                    onMouseEnter={handleMouseEnter}
                    onMouseLeave={handleMouseLeave}
                  >
                    <source src={video.video_url} type='video/mp4' />
                  </video>
                </div>
              </div>
            </div>
          ))}
        </div>
      </div>
    </div>
  )
}

export default IndexPage
Once we run the server and hover over the video thumbnails, the preview plays, and it stops once the mouse pointer leaves the thumbnail. A live preview of the demo can be found here.
This post covered the processes of creating a Gatsby.js application, uploading media files to Cloudinary, and creating event handlers to enable a video preview upon thumbnail hover.
