
When building a weather app with weather sharing capabilities, it is important we allow our users to easily share brief insightful images of the weather conditions. In this article, we explore how we can dynamically create these weather cards using Google Maps and OpenWeathers APIs`.
Check the sandbox demo on Codesandbox.
You can also get the project GitHub repo using Github.
We will be using Nuxt.Js for this tutorial. It is a versatile and performant Vue.Js framework. To get started ensure you have Yarn or NPM v5.2+/v6.1+ installed. Open the terminal in your preferred working directory and run the following command.
yarn create nuxt-app nuxtjs-weather-cards
# OR
npx create-nuxt-app nuxtjs-weather-cards
# OR
npm init nuxt-app nuxtjs-weather-cards
Code language: PHP (php)
This will result in a series of setup questions. Here are our recommended defaults.

Once the setup is complete you may enter and run your project. It will be accessible on localhost:3000
cd nuxtjs-weather-cards

yarn dev
We will be using Google Maps APIs to retrieve the coordinates of the city as well as the static image map. Before we do this, we need a Google Cloud account to use. Once logged in, create a project to use if you do not have one. Proceed to the Library section and ensure the following APIs are enabled:
- Places API
- Maps Static API
- Maps JavaScript API
Proceed to the credentials section to create an API key to use. Restrict the API key to the above APIs as well as localhost:3000 as the only web referrer.
We are now going to add the API key to our .env file. This is the file that will host our environmental variables, values we do not want to be stored in our codebase.
touch .env
Code language: CSS (css)
Add your Google Maps API Key
<!-- .env -->
NUXT_ENV_GOOGLE_MAPS_API_KEY=<your-google-maps-api-key>
Code language: HTML, XML (xml)
Additionally, we need to set up the Google Places JS script globally. We do this by adding it to the head section of the nuxt.config.js file.
// nuxt.config.js
export default {
  head: {
    ...
    script: [
      {
        src: `https://maps.googleapis.com/maps/api/js?key=${process.env.NUXT_ENV_GOOGLE_MAPS_API_KEY}&libraries=places`,
      },
    ],
  },
  ...
}
Code language: JavaScript (javascript)
The library will automatically authenticate using your API key.
We will be using OpenWeather to obtain the weather data. Once registered or loggedin, proceed to the API keys section to create your API key.
Add your API key to the env file.
...
NUXT_ENV_OPEN_WEATHER_API_KEY=<your-open-weather-api-key>
Code language: HTML, XML (xml)
Cloudinary is a powerful media management platform with a comprehensive set of APIs and SDKs. If you do not have an account, feel free to create one here.
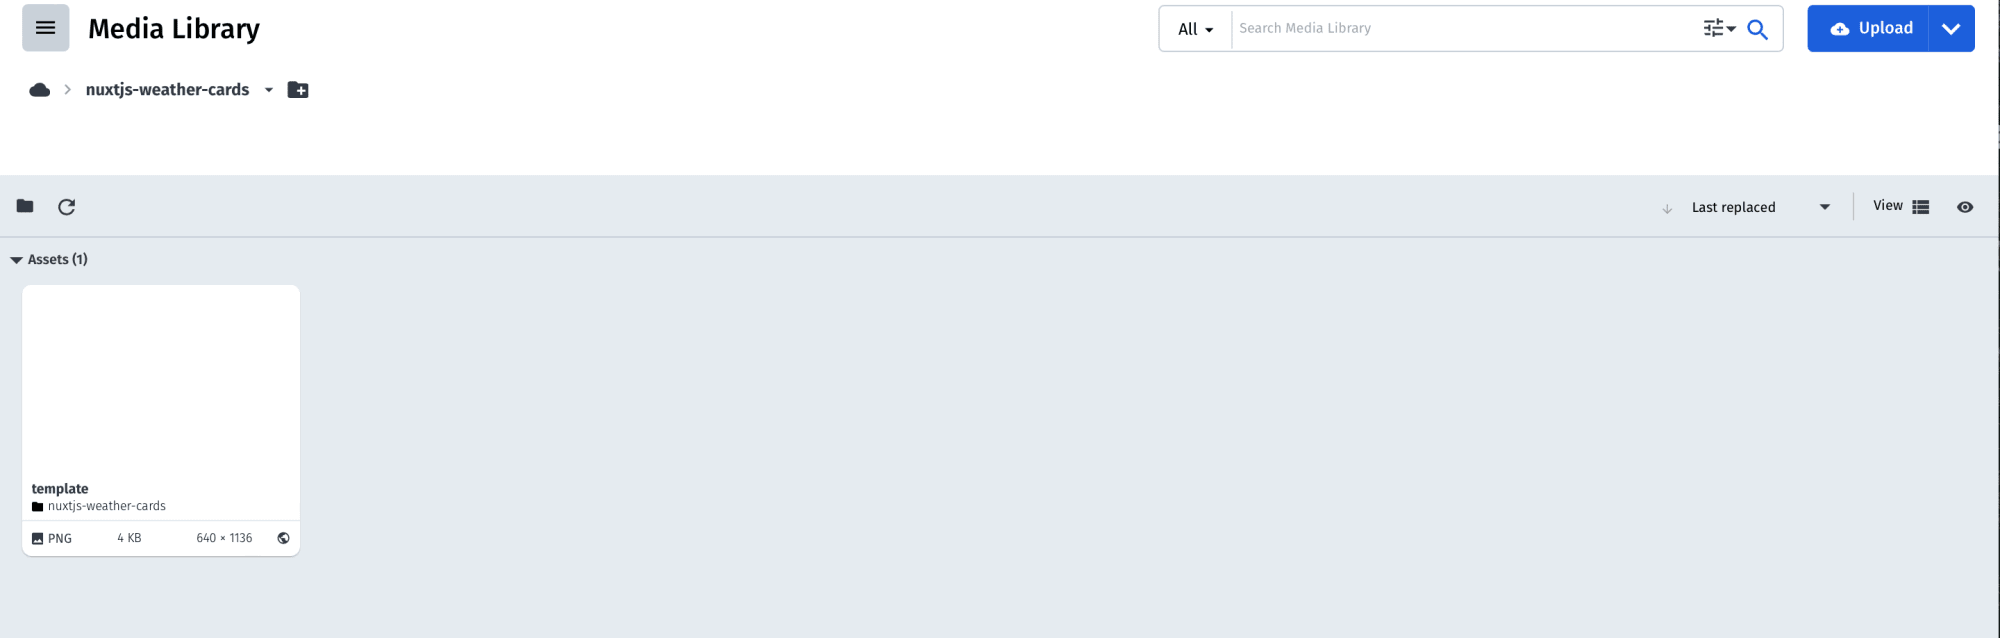
Proceed to the media library and create a folder called nuxtjs-weather-cards. Upload this file into the folder. This is the template we will use to create the weather cards.
Once the file is uploaded, proceed to the dashboard to obtain your cloudname. Add this to your .env file, it will be used to link your codebase to your account.
<!-- .env -->
NUXT_ENV_CLOUDINARY_CLOUD_NAME=<your-cloudinary-cloud-name>
Code language: HTML, XML (xml)
Let us now install the recommended Nuxt.JS plugin.
yarn add @nuxtjs/cloudinary
# OR
npm install @nuxtjs/cloudinary
Code language: CSS (css)
Add the plugin to the modules section of the nuxt.config.js file.
// nuxt.config.js
export default {
    ...
    modules: [
        '@nuxtjs/cloudinary'
    ],
}
Code language: JavaScript (javascript)
We now need to link the module to our account by configuring it. Let us do this in a dedicated cloudinary section.
// nuxt.config.js
export default {
    ...
    cloudinary: {
        cloudName: process.env.NUXT_ENV_CLOUDINARY_CLOUD_NAME,
        useComponent: true,
    }
}
Code language: JavaScript (javascript)
The above configuration additional enables us to use the custom components that come with the package.
Now that setup is complete, we need to enable our users to search for the city they want to generate the weather card for. First, we add a simple HTML input element.
<!-- pages/index.vue -->
<template>
    ...
    <input id="city-search" />
    ...
</template>
Code language: HTML, XML (xml)
Let us now configure the above input form to autocomplete cities and obtain coordinate data.
// pages/index.vue

<script>
export default {
  data(){
    return {
      city: null,
    };
  },
  mounted(){
      const input = document.getElementById("city-search");

      const options = {
        fields: ["geometry","name"],
        strictBounds: false,
        types: ["(cities)"],
      };

      const autocomplete = new google.maps.places.Autocomplete(input, options);

      google.maps.event.addListener(
        autocomplete,
        'place_changed',
        () => this.city = autocomplete.getPlace()
      );
  },
}
</script>
Code language: HTML, XML (xml)
The above code specifies that we want to query cities only. For each city we will receive the city name and geometry. Once a city is selected, it will be saved in the page state.
Once the city is changed, we want to reset the weather data in the state as well as get new city’s weather data. Let us do this using a watcher.
// pages/index.vue
<script>
export default {
    data(){
        return {
            ...
            weather:null
        }
    }
    ...
    watch:{
        city(){
            this.weather = null;
            if(this.city){
                this.getWeatherData();
            }
        },
    },
    ...
}
</script>
Code language: HTML, XML (xml)
Let us now set up the getWeatherData method.
// pages/index.vue
export default {
    data(){
        return {
            ...
            status: "Waiting for country selection.."
        };
    }
    ...
    methods:{
        getWeatherData(){
            this.status = "Loading weather data..."
            const requestOptions ={
                method: 'GET',
                redirect: 'follow'
            };

            const requestURL = "https://api.openweathermap.org/data/2.5/weather?";

            const queryParams = new URLSearchParams({
                lat: this.city.geometry.location.lat(),
                lon: this.city.geometry.location.lng(),
                appid: process.env.NUXT_ENV_OPEN_WEATHER_API_KEY,
                units: "metric"
            });

            fetch(requestURL + queryParams, requestOptions)
                .then(response => response.json())
                .then( response => this.weather = response)
                .then(() => this.status = null)
                .catch(error => alert('Error:' + error));
        }
    }
}
Code language: JavaScript (javascript)
Within the getWeatherData method, we query the OpenWeather APIs for the weather data using metric units. We store the data received in the state and set the status to null.
Now we have all the data we need, let us generate the weather card. First, let us create a computed property to get the static map.
// pages/index.vue
export default {
    ...
    computed:{
        staticMapUrl(){
            let url = "https://maps.googleapis.com/maps/api/staticmap?";
            url += `center=${this.city.geometry.location.lat()},${this.city.geometry.location.lng()}`;
            url += "&zoom=13";
            url += "&size=640x640";
            url += "&maptype=roadmap";
            url += `&key=${process.env.NUXT_ENV_GOOGLE_MAPS_API_KEY}`;

            return url;
        }
    },
    ...
}
Code language: JavaScript (javascript)
Let us now display the status as well as the weather card.
<!-- pages/index.vue -->
<template>

    <p v-if="status" class="text-gray-600 text-sm">
      {{status}}
    </p>

    <cld-image width="400" v-if="weather" class="mt-10 mx-auto w-full" public-id="nuxtjs-weather-cards/template">
        <cld-transformation
            :overlay="`fetch:${staticMapUrl}`"
            gravity="north"
          />
        <!-- Weather description  -->
        <cld-transformation
            :overlay="`text:Sacramento_100_normal:${weather.weather[0].description},co_rgb:000000`"
            gravity="center"
            y="130"
        />
        <!-- Feels like -->
        <cld-transformation
            :overlay="`text:Roboto_18_normal:Feels like ${weather.main.feels_like} °C,co_rgb:32465c`"
            gravity="center"
            y="220"
        />
        <!-- Main temp -->
        <cld-transformation
            :overlay="`text:Roboto_50_normal:${weather.main.temp} °C,co_rgb:000000`"
            gravity="center"
            y="300"
        />
        <!-- Min temp -->
        <cld-transformation
            :overlay="`text:Roboto_18_normal:MIN,co_rgb:31465d`"
            gravity="center"
            y="400"
            x="-170"
        />
        <cld-transformation
            :overlay="`text:Roboto_18_normal:${weather.main.temp_min} °C,co_rgb:31465d`"
            gravity="center"
            y="430"
            x="-170"
        />
        <!-- Max temp -->
        <cld-transformation
            :overlay="`text:Roboto_18_normal:MAX,co_rgb:31465d`"
            gravity="center"
            y="400"
            x="170"
        />
        <cld-transformation
            :overlay="`text:Roboto_18_normal:${weather.main.temp_max} °C,co_rgb:31465d`"
            gravity="center"
            y="430"
            x="170"
        />
        <!-- Pressure -->
        <cld-transformation
            :overlay="`text:Roboto_18_normal:PRESSURE,co_rgb:31465d`"
            gravity="center"
            y="510"
            x="-170"
        />
        <cld-transformation
            :overlay="`text:Roboto_18_normal:${weather.main.pressure} Pa,co_rgb:31465d`"
            gravity="center"
            y="540"
            x="-170"
        />
        <!-- Humidity -->
        <cld-transformation
            :overlay="`text:Roboto_18_normal:HUMIDITY,co_rgb:31465d`"
            gravity="center"
            y="510"
            x="170"
        />
        <cld-transformation
            :overlay="`text:Roboto_18_normal:${weather.main.humidity} g.kg-1,co_rgb:31465d`"
            gravity="center"
            y="540"
            x="170"
        />
    </cld-image>
</template>
Code language: HTML, XML (xml)
In the above code, we obtain the template from Cloudinary. We additionally overlay the city map, weather description, temperature, pressure and humidity data.
We customize the font, text size, font weight as well as color. This ensures that our output is appealing.

With the above, we have been able to enable our users to search for a city and generated a weather card they can view or share. This is just a scratch of what is possible with these three APIs combined. Feel free to review the below references to learn more about the services.