
Modern web pages rely heavily on interactivity. These tasks include gathering data on user engagement, processing form submissions, and controlling media asset interactivity. In this tutorial, we’ll discuss how to utilize video event triggers to handle user interface changes in a Gatsby.js project.
This project was completed in a Codesandbox. To get started quickly, fork the Codesandbox or run the project.
The knowledge of JavaScript and React.js is needed for this post. The knowledge of Gatsby.js is not required, but preferred.
Gatsby is an open-source static site generator (SSG). Gatsby uses efficient pre-configuration for rapid page loads, code splitting, server-side rendering, intelligent image loading, asset optimization, and data prefetching.
Gatsby uses webpack, GraphQL and React.js to build and render high-performance web apps. Gatsby can also be used to create progressive web apps that adhere to the most current web standards and are designed for speed and security.
To create a new project, we use the gatsby new <project name> command to scaffold a new project.
Once the app is initialized and the dependencies automatically installed, we will see a message with instructions for navigating to our site and running it locally. We do this with the command
cd <project name> && gatsby develop
Code language: HTML, XML (xml)
Gatsby will start a hot-reloading development environment accessible by default at
http://localhost:8000
The boilerplate project creates a landing page with CSS modules for styling.
We’ll use the Cloudinary-react package, which ships components that help us render images and videos. We’ll also use CloudinaryContext, which is the wrapper component to pass shared data to all child Cloudinary components.
Cloudinary’s robust transformation features can be used to modify the video, which is distributed through an integrated content delivery network (CDN).
We install the cloudinary-react package using npm with:
npm i cloudinary-react
We import and render the video player on the home page, whose component is specified in pages/index.js:
    import { Video, CloudinaryContext, Transformation } from "cloudinary-react";

     export default function IndexPage() {

      return (
        <div>
          <Layout>
            <Seo title="Home" />
            <p>Welcome to your new Gatsby site.</p>
            <CloudinaryContext cloudName="olanetsoft">
              <Video
                publicId="samples/animals/testvid"
                controls
                muted
                width="500px"
             />
            </CloudinaryContext>
          </Layout>
        </div>
      )
    }
Code language: JavaScript (javascript)
CloudinaryContext takes props of any data we want to make available to the Cloudinary components’ children. For example, we sent our Cloudinary cloud name in this situation.
You can get your cloud name from your Cloudinary dashboard by signing up for a Cloudinary Account.
We use the Video component to build a 500px(configurable) wide video player. The video’s public ID, which is a unique identifier for a media asset stored on Cloudinary, was also used to reference the media asset.
Finally, we included props that enable the video player to be controlled and muted once rendered.
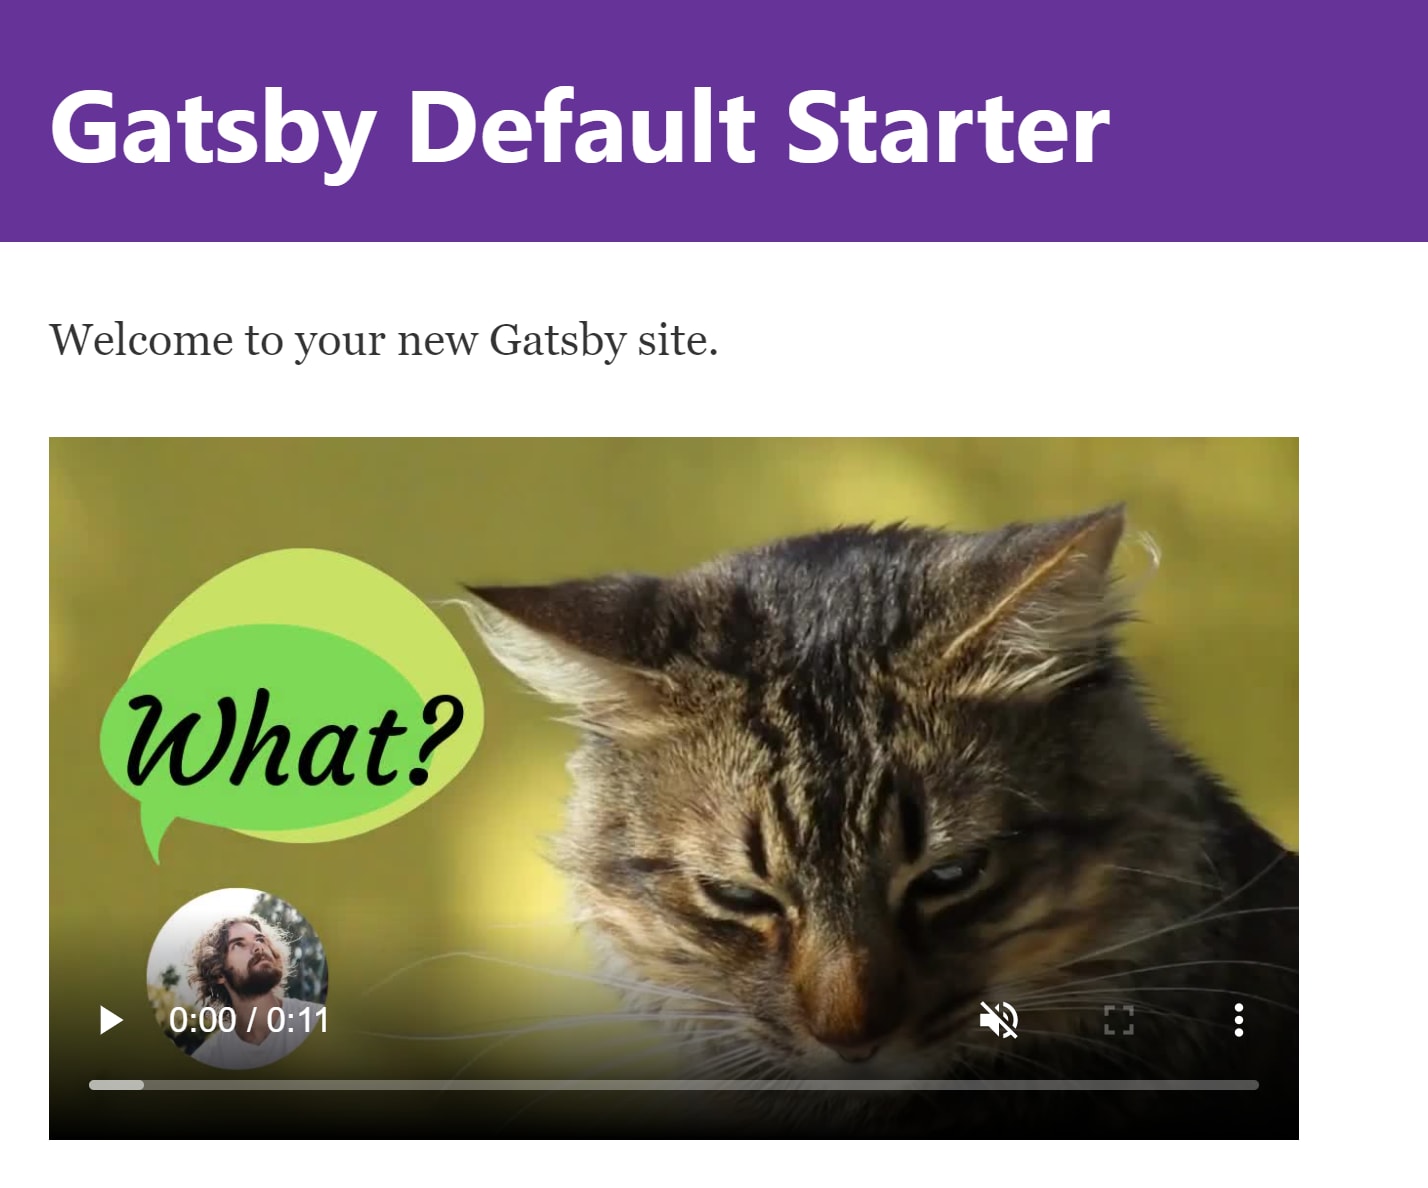
You should have something similar to the image below if you use the specified cloud name in the snippet.
How do we get access to the methods and properties of the underlying video element?
The cloudinary-react package provides the innerRef prop, which makes access to underlying video element seamless.
To reference the underlying HTML video element, we’ll use React’s useRef() hook.
With useRef(), we are able to access the onended video event. We make a new ref and assign it to the video’s innerRef prop with:
    import { Video, CloudinaryContext, Transformation } from "cloudinary-react";
    import { useRef } from "react";

     export default function IndexPage() {
      const videoRef = useRef();
      return (
        <div>
          <Layout>
            <Seo title="Home" />
            <p>Welcome to your new Gatsby site.</p>
            <CloudinaryContext cloudName="olanetsoft">
              <Video
                publicId="samples/animals/testvid"
                controls
                muted
                width="500px"
                innerRef={videoRef} />
             />
            </CloudinaryContext>
          </Layout>
        </div>
      )
    }
Code language: HTML, XML (xml)
With the ref in place, we’ll manage user interface behavior corresponding to video events. When the video ends, we call a required action. This action is done in a useEffect hook, where you reveal to React the component that needs to accomplish an action after render.
React will call the function passed once the component loads and call it later when the DOM rerenders with the following code. We define the ref and useEffect sequence with:
    import { useRef, useEffect, useState } from "react";

    export default function IndexPage() {
      const [videoEnded, setVideoEnded] = useState(undefined)
        const videoRef = useRef()
        useEffect(() => {
            const video = videoRef.current;

            video.onended = () => {
                setVideoEnded(true)
                // Our logic goes in here
            }
        }, [])
      return (
        // render component here
      );
    }
Code language: JavaScript (javascript)
In the imported useEffect hook we listen to the onended event of the video to carry out further action in a function.
We store a true boolean value in the component’s state when the video ends. With this state value, we handle several UI updates. These experiences include the following:
- Using Formik to show form for feedback
- Implementing modals to share vital information
- When a video ends, we render call to action buttons – Handle navigation on real video events
- Get or send info using an API
For this project, we’ll make a Formik component that renders when the video ends. Formik handles the tedious and inconvenient tasks, such as keeping track of values/errors/visited areas, orchestrating validation, and managing form submission.
It means you can devote more time to your business logic than wiring-up state and onChange handlers when building a form.
npm i formik
We create form.css and form.js files inside the component folder src/components. Next, we add the snippets that handle formik in action, as well as styling for the form.
In the form.css add the following snippet:
    * {
      box-sizing: border-box;
    }
    input[type="text"] {
      width: 100%;
      padding: 12px;
      border: 1px solid #ccc;
      border-radius: 4px;
      resize: vertical;
    }
    label {
      padding: 6px 6px 6px 0;
      display: inline-block;
    }
    button[type="submit"] {
      background-color: #4caf50;
      color: white;
      padding: 6px 8px;
      border: none;
      border-radius: 4px;
      cursor: pointer;
      float: left;
      margin-top: 10px;
    }
    button[type="submit"]:hover {
      background-color: #45a049;
    }
    .container {
      border-radius: 10px;
      background-color: #f2f2f2;
      padding: 12px;
      max-width: 55%;
    }
    .col-30 {
      float: left;
      width: 30%;
      margin-top: 4px;
    }
    .col-60 {
      float: left;
      width: 70%;
      margin-top: 4px;
    }
    /* Clear floats after the columns */
    .row:after {
      content: "";
      display: table;
      clear: both;
    }
Code language: CSS (css)
Heading over to the form.js file we created earlier which handles our form input, we add the following snippet to import the Formik module and form.css
    import React from "react"
    import { Formik } from "formik"
    import "./form.css"

    const Form = () => (
      <div>
        <Formik
              initialValues={{ name: "", feedback: "" }}
              onSubmit={(values, { setSubmitting }) => {
                setTimeout(() => {
                  alert(JSON.stringify(values, null, 2))
                  setSubmitting(false)
                }, 400)
              }}
            >
              {({ values, handleChange, handleBlur, handleSubmit, isSubmitting }) => (

                // Our form to be rendered goes in here

              )}
        </Formik>
      </div>
    )
    export default Form
Code language: JavaScript (javascript)
Let’s Render the required input fields:
            <div class="container">
              <form onSubmit={handleSubmit}>
                <div class="row">
                  <div class="col-30">
                    <label for="name">Name</label>
                  </div>
                  <div class="col-70">
                    <input
                      type="text"
                      name="name"
                      onChange={handleChange}
                      onBlur={handleBlur}
                      value={values.name}
                    />
                  </div>
                </div>
                <div class="row">
                  <div class="col-30">
                    <label for="feedback">Feedback</label>
                  </div>
                  <div class="col-70">
                    <input
                      type="text"
                      name="feedback"
                      onChange={handleChange}
                      onBlur={handleBlur}
                      value={values.feedback}
                    />
                  </div>
                </div>
                <div class="row">
                  <button type="submit" disabled={isSubmitting}>
                    Submit
                  </button>
                </div>
              </form>
            </div>
Code language: HTML, XML (xml)
We imported our custom CSS and Formik in the snippet above, then we added properties to capture user data and preview the data using an alert popup. Formik also handles a variety of validations and custom styling.
We need to update the index.js file to include the created Form component. The form renders once the state value of videoEnded resolves to true
    import React from "react"
    import { useRef, useEffect, useState } from "react"
    import { Video, CloudinaryContext } from "cloudinary-react"

    import Layout from "../components/layout"
    import Seo from "../components/seo"
    import Form from "../components/form"

    export default function IndexPage() {
      const [videoEnded, setVideoEnded] = useState(undefined)
      const videoRef = useRef()
      useEffect(() => {
        const video = videoRef.current
        video.onended = () => {
          setVideoEnded(true)
        }
      }, [])
      return (
        <div>
          <Layout>
            <Seo title="Home" />
            <p>Welcome to your new Gatsby site.</p>
            <CloudinaryContext cloudName="olanetsoft">
              <Video
                publicId="samples/animals/testvid"
                controls
                muted
                width="500px"
                innerRef={videoRef}
              />
            </CloudinaryContext>
            {videoEnded && <Form />}
          </Layout>
        </div>
      )
    }
Code language: JavaScript (javascript)
Here’s what the final video looks like with the Form Feedback on video events:

This article addressed using useRef to access the video element’s native properties, events, and methods in a Gatsby project. With this, once a video is done playing, we render a feedback form to get user feedback.
You may find these resources useful.