
Images draw attention, trigger emotions, and improve the user experience of your website. Image compression involves the reduction of the size of your image so that it takes less space on the hard drive and for better search engine optimization when it comes to websites e.g., 2MB to 440kbs. The image still retains its physical properties. We are going to use React to compress our images.
In this demo, we are going to explore how we can achieve this.
The final version of this project can be viewed on Codesandbox.
Check out the complete source code in this GitHub Repository.
To effectively follow along through this article you are required to have:
-
React.js basic skills
-
Basic knowledge of HTML
-
Knowledge of Javascript
-
Some knowledge of Bootstrap
In this demo, we are going to use the browser-image-compression package to compress our images from a high-resolution image to a low-resolution image. You can read more about this package by clicking this link.
browser-image-compressionis a module used to compress jpeg and png images by reducing resolution or storage size before uploading to the server to save bandwidth.
you can install it via npm or yarn
npm install browser-image-compression

# or

yarn add browser-image-compression

Code language: PHP (php)
Then import it into your components
import  imageCompression  from  "browser-image-compression";

Code language: JavaScript (javascript)In this article, I will need you to clone the project from GitHub
git clone https://github.com/musebe/-Image-Compressor-
cd .\Image-Compressor\
yarn start
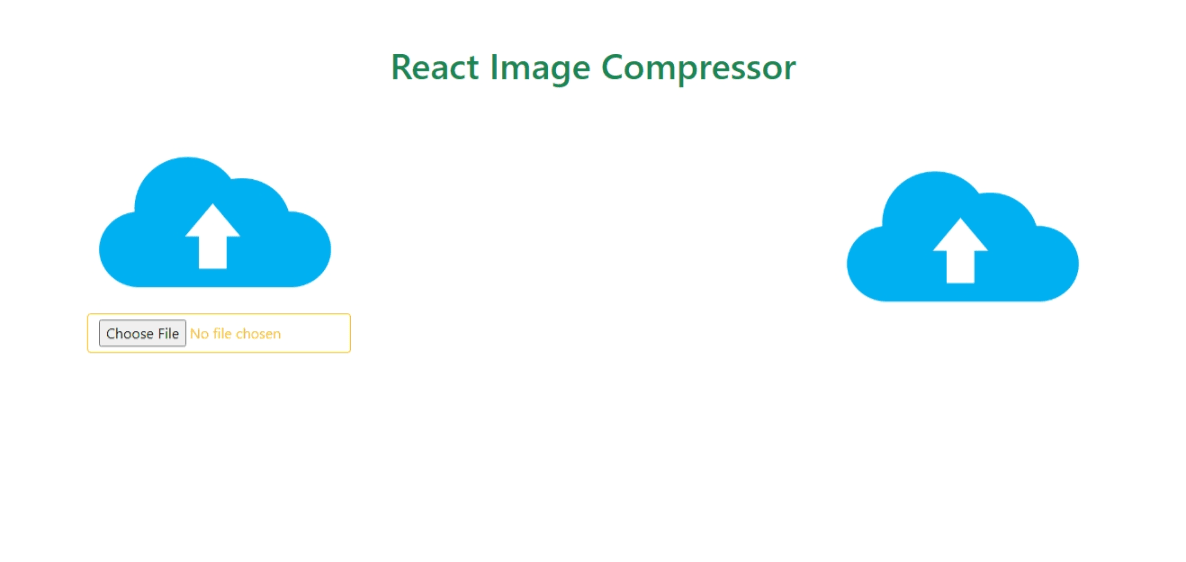
Code language: PHP (php)After this is in your browser, you should be able to see this page
Let’s now examine the ImageCompressor.js component to understand how the browser-image-compression package works.
Since this is a class component we are able to store the state for our component.
constructor() {

super();

this.state  = {

compressed link:

"https://testersdock.com/wp-content/uploads/2017/09/file-upload-1280x640.png",

originalImage:  "",

originalLink:  "",

clicked:  false,

uploadImage:  false

};

}

Code language: JavaScript (javascript)
The compressed link will store the image link of the compressed image and the original image and the original link will store the values of the original image and original link respectively. The clicked and upload image store a boolean value that is false by default and changes to true when a button is clicked and when an image is uploaded.
When the Image is uploaded we want to change the state of our Component. To do this we are going to call the setState method since we just don’t change the state of the component directly.
<input

type="file"

accept="image/*"

className="mt-2 btn btn-outline-warning w-75"

onChange={e =>  this.handle(e)}

/>

Code language: HTML, XML (xml)
Once we have uploaded an image the handle method will be called
handle  =  e  => {

const  imageFile  =  e.target.files[0];

this.setState({

originalLink:  URL.createObjectURL(imageFile),

originalImage:  imageFile,

outputFileName:  imageFile.name,

uploadImage:  true

});

};

Code language: JavaScript (javascript)
event.target.files allows you to access a list of uploaded files. We can then get the first file since we process an image at a time using e.target.files[0]. To change the state we use setState to set the originalLink, originalImage, output filename, and upload image state as shown above.
URL.createObjectURL() is a static method that creates a string containing a URL representing the object given in the parameter.
We will use the shorthand for the if-else statement, ternary operator to change the user interface of our application when the user has not uploaded an image and he/she has uploaded an image.
{this.state.uploadImage  ?  (

<Card.Img

className="ht"

variant="top"

src={this.state.originalLink}

></Card.Img>

)  :  (

<Card.Img

className="ht"

variant="top"

src="https://testersdock.com/wp-content/uploads/2017/09/file-upload-1280x640.png"

></Card.Img>

)}

Code language: JavaScript (javascript)
If the state upload image is true it would replace the image the link of the Card Image with the originalLink which the state changed upon uploading. Otherwise, the Card Image link will be hard coded as shown above.
It is only after an image has been uploaded that we will see the compress button.
{this.state.outputFileName  ?  (

<Button

variant="primary"

onClick={e =>  this.click(e)}

>

Compress

</Button>

)  :  (

<></>

)}

Code language: JavaScript (javascript)
When the image is not uploaded we don’t have the state outputFileName hence we don’t see the compress button. This state is set only after uploading hence returning the compress button.
const  options  = {

maxSizeMB:  2,

maxWidthOrHeight:  800,

useWebWorker:  true

};


if  (options.maxSizeMB  >=  this.state.originalImage.size  /  1024) {

alert("Bring a bigger image");

return  0;

}


let  output;

imageCompression(this.state.originalImage, options).then(x  => {

output  =  x;


const  downloadLink  =  URL.createObjectURL(output);

this.setState({

compressedLink:  downloadLink

});

});


this.setState({ clicked:  true });

return  1;

Code language: JavaScript (javascript)
To prevent the user to upload an image less than 2mb we will check whether the maxSizeMB is greater than or equal to the originalImage size.
if  (options.maxSizeMB  >=  this.state.originalImage.size  /  1024) {

alert("Bring a bigger image");

return  0;

}

Code language: JavaScript (javascript)
imageCompression() is a method that takes two parameters: the originalImage and the options.
We will have a promise in which when its state is fulfilled, that is the imageCompression() returns an object x, compressed image for our case. We will then create an Image URL for the compressed Image using the URL.createObjectURL(). We will also change the compressed link-state Compressed Image URL as shown below using setState.
imageCompression(this.state.originalImage, options).then(x  => {

output  =  x;


const  downloadLink  =  URL.createObjectURL(output);

this.setState({

compressedLink:  downloadLink

});

});

Code language: JavaScript (javascript)Lastly, we’ll need to download the compressed image and compare it with the original image whether they are of different sizes.
<Card.Img  variant="top"  src={this.state.compressedLink}></Card.Img>

{this.state.clicked  ?  (

<div  className="d-flex justify-content-center">

<a

href={this.state.compressedLink}

download={this.state.outputFileName}

className="mt-2 btn btn-info w-75"

>

Download

</a>

</div>

)  :  (

<></>

)}

Code language: HTML, XML (xml)
Once the download button is clicked we’ll get the link of the compressed Image from our component’s state and then use it in the <a> href attribute. You will also need to add the download attribute to the anchor tag which will take the outputFileName.
Additionally, there’s another React component that can be utilized for image compression named “React Image Compressor”. This component allows you to compress images before uploading them to your server, which can further enhance the performance of your website.
To integrate “React Image Compressor” into your project, you’ll first need to install it using:
npm install react-image-compressor
After installation, you can import it into your React project with:
import ReactImageCompressor from 'react-image-compressor'
Once imported, you can create a new instance of the ReactImageCompressor component and pass it the image you wish to compress. For instance:
const imageCompressor = new ReactImageCompressor('image.jpg'); imageCompressor.compress('compressed-image.jpg');
This will compress the image stored in ‘image.jpg’ and save the compressed version to ‘compressed-image.jpg’.
In this article, we learned how we can compress images based on their sizes offline using React and the browser-image-compression package without losing the physical properties.