
Infinite scrolling is a web design technique where the entire content of a website or app does not load on the page at once but loads incrementally as a user scrolls downward, giving the website a sense of being infinite. This technique creates a seamless user experience and keeps users active.
In this article, you will learn how to implement infinite-scroll in a Gatsby.js website using JavaScript’s Intersection Observer API.
The complete demo for this article is on CodeSandbox. Fork and run it to quickly get started.
To view its source code on GitHub, click this GitHub link.
Understanding this article requires the following:
- Knowledge of JavaScript and React, especially React Hooks
- A Cloudinary account for storing and delivering your images (create a free account here)
- Installation of Node.js on your local machine
- Installation of Gatsby CLI on your local machine, knowledge of Gatsby.js is preferable but not strictly required
Open your terminal and run the command below in your preferred directory:
gatsby new
Set the recommended options below in the series of prompts from Gatsby’s CLI, and hit “Enter” on your keyboard to proceed with the project setup:

After a successful project setup, view your project’s codebase in your preferred code editor.
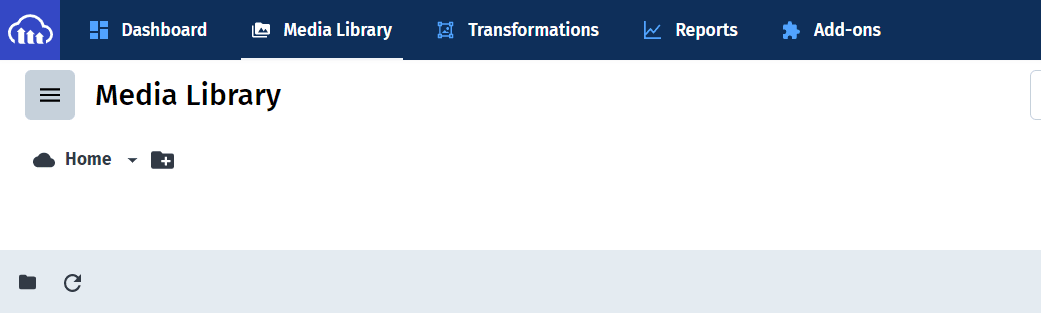
In your browser, open your Cloudinary dashboard and click on the “Media Library” tab:
Upload your chosen images for this project in a new folder:
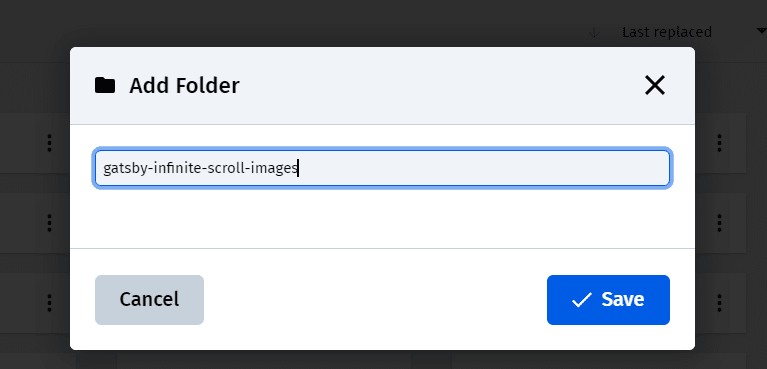
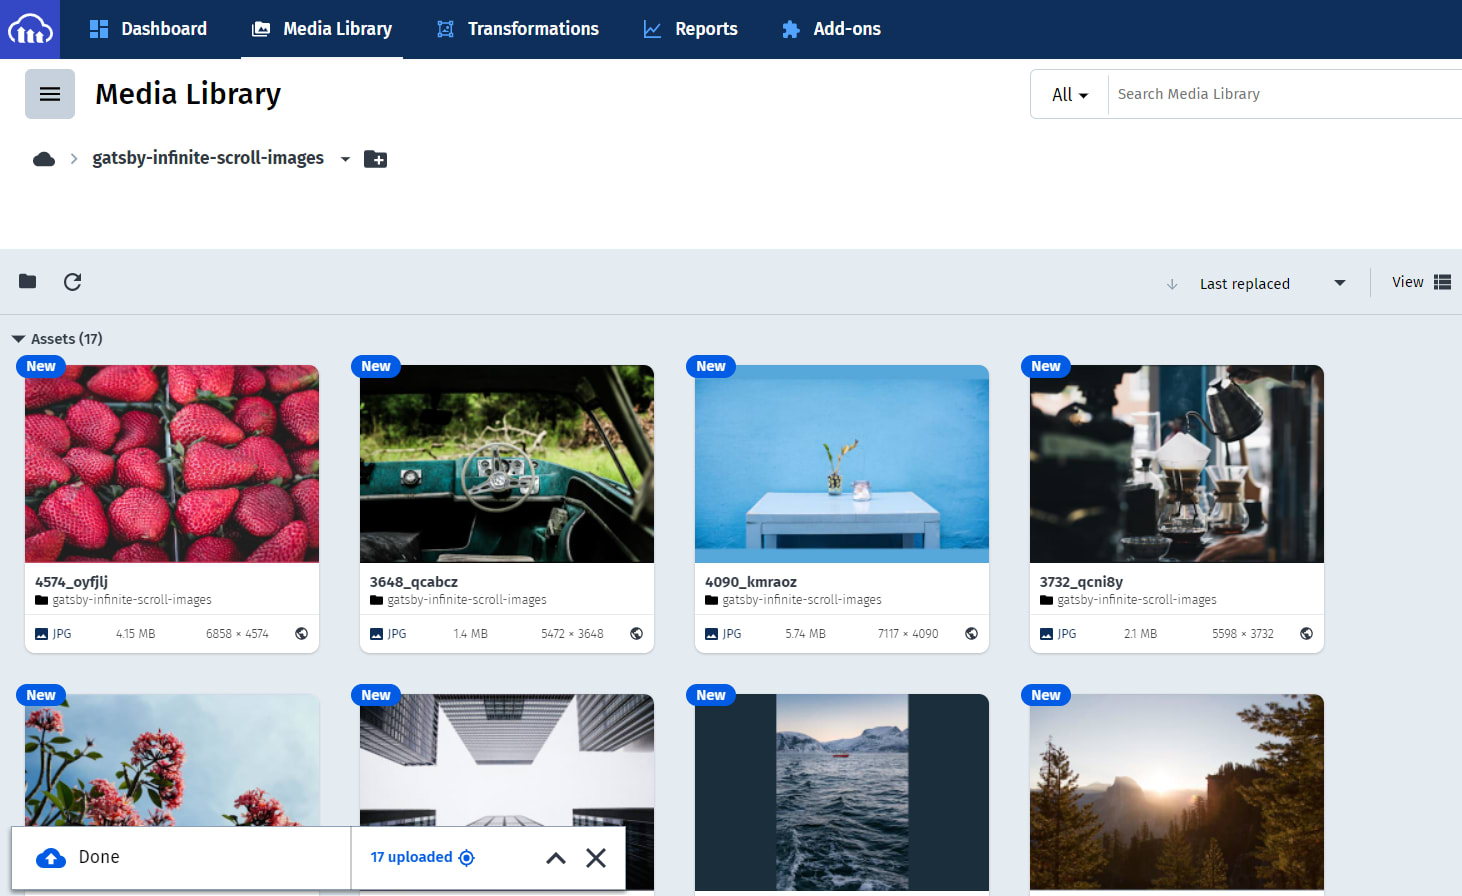
You can get some images from Lorem Picsum.
In your project’s terminal, run the command below to install the dependencies required for this project:
npm i dotenv gatsby-source-cloudinary
-
dotenvgives you access to any data in a.envfile -
gatsby-source-cloudinaryqueries media files from your Cloudinary account intoCloudinaryMedianodes in your Gatsby project
In your code editor, open your gatsby-config.js file and update it with the code below:
require('dotenv').config({
  path: `.env.${process.env.NODE_ENV}`,
});

module.exports = {
  siteMetadata: {
    siteUrl: `https://www.yourdomain.tld`,
  },
  plugins: [
    {
      resolve: `gatsby-source-cloudinary`,
      options: {
        cloudName: process.env.CLOUDINARY_CLOUD_NAME,
        apiKey: process.env.CLOUDINARY_API_KEY,
        apiSecret: process.env.CLOUDINARY_API_SECRET,
        resourceType: `image`,
        prefix: `gatsby-infinite-scroll-images/`,
        maxResults: 2000,
      },
    },
  ],
};
In the code above, you did the following:
- Imported
dotenvand configured it - Exported
siteMetadataand your installedpluginswith their configurations -
siteMetadatacontains metadata for your Gatsby site, add your site’stitle,siteUrl, anddescription - In
gatsby-source-cloudinary, thecloudName,apiKey, andapiSecretwill contain your Cloudinary credentials gotten from a.envfile -
options:resourceType,prefix, andmaxResultswill tell the plugin what kind of media file you want, where to get it, and how many should be returned, you get a maximum of 2000 images from thegatsby-infinite-scroll-images/folder created on Cloudinary
In your project’s root folder, create a .env.development file and fill it with the data below:
CLOUDINARY_CLOUD_NAME=<Your Cloudinary Cloud Name here>
CLOUDINARY_API_KEY=<Your Cloudinary API Key here>
CLOUDINARY_API_SECRET=<Your Cloudinary API Secret here>
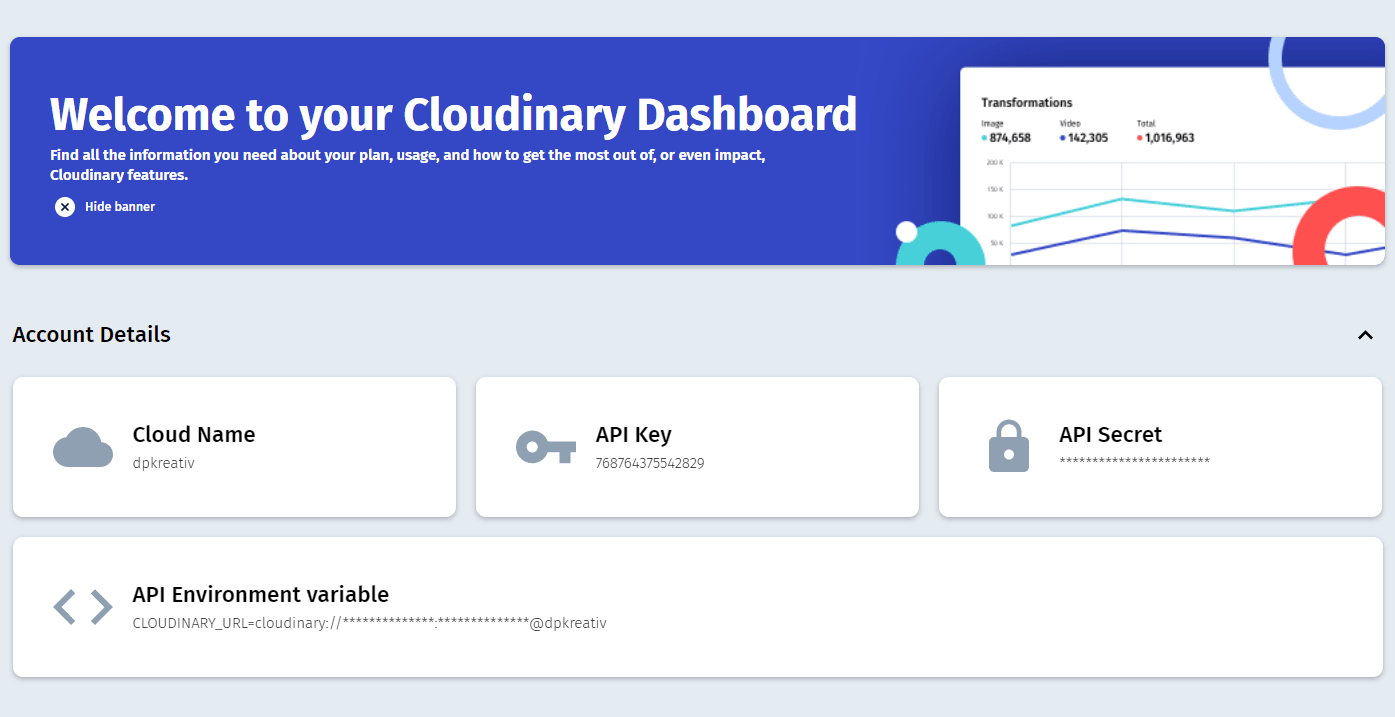
Navigate to your Cloudinary Dashboard in your browser to get your Cloud Name, API Key, and API Secret:
In your code editor, update the .gitignore file with the code below to prevent your .env files from storing on Git:
node_modules/
.cache/
public
*env.*
In your code editor, update src/pages/index.js with the code below:
import { graphql, useStaticQuery } from 'gatsby';
import React from 'react';
export default function Home() {
// === CLOUDINARY MEDIA ===
// Get images from Cloudinary with Gatsby's useStaticQuery hook
const data = useStaticQuery(graphql`
query CloudinaryImages {
allCloudinaryMedia {
edges {
node {
public_id
secure_url
}
}
}
}
`);
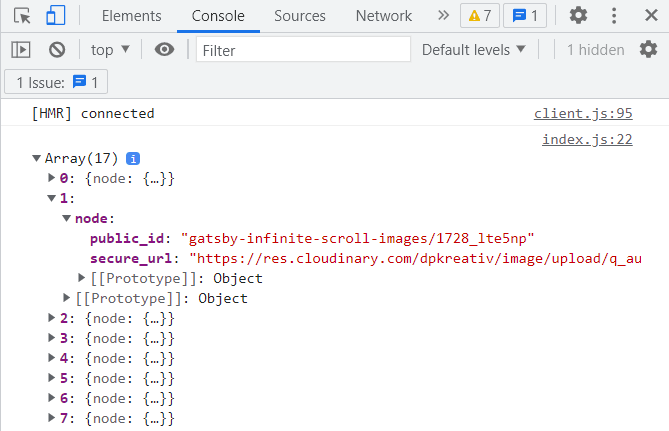
const cldImages = data.allCloudinaryMedia.edges;
console.log(cldImages);
return (
<div style={{ width: '100%', maxWidth: '425px', margin: '0 auto' }}>
<h1>Home</h1>
</div>
);
}
In the code above, you did the following:
- Queried
CloudinaryImagesin Gatsby’s GraphQL layer usinguseStaticQueryto access an array of nodes inallCloudinaryMedia - Got the
public_idandsecure_urlof each Cloudinary media file present in its node - Stored the array of nodes in a
cldImagesvariable and displayed it in your browser’s console
In your terminal, start the development server with the command below:
npm run develop
Once the server is up and running, open localhost:8000 on your browser and check the console:
In your project’s src/ folder, create an Image.js file inside a components/ folder and fill it with the code below:
import React from ‘react’;

export default function Image({ image }) {
  return (
    <div style={{ width: '100%', maxWidth: '425px', height: '425px' }}>
      <img
        src={image.node.secure_url}
        alt={image.node.public_url}
        style={{ objectFit: 'cover', width: '100%', height: '100%' }}
      />
    </div>
  );
}
In the code above, you did the following:
- Created an
Imagecomponent with animageprop - Used the
imageprop to add yoursecure_urltosrcandpublic_urltoalt
In your src/pages/index.js file, import your newly created Image component and update the return statement with the code below:
return (
  <div style={{ width: '100%', maxWidth: '425px', margin: '0 auto' }}>
    <h1>Home</h1>

    <section style={{ display: 'grid', gap: '2rem' }}>
      {cldImages &&
        cldImages.map((imageNode, index) => (
          <Image key={`${index}-cld`} image={imageNode} />
       ))}
    </section>
  </div>
);
In the code above, you did the following:
- Created a
<section>element and mapped the contents of yourcldImagesarray to create anImagecomponent for each element in the array - Added an
imageNodeparameter to theimageattribute of eachImagecomponent, which enables you to access{node: {public_id: <value>, secure_url: <value>}}from the array
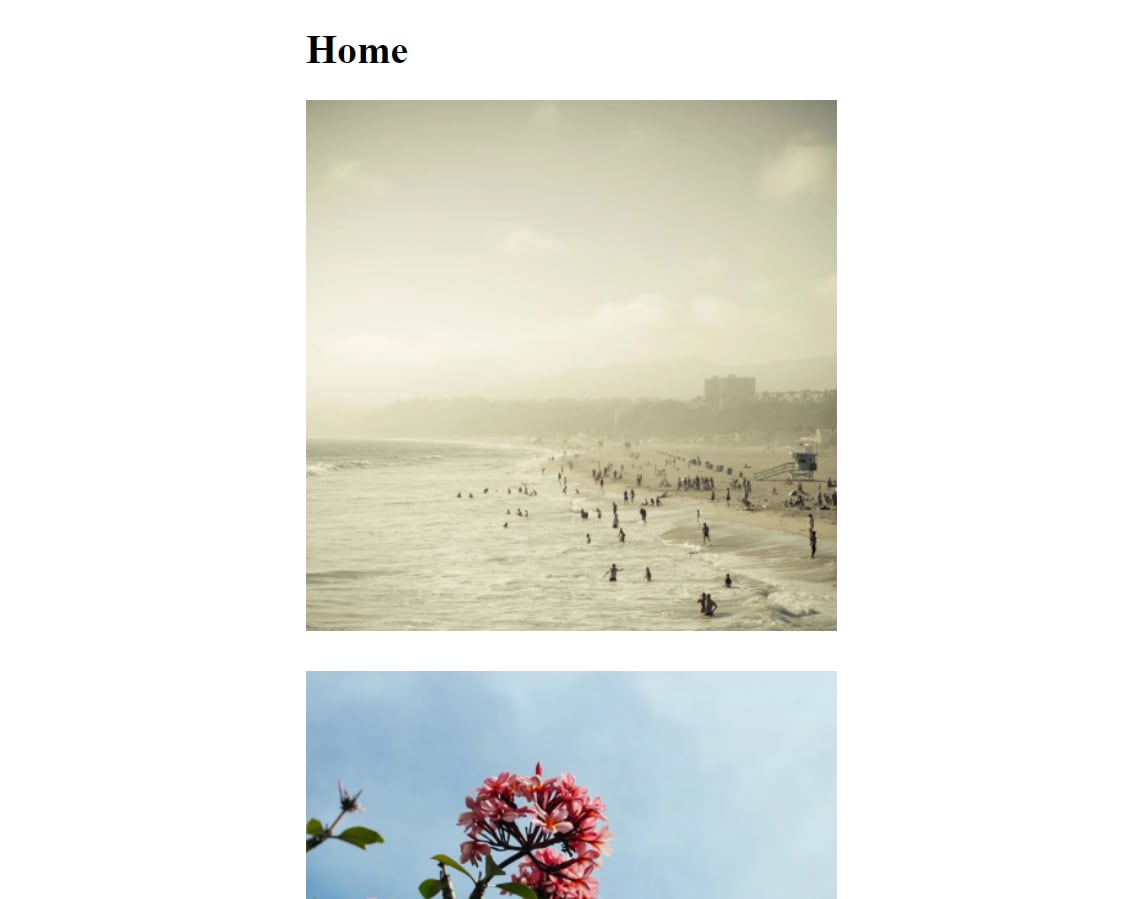
When you refresh localhost:8000 on your browser, you should see something similar to this below:
In your code editor, update src/pages/index.js with the code below:
import { graphql, useStaticQuery } from 'gatsby';
import React, { useEffect, useState } from 'react';
import Image from '../components/Image';

export default function Home() {
  // === CLOUDINARY MEDIA ===
  // Get images from Cloudinary with Gatsby's useStaticQuery hook
  // (Do not modify the pre-existing code here, just add the new ones below.)

  // === INFINITE SCROLL LOGIC ===
  // Incrementally increase the number of images to display while scrolling
  const [imagesList, setImagesList] = useState([]);
  const [limit, setLimit] = useState(4);
  const start = imagesList.length;

  function newLimit() {
    const blip = cldImages.length - start;
    if (blip > 5) {
      setLimit(limit + 5);
    } else {
      setLimit(limit + blip);
    }
  }

  useEffect(() => {
    const temp = [];
    for (let i = limit; i >= start; i--) {
      temp.push(cldImages[i]);
    }
    setImagesList((prev) => [...prev, ...temp]);
  }, [cldImages, limit, start]);

return (
    <div style={{ width: '100%', maxWidth: '425px', margin: '0 auto' }}>
      <h1>Home</h1>
      <section style={{ display: 'grid', gap: '2rem' }}>
        {imagesList &&
          imagesList.map((imageNode, index) => (
            <Image key={`${index}-cld`} image={imageNode} />
          ))}
      </section>
    </div>
  );
}
In the code above, you did the following:
- Created an
imagesListwithuseState([])and alimitvariable withuseState(4) - Implemented a
useEffect()that loops throughcldImagesand pushes each element into atemparray, then adds the array to your existingimagesListarray after the loop is complete - Mapped and displayed each element of
imagesListas anImagecomponent - Created a
newLimit()function that updates thelimitvariable when triggered
Update src/components/Image.js with the code below:
import React, { useEffect, useRef } from 'react';

export default function Image({ image, isLast, newLimit }) {
  const imageRef = useRef();

  useEffect(() => {
    if (!imageRef?.current) return;
    const observer = new IntersectionObserver(([entry]) => {
      if (isLast && entry.isIntersecting) {
        newLimit();
        observer.unobserve(entry.target);
      }
    });
    observer.observe(imageRef.current);
  }, [isLast]);

  return (
    <div style={{ width: '100%', maxWidth: '425px', height: '425px' }}>
      <img
        ref={imageRef}
        src={image.node.secure_url}
        alt={image.node.public_url}
        style={{ objectFit: 'cover', width: '100%', height: '100%' }}
      />
    </div>
  );
}
In the code above, you did the following:
- Added two new props –
isLastchecks if the last image in yourimagesListarray is in the viewport andnewLimittriggers thenewLimit()function insrc/pages/index.js - Created an
imageRefvariable to access your<img>tag withuseRef - Created an
observervariable that is an instance ofIntersectionObserver, ifisLastandentry.isIntersectingis true, it triggers thenewLimit()function - After the
newLimit()is triggered,observer.unobserve(entry.target)ensures that Intersection Observer does not track the target image any further - Initialized the Intersection Observer using
observer.observe(imageRef.current) - If
imageRefdoes not exist or itscurrentvalue isnull, theuseEffecthook ends without running theobserver
In your src/pages/index.js, update the <section> tag in your return statement with the code below:
<section style={{ display: 'grid', gap: '2rem' }}>
  {imagesList &&
    imagesList.map((imageNode, index) => (
      <Image
        key={`${index}-cld`}
        image={imageNode}
        isLast={index === imagesList.length - 1}
        newLimit={newLimit}
      />
    ))}
</section>
In the code above, you did the following:
- Set your
isLastprop to check if the currentindexequals the last element in theimagesListarray - Set your
newLimit()function as a value in yournewLimitprop
In your browser, refresh localhost:8000 and scroll down to see the infinite scroll in action:
In this article, you learned how to implement infinite scroll in your Gatsby.js website using Intersection Observer. To explore the full capabilities of Gatsby.js in building fast, performant web applications, check out the resources below: