
Laravel is a PHP framework developed with developer productivity in mind. The framework also aims to evolve with the web and has already incorporated several new features and ideas in the web development world—such as job queues, API authentication out of the box, real-time communication, and much more.
Cloudinary is a Software-as-a-Service (SaaS) solution for managing all your web or mobile application’s media assets in the cloud. Cloudinary offers an end-to-end solution for all your image and video needs, including the upload, storage, administration, transformation and optimized delivery.
Product Packaging is the first thing a customer sees when looking at a product. In this article, we will use Cloudinary to create engaging and compelling product packaging embedded with QR codes that will provide additional product details.
Let’s get started.
The final project can be viewed on PHPSandbox and the entire source code is available on my Github repository.
Using Cloudinary in your Laravel projects is pretty straightforward. However, for you to be able to easily follow along, you need to have a good command of your terminal, Git, and entry knowledge of PHP specifically with the Laravel framework.
Being that Laravel is a PHP Framework, we will need Composer. Like any modern PHP framework, Laravel uses Composer to manage its dependencies. So, before we can start ensure you have Composer installed on your machine. Follow step 1 below to install Composer and PHP.
your development or production machine.
-
Install Laravel
-
Via Composer:
composer create-project --prefer-dist laravel/laravel cloudinary-video-slideshow
- Via Laravel Installer
composer global require laravel/installer
laravel new cloudinary-video-slideshow
- In step 2 above we have installed the Laravel Installer and used it to scaffold a new application in the folder
cloudinary-video-slideshow. With Laravel installed, we should be able to start and test the server ensuring everything is okay. Change the directory to the project folder and run the local development server by typing the following commands:
cd cloudinary-video-slideshow
php artisan serve
The Laravel project is now up and running. When you open http://localhost:8000 on your computer, you should see the image below:
Cloudinary has a tonne of features from media upload, storage, administration, and manipulation to optimization and delivery. In this article, we will use image transformation to create product labels with embedded QR codes.
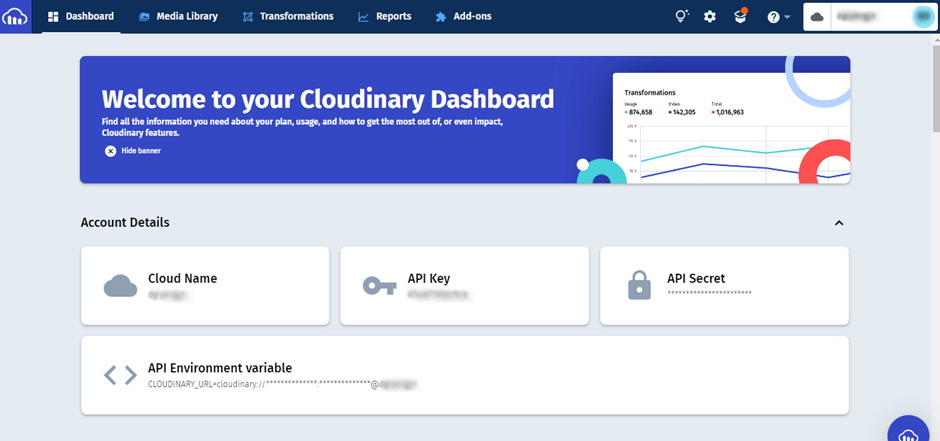
- Sign up for a free Cloudinary account then navigate to the Console page and take note of your Cloud name, API Key and API Secret.
- Install Cloudinary’s Laravel SDK:
composer require cloudinary-labs/cloudinary-laravel
Note: Please ensure you follow all the steps in the #Installation section. Publish the configuration file and add the Cloudinary credentials you noted in Step 1 to the .env file.
CLOUDINARY_API_KEY=YOUR_CLOUDINARY_API_KEY

CLOUDINARY_API_SECRET=YOUR_CLOUDINARY_API_SECRET

CLOUDINARY_CLOUD_NAME=YOUR_CLOUDINARY_CLOUD_NAME
We will need a UI to collect product details, for this, we will use the Laravel package Livewire to build this.
- Install Livewire Package by running the following command in your Laravel project:
composer require livewire/livewire
- Include Livewire scripts and styles on every page that will be using Livewire. In our case
welcome.blade.php:
...

@livewireStyles

</head>

<body>

...

@livewireScripts

</body>

</html>

Code language: HTML, XML (xml)- We will then create a Livewire Component to handle our image uploads:
php artisan make:livewire ProductPackaging
This will create two files, first
app/Http/Livewire/ProductPackaging.php and the other one
in resources/views/livewire/product-packaging.blade.php
Now you can use this component anywhere in your Laravel project using the following snippet:
<livewire:product-packaging/>
or
@livewire('product-packaging')
- Open
resources/views/welcome.blade.phpand add the following code within the<body></body>tags as shown below:
<body class="antialiased">

<div>

@livewire('product-packaging')

</div>

</body>

Code language: HTML, XML (xml)
This includes the Livewire component we created earlier in our welcome.blade.php.
Note: Please ensure you go through the Livewire documentation, to learn how to install and set it up.
- Open the file
resources/views/livewire/product-packaging.blade.phpand populate it with the following code:
<form class="mb-5" wire:submit.prevent="store">
<div class="form-group row mt-3 mb-3">
<div class="input-group mb-3">
<input id="package" type="file" class="form-control @error('package') is-invalid @enderror"
placeholder="Choose files..." wire:model="package">
<label class="input-group-text" for="package">
Upload Product Packaging...
</label>
@error('package')
<div class="invalid-feedback">{{ $message }}</div>
@enderror
</div>
<div class="input-group mb-5">
<label class="input-group-text" for="location">QRCode Position</label>
<select id="location" type="file" class="form-select @error('location') is-invalid @enderror"
wire:model="location">
<option selected>Select Position ...</option>
<option selected value="north_east">Top Right</option>
<option value="north_west">Top Left</option>
<option value="south_east">Bottom Right</option>
<option value="south_west">Bottom Left</option>
<option value="center">Center</option>
</select>
@error('location')
<div class="invalid-feedback">{{ $message }}</div>
@enderror
</div>
<div class="input-group mb-3">
<span class="input-group-text" id="basic-addon1">Name</span>
<input class="form-control @error('name') is-invalid @enderror" placeholder="Product Name"
aria-label="Product Name"
aria-describedby="basic-addon1" wire:model="name">
@error('name')
<div class="invalid-feedback">{{ $message }}</div>
@enderror
</div>
<div class="input-group mb-3">
<span class="input-group-text" id="basic-addon1">Price</span>
<input type="number" class="form-control @error('price') is-invalid @enderror" placeholder="Product Price"
aria-label="Product Price"
aria-describedby="basic-addon1" wire:model="price">
@error('price')
<div class="invalid-feedback">{{ $message }}</div>
@enderror
</div>
<div class="input-group mb-3">
<span class="input-group-text" id="basic-addon1">Short Desc</span>
<input type="text" class="form-control @error('short_desc') is-invalid @enderror"
placeholder="Product Short Desc"
aria-label="Product Short Desc"
aria-describedby="basic-addon1" wire:model="short_desc">
@error('short_desc')
<div class="invalid-feedback">{{ $message }}</div>
@enderror
</div>
<div class="input-group mb-3">
<span class="input-group-text" id="basic-addon1">Desc</span>
<textarea class="form-control @error('desc') is-invalid @enderror" placeholder="Product Desc"
aria-label="Product Desc"
aria-describedby="basic-addon1" wire:model="desc"></textarea>
@error('desc')
<div class="invalid-feedback">{{ $message }}</div>
@enderror
</div>
<small class="text-muted text-center mt-2" wire:loading wire:target="package">
{{ __('Uploading') }}…
</small>
</div>
<div class="text-center">
<button type="submit" class="btn btn-sm btn-primary">
{{ __('Create New Product') }}
<i class="spinner-border spinner-border-sm ml-1 mt-1" wire:loading wire:target="store"></i>
</button>
</div>
</form>
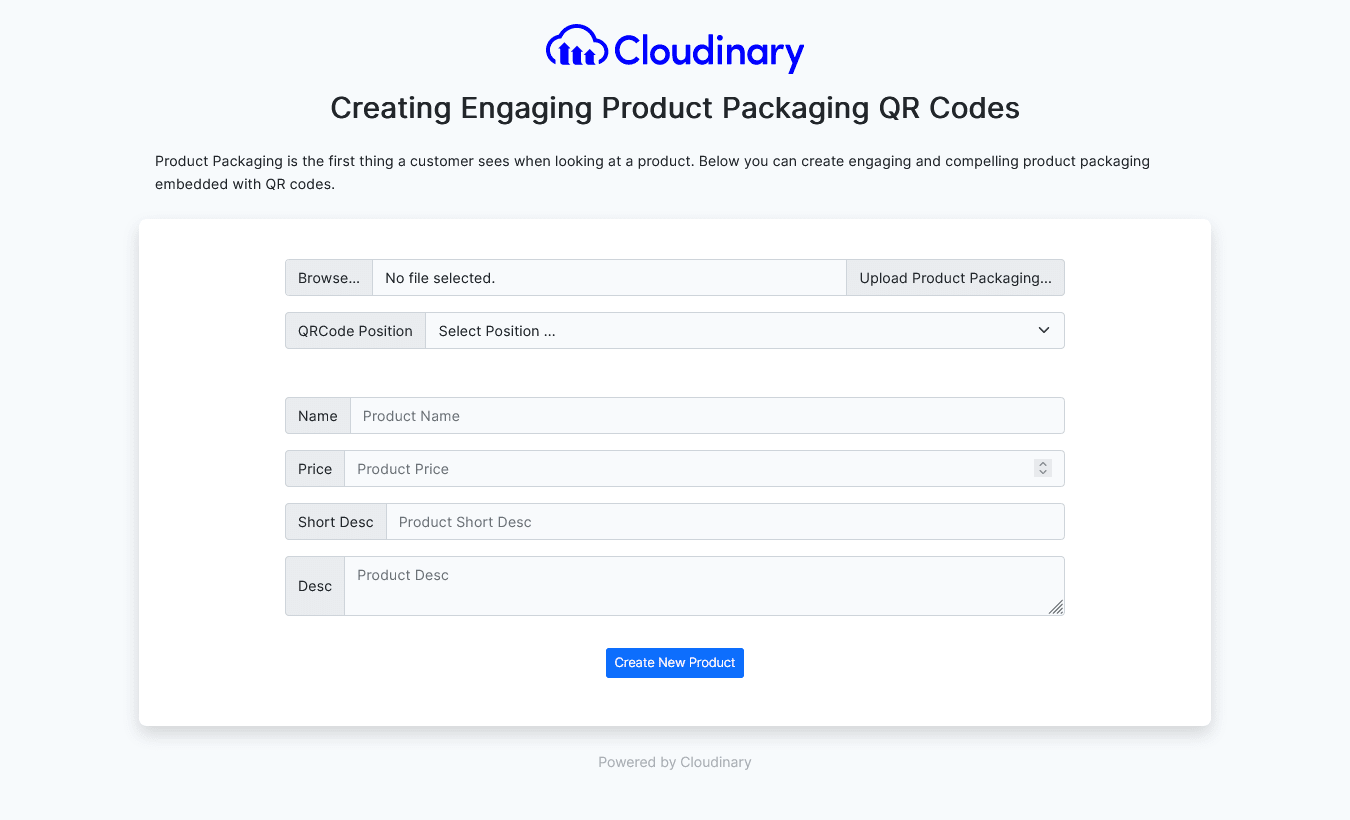
Code language: HTML, XML (xml)This is our Livewire Component view, this basically will display a form with a couple of input fields and a button. You will see the implementation in code shortly.
In practice, QR codes often contain data for a locator, identifier, or tracker that points to a website or application.
We will use the simplesoftwareio/simple-qrcode package to create the QR Codes that we will embed on our product labels.
composer require simplesoftwareio/simple-qrcode
Laravel makes interacting with databases extremely simple across a variety of supported databases using raw SQL. We will save our product details in the SQLite database. This is suitable for a small applications.
-
Edit your
.envfile and changeDB_CONNECTIONtosqlite -
Open your
config/database.phpfile and change the default to sqlite:
'default' => env('DB_CONNECTION', 'sqlite'),
- In the connections array, change sqlite’s database key-value pair as shown below and leave the rest as is:
'connections'  =>  [

'sqlite'  =>  [

'driver'  =>  'sqlite',

'url'  =>  env('DATABASE_URL'),

'database'  =>  database_path('database.sqlite'),

'prefix'  =>  '',

'foreign_key_constraints'  =>  env('DB_FOREIGN_KEYS',  true),

],

...

];

Code language: PHP (php)
Run the command php artisan migrate:status to test if you are connected, you should see the response Migration table not found.
- Next, we need to create the Product model. Run the command
php artisan make:model Product
This will create the file app\Models\Product.php. Open the file and add the following:
protected  $fillable  =  [

'name',

'price',

'short_desc',

'desc',

'package'

];

Code language: PHP (php)- Lastly, we will create the
create_products_tablemigration:
php artisan make:migration create_products_table
Open the file created at database\migrations\<timestamp>_create_products_table.php and in the up method and the following code under Schema:create:
$table->id();

$table->string('name');

$table->float('price');

$table->string('short_desc');

$table->longText('desc');

$table->string('package');  //will store URL of package

$table->timestamps();

Code language: PHP (php)
Once done run the command php artisan migrate, this will create the products table with the above columns.
Open the file app/Http/Livewire/ProductPackaging.php. Here, we are going to add a method that will handle the video selected by the user, and upload them to Cloudinary for video moderation.
Add the following code to this file.
- First, we use Livewires
WithFileUploadsto help us with file uploads, then create the variables as shown.
use  Livewire\WithFileUploads;

public  $package;

public  $name;

public  $price;

public  $short_desc;

public  $desc;

public  $location;

public  $qrCodeId;

public  $product;

...

Code language: PHP (php)- Secondly, we will create the
storemethod which will process the creation of the product label. First by creating the QR code, uploading it to Cloudinary, then creating an image overlay.
public  function  store()  {

...

}

Code language: PHP (php)- Let’s see how this works:
- Creating the QR code – we create the QR code from the product description submitted by the user and store it as
product_qr_code.svgunder thestoragefolder.
...

$qrCodeData  =  $this->desc;

$qrCodePath  =  '../storage/product_qr_code.svg';

QrCode::format('svg')->size(512)->style('round')->backgroundColor(255,  255,  255,  0)->color(0,  0,  0,  90)->margin(5)->generate($qrCodeData,  $qrCodePath);

...

Code language: PHP (php)
We won’t go to detail about how this package works, but you can reference the QR code package documentation here for more info on the numerous features it has.
- Uploading the QR Code to Cloudinary – a simple upload of the QR code to Cloudinary. We are creating the
public_iddynamically so we have unique ids for different products that we can reference later.
...

$this->qrCodeId  =  cloudinary()->upload($qrCodePath,  [

'folder'  =>  'product-qrcodes',

'public_id'  =>  Str::uuid()->toString(),

])->getPublicId();

...

Code language: PHP (php)- Embed the QR code – we embed the QR code created on the product packaging labels and save the details in our SQLite database:
...

$packaged  =  cloudinary()->upload($this->package->getRealPath(),  [

'folder'  =>  'product-qrcodes',

'transformation'  =>  [

'overlay'  =>  $this->qrCodeId,

'gravity'  =>  $this->location,

'x'  =>  0.02,

'y'  =>  0.02,

'crop'  =>  'scale',

'flags'  =>  'relative',

'width'  =>  0.15,

'opacity'  =>  80

],

])->getSecurePath();

$data['package']  =  $packaged;

$this->product  =  Product::create($data);

$productName  =  $this->product->name;

...

Code language: PHP (php)
The code above uses overlay, gravity – we get this as an input from the user, flags – ensures that the overlay is resized based on the resolution of the underlying layer and lastly the opacity transformation.
The code above will be implemented within the store method, which will perform validation, create the QR then upload the images to Cloudinary to create the final product label.
On successful implementation, you should be able to see the following when you navigate to http://localhost:8000:
On successful submission, you should see the product label created with a QR code.
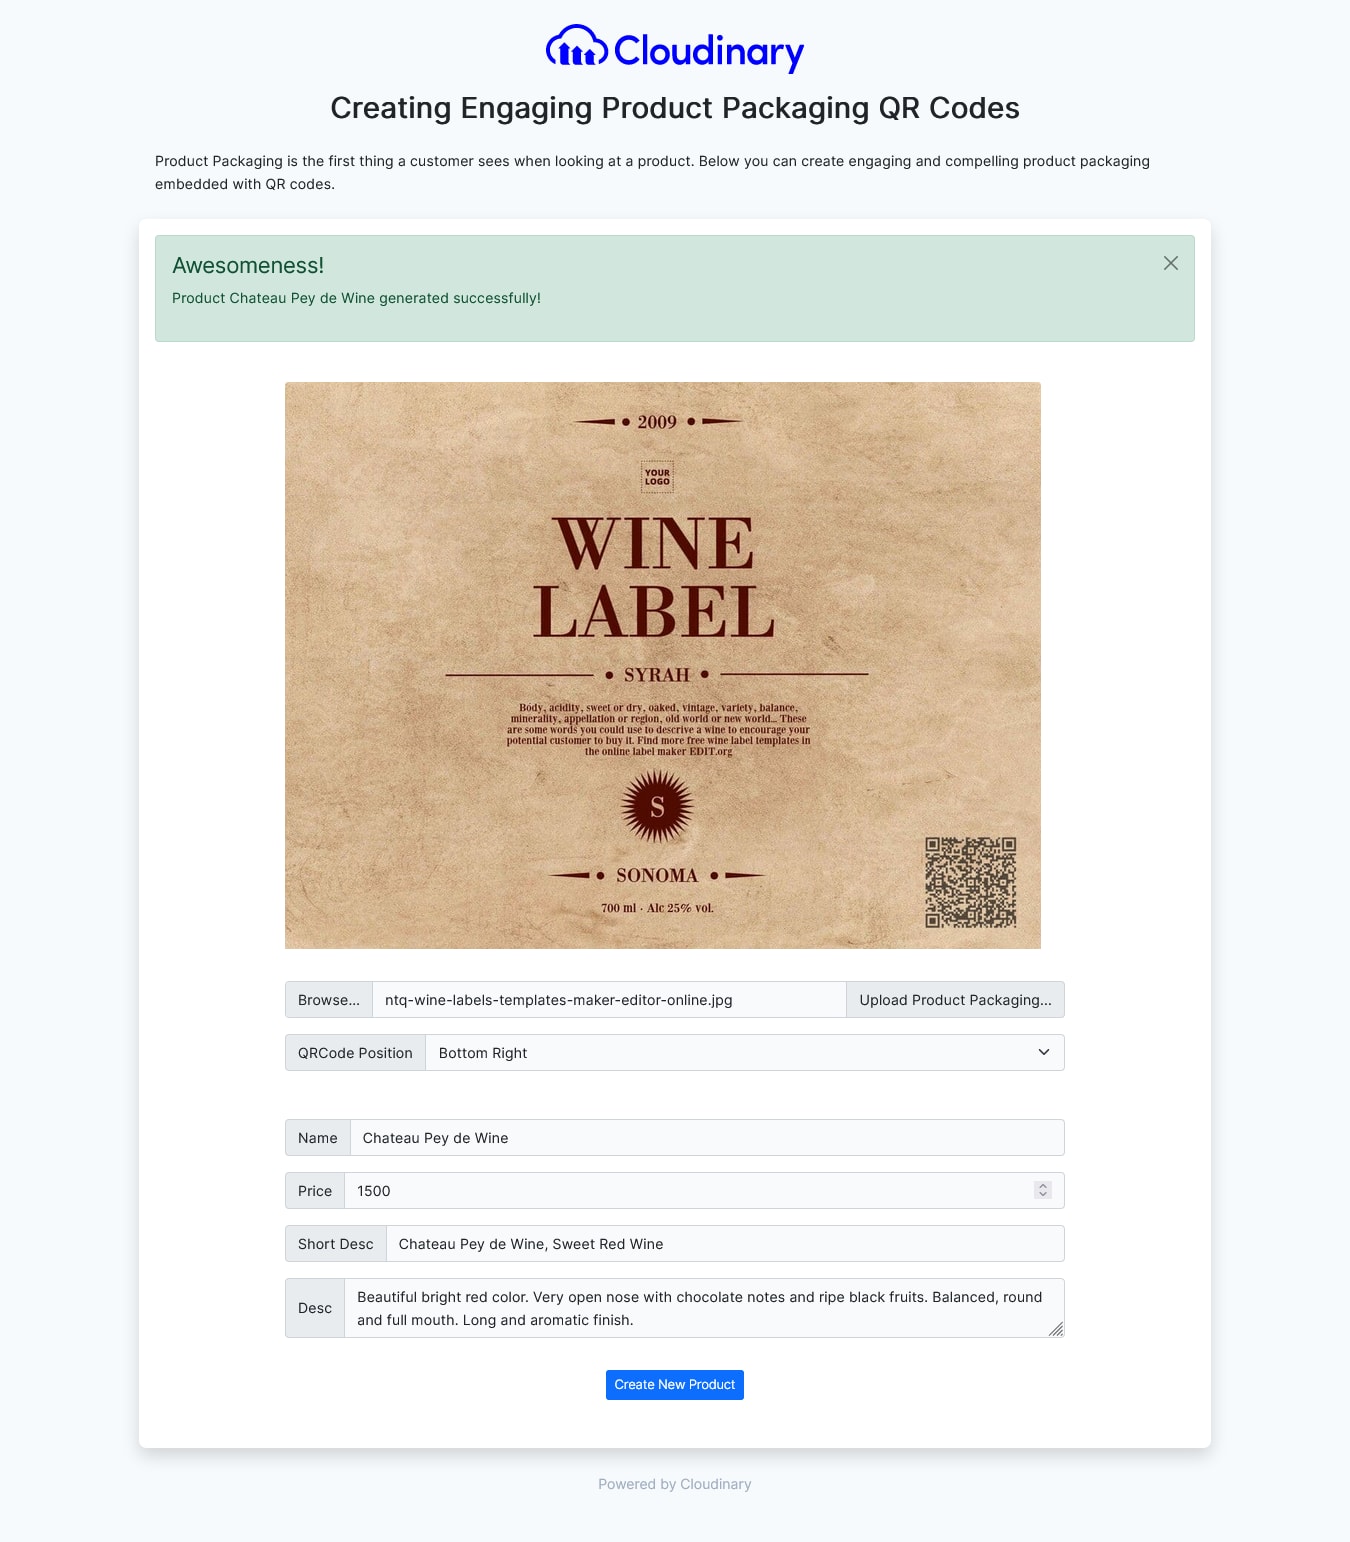
When you scan this code with your phone it will provide you with detailed product information as shown:
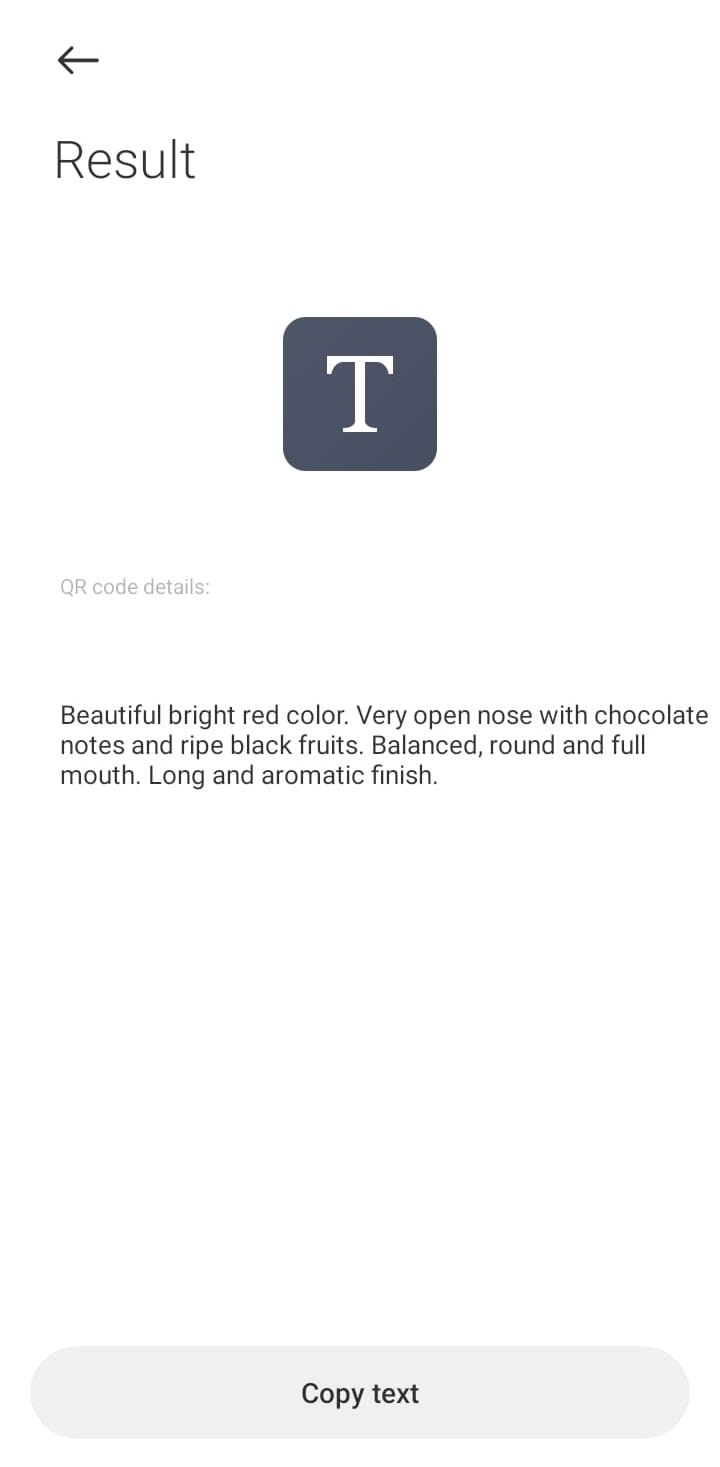
A QR code is a type of matrix barcode invented in 1994 by the Japanese automotive company Denso Wave. A barcode is a machine-readable optical label that can contain information about the item to which it is attached.
There are multiple use cases for QR codes, but the most vital use has been in manufacturing and in retail where QR code labels are used to provide detailed information on shipping and retail products as well.
Using Cloudinary we have been able to create product packaging labels that are engaging, providing shoppers with more details about their purchases. Check out Cloudinary for your A to Z media management – upload, storage, administration, manipulation, optimization and delivery.
Get started with Cloudinary in your Laravel projects for FREE!